The five best white balance methods for microscope photography include: using reference cards for manual calibration, applying global field techniques across the entire view, maintaining consistent lighting conditions, utilizing software-based color correction, and setting proper Kelvin temperature (ideally 5000°K for brightfield). You’ll get more accurate colors by performing calibration at the beginning of each session and avoiding illumination intensity changes. Discover how these techniques can transform your microscopic imaging quality.
Understanding Color Temperature for Accurate Microscope Imaging

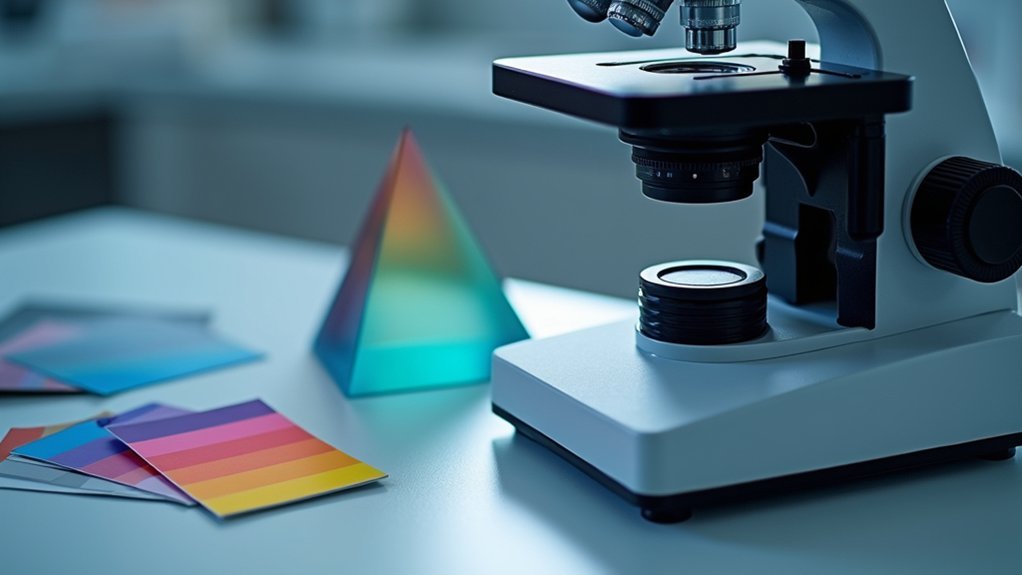
When capturing microscope images, understanding color temperature is fundamental to achieving accurate visual representation.
Color temperature, measured in Kelvin (K), directly affects how colors appear in your photographs. For peak color reproduction, standard white lighting in photography is typically set at 5000°K (D50), which is ideal for brightfield microscopy.
Color temperature calibration at 5000°K ensures optimal representation of specimen colors in brightfield microscopy imaging.
Your microscope’s light source likely has a specific color temperature—halogen bulbs, for example, emit around 3200°K. You’ll need to adjust your white balance setting to compensate for this difference, ensuring white objects appear truly neutral.
Consider using daylight blue conversion filters (80A-80D) when working with incandescent sources to match daylight’s cooler temperature.
Maintaining consistent color temperature throughout your imaging sessions prevents unwanted variations and enables reliable comparisons between different specimens.
Manual White Balance Methods Using Reference Cards
Achieving accurate white balance manually provides microscope photographers with greater control over color reproduction than automatic methods.
To implement manual white balance effectively, place a neutral gray or white reference card in your field of view before introducing your specimen. This allows your camera to calibrate its color channels based on the true light source.
Set your exposure to 70-80% of maximum brightness, then take multiple readings from different areas of the reference card to guarantee accuracy. This methodical approach prevents artifacts that could skew your results and guarantees consistent color representation across all images.
Always document your specific conditions and settings for reproducibility.
With practice, using reference cards for manual white balance will become second nature, resulting in more scientifically accurate and visually pleasing microscope photography.
Global Field White Balance Techniques for Microscopy
Unlike targeted calibration methods, global field white balance provides thorough color correction across your entire microscopic field of view. To implement this technique effectively, you’ll need to perform it at the beginning of each imaging session under consistent lighting conditions.
Global field white balance ensures comprehensive color accuracy across your entire specimen, creating a foundation for reliable microscopic documentation.
The process is straightforward: remove your specimen from view, place a white reference standard in the field, capture an image, and use your microscope software to set the color balance from this reference.
This extensive approach eliminates color casts throughout your images, ensuring uniform color representation in all your microscopic photographs.
Consistent application of global field white balance enhances image comparability for analysis and publication while improving overall quality.
You’ll notice better contrast and detail definition, making subtle structures more discernible in your microscopic work.
Maintaining White Balance Consistency During Extended Sessions
For microscope imaging sessions that stretch beyond a few minutes, maintaining consistent white balance becomes essential to guarantee comparable results across your dataset.
Begin with proper Köhler illumination and avoid altering illumination intensity during your session. Instead, adjust your digital camera’s exposure settings to maintain stability.
- Your specimens deserve color fidelity that won’t deteriorate halfway through critical observations
- White balancing manually gives you control that automatic modes simply can’t provide
- Documentation of your parameters isn’t just good science—it’s your future self’s lifeline
- The frustration of discovering color inconsistencies after hours of imaging is entirely preventable
Remember to perform periodic white balance checks especially when using halogen illumination, as these light sources may drift in color temperature over extended use.
Software-Based Color Correction for Complex Specimens
While maintaining consistent white balance during long sessions addresses many imaging challenges, some specimens simply won’t cooperate with traditional methods. When working with complex samples, you’ll need software-based color correction to achieve accurate representation.
| Software Feature | Application | Benefit |
|---|---|---|
| Look-up Tables | Adjust RGB intensity levels | Compensates for varying color temperatures |
| Marquee Tool | Select multiple pixels | Averages white balance across regions |
| Automated Adjustments | Batch processing | Guarantees consistency across image sets |
Use image editing software to fine-tune color parameters based on your specimen’s unique characteristics. Document your settings for reproducibility across sessions—this is especially important when lighting conditions change. Software tools with automated white balance adjustments will save you time while delivering more accurate color rendition than manual methods alone.
Frequently Asked Questions
What Is the Best White Balance for Photography?
For general photography, you’ll want to set white balance at 5000°K (D50) for neutral, accurate colors. You should adjust it based on your light source to guarantee whites appear truly white in your final images.
How Can We Get the Most Precise White Balance?
You’ll achieve the most precise white balance by performing Köhler illumination first, using a white card under 70-80% exposure, clicking the white balance button, and checking regularly throughout your session for consistency.
What Is the Best White Balance for Milky Way Photography?
For Milky Way photography, you’ll get the best results using a white balance between 3500K-4000K. Don’t rely on auto settings – they’ll introduce color shifts. Always shoot in RAW for easier post-processing adjustments.
How to Determine the Correct White Balance?
To determine the correct white balance, you’ll need to use a standardized white reference object under your shooting conditions. You can also use your camera’s white balance presets or custom settings for different lighting situations.
In Summary
You’ve now mastered the essential white balance techniques for microscope photography. By understanding color temperature, using reference cards, applying global field techniques, maintaining consistency, and utilizing software correction, you’ll capture specimens with true-to-life colors. Remember, proper white balance isn’t just about aesthetics—it’s vital for accurate scientific documentation and analysis. Keep practicing these methods to consistently produce professional-quality microscope images.


Leave a Reply