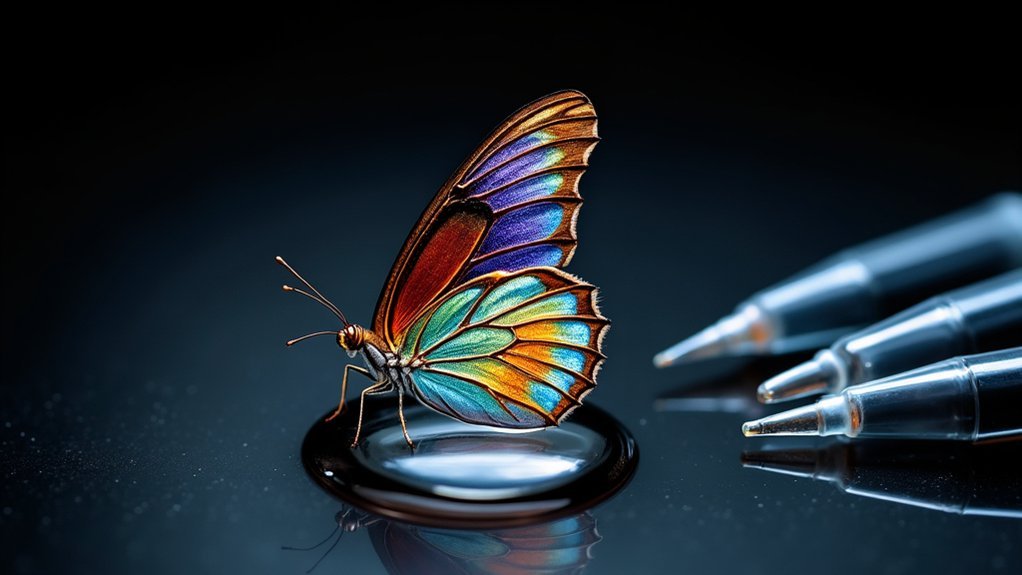
For stunning wet mount photographs, use a quality macro lens with low ISO and high f-stop for depth. Position lighting at 45° angles to reduce glare. Lower cover slips at an angle to eliminate bubbles. Stabilize your camera on a tripod and consider focus stacking for crisp details. Choose translucent, fresh specimens and apply stains like methylene blue for contrast. Process images to enhance visibility while preserving quality. These foundational techniques will transform your microscopic photography into enchanting scientific art.
10 Best Wet Mount Photography Techniques for Specimens

Five critical factors determine the quality of your wet mount photographs. Using a high-quality macro lens is essential—keep it clean to prevent distortion when capturing your wet mount specimens.
Don’t underestimate proper lighting; a ring light or diffused natural light will highlight details while minimizing glare.
For ideal clarity, set your camera to a low ISO and choose a small aperture (higher f-stop) to maximize depth of field, ensuring more of your specimen remains in focus.
Always stabilize your camera on a tripod or steady surface to eliminate blur, especially when using slower shutter speeds for adequate exposure.
Consider focus stacking techniques for particularly detailed wet mount specimens—taking multiple images at different focus points and combining them delivers extraordinary detail throughout the entire subject.
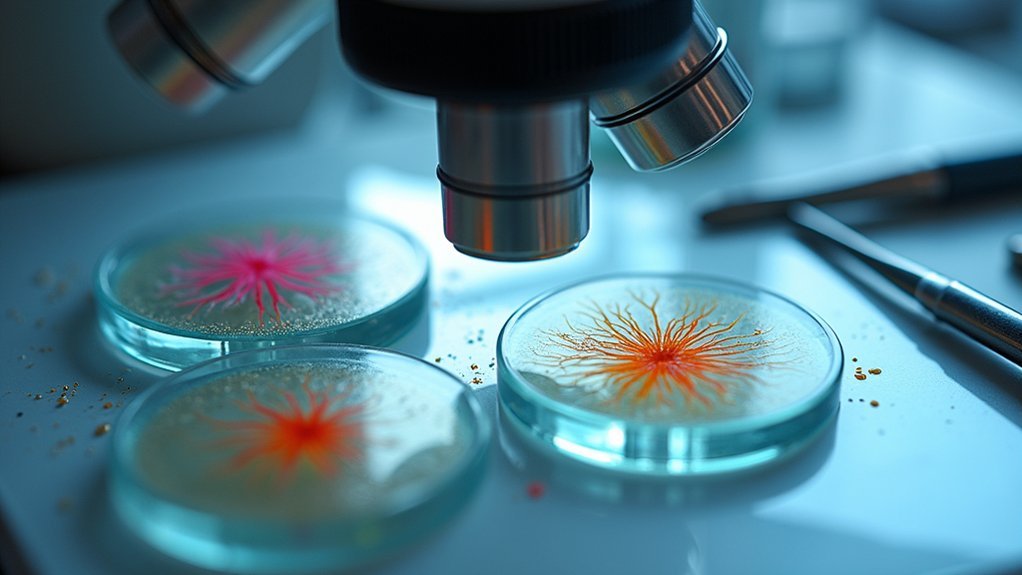
Optimal Specimen Selection for Photomicrography
Selecting the right specimens is just as important as mastering your camera settings for successful photomicrography. You’ll achieve the best results with translucent specimens like aquatic plants or thinly sliced fruits that allow light to pass through effectively.
The foundation of striking photomicrography lies in specimen selection—choose translucent subjects that transform light into visual poetry.
Always prioritize fresh specimens that display natural colors and movement, creating more dynamic and authentic images.
When choosing your specimen, consider these qualities:
- Size and uniformity – smaller, evenly shaped specimens are easier to focus and frame
- Cleanliness – debris-free specimens prevent obstructions that can ruin your photos
- Relevance – specimens that align with your research interests add educational value to your photomicrography work
Remember that the specimen itself forms the foundation of your microscopic photography, so taking time to select ideal subjects will dramatically improve your final images.
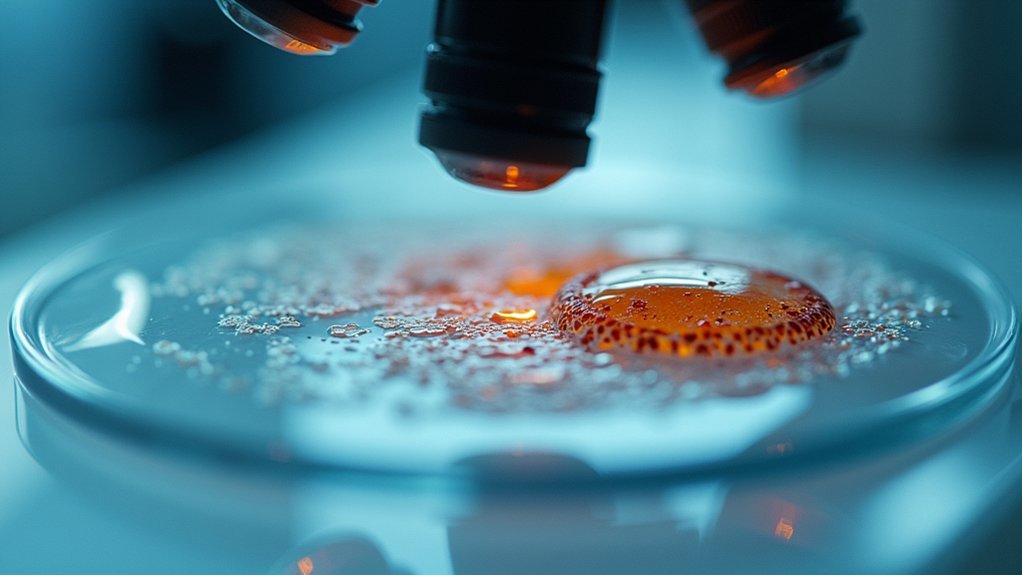
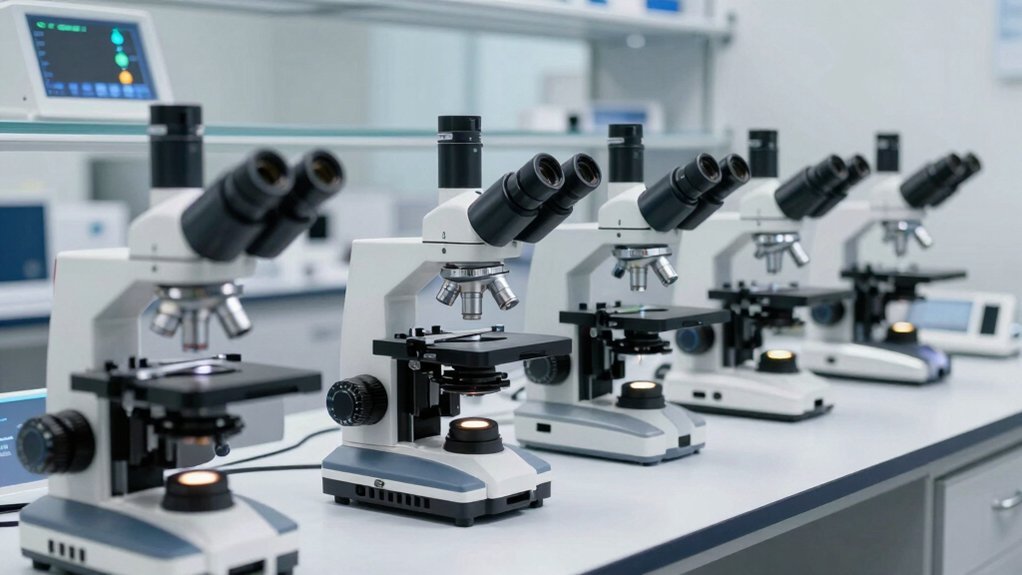
Essential Equipment for High-Quality Wet Mount Imaging
Successful wet mount photography demands specific equipment to capture the microscopic world with clarity and precision.
You’ll need a high-resolution camera paired with a macro lens to reveal minute details on your glass slide specimens. Proper illumination is essential—invest in a ring light or LED illuminator to eliminate shadows and enhance visibility of delicate structures.
A stable microscope with a mechanical stage allows precise positioning and smooth adjustments while photographing.
Consider adding a polarizing filter to your setup to reduce water surface glare and improve contrast between specimen and background.
For peak image quality, set your camera to a low ISO setting to minimize noise, and adjust the aperture carefully to achieve the perfect depth of field for your specimen’s unique characteristics.
Proper Slide Preparation to Eliminate Air Bubbles
You’ll achieve bubble-free wet mounts by carefully lowering cover slips at a 45-degree angle rather than dropping them flat onto specimens.
Control your water volume with a dropper, applying just 2-3 drops to create the perfect bead without excess that causes specimens to float.
Apply gentle pressure with a pen or pencil as you position the cover slip to help expel any remaining air pockets for crystal-clear microscopic photography.
Angled Lowering Technique
Place your cover slip at a precise 45-degree angle to banish those frustrating air bubbles from your wet mount preparations.
You’ll need to position one edge of the cover slip against the slide first, then slowly lower it to allow air to escape. Initially, confirm the cover slip stands straight up before gradually bringing it down over your specimen.
For best results:
- Create a neat water bead in the center of your slide before adding the specimen
- Gently push down with a pen or pencil to release any trapped air bubbles
- Practice consistently to develop muscle memory for this technique
This method greatly improves clarity in your microscope observations by eliminating air bubbles that obstruct your view.
With regular practice, you’ll master this technique and produce professional-quality wet mount slides for photography.
Water Volume Control
The perfect water volume stands as the cornerstone of bubble-free wet mount preparation. You’ll need just 2-3 drops of distilled water on your slide, creating a neat bead that fully submerges your specimen without excess liquid that could spill or form oversized droplets.
When applying the cover slip, position it upright at the edge of the water droplet, then lower it gently using a pencil or pen as an aid. This technique prevents air from becoming trapped beneath the glass.
Apply slight pressure with your tool as the cover slip settles, pushing out any remaining air pockets while maintaining a thin liquid layer. This controlled approach not only minimizes troublesome bubbles but also enhances image clarity during photography, giving you the pristine specimen views needed for detailed documentation.
Gentle Pressure Application
Mastering gentle pressure application represents the critical next step in bubble-free slide preparation. When you lower the cover slip, stand it at a 45-degree angle and gently release it onto your specimen. This technique allows water to distribute evenly while pushing air outward.
After placement, apply light pressure at the edges to encourage proper spreading and eliminate remaining bubbles.
For stubborn air pockets, try these precision techniques:
- Tap the cover slip edges lightly with a pencil tip to dislodge trapped air
- Use the side of a pen to guide the cover slip down in a controlled manner
- Apply pressure in a circular pattern from the center outward to force bubbles to the edges
A thin, even water layer not only prevents bubbles but dramatically enhances specimen clarity during photography.
Lighting Techniques for Enhanced Specimen Contrast
Proper lighting transforms ordinary wet mount photographs into stunning scientific imagery that reveals intricate specimen details. Position natural light or LED ring lights at a 45-degree angle to your slide to maximize visibility without creating glare.
For transparent specimens, try backlighting by placing your light source behind the slide to highlight structures against a darker background.
Don’t overlook the importance of light intensity—use dimmers or adjustable LEDs to prevent overexposure that washes out fine details.
You’ll find polarized light particularly effective for reducing reflections and enhancing color contrast in complex specimens.
For even illumination across your entire sample, employ a diffuser such as white paper or a specialized filter.
These lighting techniques greatly improve wet mount photography results by creating the ideal contrast to showcase your specimen’s unique characteristics.
Focus Stacking for Improved Depth of Field

When examining specimens under high magnification, traditional photography often fails to capture all layers clearly due to limited depth of field.
Focus stacking solves this problem by combining multiple images taken at different focus points, delivering a completely sharp final image of your wet mount specimen.
To achieve professional results with focus stacking, make sure you:
- Use a stable tripod to maintain consistent framing between each shot
- Adjust your focus in small, incremental steps to capture all layers of your specimen
- Apply diffuse lighting to reduce reflections that could interfere with the stacking process
Post-processing is straightforward with software like Adobe Photoshop or dedicated focus stacking programs that automatically align and blend your images, revealing intricate internal structures that would otherwise remain partially blurred.
Digital Image Processing for Wet Mount Photographs
Once you’ve captured your wet mount images, digital processing becomes essential to reveal details that might remain hidden to the naked eye.
When working with specimens on slides made of glass, proper editing can dramatically improve visibility and research value.
Start by adjusting exposure settings in your editing software to compensate for the unique light reflection properties of wet mounts.
Enhance contrast and brightness to distinguish fine structures that weren’t initially apparent in your raw images.
For best results, crop your photographs to frame important features while eliminating distracting elements.
This focused composition draws attention to critical specimen details.
Always save your processed images in lossless formats like TIFF or PNG.
This preservation of quality guarantees your wet mount photographs remain valuable for future analysis or publication.
Managing Specimen Movement During Long Exposures
Live specimens can dart around unexpectedly during long exposures, ruining what might’ve been perfect wet mount photographs. To minimize specimen movement, use a light touch when adjusting focus rather than moving the entire slide. Excessive handling disturbs the specimen and creates unwanted motion blur.
For crisp, clear images, you’ll want to:
- Use high-speed shutter settings to capture images quickly before specimens can move
- Place your microscope on a stable platform with vibration-dampening features
- Employ a digital camera with built-in image stabilization
Time-lapse photography with short intervals between shots gives you multiple frames to choose from, increasing your chances of capturing that perfect moment when your specimen is stationary.
This technique is especially valuable when working with particularly active microorganisms.
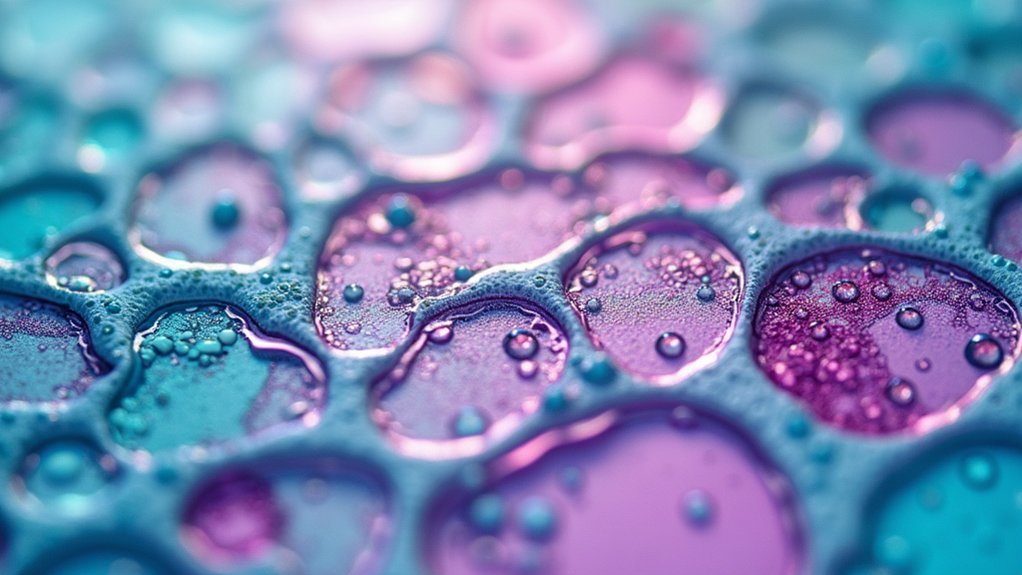
Color Enhancement Methods for Transparent Specimens
Transparent specimens present a unique challenge in wet mount photography, often appearing nearly invisible under standard lighting conditions.
You’ll achieve better results by placing colored filters or gels over your light source, instantly enhancing contrast and making structures more visible.
Consider applying biological stains like methylene blue or eosin Y before photography, as these reagents bind to specific structures, greatly improving visibility.
For specimens preserved in ethyl alcohol, adjust your lighting angle to create strategic shadows that reveal contours and depth.
Manipulate your camera’s depth of field to isolate specific features while blurring distracting backgrounds.
Don’t underestimate the impact of background selection—dark or patterned surfaces can considerably improve contrast against transparent structures.
These techniques transform nearly invisible specimens into striking, detailed subjects worthy of documentation.
Advanced Staining Techniques for Detailed Photography
While basic staining methods enhance visibility, mastering advanced staining techniques will profoundly transform your wet mount photography results.
Regardless of the size of the specimen, using crystal violet or methylene blue can considerably improve cellular contrast and morphological details. When you apply multiple stains sequentially, you’ll differentiate between various structures for more thorough documentation.
Differential staining unlocks the hidden architecture of specimens, revealing details invisible to the untrained eye.
For professional-quality images:
- Guarantee complete saturation of your specimen, then gently rinse to remove excess dye before photography
- Apply immersion oil to improve light refraction, enhancing clarity in stained slides
- Utilize a high-quality microscope with adjustable lighting to maximize visibility of stained specimens
Don’t hesitate to experiment with different staining combinations—your photography will reveal intricate details previously invisible in transparent specimens.
Frequently Asked Questions
What Are the 4 Most Basic Items Needed to Make a Wet Mount Slide?
You’ll need four basic items to make a wet mount slide: a clean glass slide, a cover slip, a dropper bottle filled with water, and a specimen (like a leaf or aquatic organism) to observe.
How Do You Prepare a Wet Mount Specimen?
To prepare a wet mount specimen, you’ll first clean your slide, add 2-3 water drops in the center, place your specimen in the water, and carefully lower a cover slip at an angle to avoid air bubbles.
How to Collect Specimen for Wet Mount?
Use clean tweezers or scissors to collect your specimens, avoiding contamination. Choose aquatic samples when possible, then rinse them with distilled water to remove debris before placing them on your slide.
What Are the 2 Most Important Advantages of the Wet Mounting Technique?
The 2 most important advantages of wet mounting are: you’ll observe living specimens in their natural state, seeing real behaviors and activities, and you’ll prevent specimen deformation by keeping them suspended in liquid.
In Summary
You’ve now mastered the essential wet mount photography techniques for specimen imaging. With these methods, you’ll capture stunning microorganisms and tissue samples with professional clarity. Remember to experiment with different lighting, staining, and digital processing approaches as you build your skills. Don’t hesitate to combine techniques for your unique specimens—your microphotography will improve dramatically as you practice these specialized methods regularly.


Leave a Reply