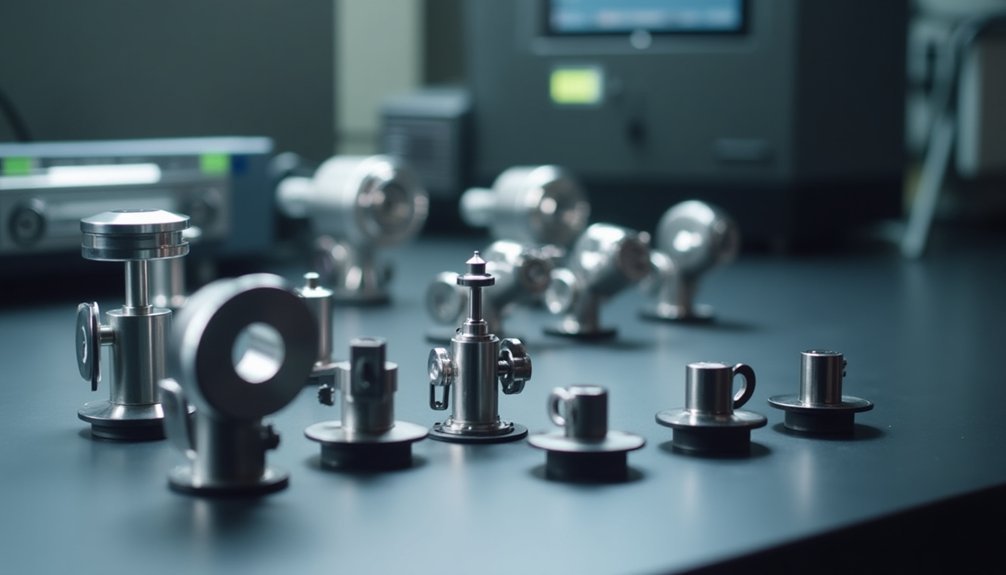
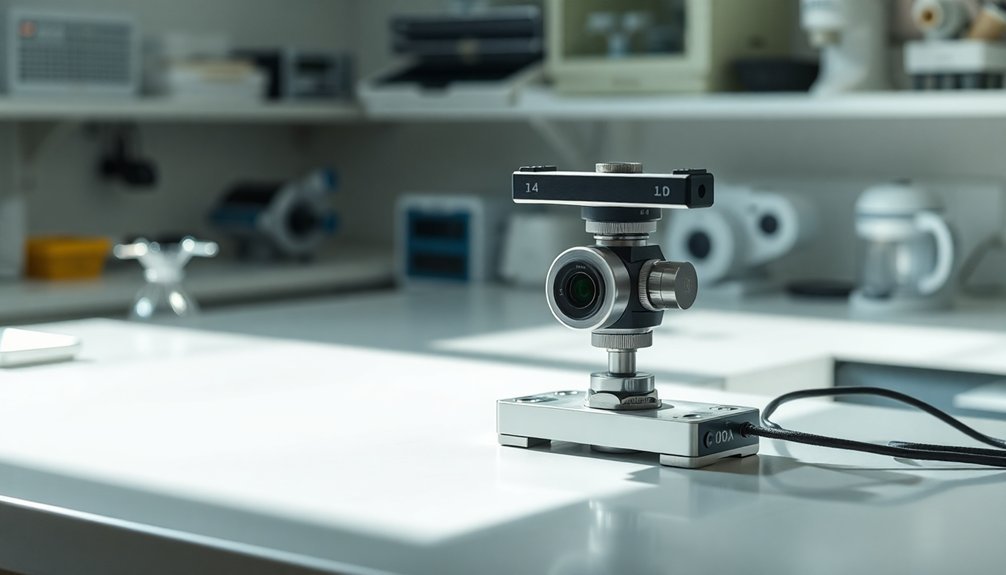
Today's universal camera mounts make scientific imaging simpler than ever by offering seamless compatibility between microscopes and digital cameras. You'll find standardized C-mount options that provide reliable 25.5mm connections with perfect 17.52mm flange focal distances for maximum image quality. These mounts guarantee proper alignment, prevent vignetting, and maintain consistent illumination across your sensors. Exploring the latest mounting technologies can transform your research imaging capabilities.
Understanding Camera Mount Components
When setting up a scientific imaging system, understanding the core components of a camera mount is fundamental for achieving ideal results.
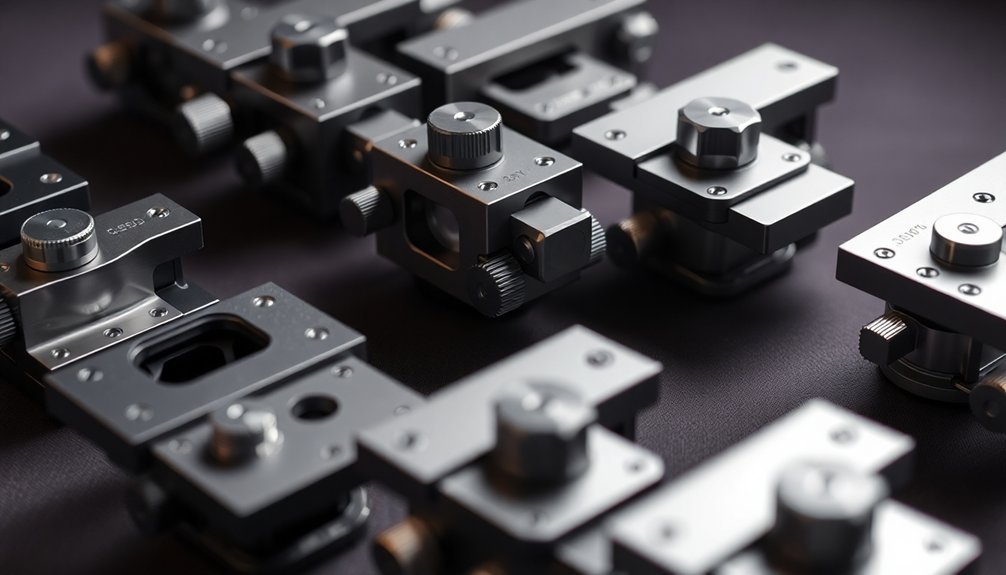
You'll find three main camera mount components working together: the camera connection, optics, and microscope connection. Each plays a significant role in securing and aligning your imaging setup.
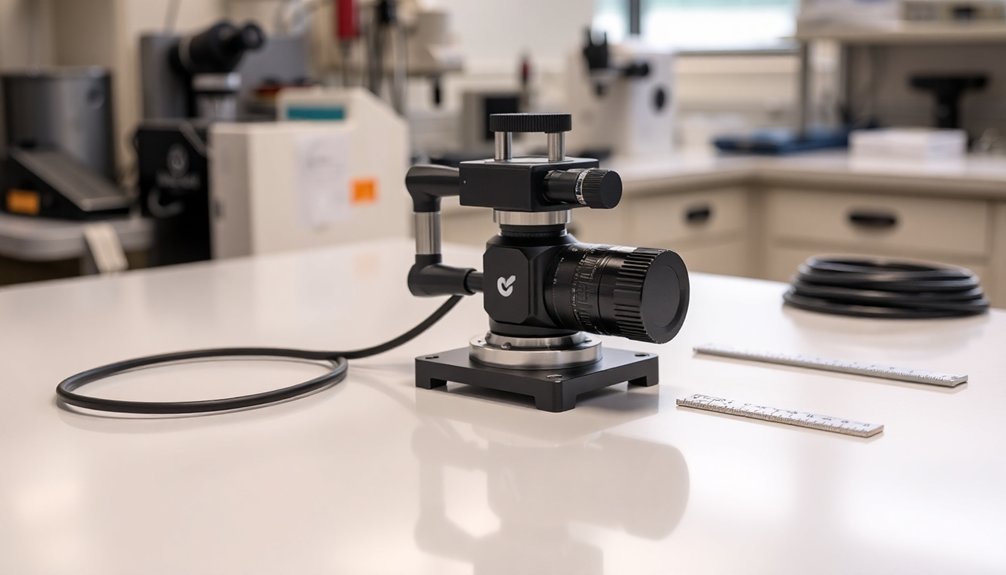
The C-mount, with its 25.5mm diameter and 17.52mm flange focal distance, represents one of the most common mounting solutions.
While working with optics, you'll need to take into account how additional elements like tube or relay lenses affect your image quality, pixel size, and resolution.
Since these mounts aren't typically interchangeable between microscope systems, it's imperative to identify the correct mount specifications for your setup.
This careful selection guarantees you'll achieve your desired field of view and imaging performance.
Essential Features of Universal Mounts
Three essential features define universal camera mounts in scientific imaging: adaptable fittings, multi-mount compatibility, and integrated optics enhancement. You'll find these universal mounts designed to seamlessly connect your imaging systems while maintaining ideal light transmission and image quality.
| Feature | Function | Benefit |
|---|---|---|
| Adjustable Fittings | Accommodates various cameras | Flexibility across brands |
| Multi-Mount Support | C-, T-, and F-mount compatibility | Universal connectivity |
| Relay Lens Integration | FOV and pixel enhancement | Enhanced image quality |
The adjustable fittings guarantee you're not limited to specific camera models, while the multi-mount compatibility lets you switch between different imaging systems effortlessly. With integrated relay lenses, you'll achieve the perfect balance between field of view and resolution, guaranteeing consistent illumination across your sensor for precise scientific imaging results.
Compatibility With Modern Microscopes
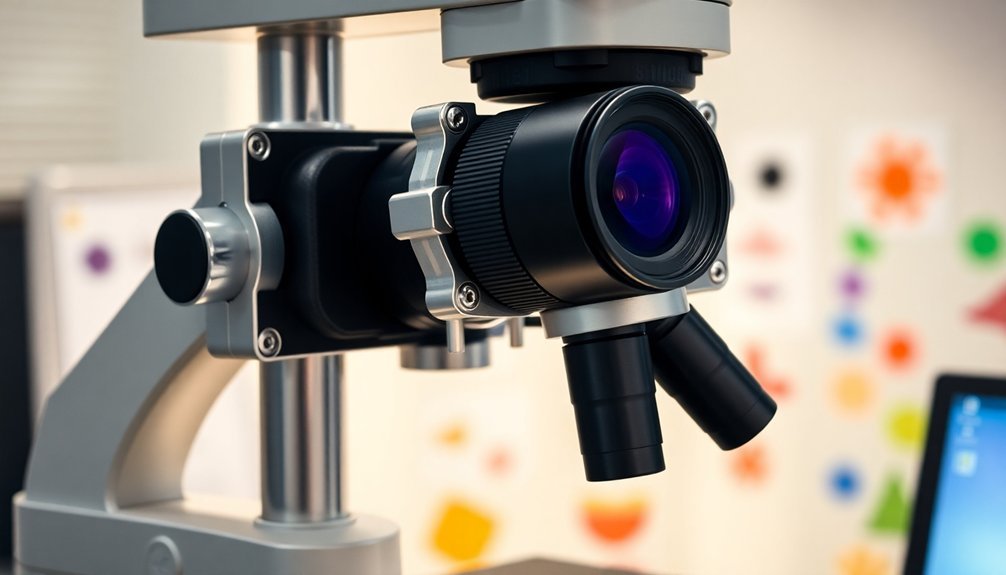
You'll find that modern microscope port design standards have evolved to accommodate universal camera mounts across C-, F-, and T-mount specifications.
These standardized ports let you seamlessly connect cameras to microscopes from different manufacturers without compromising image quality or optical performance.
Cross-brand mount solutions now incorporate advanced optics and adaptable components, ensuring you can achieve ideal field of view and resolution regardless of your microscope's make or model.
Port Design Standards
Since modern microscopes rely heavily on standardized connections, understanding port design standards is vital for successful camera integration.
You'll find that most scientific imaging systems support common camera mounts like C-, T-, and F-mounts, each offering distinct advantages for your research needs.
When selecting a port design, you'll want to take into account the C-mount's 25.5 mm diameter and 17.52 mm flange focal distance, which makes it a cost-effective choice for many applications.
T-mounts offer you flexibility to work across different manufacturer platforms, while F-mounts are ideal when you need larger FOV and high-resolution imaging with Nikon SLR cameras.
Remember that proper alignment between your camera mount and microscope port is essential – mismatched designs can compromise your image quality through issues like vignetting.
Cross-Brand Mount Solutions
While modern microscopy demands seamless integration across equipment brands, cross-brand mount solutions offer exceptional versatility for your imaging needs. You'll find that C-mount adapters and standardized screw thread specifications make it easy to connect various cameras to different microscope models without sacrificing image quality.
| Mount Type | Benefits | Compatibility | Applications |
|---|---|---|---|
| T-mount | Universal fit | Multiple brands | General imaging |
| C-mount | Precise alignment | Brand-specific | Scientific research |
| F-mount | Standard threads | Cross-platform | Professional use |
| Custom | Specialized fit | Limited range | Specific setups |
When you're selecting mounts for your setup, remember that choosing the right adapter is vital for maintaining ideal field of view and resolution. The standardized nature of these mounting systems guarantees you'll achieve consistent results across different manufacturer combinations while maintaining experimental flexibility.
Optical Performance Considerations
When selecting a camera mount for scientific imaging, optical performance becomes a critical factor that can greatly impact image quality and data collection.
Proper camera mount selection in scientific imaging is crucial for maintaining optical quality and ensuring reliable experimental data.
You'll need to take into account the mount's flange focal distance, with C-mounts typically providing 17.52 mm for ideal results.
Your choice of sensor size directly affects the camera mount's optical performance. While you can use additional optics to modify the field of view, you'll face trade-offs between FOV and resolution.
For the best results, opt for larger format sensors that maximize the available FOV without requiring extra optical elements.
Don't forget to check the alignment between your microscope's photo port and camera sensor diameter. Proper matching prevents vignetting and guarantees uniform illumination, which is essential for accurate scientific imaging and data interpretation.
Installation and Setup Guidelines
Begin your camera mount installation by carefully aligning the mount's optical axis with your microscope's photo port, ensuring perfect centering to prevent image distortion and light loss.
You'll need to verify that all connecting components are properly threaded and securely fastened, as any loose elements can compromise image quality and data collection.
Once the physical installation is complete, perform stability checks by gently testing the mount's resistance to vibration and confirming that the camera maintains its position without sagging or shifting.
Initial Alignment Steps
The five essential steps for initial camera mount alignment require careful attention to ascertain ideal scientific imaging results.
You'll need to start by verifying compatibility between your microscope and camera mount specifications. When you're ready to connect, confirm the photo port and mount surfaces are spotlessly clean before attempting alignment.
Position the camera mount carefully, making sure the sensor aligns perfectly with the microscope's optical path.
- You'll feel a sense of accomplishment when your first test image comes through crystal clear.
- You'll experience relief knowing your valuable equipment is properly protected.
- You'll gain confidence as you master the precise alignment technique.
- You'll be excited to capture groundbreaking scientific images with your perfectly aligned setup.
Avoid overtightening connections and always verify proper focus before beginning your imaging session.
Mount Stability Checks
Proper stability checks form the foundation of reliable scientific imaging results.
When performing mount stability checks, you'll need to guarantee the camera mount connects firmly to the photo port without any wiggle room. Use a level to verify the mount's horizontal alignment, as even minor tilting can compromise your imaging accuracy.
You should tighten all mounting screws to the exact specifications provided by your manufacturer.
Don't skip testing the setup with different focal lengths to confirm the camera stays stable throughout your imaging sessions.
Make it a habit to inspect your camera mount regularly for wear and tear, paying special attention to connection points and adjustment mechanisms.
This preventive approach helps maintain consistent image quality and extends your equipment's lifespan while guaranteeing reliable scientific data collection.
Field of View Optimization
When selecting camera mounts for scientific imaging, enhancing your field of view (FOV) requires careful matching between your microscope's photo port diameter and camera sensor size.
You'll need to carefully balance resolution and FOV to achieve ideal results, as additional optics can reduce image quality through light loss and vignetting. C-mounts often provide the best solution for maximizing FOV without compromising resolution.
- Don't let poor FOV matching crush your research potential – proper camera mounts make all the difference
- Break free from resolution limitations by choosing the right mount configuration
- Transform your imaging capabilities with precise FOV enhancement
- Access your microscope's full potential with smart camera mount selection
Remember that smaller sensors may need supplementary optics, but this can affect your final image quality.
Always prioritize direct matching over solutions that require additional optical elements.
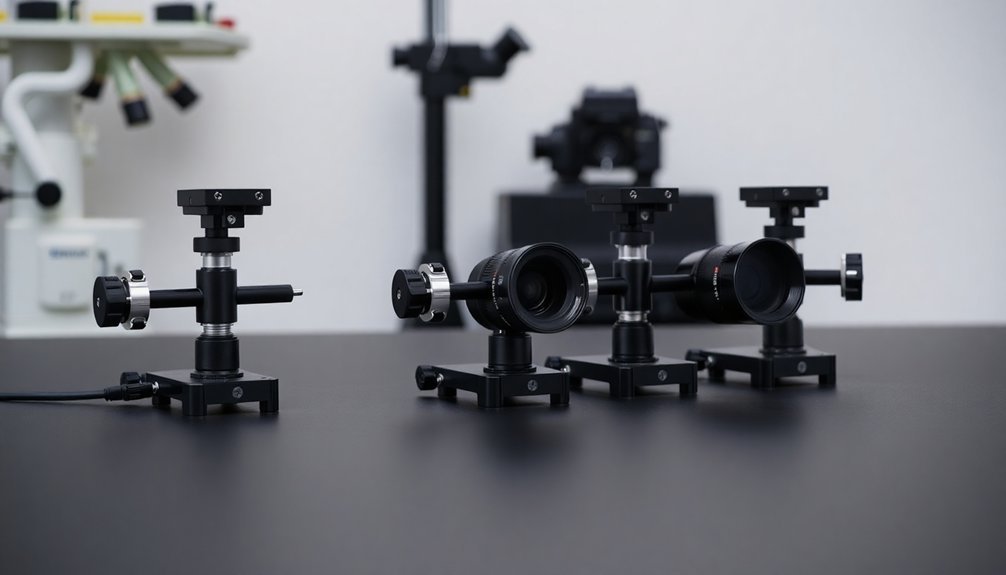
Advanced Mounting Technologies
Modern scientific imaging relies heavily on specialized mounting technologies that revolutionize how you connect cameras to microscopes. You'll find C-, T-, and F-mounts leading the way in advanced mounting technologies, each designed to meet specific imaging requirements while ensuring peak performance.
Today's universal camera mount solutions offer you unprecedented flexibility, accommodating various camera models across different scientific applications. You'll appreciate the user-friendly designs that let you quickly attach and detach equipment, saving valuable lab time.
When you're working with these mounts, you'll benefit from innovative materials that reduce vibration and enhance stability. If you're looking to expand your field of view, you can integrate relay lenses, though you'll need to carefully consider the trade-offs between FOV and resolution for your specific needs.
Selecting the Right Mount System
Choosing the right camera mount system demands careful evaluation of several critical factors that'll directly impact your imaging results.
When selecting a camera mount, you'll need to take into account your microscope's brand compatibility and the specific mount type required, whether it's a C-mount, T-mount, or F-mount.
Matching your camera's sensor size to the microscope's photo port is essential for peak performance.
- Don't risk your research with incompatible mounts that could compromise your entire imaging workflow.
- Save time and money by choosing the right optics the first time.
- Protect your investment by ensuring perfect sensor-to-port alignment.
- Maximize your image quality by avoiding unnecessary optical adaptations.
Maintenance and Best Practices
Proper maintenance of your camera mount system guarantees consistent, high-quality imaging results while extending the equipment's lifespan.
You'll need to regularly clean the mount's threads and surfaces with a lint-free cloth to prevent debris buildup that can affect image quality.
Following best practices means ensuring secure attachment between your camera mount and microscope without over-tightening.
Secure your camera mount firmly to the microscope, but avoid excessive force that could damage the connection points.
Check components periodically for wear and replace them when needed. It's crucial to use compatible optics and adapters that match your system's specifications to avoid common issues like vignetting.
When you're not using the equipment, store your camera mount in a protective case.
This simple maintenance step prevents physical damage from impacts and environmental factors that could compromise your mount's performance and reliability.
Frequently Asked Questions
What Is the Most Common Camera Mount?
You'll find that the C-mount is the most common camera mount, featuring a 25.5mm diameter and 17.52mm flange focal distance. It's widely used because it works with many cameras and microscopes.
How Do You Attach a Camera to a Microscope?
You'll need to select a compatible mount (C-mount, T-mount, or F-mount) for your camera, attach it to the microscope's photo port, and guarantee proper alignment. Then calibrate to check image quality.
What Is the Difference Between C Mount and CS Mount Cameras?
You'll find C Mount cameras have a longer flange distance (17.52mm) and larger diameter than CS Mounts (12.5mm). While you can use C Mount adapters with CS cameras, you can't do the reverse.
What Type of Adapter Is Useful for Attaching Steel Cameras to the Microscope?
You'll need a C-mount adapter for attaching steel cameras to microscopes. It has a 25.5mm diameter and 17.52mm flange focal distance. T-mount adapters can also work for inter-manufacturer compatibility.
In Summary
You'll find that selecting the right universal camera mount dramatically impacts your scientific imaging results. By focusing on compatibility, optical alignment, and proper installation, you're ensuring reliable data collection. Don't forget to maintain your mount system regularly and optimize field of view settings for your specific applications. With these considerations in mind, you're well-equipped to achieve consistent, high-quality scientific imaging outcomes.


Leave a Reply