To master transmitted light sample illumination, start by setting up Köhler illumination—center the lamp filament, align the condenser, and adjust both field and aperture diaphragms. Choose LED lighting over halogen for stability and consistent color temperature. Adjust the field diaphragm to cover three-quarters of the viewfield and set the aperture diaphragm to 60-90% of the light disc. For transparent specimens, consider specialized techniques like darkfield or phase contrast. These fundamentals will transform your microscopy results.
Understanding Köhler Illumination: Principles and Setup
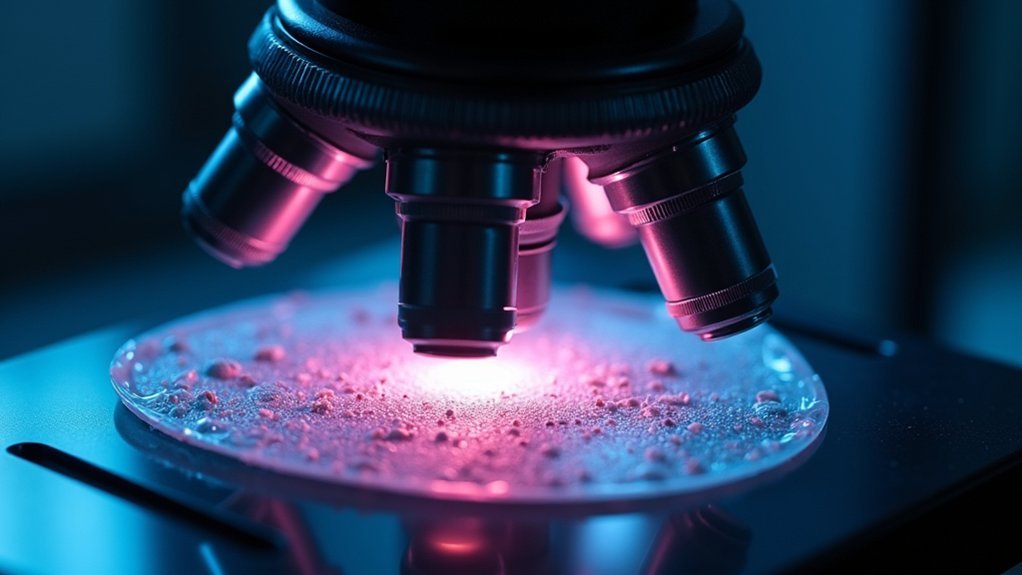
When you’re aiming for pristine microscopic images, Köhler illumination stands as the gold standard for transmitted light microscopy. This technique enhances image quality by precisely aligning the light source’s filament with the microscope’s optical axis, ensuring even and bright specimen illumination.
To achieve proper Köhler illumination, you’ll need to center the lamp filament within the aperture diaphragm and focus it to fill the condenser’s back focal plane. Start by closing the field diaphragm to its smallest setting, focus it to sharp edges, then open it to cover three-quarters of your viewfield.
Remember to realign your setup when switching to higher power objectives, as numerical aperture requirements change. Regular checks for proper condenser and diaphragm alignment prevent glare and maintain peak image quality across all magnifications.
Optimizing Light Source Selection: Halogen vs. LED Advantages
Why do modern microscopists increasingly choose LEDs over traditional halogen illumination? Since their 2006 introduction, LED light sources have revolutionized transmitted light microscopy by offering superior stability and efficiency compared to halogen alternatives.
You’ll benefit from LEDs’ solid-state design, which guarantees exceptional longevity while consuming less energy. This efficiency translates to reduced sample degradation during extended viewing sessions.
Unlike halogens, LEDs emit no UV radiation, enhancing your comfort and safety during prolonged microscopy work.
The precise electronic control of LED illumination enables accurate timing and remote operation—critical for maintaining consistent experimental conditions.
Additionally, LED Transmitted illumination maintains constant color temperature across sessions, simplifying standardization procedures and guaranteeing reliable imaging results without the frequent adjustments required by traditional light sources.
Proper Condenser Alignment for Uniform Sample Illumination
Proper Köhler illumination requires you to rotate the appropriate objective into place, close the field diaphragm, and focus the condenser until the diaphragm edge appears sharp.
You’ll need to center the illumination using the condenser centering screws, ensuring the field diaphragm image aligns perfectly with your field of view.
Once centered, adjust both the field and aperture diaphragms to achieve ideal contrast while maintaining uniform illumination across your specimen.
Köhler Illumination Setup
Although many microscopy beginners overlook it, proper Köhler illumination setup forms the foundation of high-quality transmitted light microscopy. To achieve ideal transmitted illumination, first verify your light source is centered according to your microscope’s manual instructions.
For internal lamps, visualize the filament using white paper on the microscope port, then use adjustment screws to center it. With external lamps, project the filament onto a distant surface, centering it within the condenser’s optical axis.
Rotate to your 10x objective, focus on your specimen, then adjust the substage condenser until the field diaphragm appears sharp.
Close the field diaphragm completely, align it to be centered in your viewfield, then gradually open it to cover three-quarters of the field. Fine-tune the condenser focus for even, glare-free illumination across your sample.
Aperture Diaphragm Adjustment
The aperture diaphragm represents your microscope’s critical contrast control mechanism. To achieve ideal aperture diaphragm adjustment, set it to show 60-90% of the light disc when looking through the eyepiece tube. This balance provides uniform illumination across your sample while maximizing image contrast.
Ensure your condenser is properly centered with the aperture diaphragm to minimize chromatic aberration and enhance overall image quality.
When using higher magnification objectives during Köhler illumination, remember to readjust your field diaphragm to maintain proper alignment and prevent glare.
For precise adjustment, use highly stained biological samples that offer sharp details and good contrast.
You’ll need to check and readjust your aperture diaphragm settings regularly, especially when switching between different magnification levels, as each objective requires specific settings.
Centration And Focus
Aligning your condenser properly complements aperture diaphragm adjustments to create the foundation for Köhler illumination excellence.
When your condenser is perfectly centered and focused, you’ll achieve uniform illumination across your entire sample and maximize contrast and resolution in your images.
To properly center and focus your condenser:
- Use the adjustment screws to center the field diaphragm outline in your viewfield.
- Adjust the condenser height until the field diaphragm edges appear sharp, minimizing chromatic aberrations.
- Open the field diaphragm until it just disappears from view for peak illumination.
- Verify your aperture diaphragm is set to 60-90% of the light disc for ideal contrast.
Remember to realign your condenser whenever switching to higher magnification objectives to maintain peak Köhler conditions and glare-free imaging.
Field and Aperture Diaphragm Adjustments for Enhanced Contrast
Field diaphragm adjustments determine your best focus position, with proper setting at three-quarters of the viewfield providing the sharpest image detail.
You’ll need to balance brightness by adjusting the aperture diaphragm to 60-90% of the light disc, which directly impacts your specimen’s visual clarity.
Mastering these contrast control techniques requires consistent re-adjustment when changing objectives, ensuring your microscope delivers the highest quality transmitted light illumination possible.
Position For Perfect Focus
Precise manipulation of your microscope’s diaphragms holds the key to achieving perfect focus and dramatic contrast in transmitted light microscopy.
When working with transmitted light illumination, follow these steps to position your specimen for ideal clarity:
- Close the field diaphragm to its smallest setting first, creating a visible fuzzy edge in your field of view.
- Adjust your substage condenser until the diaphragm leaves come into sharp focus, then center the aperture using the condenser centering screws.
- Open the aperture diaphragm to 60-90% of the light disc size visible through the eyepiece tube to balance contrast and resolution.
- Re-align your Köhler illumination each time you switch to higher magnification, adjusting both diaphragms to accommodate the increased numerical aperture.
Always use well-stained samples to better evaluate your adjustments.
Brightness Balance Matters
The brightness balance within your microscope illumination system dramatically influences specimen visibility and overall image quality.
To achieve ideal results, adjust your field diaphragm until it’s slightly open, matching your viewfield area. This controls how light is applied across your specimen, preventing scattered illumination that reduces contrast.
Next, set your aperture diaphragm to 60-90% of the visible light disc. This critical adjustment enhances image contrast while preserving resolution.
When switching to higher magnifications, always re-center the aperture diaphragm to maintain proper alignment and reduce chromatic aberration.
For best results, practice these adjustments with highly stained biological samples, and implement Köhler illumination techniques.
This approach eliminates unwanted glare while ensuring even brightness balance throughout your field of view, revealing fine specimen details that might otherwise remain hidden.
Contrast Control Techniques
Mastering contrast control stands at the heart of quality transmitted light microscopy. Your diaphragm adjustments dramatically impact image clarity and detail visibility.
The field diaphragm controls illumination area—adjust it until you see a fuzzy outline that can be sharpened and centered using condenser screws. Meanwhile, the aperture diaphragm regulates contrast by restricting light intensity.
- Set aperture diaphragm to 60-90% of the observable light disc for ideal contrast without detail loss
- Re-align Köhler illumination when switching to higher magnifications
- Open aperture diaphragm slightly when using higher numerical aperture objectives
- Consider darkfield or phase contrast techniques for transparent specimens
Remember to consult your microscope’s manual for specific adjustment recommendations.
These precise controls transform ordinary observations into striking, high-contrast images that reveal subtle structural details invisible to casual observation.
Specialized Techniques for Transparent and Semi-Transparent Specimens
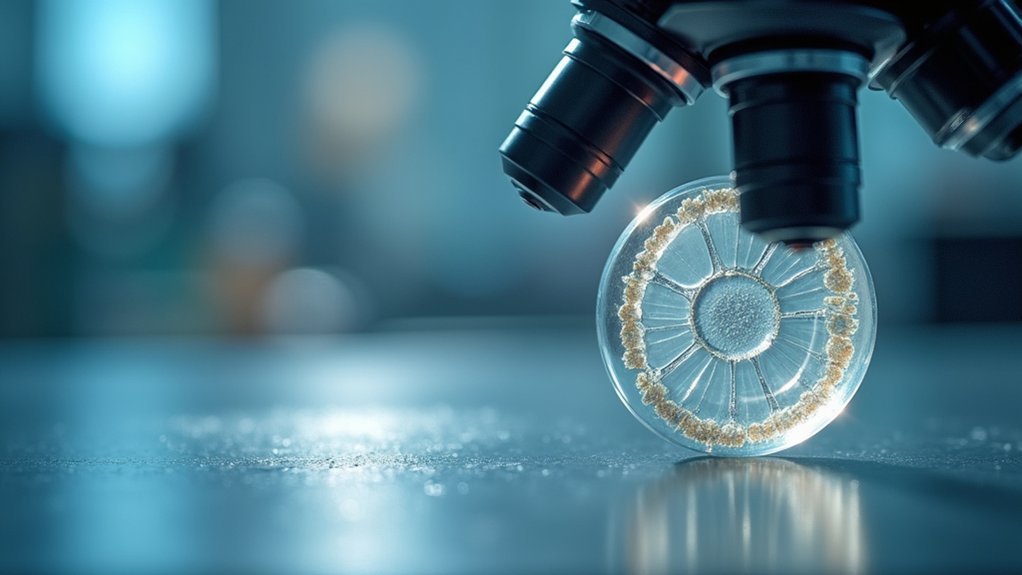
When working with transparent and semi-transparent specimens, you’ll need specific illumination strategies to reveal their often-hidden details.
Consider brightfield illumination for basic examination, but remember unstained samples may lack sufficient contrast. For enhanced visibility, darkfield and phase contrast techniques create striking images by capturing scattered light against a dark background—ideal for unstained biological specimens that would be nearly invisible otherwise.
You can also employ oblique contrast by adjusting your light angle to highlight refractive index differences across the sample.
For anisotropic specimens exhibiting birefringence, polarized illumination reveals structural details invisible under standard lighting.
Don’t overlook staining as a solution; dyes like haematoxylin and eosin can dramatically improve contrast during transmitted light examination, especially at higher magnifications where detail is critical.
Balancing Intensity and Color Temperature for Accurate Imaging
Successful transmitted light microscopy depends on properly balancing both intensity and color temperature to produce truthful specimen representations.
When using LED illumination systems, you’ll benefit from consistent brightness across different magnifications while maintaining stable color temperature—crucial for standardized imaging and accurate results.
To optimize your transmitted light illumination:
- Adjust the aperture diaphragm to enhance contrast based on your specimen’s characteristics
- Maintain consistent color temperature to prevent distortion in your samples
- Fine-tune light intensity appropriate to your magnification level
- Concentrate light evenly across specimens when working at higher magnifications
LED systems like those from CoolLED simplify this process by providing reliable color temperature, making your imaging sessions more repeatable and your results more dependable.
Troubleshooting Common Transmitted Light Illumination Problems
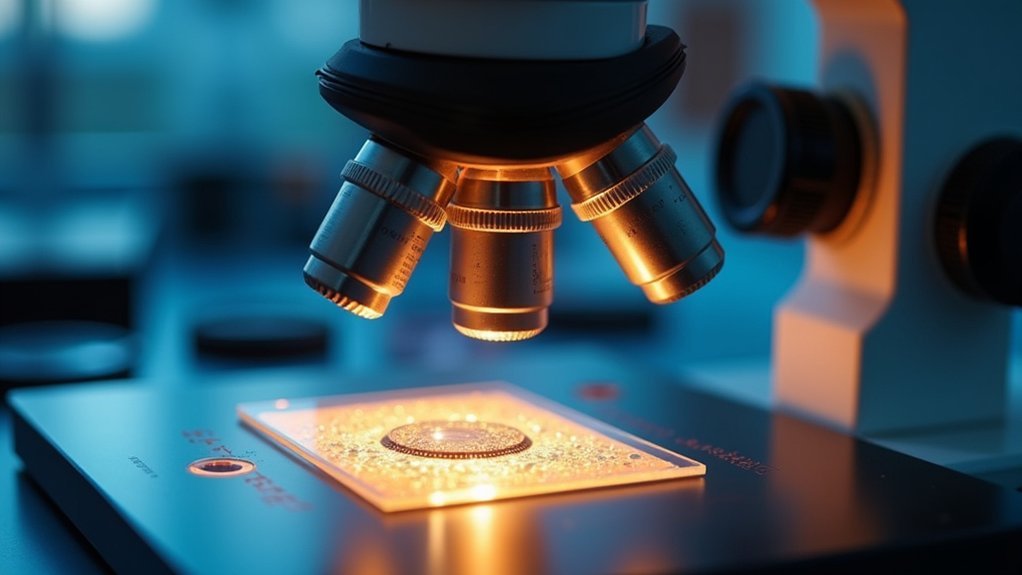
Even with ideal setup, you’ll likely encounter illumination challenges that can compromise your microscopy results.
When your transmitted light image appears uneven, first check that your light source aligns properly with the optical axis—center the lamp filament and adjust the condenser to maintain Köhler illumination.
If brightness is inconsistent, verify nothing obstructs the light path and that intensity settings match your objective magnification.
Adjust your diaphragms correctly: open the field diaphragm to about three-quarters of the viewfield and set the aperture diaphragm to optimize contrast without vignetting.
For persistent glare issues, recalibrate your condenser.
Consider upgrading older tungsten-halogen lamps to LED systems, which provide more stable illumination and reduce sample degradation.
Always maintain consistent color temperature between sessions to guarantee standardized image quality across your work.
Frequently Asked Questions
What Is Transmitted Illumination?
Transmitted illumination is when light passes through your specimen from behind. You’ll see it’s ideal for transparent samples like cells, as it creates detailed silhouettes and can be filtered for better contrast.
What Uses Light to Illuminate a Sample?
Transmitted illumination uses light to illuminate your sample from beneath, while reflected illumination lights it from above. You’ll find these methods in microscopy, photography, and various imaging techniques requiring sample visualization.
What Are the Techniques of Transmitted Lighting?
You’ll use brightfield for stained samples, darkfield for transparent ones, phase contrast for detailed structure, oblique contrast for enhanced features, and polarized light for anisotropic specimens. Each technique reveals different sample characteristics.
What Are Two Ways to Control the Amount of Light Passing Through a Sample on a Compound Microscope?
You can control light through your sample by adjusting the field diaphragm to regulate the light beam’s diameter and using the aperture diaphragm to optimize contrast and resolution by changing the light disc size.
In Summary
By mastering Köhler illumination, selecting appropriate light sources, and properly aligning your condenser, you’ll achieve ideal transmitted light illumination. Don’t forget to fine-tune your diaphragms for enhanced contrast and adjust intensity for different specimens. With practice, you’ll overcome common illumination problems and produce crisp, accurate images. Your microscopy skills will improve dramatically as you apply these techniques to your transparent and semi-transparent samples.



Leave a Reply