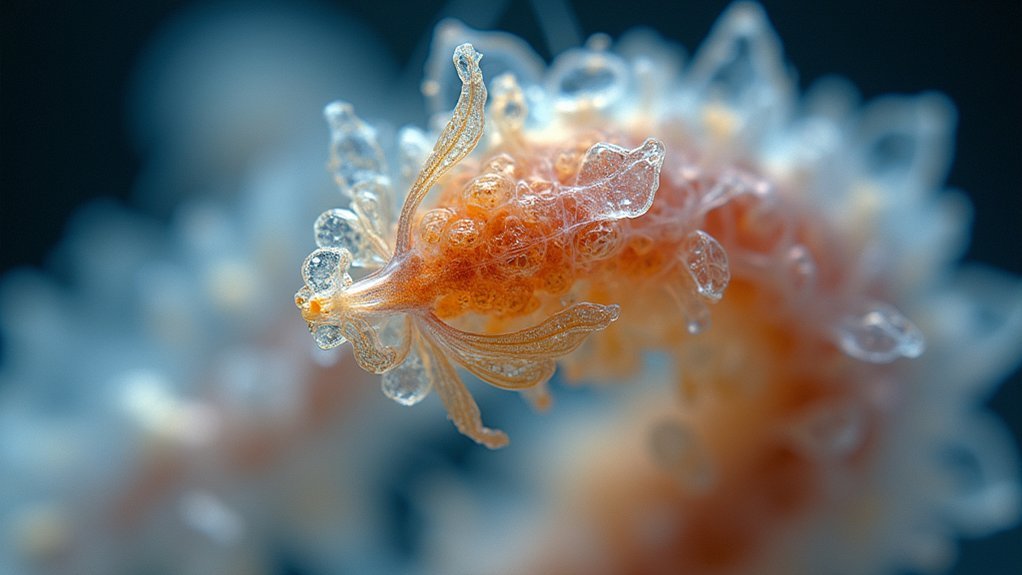
Transmitted light illuminates specimens from below, revealing internal structures that remain hidden with other lighting methods. You’ll achieve better contrast, especially with stained samples, allowing visualization of cellular components and tissue organization. For ideal results, use high numerical aperture objectives and properly adjust your condenser system. This approach works best with thin specimens (5-10 micrometers). Master these techniques and you’ll capture the intricate details that make microscopic worlds come alive.
Understanding Transmitted Light Principles in Specimen Imaging

While many imaging techniques exist for specimen documentation, transmitted light microscopy stands as a foundational method that illuminates specimens from below. When you’re examining biological specimens, this approach allows light to pass through your sample, revealing internal structures that would otherwise remain invisible.
The effectiveness of transmitted light microscopy depends largely on contrast. You’ll achieve better results by applying appropriate stains to highlight specific features against the background. For ideal clarity, use high numerical aperture objectives paired with well-adjusted condenser systems.
Techniques like differential interference contrast microscopy enhance natural contrast in unstained specimens. For best results, prepare your samples at the perfect thickness—typically 5-10 micrometers—which allows sufficient light transmission while preserving structural integrity.
This balance is essential for capturing detailed images that support thorough analysis.
Essential Equipment for Transmitted Light Photography
When assembling your transmitted light photography setup, you’ll need several key components to achieve professional-quality specimen images.
Start with a robust transmitted light microscope featuring a bright light source positioned beneath your specimen and a quality condenser to focus that illumination effectively.
A proper foundation begins with quality illumination and condensing optics beneath your specimens for optimal light transmission.
Select objective lenses with high numerical aperture values to capture maximum light transmission and achieve superior resolution—especially critical when examining detailed cellular structures.
For transparent biological specimens, consider appropriate staining techniques to enhance contrast and visibility.
Complete your system with a high-resolution digital camera that integrates seamlessly with your microscope.
Today’s specialized microscopy cameras offer exceptional sensitivity and resolution, allowing you to document and analyze even the most delicate specimen features with remarkable clarity and precision.
Optimizing Contrast and Resolution With Transmitted Light

Although transmitted light microscopy provides natural contrast for many specimens, achieving ideal image quality requires careful adjustment of several key variables. You’ll get the best results by maximizing your numerical aperture—both in your objective and condenser—as this directly impacts resolution of fine details in your transmitted light images.
For biological specimens that lack natural contrast, consider using stains like haematoxylin and eosin to highlight structural differences.
When working with high magnification objectives, don’t skip applying immersion oil between your slide and lens; this greatly improves light transmission and resolution.
For unstained transparent samples, try implementing background subtraction algorithms that average multiple frames to reduce noise and enhance contrast.
These techniques will help you capture specimen photos with optimal clarity and detail.
Practical Techniques for Capturing Detail-Rich Specimen Photos
To capture truly exceptional specimen photos using transmitted light, you’ll need to master several practical techniques beyond basic microscope operation.
Start with proper specimen preparation—fix and embed samples in paraffin or resin to preserve structural integrity. Choose stains like haematoxylin and eosin to enhance visibility of otherwise transparent biological specimens.
Maximize resolution by using high numerical aperture objectives, particularly 40x oil immersion lenses, which capture the finest details visible with transmitted light microscopy.
For challenging specimens, consider differential interference contrast techniques to reveal subtle structures through visible light manipulation.
When working with large sample collections, utilize digital slide scanning systems that can process over 100 slides in a single session, maintaining image quality while improving efficiency.
Comparing Transmitted Light With Alternative Microscopy Methods

While mastering transmitted light techniques offers considerable advantages, understanding how this approach compares to alternative microscopy methods provides valuable context for selecting the best imaging strategy.
Transmitted light microscopy consistently outperforms reflected light methods when examining biological samples, particularly for revealing internal structures that would otherwise remain hidden.
You’ll notice markedly improved contrast and definition, especially with stained histological sections. When using high numerical aperture objectives and specialized filters, you can distinguish cellular components with remarkable clarity that alternative techniques simply can’t match.
For efficiency in large-scale studies, robotic slide scanners using transmitted light can rapidly produce high-resolution images from multiple specimens.
This capability makes transmitted light microscopy not just superior for detail visualization but also more practical for extensive analytical work.
Frequently Asked Questions
What Is the Purpose of Transmitted Light?
Transmitted light passes through your specimen, allowing you to observe internal structures and details. It’s ideal when you’re examining thin samples as it enhances contrast and reveals features that wouldn’t be visible otherwise.
Why Must the Specimen You Prepare Be Thin When Viewing With Transmitted Light on a Microscope?
Your specimen must be thin because light needs to pass through it efficiently. If it’s too thick, you’ll lose detail as light scatters or gets absorbed, compromising the clarity of cellular structures.
What Is the Difference Between Reflected Light and Transmitted Light Microscopy?
In transmitted light microscopy, light passes through your specimen, revealing internal structures. With reflected light microscopy, light bounces off the specimen’s surface, showing only external features. You’ll need thinner specimens for transmitted light.
What Is the Difference Between Transmitted Light and Incident Light?
In transmitted light, illumination passes through your specimen from below, ideal for transparent samples. Incident light (reflected light) bounces off your specimen’s surface from above, better for opaque materials’ surface details.
In Summary
You’ve now discovered why transmitted light elevates your specimen photography. By passing light through your sample, you’ll reveal internal structures and create striking contrast impossible with reflected light alone. With the right equipment and techniques, you’ll capture images with unprecedented clarity and detail. Whether you’re documenting research or creating artistic micrographs, transmitted light transforms ordinary specimens into extraordinary visual records of microscopic worlds.


Leave a Reply