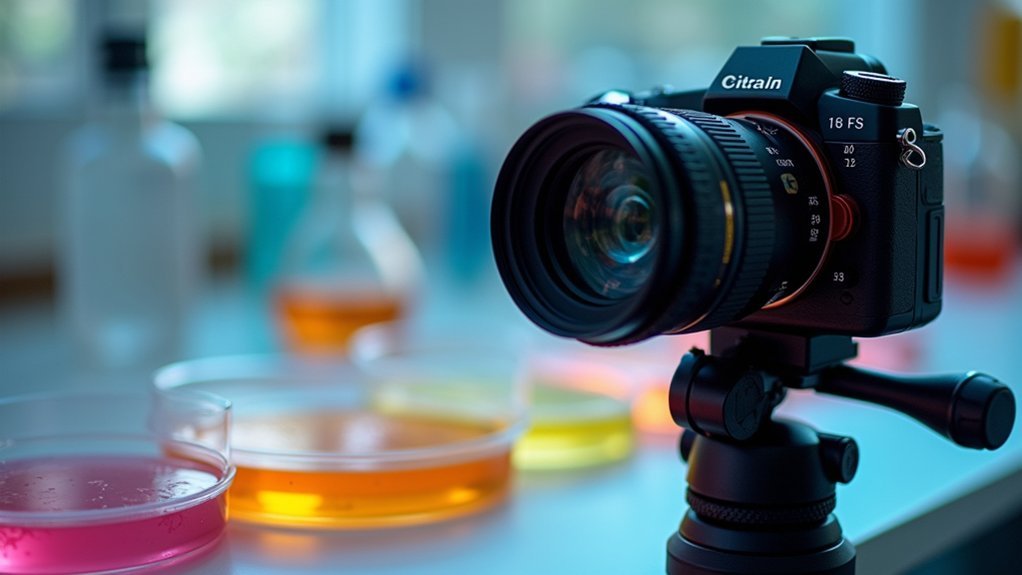
For scientific time-lapse photography, you’ll need a minimum of 1080p HD (1920×1080) resolution, though 4K (3840×2160) offers better flexibility for cropping and detail retention. Use a camera with at least 20 megapixels and shoot in RAW format to preserve critical data. Balance higher resolution against increased file size based on your specific application—cell division studies require finer detail than ecosystem documentation. The right resolution settings will dramatically impact your research outcomes and long-term documentation value.
Understanding Resolution Requirements for Scientific Documentation

When documenting scientific phenomena through time-lapse photography, you’ll need to carefully consider resolution requirements to guarantee your footage captures all necessary details. A minimum of 1080p HD (1920×1080 pixels) is recommended for clear documentation of processes like plant growth or glacial movement.
For more intricate subjects, consider using 4K resolution (3840×2160), which provides flexibility for cropping while maintaining image quality. Your final output medium should guide your choice—higher resolutions for large displays or detailed analysis, lower for web sharing.
Store your images in RAW format rather than compressed options like JPEG to preserve critical data.
Remember to balance quality against practical considerations, as higher resolution increases file sizes, requiring more storage space and processing power during editing.
Optimizing Pixel Density for Microscopic Time-lapse Capture
Unlike standard time-lapse photography, microscopic subjects demand exceptional pixel density to reveal their intricate details over time.
You’ll need a minimum resolution of 1920×1080 pixels to guarantee clarity in your specimens, though cameras with at least 20 megapixels will provide superior scientific documentation.
Your choice of macro lens greatly impacts image quality when focusing on microscopic subjects.
Selecting the right macro lens determines whether minuscule details shine or disappear in microscopic time-lapse photography.
A high-quality macro lens enhances pixel density by allowing closer focus without sacrificing detail—crucial when you’ll be analyzing fine structures in your time-lapse sequences.
For best results, capture your time-lapse photography in RAW format.
This preserves more data for post-processing and maintains image fidelity throughout your sequence.
The enhanced pixel density this approach provides guarantees even the smallest changes in your microscopic subjects remain visible and analyzable.
Balancing File Size and Image Quality for Long-term Studies

As you commence on long-term time-lapse studies, striking the right balance between file size and image quality becomes essential for success.
Choose a resolution of at least 1080p to guarantee clarity while managing storage demands. For studies where extreme detail isn’t critical, consider scaling down to 720p to conserve space.
RAW formats offer superior dynamic range and detail for scientific analysis but require substantial storage.
Consider the H.264 codec for compressed outputs that maintain quality while reducing file size.
- Your future self will thank you for thoughtfully balancing quality and storage needs
- Each gigabyte saved represents additional days of potential data collection
- The relief of having both manageable files and sufficient quality for publication is invaluable
Camera Sensor Selection and Resolution Considerations
The foundation of exceptional time-lapse photography lies in your camera sensor selection, which directly impacts your resolution capabilities. For scientific applications, prioritize full-frame sensors that deliver superior dynamic range and low-light performance compared to crop alternatives.
Your camera settings should allow for at least 20 megapixels of sensor resolution to capture the fine details essential for scientific analysis. When configuring your equipment, select cameras with low read noise and high pixel depth (14+ bits) to guarantee cleaner images during extended exposures and preserve more tonal information.
Always shoot in RAW file format to maximize flexibility during post-processing while maintaining image integrity. This uncompressed format preserves the full potential of your sensor’s capabilities, giving you greater control over your scientific time-lapse sequences.
Resolution Settings for Different Scientific Research Applications

When capturing cell division processes, you’ll need at least 20 MP resolution to clearly document microscopic changes occurring at the cellular level.
For crystallization studies, 4K resolution allows you to track intricate crystal formation patterns while maintaining the detail necessary for accurate growth rate calculations.
Documenting ecosystem changes requires 12-20 MP cameras with wide dynamic range capabilities, enabling you to capture subtle variations in vegetation, animal behavior, and environmental conditions over extended periods.
Cell Division Clarity
Capturing the intricate process of cell division demands exceptional resolution settings to guarantee scientific accuracy and detail. For ideal time-lapse video documentation, aim for at least 1080p resolution, though 4K (3840×2160) will reveal subtler cellular transformations with greater precision.
You’ll need a microscope camera with 5+ megapixels and a frame rate of 30 fps to capture smooth mitotic sequences while maintaining clarity and depth of field.
- Witness life’s fundamental process with stunning clarity that transforms abstract cellular concepts into visible reality
- Unlock scientific discoveries by capturing previously unobservable cellular behaviors during division phases
- Create compelling educational content that engages viewers with the microscopic dance of chromosomes and cellular structures
During post-processing, don’t forget to implement image stacking techniques to enhance detail in your time-lapse sequences.
Crystallization Growth Parameters
Documenting crystallization processes through time-lapse photography requires precise resolution settings to reveal molecular structures as they form and grow.
You’ll need at least 1920×1080 pixel resolution to capture the intricate details of crystal formations. Shutter speed depends on the crystallization rate, with 5-10 second intervals providing ideal documentation of structural changes without sacrificing image clarity.
For the best results, photos need 16-bit color depth to accurately represent subtle gradations and changes during crystal development.
Use a macro lens with 100mm+ focal length to enhance close-up resolution. Time to make adjustments to your manual settings is well spent—especially when implementing neutral-density filters to maintain consistent exposure throughout your sequence.
These technical specifications guarantee you’ll capture the full complexity of crystallization dynamics.
Ecosystem Changes Documentation
Successful time-lapse documentation of ecosystem changes demands specific resolution settings tailored to your research objectives. For most ecological studies, use at least 1080p resolution to capture subtle vegetation and landscape changes with clarity.
When studying biodiversity or habitat alterations in detail, consider upgrading to 4K resolution, which reveals minute ecological shifts invisible at lower settings.
- Witness the breathtaking transformation of habitats over time with crystal-clear 2K resolution for glacial movement and water level studies.
- Unlock hidden patterns of animal behavior with appropriate 720p settings for extended observation periods.
- Experience the dramatic contrast of seasonal changes with HDR enhancement for varying light conditions.
Remember that combining HDR with your chosen resolution improves visibility in ecosystem time-lapse projects, especially when documenting changes throughout different daylight conditions.
Post-Processing Techniques to Enhance Time-lapse Resolution

When processing your scientific time-lapses, implement frame stabilization to eliminate unwanted camera movement and maintain consistent framing throughout the sequence.
You’ll find that even subtle motion correction greatly improves the perceived resolution and professional quality of your final time-lapse video.
Establishing an efficient batch processing workflow allows you to apply identical adjustments across hundreds or thousands of frames, ensuring consistency while saving valuable research time.
Frame Stabilization Techniques
While capturing time-lapse footage with ideal resolution settings is essential, the quality of your final product often depends on post-processing stabilization techniques.
Software solutions like Adobe After Effects’ Warp Stabilizer and DaVinci Resolve offer powerful frame stabilization capabilities that analyze and compensate for unwanted camera movements.
When applying motion stabilization to your time-lapse videos, you’ll notice:
- Dramatically smoother shifts that draw viewers into the natural flow of your scientific phenomena
- Enhanced image clarity that reveals subtle details critical for accurate analysis
- Professional-quality results that elevate your research presentation beyond amateur footage
Always render your stabilized footage at the original resolution to preserve detail.
This step is particularly important for scientific applications where precise movements need to be showcased without distractions from camera jitter or shake.
Batch Processing Workflow
Once your stabilized footage is ready, the next phase involves optimizing image quality through batch processing.
You’ll want to leverage software like Adobe Photoshop or GIMP to simultaneously enhance multiple images, guaranteeing consistent exposure adjustments across your entire time-lapse sequence.
Convert your images to 16-bit format during processing to preserve greater dynamic range and avoid banding issues. This higher bit depth maintains quality when you adjust highlights and shadows, vital for professional-looking results.
Your workflow should include sharpening, cropping, and color correction steps to maximize resolution and visual impact.
Don’t overlook the importance of implementing a consistent naming convention for your files. This simple practice guarantees your images will assemble in the correct sequence, saving significant time when compiling your final time-lapse video.
Frequently Asked Questions
What Are the Best Settings for Time-Lapse Photography?
For time-lapse photography, you’ll want to use at least 1080p resolution, shoot in RAW, keep shutter speed under one-third of interval time, maintain consistent aperture, and match intervals to subject movement speed.
What Is the Best Frame Rate for Timelapse?
The best frame rate for timelapse is 24-30 fps for smooth cinematic playback. You’ll want 30 fps for fluid motion, though you can use 15 fps if you’re documenting slower changes scientifically.
What Is the Interval Setting for Timelapse?
Interval settings depend on your subject’s movement speed. Use 1-3 seconds for fast subjects, 5-30 seconds for slower processes. You’ll want to guarantee your interval exceeds your exposure time to avoid flicker in your final time-lapse video.
What Shutter Speed for Timelapse?
For timelapse, you’ll want to use a shutter speed of 1/100 second or slower. This helps minimize flicker between frames and creates smoother motion in your final video, especially in changing light conditions.
In Summary
You’ll need to match your resolution to your research needs, not just chase higher pixel counts. Consider your specimens, storage capacity, and analysis methods when selecting settings. Remember, it’s often better to optimize for consistent quality across thousands of frames than to maximize resolution. In time-lapse work, your ability to detect meaningful changes matters more than raw megapixels.


Leave a Reply