To control temperature in camera-to-scope photography, you can build a DIY Peltier cooling system for around $16 that reduces sensor temperature by 5°C in minutes. Pair it with an Arduino-based monitoring circuit to maintain ideal temperatures between -40°C and 125°C. Use thermal insulation and silica gel packets to prevent condensation on your optics. Testing with dark frames at various temperatures will help you verify the system’s effectiveness in reducing hot pixels and noise.
Thermal Challenges in Microscope Photography
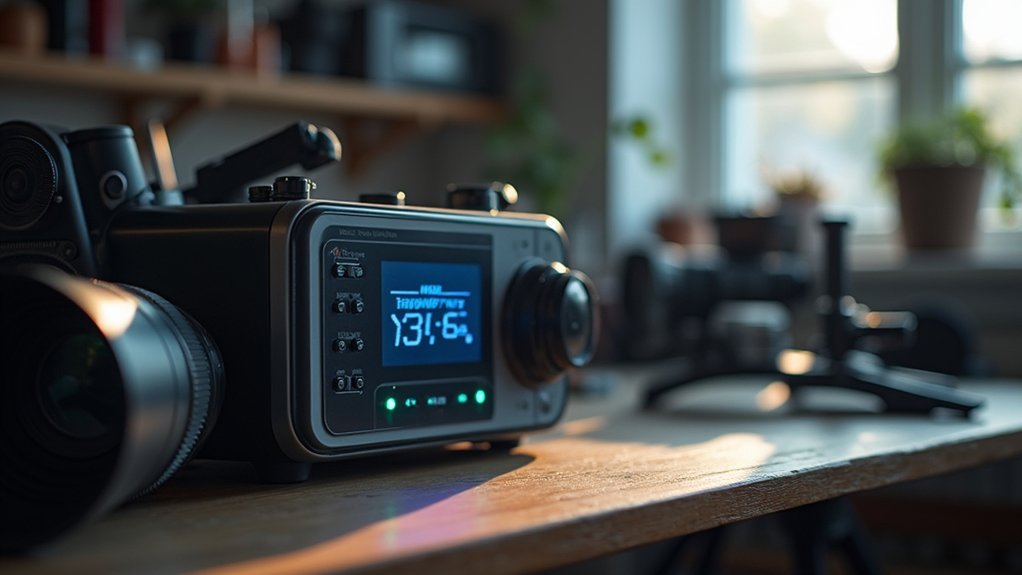
While many photographers focus on composition and lighting, temperature control often remains an overlooked aspect of microscope photography. Your illumination sources generate significant heat during extended sessions, degrading image quality and fine detail capture during long exposures.
Your camera’s sensor temperature rises throughout shooting, increasing noise levels and diminishing clarity. Consistent sensor temperature is essential for ideal results, which is why some photographers employ Peltier coolers to reduce thermal noise.
Humidity can cause condensation when moving equipment between temperature environments, potentially damaging your valuable optics. Consider placing silica gel packets in your storage cases to absorb moisture.
Additionally, wrapping thermal insulation materials around your camera-microscope setup helps stabilize temperatures and minimize heat exchange with surroundings, ensuring better imaging performance during critical microscopy work.
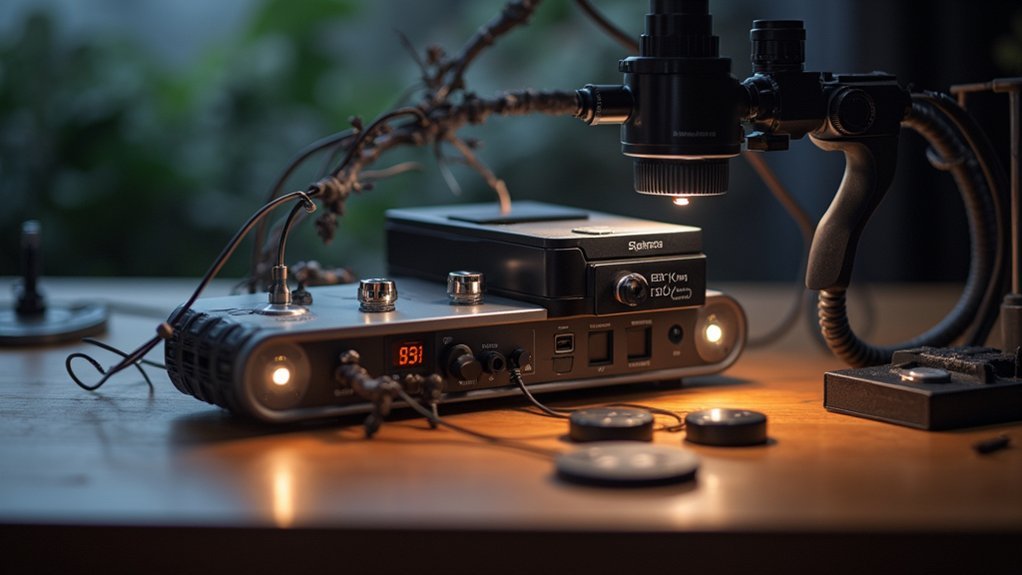
Building a DIY Peltier Cooling System for Camera Sensors
Photographers seeking enhanced image quality can build an effective camera cooling system with minimal investment. For approximately $16, you can assemble a system using a Peltier cooler, heat sink, and fan that considerably reduces sensor temperature—tests show a 5C drop in just 9 minutes.
To maximize efficiency, guarantee proper contact between metal surfaces with thermal conductive pads, and consider adding insulation around your setup. A larger heat sink will further improve cooling performance.
When capturing dark frames for calibration, aim to keep the temperature difference within 5C between your light and dark frames for ideal results.
Users report fewer hot pixels at cooled temperatures (29C versus 38C), resulting in cleaner images with less noise and better overall quality.
Temperature Monitoring and Control Circuit Design
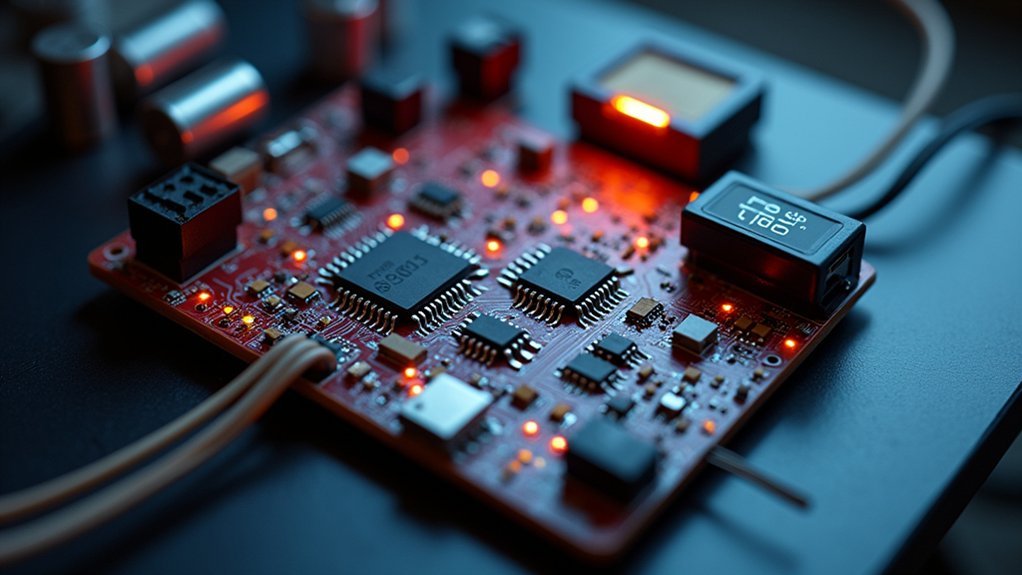
Now that you’ve built the basic cooling system, adding intelligent temperature monitoring and control takes your setup to the next level. An Arduino-based circuit forms the brain of your temperature monitoring system, reading data from a thermistor or digital sensor attached to your camera body.
Your circuit should operate within the -40°C to 125°C range, giving you ample headroom for managing sensor temperatures. Implement a closed-loop control system that automatically modulates current to your Peltier cooler based on real-time readings. This responsive approach prevents both overheating and excessive cooling.
Don’t forget to incorporate safety features like automatic shutdown if temperatures approach dangerous thresholds. This protective measure safeguards your expensive camera equipment while ensuring consistent image quality during long exposure astrophotography sessions.
Condensation Prevention Techniques for Cooled Setups
When cooling your camera for astrophotography, condensation becomes your primary adversary. To keep things dry, make certain your camera’s temperature remains above the dew point by implementing proper insulation around the body and lens.
You’ll need to monitor humidity levels regularly, as low humidity is essential during long exposure sessions.
Wrap your setup with thermal insulation materials like packing foam, which can reduce heat radiation and improve cooling efficiency by over 7°C.
When using a Peltier cooler to reduce sensor temperature, pair it with a closed-loop control system that constantly monitors conditions. These sensors will help maintain ideal operating temperatures without risking moisture buildup on your optics.
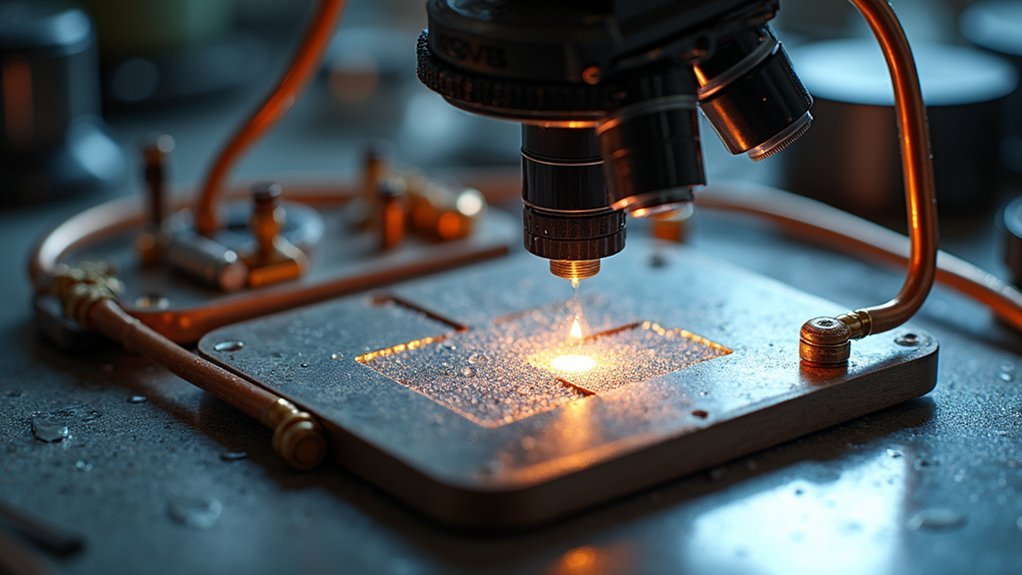
Performance Testing and Calibration Methods
With your cooling system in place, you’ll need to verify its effectiveness through systematic testing. Capture dark frames at various sensor temperatures to evaluate how cooling reduces hot pixels.
Performance testing should include temperature monitoring throughout your imaging sessions, as cameras typically heat up from 35°C to 38°C without active cooling.
For ideal calibration methods, maintain a maximum 5°C difference between your light and dark frames. Build a thorough dark frame library at different temperatures for better scaling during post-processing in software like PixInsight.
During testing, monitor cooling efficiency—a good setup should achieve about 5°C reduction in 9 minutes at low power.
Remember that extended operation can compromise cooling benefits. Data shows cameras’ self-heating negates cooling advantages after approximately 15 minutes, requiring adjustments to your cooling strategy.
Frequently Asked Questions
How to Avoid Camera Condensation?
To avoid camera condensation, use a lens hood, apply heated strips or hand warmers around your lens, keep silica gel packets in your camera bag, and gradually acclimate your equipment to outdoor temperatures.
How Do I Keep My Camera Warm?
To keep your camera warm, use insulated bags or coolers, add hand warmers around the body, employ heated lens hoods, allow gradual temperature acclimatization, and store batteries in your pocket between shots.
In Summary
You’ve now built a cost-effective cooling system that dramatically improves your microscope photography. By controlling your camera’s temperature, you’ll capture clearer images with less noise, especially during long exposure sessions. Remember to monitor for condensation and recalibrate occasionally as needed. This DIY approach not only enhances your results but also deepens your understanding of thermal management in precision imaging applications.


Leave a Reply