For crystal-clear stereo photography, position your main light at a 45-60° angle to create depth and dimension. Use a three-point lighting setup with key, fill, and back lights to minimize glare and enhance textures. For reflective specimens, try coaxial illumination along the camera axis, while translucent objects benefit from backlighting. Don’t forget oblique lighting at 15-45° angles to reveal surface details and create dramatic shadows. These techniques will transform your flat images into stunning three-dimensional captures.
Advanced Lighting Angles for Crystal-Clear Stereo Photography
When capturing stereo photography, your lighting choices dramatically influence the perceived depth and dimensionality of the final image. Side lighting angles are particularly effective, creating pronounced shadows that enhance separation between foreground and background elements.
Position your light sources at 45-60 degree angles to maximize this three-dimensional effect while experimenting with feathering techniques for softer shadow shifts. This approach creates the visual cues your brain interprets as depth.
Consider incorporating backlighting to create subtle halos around your subjects, further separating them from backgrounds.
For ideal results, implement layered lighting setups with distinct key, fill, and background light sources while carefully controlling intensity to minimize distracting glare and reflections.
These techniques work together to reinforce the stereo effect, resulting in images with remarkable depth perception.
Understanding the Fundamentals of Stereo Microscope Illumination
The principles that enhance depth in stereo photography also apply to stereo microscopy, though with specialized considerations for scientific observation.
You’ll need to position your light sources at angles between 30 and 45 degrees to minimize glare and enhance three-dimensional structures.
For ideal results, use incident lighting like LED ring lights or fiber optic illuminators to provide even coverage across your specimen.
When working with transparent or translucent samples, transmitted light becomes essential—you’ll need to adjust light intensity based on the thickness and opacity of your material.
Don’t overlook the benefits of polarizing filters for specimens with reflective surfaces.
Remember that strategic adjustment of your light source’s position considerably impacts the perceived texture and depth, critical for accurate microscopic assessment and documentation.
Ring Light Techniques for Even Sample Surface Coverage

Four essential factors make ring lights indispensable tools for stereo photography: their uniform illumination pattern, shadow reduction capabilities, adaptability to various subjects, and enhancement of three-dimensional details. When you position your ring light at eye level with the subject, you’ll achieve the most natural appearance in your stereo images.
| Ring Light Technique | Benefit |
|---|---|
| Positioning at eye level | Creates natural perspective |
| Adjusting intensity | Controls exposure for reflective surfaces |
| Using dimmable settings | Prevents overexposure of bright areas |
| Modifying color temperature | Guarantees accurate color representation |
| Maintaining circular alignment | Eliminates unwanted shadows |
You’ll find that the circular design of ring lights provides consistent light distribution, making them perfect for capturing reflective specimens without glare or hotspots. By mastering these ring light techniques, you’ll dramatically improve your stereo photography results.
Oblique Lighting Methods to Enhance Textural Details
When you’re shooting stereo photographs of textured surfaces, oblique lighting creates angled shadows that reveal intricate depth and dimensionality impossible to capture with direct illumination.
You’ll find that positioning your light source at a 15-45 degree angle to the subject produces the most dramatic relief effect, particularly when photographing specimens with subtle surface variations.
Cross-lighting techniques, where you position secondary light sources at opposing angles, can further enhance textural details by creating complementary shadow patterns that emphasize both macro and micro surface features.
Angled Shadows Reveal Depth
Dramatic transformation occurs when light strikes your subject at shallow angles. The resulting angled shadows reveal depth in ways direct lighting simply can’t achieve.
As shadows elongate across textural surfaces, they create a three-dimensional map that your stereo photography can leverage for striking dimensionality.
Your light source position is essential—experiment with side lighting to accentuate vertical textures or top-angled lighting to highlight horizontal patterns.
By adjusting the light’s angle, you’ll control shadow length and direction, emphasizing specific features that might otherwise remain flat and unnoticed.
This interplay between illumination and shadow doesn’t just enhance texture—it builds the visual depth necessary for compelling stereo imagery.
Try shifting your light source incrementally to discover how different angles transform the same subject into various dimensional interpretations.
Cross-Lighting Texture Techniques
The art of cross-lighting transforms flat subjects into three-dimensional wonders by positioning your light source at precise oblique angles to the subject.
You’ll achieve remarkable texture enhancement when you place hard lights at 45-degree angles, creating shadow play that reveals intricate surface details.
Try varying your light distance—moving closer produces sharper shadows that dramatically accentuate textures in fabrics, skin, or sculpted surfaces.
For more complex dimensionality, layer multiple light sources at different angles to create intersecting shadow patterns that add visual interest.
Don’t hesitate to experiment with angle adjustments; even slight changes can dramatically alter how textures appear in your stereo photography.
The interplay between highlights and shadows is your secret weapon for creating stereo images with palpable depth that viewers can almost feel.
Transmitted Light Strategies for Translucent Specimens
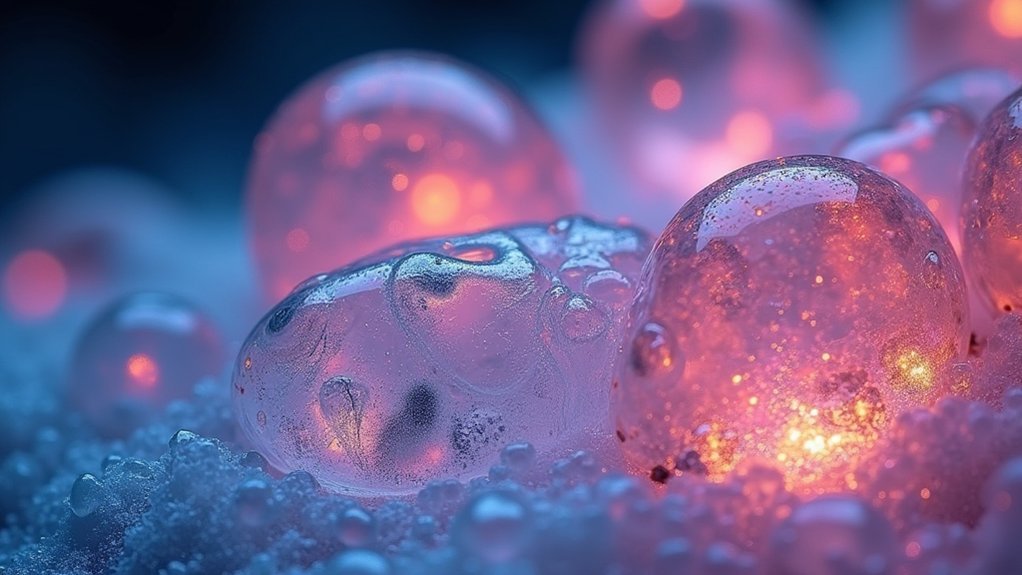
When photographing translucent specimens, you’ll find transmitted light creates dramatic internal detail by positioning your light source behind the subject.
You can control the effect by adjusting both intensity and angle of your backlight, while incorporating diffusion panels to soften harsh light and reduce hotspots.
For best results, experiment with polarizing filters to manage reflections and try varying the aperture to achieve ideal exposure of delicate internal structures.
Transmitted Light Strategies for Translucent Specimens
Mastering transmitted light techniques opens up remarkable possibilities for stereo photographers working with translucent specimens. By illuminating your subject from below, you’ll reveal internal structures that remain hidden with conventional lighting.
Light placement is critical for best results. Adjust your light source angle to highlight specific features—side lighting emphasizes texture while backlighting showcases outlines.
Don’t hesitate to experiment with intensity; lower brightness often prevents overexposure while accentuating subtle details.
For enhanced contrast, incorporate polarizing filters to eliminate unwanted glare. This combination delivers sharper images with improved definition.
Consider layering different wavelengths through colored filters to bring out specific aspects of your specimen. Each color can emphasize different elements, adding depth and dimension to your stereo photographs.
Backlighting Translucent Materials
Backlighting translucent materials creates dramatic visual depth that standard lighting setups simply can’t achieve. When you position your light source directly behind specimens like leaves or glass objects, you’ll allow light to pass through and illuminate intricate details, creating a mesmerizing glow that emphasizes layers and textures.
Experiment with light intensity to transform your subject’s appearance—softer light produces an ethereal, diffused effect, while harder light creates defined edges and stark contrasts. Add diffusers to reduce harsh shadows and create more appealing visual representations.
Don’t forget to adjust your backlighting angle to enhance three-dimensionality and reveal subtle details that would otherwise remain hidden. This technique highlights the unique properties of translucent materials, making them come alive in your stereo photography with remarkable clarity.
Diffusion Panel Techniques
Despite their simple appearance, diffusion panels represent one of the most powerful tools in your stereo photography arsenal when capturing translucent specimens.
When implementing diffusion panel techniques, position your panel at an angle to the light source to control spread and balance shadows across your subject.
You’ll achieve varying levels of softness by experimenting with different materials—frosted acrylic offers crisp diffusion while silk creates a gentler effect.
Fine-tune your setup by adjusting the distance between light source, panel, and specimen to enhance depth perception in your stereo images.
For ideal results, try working with dual diffusion panels. This layered approach minimizes glare while preserving intricate textures and details that make translucent subjects so fascinating.
The strategic placement of these panels transforms harsh lighting into even illumination that reveals your specimen’s hidden complexity.
Multi-Point Light Positioning for Shadow Elimination

When creating compelling stereo photography, effective shadow management becomes critical to preserving dimensional clarity. Your multi-point lighting setups should include at least three strategically positioned light sources to eliminate distracting shadows and guarantee balanced illumination.
| Light Type | Position | Purpose | Intensity | Modifier |
|---|---|---|---|---|
| Key Light | 45° front-side | Main illumination | 100% | Large softbox |
| Fill Light | Opposite key | Shadow reduction | 50-70% | Diffuser panel |
| Back Light | Behind subject | Edge definition | 30-40% | Grid or barn doors |
| Rim Light | High side angle | Separation | 25-35% | Snoot |
| Accent Light | Low angle | Texture highlight | 20-30% | Small softbox |
Test your arrangement thoroughly before shooting, adjusting each light’s position and intensity until shadows are minimized while maintaining the depth needed for compelling stereo images.
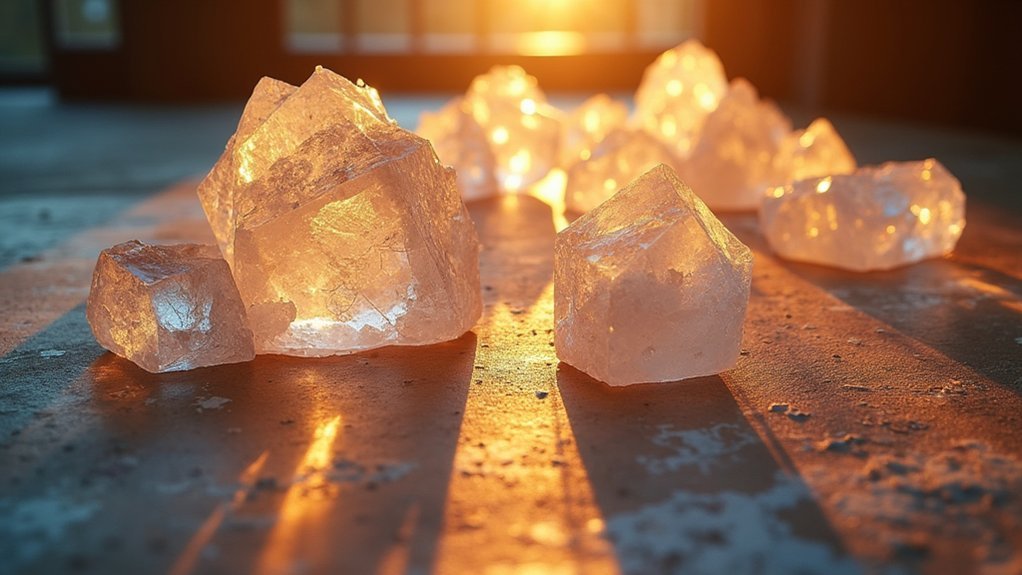
Coaxial Illumination for Highly Reflective Samples
While multi-point lighting works exceptionally well for most subjects, highly reflective objects present unique challenges that require specialized techniques.
Coaxial illumination solves this problem by directing light along the same axis as your camera lens, minimizing unwanted glare and reflections when photographing crystals or glass specimens.
Precisely aligned illumination reveals hidden details in reflective subjects while eliminating distracting glare.
This approach positions the light source directly in front of your subject, creating uniform illumination that reveals surface details without distracting shadows. You’ll notice greatly improved visibility of fine textures and nuances in reflective materials, enhancing your stereo photographs’ overall quality.
Be careful to control your light intensity when using coaxial illumination—overexposure can hide critical details.
Consider investing in specialized equipment like LED ring lights or fiber optic illuminators for consistent, controllable lighting that showcases every facet of your reflective samples.
Polarized Light Applications in Stereo Microscopy

Photographers seeking to reveal hidden details in their specimens should consider polarized light techniques as a vital tool in stereo microscopy. When you implement crossed polarizers, you’ll instantly highlight birefringent materials, exposing internal strain and composition details that remain invisible under standard lighting.
These polarized light applications dramatically enhance contrast while reducing unwanted glare, giving you clearer views of surface textures and intricate structures. You’ll notice improved depth perception and 3D representation, making complex samples easier to interpret.
Fiber Optic Lighting for Precision Angle Control
The revolutionary capabilities of fiber optic lighting systems have transformed stereo photography through unparalleled precision in light angle control.
You’ll gain complete command over illumination direction, highlighting exactly where needed to enhance clarity and detail in your stereo images.
The slim, flexible cables allow you to create complex lighting setups from multiple angles without bulky equipment interfering with your composition.
Since fiber optics generate minimal heat, you can maintain consistent lighting conditions during extended sessions with even the most delicate subjects.
Digital Enhancement of Different Lighting Angles
You’ll achieve remarkable depth in your stereo photographs by implementing pre-render shadow mapping, which digitally emphasizes the three-dimensional qualities created by your lighting setup.
Depth-contour light processing lets you enhance the subtle gradations between highlights and shadows that naturally occur at different lighting angles.
These digital techniques work with your original lighting choices to create more pronounced dimensional effects, making your stereo images pop with lifelike dimensionality that wasn’t possible in pre-digital photography.
Pre-render Shadow Mapping
Digital artists working in stereo photography can revolutionize their lighting effects through pre-render shadow mapping. This technique calculates light-surface interactions before final rendering, creating realistic shadows that enhance depth and dimension in your stereo images.
You’ll save significant rendering time while maintaining high-quality shadow details since the complex light calculations are completed in advance. By generating shadow maps from multiple light sources, you can create sophisticated lighting scenarios that dynamically adapt to scene or camera position changes.
When developing immersive stereo photography, accurate shadow mapping guarantees shadows properly align with 3D geometry, creating a cohesive visual experience. Your viewers will perceive greater depth as shadows respond naturally to different lighting angles, making the stereo effect more pronounced and realistic.
Depth-contour Light Processing
While traditional lighting methods capture basic stereo effects, depth-contour light processing transforms ordinary images into richly detailed three-dimensional representations.
You’ll achieve superior results by strategically positioning multiple light sources at varying angles to highlight textures and contours that might otherwise remain flat.
Side lighting creates dimension while top lighting accentuates features—combine these approaches to craft dynamic stereo images that pop with depth.
Try feathering and layered lighting techniques for smoother shifts between light and shadow, defining your subject’s contours with precision.
Don’t overlook digital enhancement tools as the final step in your depth-contour light processing workflow.
These allow you to fine-tune contrast and brightness based on your lighting angles, further refining the three-dimensional effect and creating visually striking stereo photographs.
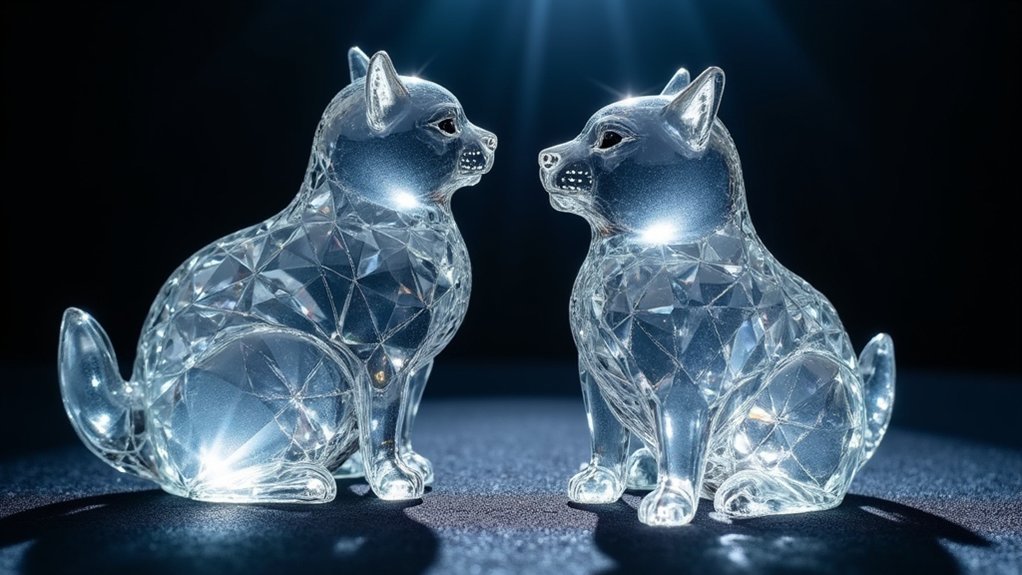
Specialized Techniques for Metallic and Crystalline Specimens
Metallic and crystalline specimens present unique challenges in stereo photography due to their reflective surfaces and complex geometric structures.
You’ll need different lighting approaches to capture their true essence.
Try polarized lighting to minimize glare and unwanted reflections, revealing surface details that would otherwise be obscured.
Polarized light cuts through visual noise, unveiling hidden textures and subtle contours beneath reflective surfaces.
Position multiple light sources at varying angles to create dimensional layering that enhances depth perception in your stereo images.
For crystalline structures, angled lighting creates dramatic highlights and shadows that emphasize facets and geometry.
Don’t overlook backlighting for translucent specimens—it illuminates internal features and produces vibrant colors against contrasting backgrounds.
Combine these techniques with focus stacking to achieve maximum sharpness across all facets, ensuring your stereo views display every intricate detail with remarkable clarity.
Frequently Asked Questions
What Is the 3 Lighting Rule?
The 3 lighting rule uses three light sources: your key light (main illumination), fill light (softens shadows), and backlight (creates separation). You’ll position each at different angles to add depth and dimension to your subject.
What Is the Best Lighting Angle for Photography?
The best lighting angle depends on your subject. You’ll get excellent results with 45-degree side lighting for texture, front lighting for flattering portraits, or backlighting for dramatic silhouettes. Always experiment to match your vision.
What Is the 45 Degree Angle for Lighting?
The 45-degree angle places light above and to the side of your subject, creating natural shadows that enhance dimension. You’ll get flattering illumination that reveals texture while maintaining depth in your photographs.
What Are the Best Lighting Angles for Product Photography?
For product photography, you’ll want side lighting at 45 degrees as your main light to enhance texture and details. Add a fill light at lower intensity to soften shadows and consider top lighting for glossy items.
In Summary
You’ve now mastered advanced lighting techniques that will transform your stereo photography. By applying these specialized angles, you’ll capture stunning detail in every specimen. Remember, there’s no single perfect setup—experiment with ring lights, oblique angles, and polarized illumination to find what works best for your subject. With practice, you’ll develop an intuitive sense for which lighting approach will reveal your specimen’s true characteristics.


Leave a Reply