
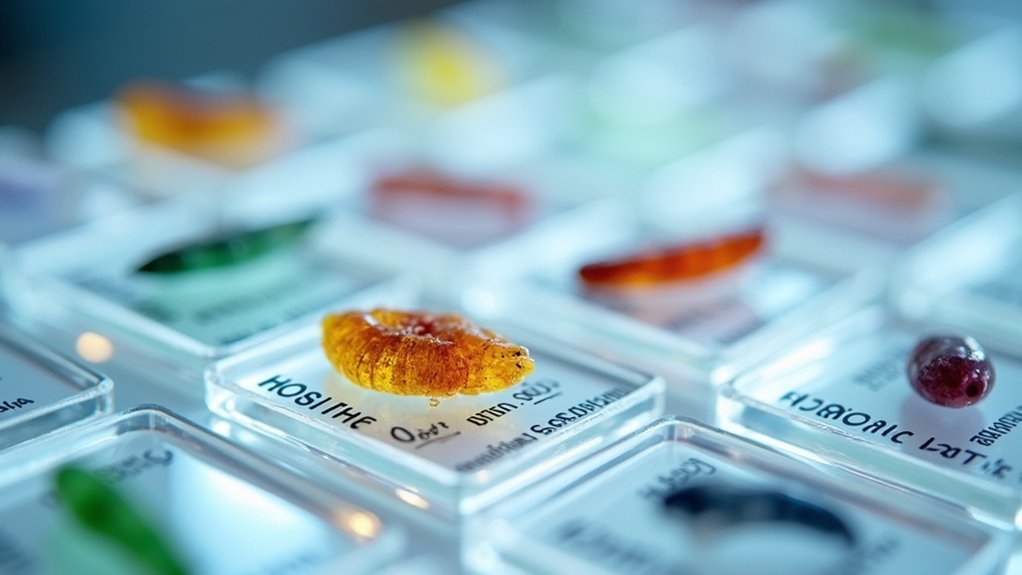
Properly label your photomicrograph specimens with at least two patient identifiers, collection date/time, and specimen type. Use synthetic or vinyl labels with waterproof ink to prevent detachment. Position labels in corners to avoid obscuring important features, and consider color-coding for efficient organization. Include scale bars for size reference and calibrate your imaging system for accurate measurements. Digital labeling with metadata guarantees complete documentation. The following guide covers techniques to transform your microscopy workflow from chaotic to methodical.
Numeric List of Second-Level Headings

While organizing content for clear photomicrographs, you’ll need a structured approach to your headings. When documenting multiple samples, consider these essential numbered sections:
- Patient Identifier Requirements (minimum of two patient-specific identifiers)
- Collection Details Documentation (collector’s name, date, and time)
- Special Specimen Considerations (blood typing, tissue biopsies)
- Sterile Area Sample Protocols
- Fetal Sample Labeling Guidelines (“FETAL” designation with mother’s information)
- Microscope Slide Preparation Techniques
- Quality Assurance Checkpoints
Proper labeling directly impacts the quality of your photomicrographs. Remember, you’re responsible for labeling specimens you collect.
When preparing a microscope slide, verify all identifiers are clearly visible but won’t interfere with imaging. Unlabeled specimens cause delays, as they won’t be processed until identification issues are resolved.
Fundamentals of Specimen Identification for Photomicrography
Because accurate specimen identification forms the foundation of reliable photomicrography, you must adhere to strict labeling protocols for every sample. Always include at least two patient-specific identifiers, such as name and unit number, to prevent potentially disastrous mix-ups during imaging.
Proper specimen identification is non-negotiable—always use dual patient identifiers to prevent catastrophic errors during photomicrographic analysis.
Your labels should display the date and time of collection—particularly critical for tissue biopsies and blood products.
Whenever possible, use printed labels from the Collection Manager/SunQuest system, though APeX labels provide an acceptable alternative.
Don’t use gummed paper labels as they frequently detach, resulting in unidentified specimens and compromised image quality.
During computer downtime, you can use alternative adhesive labels, but make certain they contain all necessary patient information for proper specimen tracking throughout the photomicrography process.
Critical Information to Include on Microscopy Labels
When labeling your microscopy specimens, you’ll want to clearly identify the specimen type to prevent confusion between similar-looking samples.
You should always document the magnification scale on your labels, which guarantees accurate interpretation of cellular features and structures visible in photomicrographs.
These critical pieces of information complement other essential label elements such as date, sample ID, temperature requirements, scientist identification, and safety notations.
Specimen Type Identification
Successful photomicrography depends on meticulous specimen labeling that includes vital identifiers. When preparing microscope slides, you’ll need to clearly indicate the specimen type identification on each label. Include the collector’s name, date, and time to guarantee accurate tracking throughout the photomicrography process.
For specialized specimens, additional information is essential. Mark fetal samples with the mother’s name, unit number, and a clear “FETAL” designation. Donor samples require both donor and recipient names with corresponding unit numbers to prevent dangerous mix-ups.
If you’re working with samples collected from multiple sites or at different intervals, assign unique identification numbers or letters to each.
Magnification Scale Documentation
Precise magnification scale documentation forms the backbone of interpretable photomicrographs.
When labeling your specimens, always record the magnification level used during imaging to provide essential context for size interpretation. This information permits other researchers to properly assess the dimensions of structures observed in your images.
Include a scale bar in all photomicrographs to visually represent size relationships—this visual reference is critical for scientific communication and accuracy.
You’ll also need to specify the field of view diameter in microns at your chosen magnification, giving viewers a complete understanding of spatial dimensions.
Don’t forget to document the microscopy type (brightfield, fluorescence, etc.) and include calibration references.
These details guarantee your images maintain scientific integrity and allow for precise size estimations by anyone reviewing your work.
Labeling Materials and Tools for Long-Lasting Documentation
When labeling specimens for photomicrography, you’ll need to select durable materials that won’t deteriorate during storage or imaging processes.
Collection Manager/SunQuest labels offer superior adhesion and durability compared to gummed paper labels, which may detach and cause critical identification errors.
For permanent documentation, combine proper labeling tools with archival marking techniques to guarantee your specimens remain clearly identified throughout extensive handling and varied storage conditions.
Durable Label Components
Securing the future accessibility of your specimens requires thoughtful selection of durable labeling materials. When preparing specimen identification for photomicrographs, choose synthetic or vinyl labels that resist fading, water damage, and chemical exposure.
Avoid gummed paper labels as they’re prone to detachment, which can compromise your entire research process.
For ideal durability and clarity, consider:
- Using a laboratory-grade label printer for consistent, high-resolution text
- Selecting adhesives specifically formulated for laboratory environments
- Including essential information: specimen ID number, collector name, and collection date/time
- Applying clear protective coatings for labels that will undergo frequent handling
A dedicated label printer designed for lab environments guarantees your durable labels maintain integrity throughout processing, storage, and documentation phases, making them clearly visible in any photomicrographs you produce.
Archival Marking Techniques
Preserving specimen information for decades requires specialized archival marking techniques that go beyond standard labeling. You’ll need high-quality, acid-free labels to prevent degradation and guarantee your archival documentation remains legible over time.
Apply permanent waterproof ink or thermal transfer printing to your labels, preventing smudging that could compromise critical specimen type information. Consider using label protectors or lamination to shield against moisture and UV light damage.
Implement a thorough labeling system that includes essential details—specimen type, collection date, collector’s name, and unique identifiers—to maintain organization and clarity.
Regular auditing of your archived labels ensures they remain intact and accurately reflect stored specimens, facilitating easier retrieval. This systematic approach to specimen labeling creates a reliable foundation for producing clear, well-documented photomicrographs.
Positioning Labels Without Compromising Image Quality

The strategic placement of labels represents a vital balance between information and visual clarity in microscopic documentation. When labeling your photomicrograph, always position identifiers away from the specimen’s key features to prevent obscuring essential details.
Opt for transparent labels that minimize visual interference while maintaining necessary identification.
For ideal labeling results:
- Position labels in corners or margins of the image where specimen details are minimal
- Use transparent background options when adding text to preserve underlying image clarity
- Apply digital labels during post-processing to maintain the original photomicrograph quality
- Choose small, legible fonts that provide information without dominating the visual field
Consider shadows and reflections when placing physical labels, as these can distort specimen features and reduce overall image quality.
Color-Coding Systems for Efficient Specimen Organization
While traditional labeling methods rely heavily on text, a well-designed color-coding system can dramatically enhance specimen organization and identification efficiency. By assigning specific colors to different specimen types—red for blood samples, blue for tissue biopsies, and green for fluids—you’ll create instant visual recognition that reduces handling errors.
Implement this system alongside your standard text labels to provide multiple identification layers. When you’re processing numerous specimens, color-coding eliminates confusion and streamlines workflow, as you’ll immediately recognize what you’re working with before reading detailed information.
This approach particularly benefits photomicrography preparation, where quick specimen identification prevents mix-ups before imaging. Your team will also communicate more effectively when everyone understands that red containers always indicate blood samples, creating a universal visual language in your laboratory.
Digital Labeling Techniques for Photomicrograph Archives

You’ll find standardized annotation systems essential for maintaining consistency across your photomicrograph collections, allowing quick identification of specimen details and experimental conditions.
Implementing metadata embedding protocols guarantees critical information like magnification, staining method, and capture date remains permanently attached to each digital image file.
These embedded data fields support advanced searchability and proper citation when you’re sharing or publishing your microscopy work.
Standardized Annotation Systems
Establishing consistent digital labeling protocols across photomicrograph collections guarantees scientific integrity while simplifying future reference and analysis.
When you implement standardized annotation systems for your digital labeling workflow, you’ll guarantee that colleagues can accurately interpret your findings without confusion or misinterpretation.
For ideal specimen documentation, follow these key practices:
- Include specimen type, magnification, and staining method in every label
- Use software like ImageJ or Photoshop to add text labels and scale bars
- Apply color-coding to differentiate between experimental conditions
- Maintain uniform formatting across your entire archive
Metadata Embedding Protocols
Beyond visible annotations, the invisible information attached to your photomicrographs can be equally valuable for scientific documentation.
Embedding metadata directly into your image files creates a permanent link between your specimen ID and critical contextual information that remains with the file wherever it travels.
Use software like ImageJ or Photoshop to incorporate essential details including specimen type, preparation techniques, staining methods, and imaging conditions. This practice promotes reproducibility while maintaining regulatory compliance in your research.
When embedding metadata, include collection dates and researcher identifiers to enhance traceability.
Developing consistent metadata embedding protocols for your lab guarantees all photomicrographs are uniformly labeled, preventing identification errors and facilitating seamless collaboration.
Regularly review and update these protocols to maintain the highest standards of scientific documentation and accountability.
Preventing Common Labeling Errors in Microscopy Workflows
While microscopy workflows depend on precision at every stage, labeling errors remain among the most preventable yet persistent problems in laboratory settings.
In Laboratory Medicine, correctly identifying blood cell samples is critical—regardless of the size of the specimens. You’ll need at least two patient identifiers on all primary containers before processing begins.
To maintain specimen integrity:
- Confirm labels include collector’s name, date, time, and unique ID numbers for interval samples
- Never use gummed paper labels as they may detach during handling
- Remember that unlabeled specimens won’t be processed until deficiencies are corrected
- Document any identification issues properly, noting that exceptions for irretrievable mislabeled samples require approval from the Laboratory Medicine resident or Medical Director
Standards and Protocols for Specimen Labeling in Research

Research specimens require even more rigorous labeling standards than routine clinical samples because they often undergo multiple analyses across extended timeframes. When preparing slides for light microscopy or red blood cell analysis, you’ll need to follow standardized protocols to guarantee specimen integrity.
| Required Element | Research Protocol |
|---|---|
| Patient Identifiers | Minimum of two unique identifiers |
| Collection Details | Your name, date, and precise time |
| Label Type | Collection Manager/SunQuest labels preferred |
| Documentation | Physician verification if identity uncertain |
| Special Considerations | Tissue biopsies and blood typing require extra verification |
Never use gummed paper labels as they can detach during processing. If you’re uncertain about a specimen’s identity, don’t proceed until verification is complete. Remember that mislabeled specimens compromise research validity and may require recollection.
Scale Indicators and Measurement References in Specimen Labels
Accurate scale indicators serve as critical reference points in specimen labels for photomicrographs, enabling viewers to interpret size relationships correctly.
Scale indicators anchor scientific interpretation, transforming microscopic images into meaningful data for accurate size assessment.
When you’re documenting microscopic specimens, proper calibration guarantees your measurements remain reliable and reproducible.
To implement effective scale indicators:
- Use a precision microscope slide with 1 mm scale (0.010 mm divisions) to calibrate your imaging system.
- Calculate scale bars based on subject length in pixels and desired length in microns.
- Include complete specimen identifiers with date and sample ID alongside measurements.
- Verify your field of view (FOV) calibration for size estimates within ±10% accuracy.
These practices guarantee scientific accuracy and help other researchers properly contextualize your findings, making your photomicrographs valuable contributions to scientific communication.
Frequently Asked Questions
What Are the Labeling Requirements for Microbiology Specimens?
You must include the collector’s name, date, and time of collection on microbiology specimens. This essential information guarantees proper identification and tracking throughout the testing process for accurate results.
What Should All Specimens Be Labeled With?
You must label all specimens with the collector’s name, date, and time of collection. Additionally, include at least two patient-specific identifiers for blood typing, crossmatching, and tissue biopsy specimens requiring associated orders.
What Should Specimen Be Labeling With?
You should label your specimens with Collection Manager/SunQuest labels that include all patient information. If unavailable, APeX labels are acceptable alternatives. Don’t use gummed paper labels as they may detach during processing.
What Information Is Required When Labelling a Specimen?
You’ll need to include your name as collector, date, time, and patient information. For fetal samples, add mother’s details and “FETAL” designation. For donor samples, include both donor and recipient information.
In Summary
You’ve now mastered the essentials of specimen labeling for clear photomicrographs. By applying these techniques, you’ll produce properly documented images that maintain scientific integrity while enhancing visual clarity. Remember that consistent, accurate labeling isn’t just good practice—it’s vital for reproducibility and credibility in your work. Whether you’re using physical or digital methods, you’re now equipped to create professional, publication-ready microscopy images.


Leave a Reply