For stunning dark field protozoan photography, perfectly align your condenser with an NA exceeding your objective lens. Underexpose by 1-2 stops at ISO 800-1600 to enhance contrast. Apply 1-2% methyl cellulose to slow specimen movement. Eliminate vibration with secure camera adapters. Choose transparent organisms like Paramecium for dramatic contrast. Use focus stacking to capture complete structural detail. Edit selectively to highlight organism edges while preserving natural illumination. These techniques will transform ordinary microscope views into enchanting scientific art.
Perfect Your Dark Field Condenser Setup
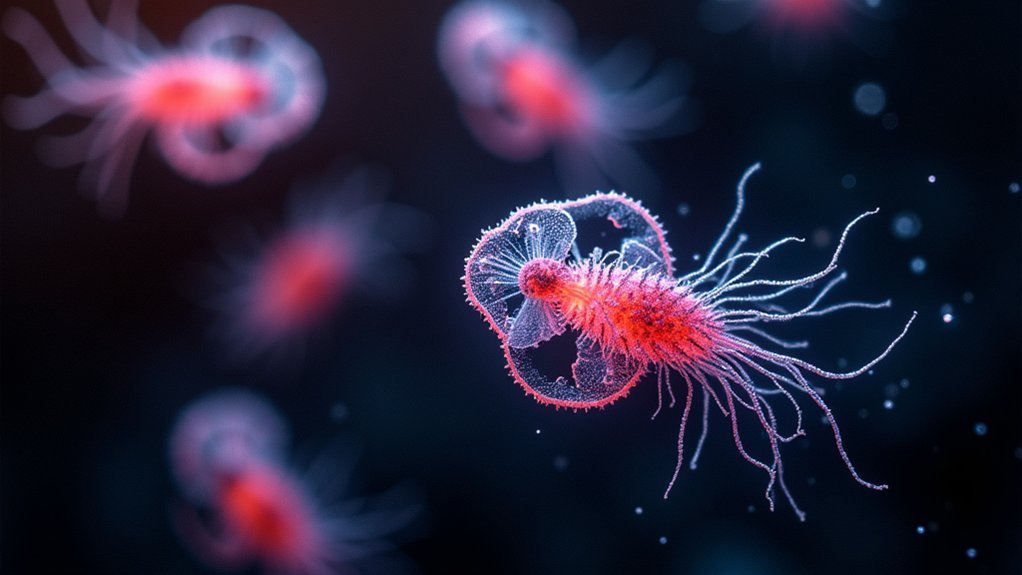
Why do some microscope images leave you breathless while others fall flat? In darkfield microscopy, the answer often lies in your condenser setup.
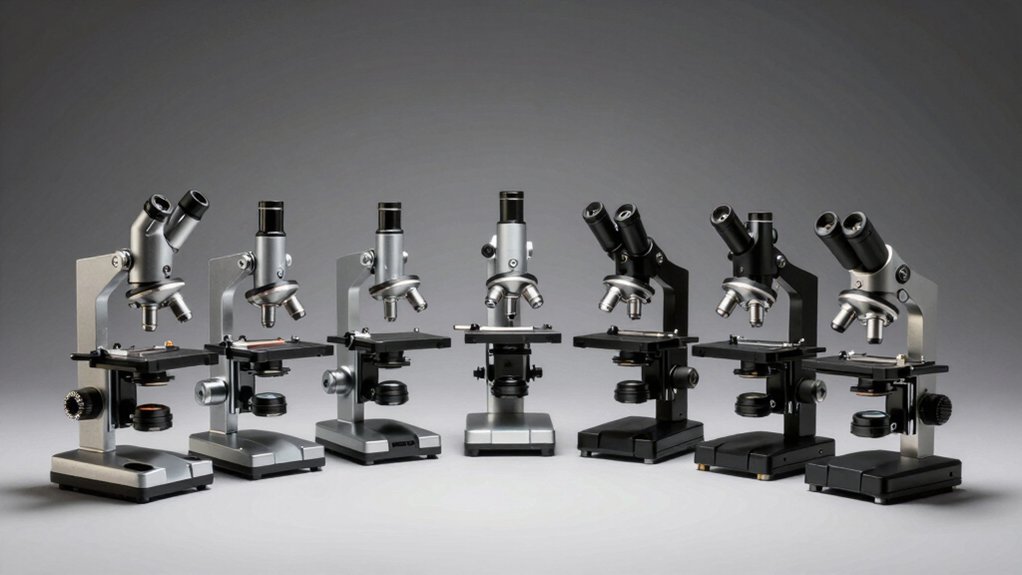
Start by ensuring your Abbe condenser has a numerical aperture exceeding that of your objective lens. This critical relationship optimizes light projection for stunning contrast. Properly align the condenser to create the perfect oblique hollow cone of light—this alignment isn’t optional, it’s essential for brilliant specimens against inky backgrounds.
The marriage of condenser and objective—when numerical apertures align perfectly, darkness yields to revelatory brilliance.
Select appropriate central opaque stops based on your magnification (16-18mm for 10x, 20-24mm for 20x/40x) to block direct light and eliminate glare.
Maintain clean slides at the standard 1mm thickness, as any debris will shine brightly and ruin your images.
Regular cleaning and calibration of your condenser prevents dust from scattering light and compromising your protozoan portraits.
Master Exposure Settings for Translucent Organisms
You’ll need to carefully balance your ISO (800-1600) with a wider aperture (f/2.8-f/4) to capture those elusive details in translucent protozoans while maintaining image quality.
Try slightly underexposing your shots to enhance contrast and reveal intricate structures that might otherwise appear washed out in darkfield microscopy.
When using flash, control its duration to freeze motion at speeds between 1/200-1/500 seconds, allowing you to document the fascinating movements of these microscopic organisms with remarkable clarity.
Balancing ISO and Aperture
While capturing the ethereal glow of protozoans in dark field microscopy, mastering exposure settings becomes your most critical skill.
The delicate balance between ISO and aperture determines whether your images reveal or obscure these translucent microorganisms.
Set your ISO between 800-1600 to increase light sensitivity without introducing excessive noise. Higher settings might capture more detail, but they’ll compromise image clarity with distracting grain.
Pair this with a wider aperture (f/2.8 to f/5.6) to allow sufficient light for revealing intricate structures against the dark background.
Remember that different protozoan species reflect light uniquely based on their transparency and size. You’ll need to adjust these settings for each specimen, constantly monitoring results and making subtle changes to achieve that perfect contrast where the organism appears to glow against pure darkness.
Underexpose for Detail
Despite their seemingly invisible nature, translucent protozoans reveal remarkable complexity when photographed with intentional underexposure. Underexpose your images by one to two stops to transform nearly invisible organisms into detailed specimens against the dark field. This technique is widely used when capturing different types of protozoans that vary in size and behavior.
| Setting | Recommendation | Purpose |
|---|---|---|
| Shutter | ≥ 1/200 sec | Freeze protozoans moving around in pond water |
| ISO | 400-800 | Maintain detail while compensating for underexposure |
| Exposure | Manual (-1 to -2 stops) | Prevent washing out translucent features |
For best results, adjust your iris diaphragm carefully. One part methyl cellulose added to your microscope slide will slow down specimens like Paramecium (one of the largest protozoans) that eat bacteria, giving you a wider field of view of their white blood cell-like structures than Phase contrast alone.
Flash Duration Control
Flash duration control adds another dimension to your dark field photography arsenal. When shooting protozoans, set your flash to 1/1000th of a second or faster to freeze their rapid movements. This technique captures sharp, detailed images without the blur that typically accompanies these swift organisms.
You’ll want to balance your exposure settings by reducing ISO and adjusting aperture to complement your flash duration. This creates ideal lighting without overexposing the protozoan’s delicate, translucent features.
Experiment with flash power to find the sweet spot—enough illumination to highlight intricate structures without washing out subtle textures.
Using diffused flash softens the light, minimizing harsh shadows while maintaining clarity. This approach reveals the organism’s transparency and structural details in stunning clarity against the dark field background.
Slow Movement With Methyl Cellulose for Sharper Images
You’ll find that proper methyl cellulose concentration (1-2%) makes all the difference between slightly slowed and completely immobilized protozoans under your dark field microscope.
Apply the solution just before observation, mixing it gently with your specimen to maintain natural behavior while preventing rapid movement out of your field of view.
The temperature of your methyl cellulose solution also impacts effectiveness, with slightly cooled preparations often providing better visibility of cellular structures without stressing the organisms.
Proper Concentration Matters
When capturing protozoans under dark field microscopy, their rapid movement can transform potentially stunning images into frustrating blurs. Methyl cellulose offers an effective solution to this challenge, but getting the concentration right is essential.
A 1-2% methyl cellulose solution provides the ideal balance between slowing movement and maintaining organism viability. Too dilute, and your Paramecium will still dart across the field too quickly for sharp imaging; too concentrated, and you risk compromising their natural behavior or even their survival.
For best results, combine this technique with sample concentration through centrifugation. This approach increases organism density in your viewing field while the methyl cellulose creates the perfect viscosity to stabilize movement.
You’ll achieve the contrast and detail that make dark field microscopy so spectacular.
Application Timing Techniques
Beyond proper concentration, the timing of methyl cellulose application markedly impacts your imaging success. Introduce the methyl cellulose solution to your sample about 3-5 minutes before beginning your observations. This allows sufficient time for the solution to work through the sample and begin slowing protozoan movement.
For particularly active specimens like Paramecium, you’ll want to wait slightly longer—up to 7 minutes—before attempting high-magnification imaging. You’ll know the timing is right when organisms remain in your field of view for several seconds without darting away.
If you’re photographing specific structures like cilia or feeding vacuoles, apply the solution just before the shooting session. This guarantees protozoans are still active enough to display natural behaviors while moving slowly enough for sharp, detailed captures.
Temperature Effects Visibility
While methyl cellulose effectively slows protozoan movement, temperature manipulation provides an additional control layer for darkfield imaging success. You’ll find that combining both approaches yields remarkably detailed observations.
| Temperature | Effect on Protozoans |
|---|---|
| 25°C (Room) | Normal activity, moderate movement |
| 20°C | Slightly reduced activity, better focus |
| 15°C | Notably slower movement, improved detail visibility |
| 10°C | Minimal movement, excellent for structural examination |
| 5°C | Near dormant state, best for fine detail observation |
For ideal results, prepare your methyl cellulose solution (0.5-1.0%) ahead of time and cool your sample gradually. This dual approach allows you to capture crisp images of delicate structures like cilia and feeding mechanisms that would otherwise blur at room temperature. You’ll preserve natural morphology while gaining unprecedented clarity in your darkfield microscopy.
Optimize Camera Adapters to Eliminate Vibration
Anyone who’s attempted to photograph protozoans knows that camera vibration can ruin an otherwise perfect shot. Investing in high-quality microscope camera adapters ($20-$100) is essential for creating a stable connection between your equipment components.
Position your microscope on a level surface and place rubber mats underneath to absorb vibrations. For maximum stability, use a dedicated tripod designed for macro photography, especially when working at high magnifications.
Stability is non-negotiable for microscopy. Level surfaces, rubber mats, and dedicated tripods ensure vibration-free imaging at high magnifications.
You’ll get sharper images by avoiding direct contact with your camera during exposure. Use a remote shutter release or set your camera’s timer function to prevent shake when capturing images.
Consider implementing additional vibration isolation techniques by placing your setup on a sturdy, non-slip surface or using a specialized microscope stand to minimize environmental disturbances.
Select Ideal Specimens for Maximum Visual Impact
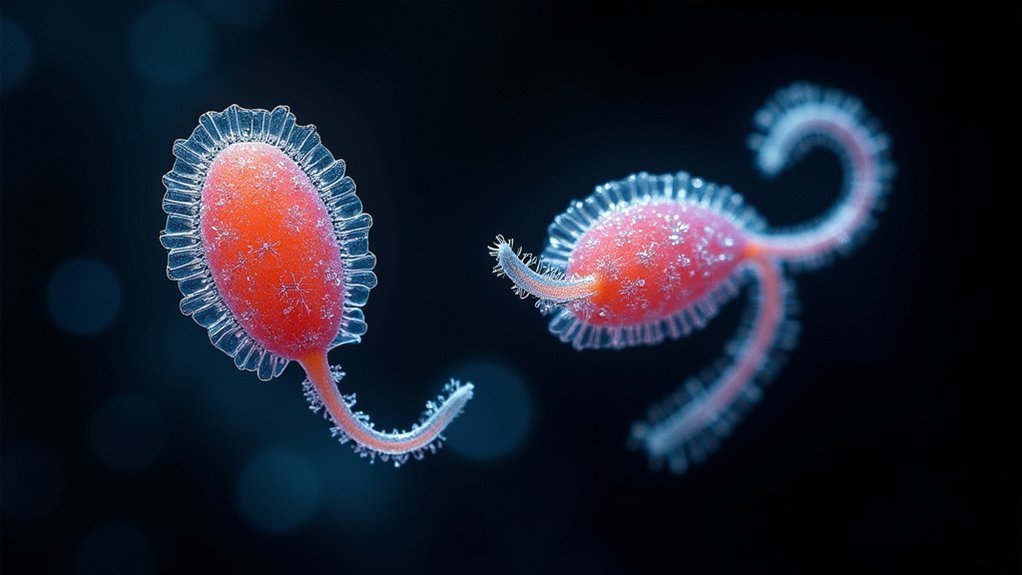
The success of darkfield photography hinges on choosing the right protozoans to capture.
You’ll get spectacular results with small, transparent organisms like Paramecium caudatum or Vorticella, which create striking contrast against the dark background due to their refractive properties.
For dynamic compositions, seek out rapidly moving specimens such as Euglena gracilis, whose movements create mesmerizing visual effects.
Rotifers are excellent subjects too—their ciliated corona and muscular pharynx become dramatically visible under darkfield illumination.
Collect your samples from nutrient-rich environments where diverse protozoans thrive.
Always use freshly collected specimens for your imaging sessions, as they display more vibrant outlines and clearer details than older samples.
Fresh specimens move more actively, creating those eye-catching light scattering effects that make darkfield microscopy so enchanting.
Apply Focus Stacking for Complete Organism Detail
Once you’ve selected the perfect protozoans, capturing their full structural complexity becomes your next challenge. Focus stacking overcomes depth of field limitations by combining multiple images taken at different focal planes.
| Setup Stage | Process Step | Quality Tips |
|---|---|---|
| Stabilize microscope | Capture 10-20μm increments | Use low ISO settings |
| Set up motorized stage | Align images in software | Guarantee adequate lighting |
| Use shallow initial DoF | Blend focal layers | Minimize vibrations |
For best results with specimens like Paramecium and Stentor, guarantee your microscope remains completely stable during image capture. Software like Adobe Photoshop or specialized stacking programs will blend your images, preserving the sharpest details from each layer. You’ll achieve stunning dark field images that reveal complete organism detail that wasn’t possible with single exposures.
Edit Selectively to Enhance Structural Contrast
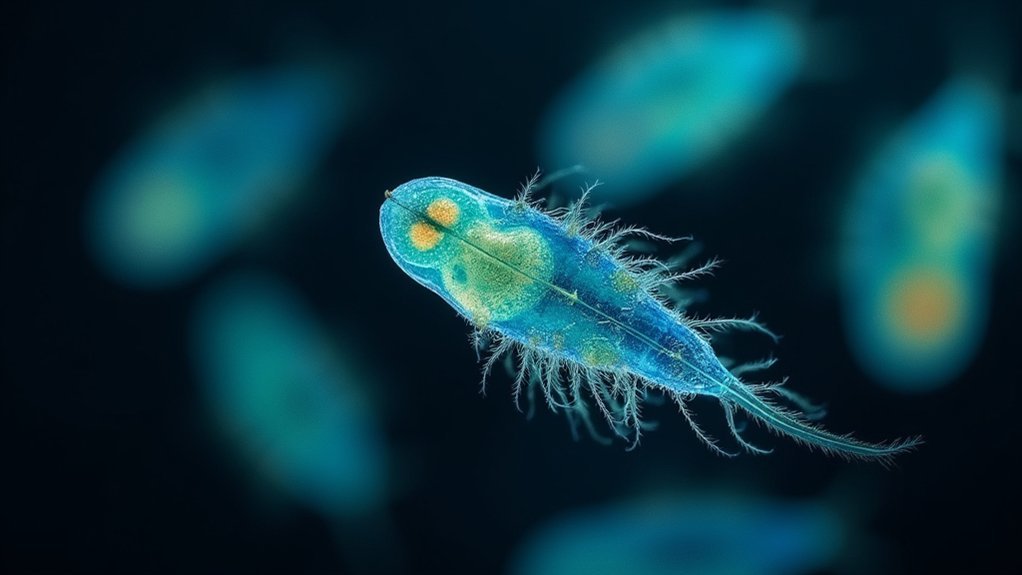
After capturing stunning stacked images of your protozoans, selective editing transforms good photographs into extraordinary ones.
In Photoshop, adjust levels and curves to emphasize the brightness of organisms against the dark background, creating dramatic contrast.
Use dodge and burn tools to selectively lighten cilia or darken vacuoles, highlighting intricate structural details.
Apply noise reduction techniques to eliminate graininess while preserving fine features of your specimens.
Sharpening filters can enhance the protozoan’s edges, making their outlines more pronounced and creating clearer visual impact in your dark field images.
Don’t hesitate to experiment with color adjustments—subtle changes in hue often reveal previously unnoticed aspects of morphology.
These targeted edits will showcase the remarkable complexity of microscopic life while maintaining scientific accuracy.
Frequently Asked Questions
What Magnification to See Protozoa?
To see protozoa, you’ll need at least 100X magnification, but 400X to 1000X is ideal for detailed viewing. A 100X oil immersion objective provides the best clarity for smaller species like Paramecium.
What Is the Best Stain for Protozoa?
For protozoa, you’ll find methylene blue and Giemsa stain are your best options. They’ll enhance cell visibility and differentiate cellular components. Iodine works well for species with starch granules, while acridine orange highlights nucleic acids.
How Do You Observe Protozoa in Pond Water?
To observe pond water protozoa, you’ll need to collect diverse samples, keep them cool, and use a compound microscope at 400x magnification. Apply methyl cellulose to slow their movement for easier viewing.
How Can Protozoa Be Observed?
You can observe protozoa by collecting pond water samples in a bottle, examining them quickly under a microscope with 400x magnification, adding methyl cellulose to slow their movement, and using darkfield microscopy for better visibility.
In Summary
You’ve now got seven powerful techniques to transform your protozoan imaging. By perfecting your dark field setup and mastering exposure, you’ll capture these microscopic wonders in stunning detail. Don’t forget that proper specimen selection and movement control are just as essential as your post-processing skills. With practice, you’ll soon create breathtaking images that reveal the hidden beauty of the microbial world right from your microscope.

Leave a Reply