For ideal phase contrast microscopy, maintain sample thickness between 5-10 micrometers and use mounting media with similar refractive index to your specimen. Keep cell density at 50-70% confluence, avoid air bubbles by applying coverslips at a 45-degree angle, and maintain stable temperature (20-25°C). Select high-quality coverslips (0.12-0.17mm thick), guarantee even placement, and work in a dust-free environment. These preparations will dramatically enhance your imaging results and reveal cellular details you’ve been missing.
7 Best Phase Contrast Sample Preparation Tips Today
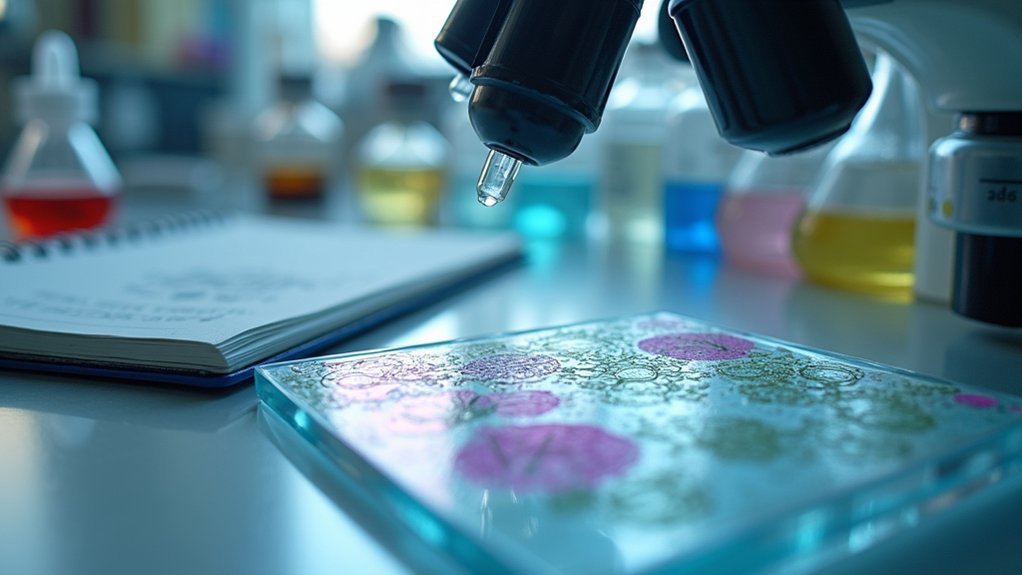
When preparing samples for phase contrast microscopy, you’ll achieve the best results by focusing on proper thickness and alignment. Keep your specimens under 10 micrometers thick to minimize distortion and allow ideal light passing through the thin tissue.
Always guarantee your phase annulus in the condenser properly aligns with the objective’s phase ring. This alignment is vital for generating the contrast that makes cellular structures visible without staining.
Perfect phase microscopy requires precise alignment between condenser annulus and objective ring, revealing cellular structures naturally without stains.
Set up Köhler illumination for even lighting across your specimen, greatly improving image quality. Don’t forget to check your condenser and phase component alignment regularly during extended observation sessions.
For living cells, use appropriate culture dishes that facilitate easy manipulation while maintaining cell viability. This approach lets you observe dynamic cellular processes in real-time without introducing artificial stains.
Optimal Sample Thickness for Maximum Phase Contrast
Three essential factors determine the ideal sample thickness for phase contrast imaging.
First, you’ll want to maintain specimen thickness between 5-10 micrometers—this range provides optimal light diffraction without distortion, vital for phase contrast microscopy success.
Second, thinner is generally better; exceeding 10 micrometers reduces both contrast and resolution due to phase annuli limitations.
Finally, uniform thickness throughout your specimen is important—inconsistencies create uneven light diffraction and unwanted artifacts.
When working with living cells, balance thickness requirements with cell viability considerations by using standard culture dishes or coverslips.
Remember that phase contrast microscopy works best with transparent specimens.
Overly thick or opaque materials prevent proper light diffraction, greatly diminishing the phase contrast effect that reveals structural details in otherwise difficult-to-see samples.
Selecting the Right Mounting Medium for Enhanced Visibility
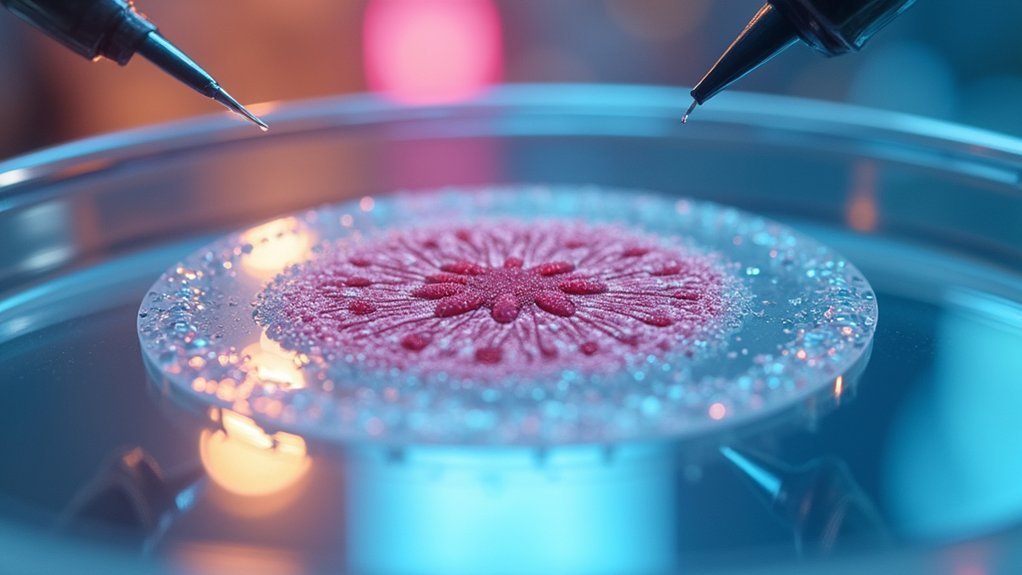
With your specimen properly prepared to the ideal thickness, the mounting medium you choose becomes your next priority for quality phase contrast imaging.
Select a mounting medium with a refractive index similar to your specimen to reduce distortion and enhance visibility.
For live cell observations, opt for glycerol or water-based media that maintain cell integrity while providing excellent optical clarity.
Fixed or stained specimens benefit from higher refractive index media like immersion oil, which improves contrast when using high-power objectives.
If you’re combining phase contrast with fluorescence microscopy, avoid mounting media containing fluorescent components that could interfere with imaging.
Always verify your mounting medium covers the specimen evenly and remains bubble-free, as air pockets create artifacts that compromise image quality.
Cell Density Considerations for Clear Phase Imaging
To achieve ideal cell spreading for phase contrast imaging, you’ll need to maintain densities between 10^5-10^6 cells/mL, preventing the cellular overlap that creates unwanted shadows and background noise.
You can improve image clarity by gently pipetting your suspension before plating to break up any cell clumps that might form during centrifugation or harvesting steps.
Controlling cell confluence through regular monitoring and appropriate dilutions guarantees individual cellular structures remain visible and well-defined throughout your imaging session.
Optimal Cell Spreading Techniques
Achieving perfect cell distribution represents one of the most critical factors for successful phase contrast microscopy. Your imaging quality depends greatly on how well cells spread across your substrate.
When using a phase contrast microscope, you’ll need to guarantee ideal cell spreading techniques that maintain 50-70% confluency for clear visualization.
- Choose appropriate substrates like glass or specialized culture dishes that promote even adhesion
- Use gentle pipetting to minimize shear stress, allowing cells to distribute uniformly
- Allow adequate time for cells to attach and spread before imaging
- Consider the growth characteristics of your specific cell type when planning density
Controlling Cell Confluence
Beyond initial cell spreading, proper management of cell confluence stands as a cornerstone of effective phase contrast microscopy. You’ll achieve the clearest images when maintaining cell confluence at 70-80%, creating an ideal density that reveals cellular structures without overcrowding.
When cultures become over-confluent, cells overlap and obscure critical details, while under-confluent samples lack meaningful cellular interactions necessary for thorough analysis.
To maintain consistent results, utilize automated cell counters or imaging software to regularly monitor your cultures’ growth patterns.
Implement precise dilution techniques during passaging to establish your desired cell density. Additionally, controlling environmental factors like temperature and CO2 levels promotes uniform growth rates across your samples.
This methodical approach to cell confluence management guarantees your phase contrast imaging consistently captures high-quality, interpretable cellular details.
Preventing Air Bubbles During Sample Mounting
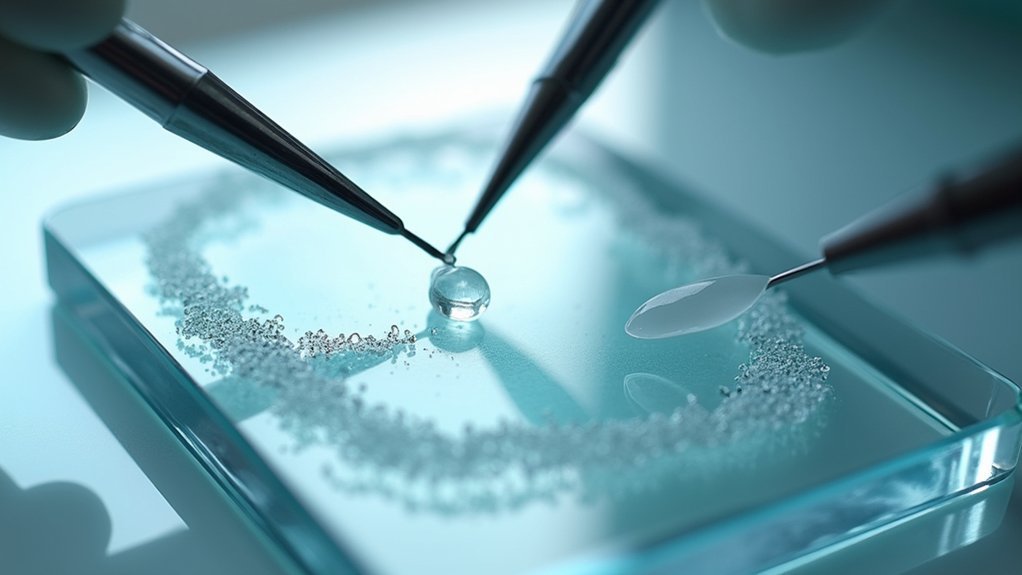
When mounting your phase contrast samples, you’ll need to adopt a slow and methodical approach to avoid trapping air bubbles that can obscure important cellular details.
Position your slide flat on a stable surface and apply the mounting medium to the center of the specimen before carefully lowering the coverslip at a 45-degree angle from one edge.
You can further minimize bubbles by gently pressing on the coverslip with a fine tool, working from the center outward to push any remaining air to the edges.
Slow Mounting Technique
Air bubbles represent one of the most frustrating obstacles in phase contrast microscopy, often ruining otherwise perfect specimen preparations. The slow mounting technique offers an effective solution to this common problem. Instead of dropping mounting medium directly onto your sample, use a pipette to apply it gradually along the cover slip’s edge, allowing it to flow across the specimen naturally.
- Work in a dust-free environment to prevent contamination that can lead to additional bubbles.
- Apply a thin layer of mounting medium rather than a thick one to minimize air pocket formation.
- Properly align your sample and cover slip before sealing to prevent bubbles in critical viewing areas.
- Use the side of your pipette tip to guide the mounting medium’s flow rate for best results.
Proper Slide Placement
The success of your phase contrast examination largely depends on proper slide placement techniques. Position your slide completely flat on the microscope stage to prevent air bubbles from becoming trapped beneath your specimen. These bubbles can greatly distort image quality and compromise your observations.
When mounting your sample, use a minimal amount of mounting medium to help the cover slip adhere properly. Always lower the cover slip at an angle rather than dropping it straight down—this simple technique dramatically reduces bubble formation.
If you still notice air bubbles after mounting, gently tap the cover slip with a fine tool to dislodge them.
Before advancing to higher magnifications, always check your preparation under low power first to verify no bubbles are interfering with your specimen view.
Temperature Control Effects on Phase Contrast Quality
Maintaining precise temperature conditions represents one of the most overlooked yet critical factors affecting phase contrast microscopy outcomes. Your specimens’ refractive index changes with temperature fluctuations, directly impacting contrast quality.
Temperature stability isn’t optional—it’s fundamental for accurate phase contrast imaging as refractive properties shift with every degree of change.
For ideal results, keep your lab environment between 20-25°C, which preserves cellular structure and guarantees consistent imaging.
- Unstable temperatures alter refractive properties, reducing phase contrast definition and detail
- Warm conditions accelerate cellular metabolism, potentially misrepresenting normal biological processes
- Cold environments induce stress responses that create artifacts, confusing true phase contrast effects
- Temperature-controlled stages or incubators provide stability throughout extended imaging sessions
Cover Slip Selection and Proper Placement Techniques
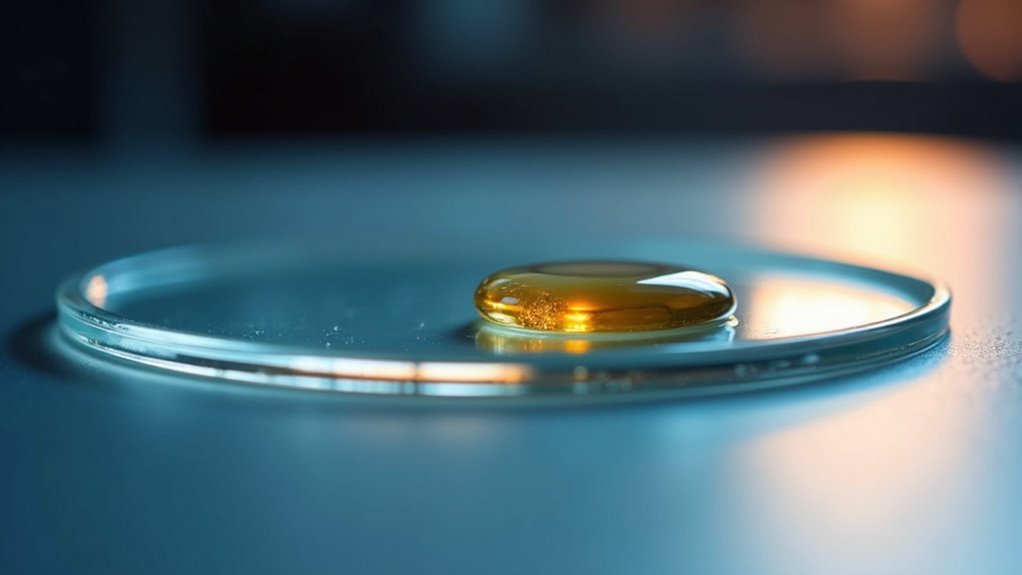
Precision in coverslip selection forms the foundation of successful phase contrast microscopy. You’ll want to choose high-quality optical glass coverslips with 0.12-0.17 mm thickness to minimize light distortion and maximize image clarity.
Keep your coverslips meticulously clean, as dust and fingerprints create optical artifacts that degrade your phase contrast images. When placing the coverslip, use a gentle approach to prevent air bubbles that disrupt critical light paths.
Position your coverslip completely flat against the specimen to maintain uniform thickness throughout the viewing area. This consistency prevents irregular phase shifts that compromise image quality.
If your preparation requires multiple coverslips, use identical thickness across all pieces to guarantee the optical properties remain consistent throughout your entire sample.
Frequently Asked Questions
How to Prepare Sample for Phase Contrast Microscope?
You’ll need to prepare thin specimens (<10μm) on clean slides with coverslips. Don't stain living cells. Align the condenser annulus with the phase ring for best contrast when viewing.
How Do You Get a Good Image Under Phase Contrast Microscope?
You’ll get a good phase contrast image by properly aligning your microscope, using thin transparent samples, maintaining Köhler illumination, regularly calibrating components, and selecting the appropriate objective magnification for your specimen type.
How Can You Improve Contrast When Viewing a Specimen?
You’ll improve contrast by properly aligning the condenser annulus with the phase ring, using Köhler illumination, applying color filters, ensuring thin specimen preparation, and regularly calibrating your microscope’s optical components.
What Type of Specimen Is Best for Phase Contrast Microscopy?
You’ll get the best results with thin, transparent specimens (under 10µm) that have varying refractive indices. Live cells, microorganisms, tissue slices, and unstained cellular structures work exceptionally well with phase contrast microscopy.
In Summary
Mastering phase contrast microscopy isn’t just about equipment—it’s in your preparation details. You’ll achieve superior results when you control thickness, select appropriate mounting media, and manage cell density properly. Don’t overlook air bubble prevention, temperature regulation, and correct coverslip placement. Apply these seven preparation techniques to your workflow, and you’ll immediately notice sharper images with enhanced contrast and better cellular detail in your observations.



Leave a Reply