To master phase contrast imaging, you’ll need to understand its principles, select proper equipment with matching phase rings, align your condenser annulus carefully, optimize illumination, prepare thin samples under 10 micrometers, perfect your focusing technique, calibrate regularly, integrate with other methods like fluorescence, document with detailed metadata, and enhance images using software tools. These fundamentals will transform your ability to visualize transparent specimens without staining. Each step builds essential skills for revealing previously invisible cellular structures.
Understanding the Principles of Phase Contrast Microscopy
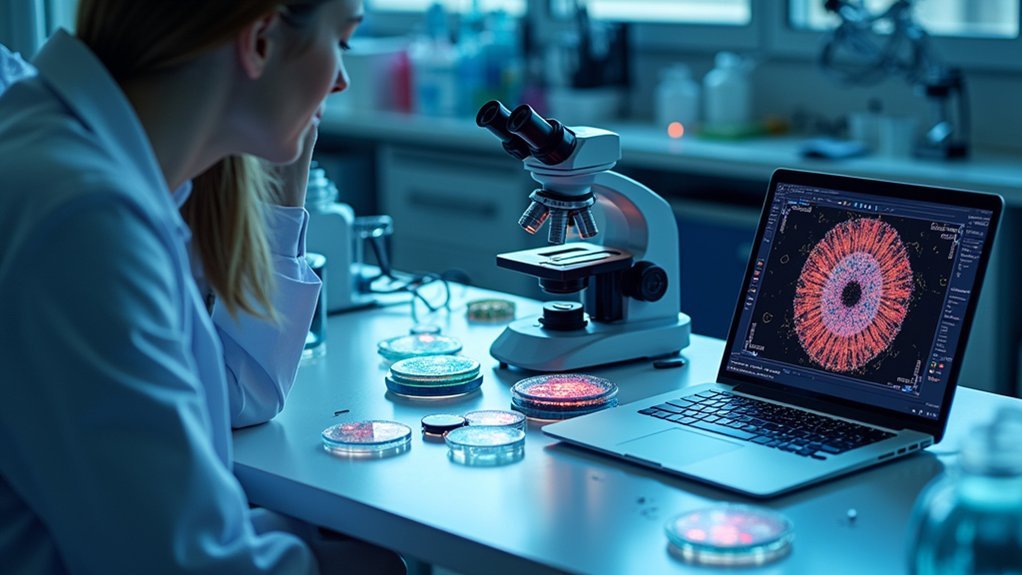
When examining transparent biological specimens, conventional brightfield microscopy often fails to provide adequate visibility.
Phase contrast methods overcome this limitation by converting phase shifts in light into amplitude differences you can actually see. Developed by Frits Zernike in the 1930s, this technique revolutionized light microscopy by making transparent specimens visible without staining.
Phase contrast microscopy transforms invisible phase variations into visible contrasts, revealing cellular details without the need for stains.
The principle hinges on optical path length differences and light interference. As light passes through a specimen with varying refractive indices, scattered light waves experience phase shifts.
The microscope’s annular diaphragm creates ring-shaped illumination while a specialized phase plate in the objective recombines scattered and direct light waves. This interference produces high-contrast images that reveal cellular structures invisible in brightfield conditions.
Proper alignment of these components is essential for achieving ideal contrast and preventing artifacts.
Selecting the Right Equipment for Phase Contrast Imaging
Selecting the proper microscope for phase contrast imaging begins with ensuring you’ve got a system that includes phase contrast objectives and a compatible condenser.
You’ll need to match your phase rings with the appropriate objective lenses, typically indicated by markings such as Ph1, Ph2, or Ph3 on both components.
Proper alignment of these phase rings with the condenser annuli is critical for achieving the contrast and resolution needed to visualize transparent specimens effectively.
Microscope Setup Essentials
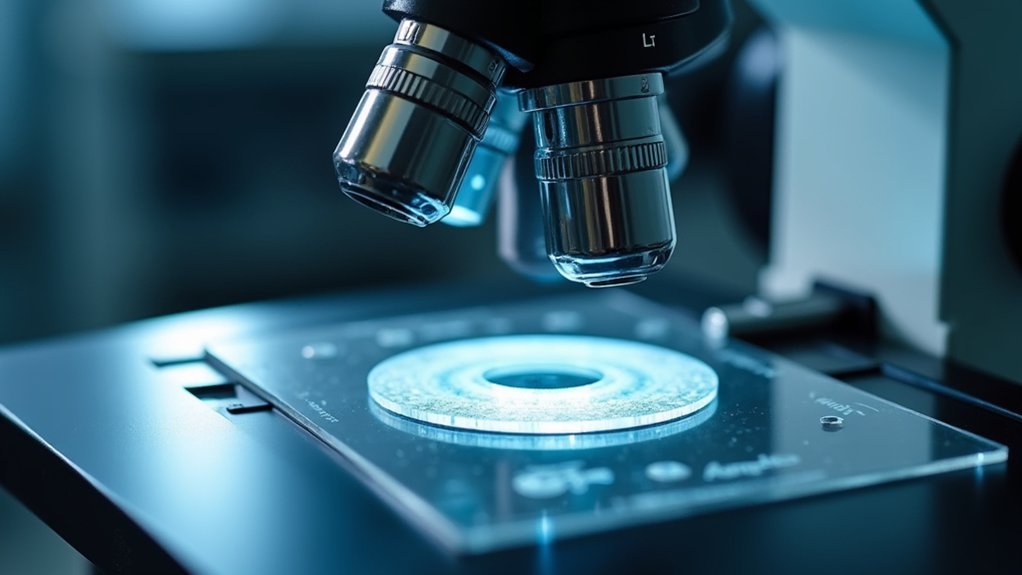
Successful phase contrast imaging begins with assembling the right equipment for your specific needs. Your microscope must have a phase contrast condenser containing an annular aperture to properly manipulate light paths.
Pair this with specialized phase contrast objectives that feature an integrated phase plate—these components work together to transform invisible phase shifts into visible contrast.
Ensure you’ve correctly matched your condenser annulus size and type with the corresponding phase rings in your objectives. This alignment is essential for ideal image quality.
Choose a consistent light source, either halogen or LED, that provides even illumination across your specimens.
Don’t neglect regular maintenance checks of your phase contrast components. Proper alignment prevents optical artifacts and maintains image clarity, allowing you to capture the cellular details that make this technique so valuable.
Phase Rings Selection
The cornerstone of effective phase contrast microscopy lies in choosing appropriate phase rings that perfectly match your condenser annulus. This critical component determines how well your contrast technique performs during observation.
Your objective lens dictates which phase ring you’ll need—typically, you’ll find specific rings designed for 10x and 100x objectives, each calibrated to work with the lens’s numerical aperture. Remember that mismatched combinations lead to poor contrast and misleading artifacts in your images.
Always verify proper alignment between your phase rings and condenser annulus before beginning observation. A quick centering check takes seconds but prevents hours of frustration with subpar results.
Implement regular maintenance checks to guarantee peak performance, especially after moving or adjusting your microscope setup. This attention to detail will consistently deliver the clear, high-contrast images you need.
Proper Alignment of Condenser Annulus and Phase Plate
Achieving ideal contrast in phase contrast microscopy depends critically on the precise alignment between the condenser annulus and the phase plate. You’ll need to position the condenser annulus in perfect alignment with the phase plate to avoid artifacts and optimize image contrast.
First, confirm you’re using a microscope with components specifically designed for phase imaging. Adjust the condenser height and focus so the annulus creates a proper hollow cone of light illuminating your specimen.
Begin with the essentials: verify phase-specific components before adjusting condenser height to create the perfect illumination cone for specimen imaging.
Regularly check and recalibrate this alignment, as even minor misalignment greatly reduces resolution and clarity.
Always verify that your phase plate matches the condenser annulus correctly. Improper matching prevents effective phase shift conversion, resulting in poor contrast.
This calibration might seem tedious, but it’s essential for producing high-quality phase contrast images.
Optimizing Light Source Settings for Clear Contrast
While mastering phase contrast techniques depends on proper alignment, your light source settings play an equally significant role in producing clear, high-contrast images.
Begin by ensuring your halogen or LED light source is properly aligned and focused within your phase contrast microscope setup. Adjust the intensity carefully—too bright and you’ll wash out fine details, too dim and you’ll lose contrast.
The annular diaphragm is essential as it creates the ring of light that makes phase contrast effective.
Regularly verify that your condenser and phase ring alignment remains precise, as even slight misalignments will degrade image quality. Check that your phase plate matches your objectives—this compatibility directly impacts contrast clarity.
With properly optimized light settings, you’ll consistently produce the high contrast images needed for detailed specimen analysis.
Sample Preparation Techniques for Enhanced Visualization
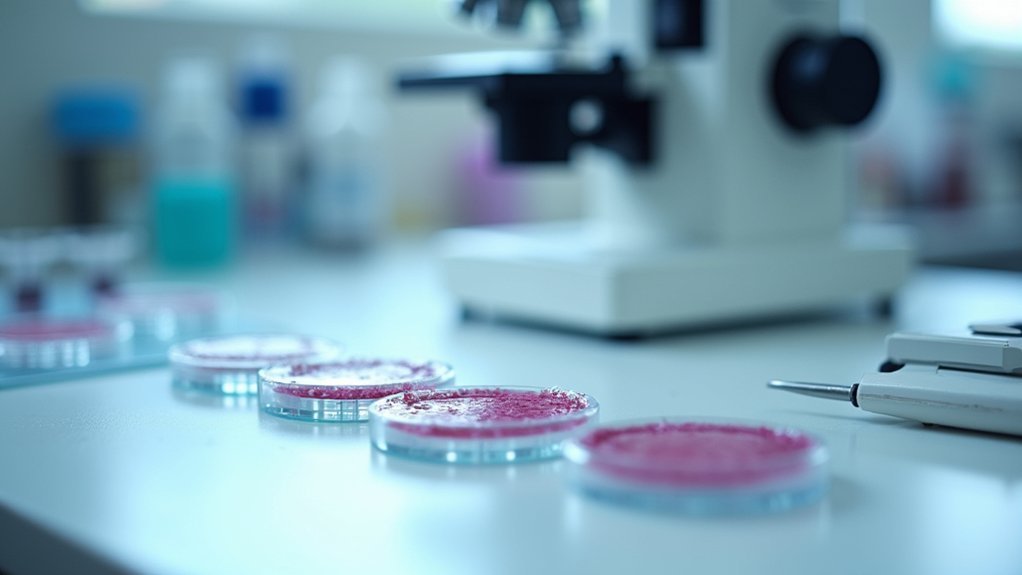
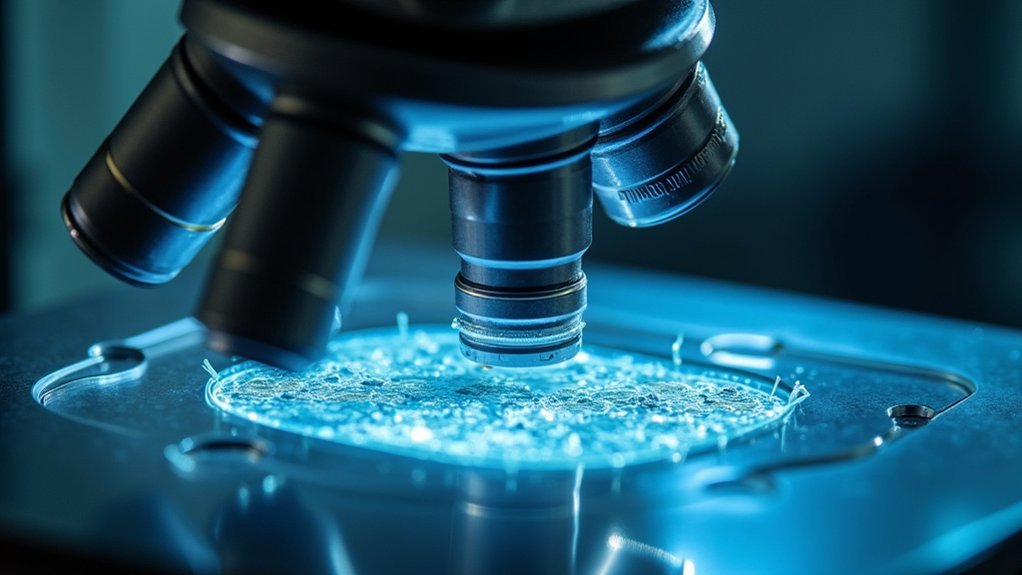
Proper sample preparation stands as the foundation of successful phase contrast imaging, determining whether your specimens will reveal their structural details or remain frustratingly obscure.
For ideal results, create thin layers under 10 micrometers to guarantee adequate light passage through transparent biological materials.
Select appropriate culture media that preserves cellular structure while allowing real-time observation without staining. You’ll get clearer phase contrast microscopy images when you meticulously eliminate air bubbles and contaminants that create optical artifacts.
Always use coverslips to flatten specimens and maintain uniform thickness throughout the sample.
Don’t overlook the importance of regular calibration—check your condenser and phase plate alignment frequently.
When properly prepared, even the most challenging transparent specimens will display remarkable contrast and detail under phase contrast conditions.
Troubleshooting Common Phase Contrast Artifacts
Despite your best preparation efforts, phase contrast imaging inevitably produces characteristic artifacts that can obscure cellular details. When phase difference between specimen and surrounding medium creates optical artifacts like halos around cell edges, you’ll need to take corrective action. Properly aligning your phase plate and condenser annulus is essential for minimizing these distortions and achieving clearer visualization of phase objects.
- Check microscope alignment daily, as component misalignment greatly impacts image quality.
- Use phase contrast objectives matched to your condenser’s numerical aperture to reduce out-of-focus blur.
- Keep specimens uniformly thin to minimize shade-off effects that create intensity gradients.
- Consider alternative techniques when working with thick specimens that exceed phase contrast limitations.
Regular calibration and appropriate technique selection will help you overcome these common challenges and produce consistently superior images.
Adjusting Focus and Fine-Tuning for Detail Capture
You’ll achieve crisp phase contrast images by starting with coarse focus adjustments before refining with the fine focus knob to reveal subtle cellular details.
Proper illumination control prevents overexposure while maintaining visibility of transparent structures that would otherwise be invisible in brightfield microscopy.
Balancing light intensity and phase plate alignment will dramatically improve your ability to capture high-quality digital images with ideal contrast and resolution.
Focusing Techniques Demystified
Achieving crystal-clear images with phase contrast microscopy begins with mastering the art of focusing. Start with the coarse focus knob to position your specimen in view before shifting to the fine focus knob for precise adjustments. This methodical approach prevents overshooting and helps capture subtle cellular details that might otherwise be missed.
- Always check the alignment between your phase plate and condenser annulus to eliminate optical artifacts like halos.
- Adjust your illumination intensity after achieving focus to enhance visibility of specific structures.
- Begin with lower magnification objectives before progressing to higher powers for better navigation.
- Fine-tune the condenser position regularly during your imaging session to maintain ideal contrast.
Remember that phase contrast imaging success depends equally on proper focusing technique and correct optical alignment.
Optimizing Illumination Parameters
The heart of successful phase contrast imaging lies in proper illumination control. You’ll need to guarantee your phase contrast condenser is perfectly aligned with the annulus centered in the light path, eliminating unwanted artifacts while maximizing specimen clarity.
Start by adjusting your microscope’s focus using both coarse and fine knobs until your specimen appears sharp. Then, fine-tune the diaphragm aperture to achieve the ideal balance of light—enough to reveal details without washing out the image with excessive brightness.
Always use phase contrast objectives specifically calibrated for your microscope, as these work harmoniously with the phase ring and condenser.
Make alignment checks part of your routine to maintain consistent imaging quality. Proper illumination parameters aren’t just technical requirements—they’re the foundation of revealing cellular structures invisible to conventional microscopy.
Combining Phase Contrast With Other Imaging Methods
While phase contrast microscopy alone reveals incredible detail in transparent specimens, combining it with complementary imaging techniques can dramatically enhance visualization capabilities.
You’ll gain extensive insights when you pair this versatile microscopy technique with other methods to observe living cells with greater clarity. Digital imaging technologies elevate your phase contrast work by capturing high-resolution data for subsequent analysis.
- Fluorescence integration – Highlight specific cellular components while maintaining non-destructive observation
- DIC combination – Create three-dimensional appearances with improved depth perception
- Oblique illumination – Enhance edge details and surface structures in transparent specimens
- Dodt gradient contrast – Achieve superior visualization of unstained samples by leveraging refractive index gradients
These combinations transform your imaging capabilities, making previously invisible structures readily apparent and providing multidimensional information from a single specimen.
Advanced Techniques for Live Cell Imaging
Four essential strategies elevate your live cell imaging capabilities when using phase contrast microscopy.
First, optimize your system for observing cells in their natural state without staining, enabling real-time monitoring of dynamic cellular processes.
Second, precisely align the condenser annulus and phase plate to minimize optical artifacts that can compromise image quality.
For more sophisticated applications, combine phase contrast with fluorescence staining to highlight specific cellular structures while maintaining the non-invasive benefits of live imaging.
Additionally, integrate complementary methods like Differential Interference Contrast (DIC) to add depth and structural detail to your observations.
Regular calibration of your microscope setup is vital for consistent results.
Documenting and Analyzing Phase Contrast Images
Successful interpretation of phase contrast microscopy depends on meticulous documentation and analysis practices. When documenting your phase contrast images, always include thorough metadata—magnification, illumination settings, and specimen details—to guarantee reproducibility in your research.
You’ll need to enhance visibility of cellular structures by adjusting contrast levels using specialized software tools.
- Use image processing techniques like filtering and segmentation to isolate specific cellular structures for detailed analysis
- Compare structural details and cellular dynamics over time to observe biological processes in living specimens
- Apply contrast enhancement tools to highlight subtle features that might otherwise be missed
- Maintain regular calibration of your imaging system to minimize artifacts and guarantee consistent results
Proper documentation creates a foundation for meaningful analysis, while advanced processing techniques reveal the hidden details within your phase contrast images.
Frequently Asked Questions
What Is the Process of Phase Contrast Microscopy?
You’ll use phase contrast microscopy by directing light through an annular diaphragm, which creates interference patterns when scattered specimen light recombines with direct light, enhancing transparent objects without staining.
How Do You Get a Good Image Under Phase Contrast Microscope?
To get a good phase contrast image, you’ll need proper alignment of the phase ring and condenser, ideal light intensity, thin specimens, and well-calibrated optics. Don’t forget to fine-tune your camera settings too.
How to Prepare Sample for Phase Contrast Microscope?
For phase contrast microscopy, you’ll need to create thin, clean samples on flat slides. Center your specimen, use appropriate mounting medium, and guarantee proper hydration for living cells to maximize contrast.
How to Set up a Phase Contrast Microscope?
To set up a phase contrast microscope, first install the phase condenser, align the annular diaphragm with phase objectives, adjust light intensity, and focus your specimen. You’ll need to center the condenser for ideal contrast.
In Summary
By following these ten steps, you’ll transform from a novice to a phase contrast imaging expert. You’ve now got the knowledge to align your equipment precisely, prepare samples effectively, and capture stunning cellular details invisible to conventional microscopy. Don’t stop here—practice regularly and you’ll continue refining your technique. Your newfound skills open doors to discovering cellular dynamics that were previously hidden from view.


Leave a Reply