To master phase contrast imaging, you’ll need to understand the optical principles first, then assemble proper components including specialized objectives and condenser. Align your phase rings with the annular diaphragm carefully, calibrate your light source, and prepare thin specimens under 10 micrometers. Focus with precision, troubleshoot common artifacts like halos, capture high-quality images, and interpret results based on refractive indices. Advanced techniques like combining with fluorescence await as you progress deeper into this powerful visualization method.
Understanding the Science Behind Phase Contrast Optics
The brilliance of phase contrast imaging lies in its ability to reveal what’s otherwise invisible to the naked eye. When light passes through transparent specimens, it undergoes phase shifts due to variations in refractive index, though these shifts don’t naturally create visible contrast.
Phase contrast methods solve this problem ingeniously. The system directs light through an annular diaphragm in the condenser, creating a hollow cone of illumination. As this light encounters your specimen, the quarter-wave phase plate in the objective lens shifts direct light by λ/4, aligning it with diffracted light. This transformation converts phase differences into amplitude variations you can see.
You’ll appreciate how this technique highlights cellular structures without staining, preserving delicate transparent specimens.
Proper alignment between the phase plate and condenser annulus is essential—it’s what separates mediocre images from stunning ones.
Assembling the Essential Components for Phase Contrast Setup
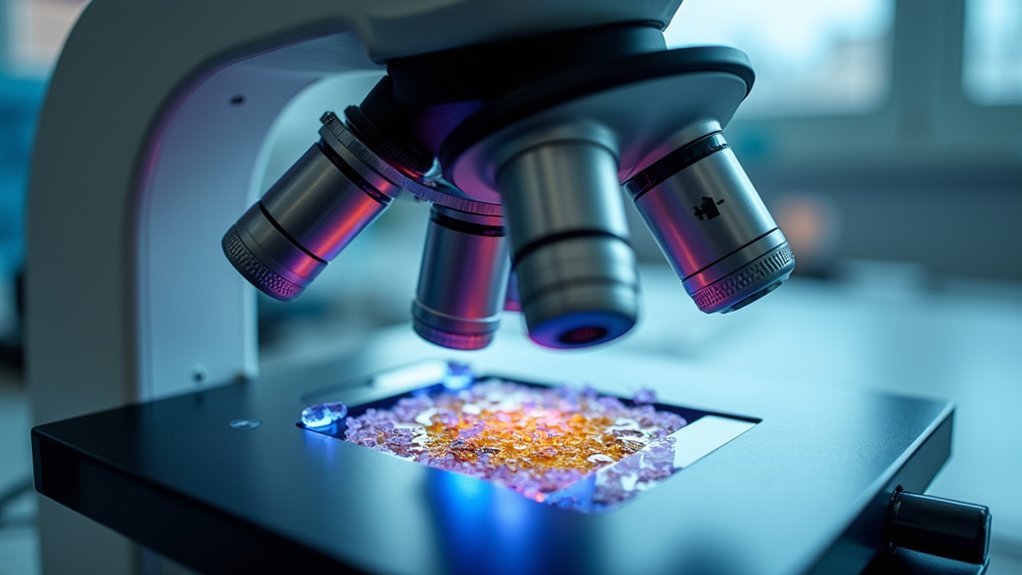
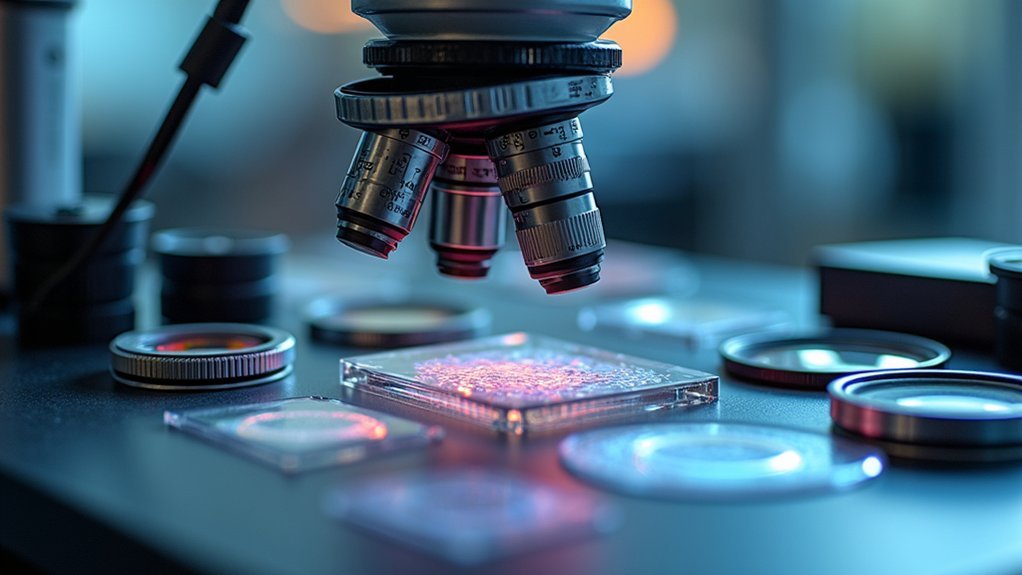
Setting up your phase contrast microscope begins with choosing the right microscope equipped with phase contrast objectives containing properly sized phase plates to match your condenser’s annular diaphragm.
You’ll need to meticulously align these components—particularly ensuring the condenser annulus perfectly overlaps with the objective’s phase ring—to prevent optical artifacts and achieve crisp contrast.
Your light source should provide even, stable illumination at appropriate intensity levels, as improper lighting can compromise the delicate phase shifts that create your specimen’s visible contrast.
Microscope and Objectives Selection
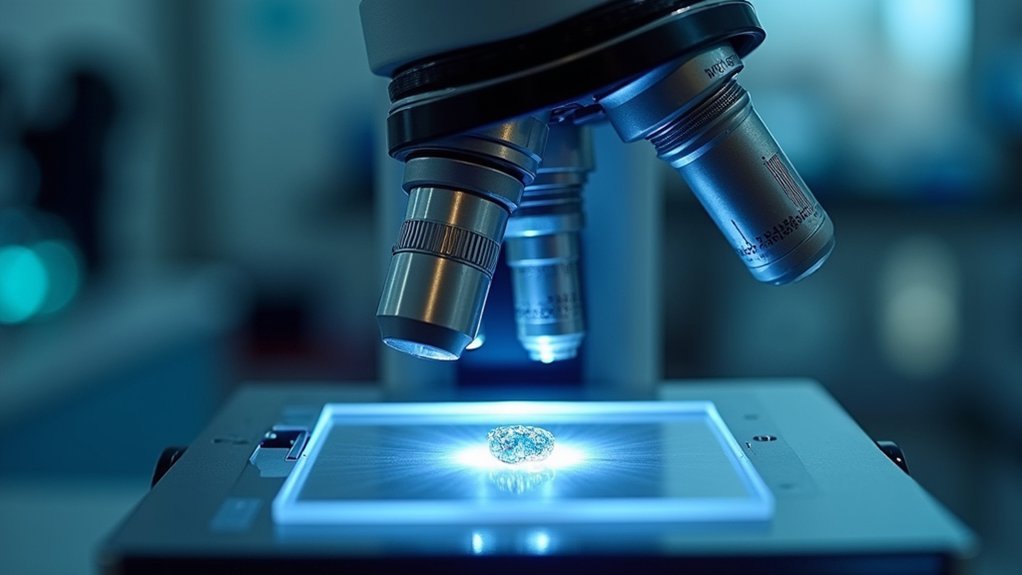
Successful phase contrast imaging begins with selecting the right equipment for your research needs. You’ll need a phase contrast microscope with a specialized condenser featuring an annular diaphragm. This condenser annulus works in tandem with the phase rings in your objectives to convert invisible phase shifts into visible contrast.
Choose objectives specifically designed for phase contrast—they contain phase plates that are critical for transforming phase differences into amplitude variations you can see.
| Component | Key Feature | Why It Matters |
|---|---|---|
| Microscope | Phase contrast condenser | Enables light modification |
| Objectives | Built-in phase plate | Converts phase to amplitude |
| Condenser | Annular diaphragm | Creates hollow cone of light |
| Light Source | Halogen or LED | Provides consistent illumination |
| Alignment | Matched rings & annulus | Prevents artifacts, guarantees quality |
Remember to check component alignment regularly to maintain ideal imaging quality.
Phase Rings Alignment
Precise alignment of phase rings forms the cornerstone of effective phase contrast microscopy.
You’ll need to confirm your condenser contains the proper annular diaphragm to create the ring-shaped illumination essential for phase contrast imaging.
Match each phase contrast objective with its corresponding condenser annulus to achieve ideal alignment.
Adjust both the height and centering of your condenser carefully—even slight misalignments will produce unwanted halos and shading artifacts around your specimens.
Regularly verify your setup’s alignment by using a calibration slide before imaging actual samples.
This verification step helps you identify and correct any deviations in the optical path.
Remember to check that the phase rings and annular diaphragm remain perfectly aligned throughout your imaging session, as this will greatly enhance your contrast and image quality.
Light Source Considerations
Because phase contrast microscopy depends on subtle differences in light path, your illumination source plays a critical role in producing high-quality images. Select a stable halogen or LED lamp that provides bright, uniform illumination through the condenser’s annular aperture. This guarantees proper generation of phase shifts in light that’s diffracted by your specimen.
Position your light source precisely to create a focused ring-shaped beam on the specimen. This alignment maximizes contrast between the background and transparent structures you’re examining.
Always adjust the light intensity appropriately—too much brightness creates distracting halos and artifacts that compromise image clarity.
Don’t neglect regular maintenance of your light source and optical components. Clean them frequently to maintain consistent performance in your phase contrast microscopy setup and achieve ideal imaging results.
Correctly Positioning the Phase Annulus and Phase Plate
You’ll need to carefully center the phase annulus in your condenser by using the adjustment knobs until it perfectly aligns with the phase plate in the objective lens.
Check your light path by examining the back focal plane of the objective through the telescope eyepiece, confirming that the bright annulus ring concentrically surrounds the dark phase ring.
If you encounter fuzzy images or poor contrast, systematically adjust the centering screws while observing the back focal plane until both rings align properly.
Centering Alignment Process
The correct alignment of your phase contrast microscope’s components is the foundation for producing crisp, high-contrast images. Achieving proper alignment between the phase ring in your objective and the annular diaphragm in your condenser requires precision and patience.
This critical contrast technique depends on perfect positioning to reveal cellular details invisible under brightfield conditions.
Begin your alignment process by:
- Centering your specimen on the stage while looking through the eyepiece, then adjusting your condenser’s height until the annular aperture comes into sharp focus.
- Fine-tuning the position of your phase ring using the alignment screws until it perfectly overlaps with the condenser’s annular diaphragm.
- Checking your alignment periodically during your imaging session, as even slight shifts can degrade contrast and introduce unwanted artifacts.
Light Path Verification
Proper light path verification represents the critical second step in achieving excellence with phase contrast microscopy. You’ll need to verify your phase annulus in the condenser aligns perfectly with the phase plate in your objective. This alignment creates the ideal light path necessary for clear, high-contrast images.
| Verification Step | Common Issues | Solution |
|---|---|---|
| Annulus-plate alignment | Misalignment causing artifacts | Use alignment pins to center precisely |
| Condenser positioning | Incorrect height affecting contrast | Adjust height until ideal clarity achieved |
| Component stability | Drift over time | Perform regular alignment checks |
Use a test slide with known features to confirm your light path is correctly positioned before examining actual specimens. Make fine adjustments to the condenser using centering screws until you achieve maximum contrast, as even slight misalignments greatly impact your imaging results.
Troubleshooting Misalignment Issues
Even the most expert microscopists encounter misalignment issues with phase contrast imaging, which can dramatically compromise image quality if left uncorrected.
Proper alignment between the phase annulus in your condenser and the phase plate in your objective is critical for ideal contrast enhancement.
When you notice poor image quality or unexpected halos, follow these steps:
- Focus on a transparent specimen and check if the phase annulus is centered within the phase plate—any offset will reduce contrast.
- Adjust the condenser height and use centering screws to achieve precise alignment, ensuring uniform illumination across your field of view.
- Verify your adjustments using a test slide with known features to confirm proper phase contrast performance.
Document all alignment settings for consistency in future imaging sessions.
Calibrating Your Light Source for Optimal Contrast
Achieving exceptional phase contrast images depends greatly on how well you’ve calibrated your light source. Proper alignment of your halogen or LED illumination with the condenser is fundamental to contrast microscopy, as it directly affects the phase difference visualization in transparent specimens.
You’ll need to adjust light intensity carefully to prevent overexposure that diminishes detail. Don’t hesitate to employ neutral density filters when observing delicate samples—they’ll help maintain appropriate contrast levels while protecting specimen integrity.
Make regular calibration checks to guarantee your light source matches the specific requirements of your phase contrast objectives.
Remember to monitor the temperature of your illumination system, as excessive heat can compromise both microscope performance and biological sample viability.
These careful adjustments will appreciably improve your imaging results.
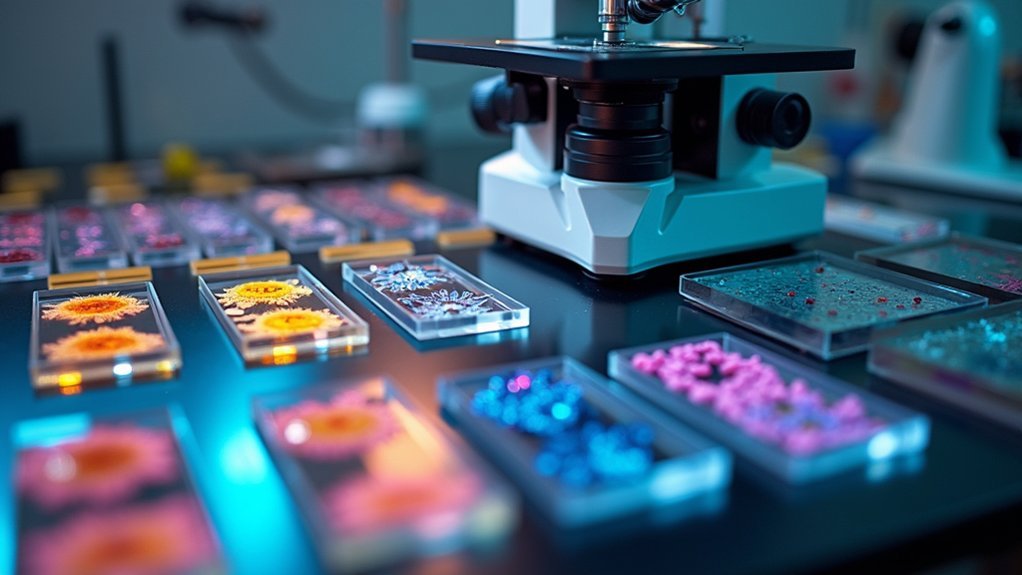
Perfecting the Art of Sample Preparation
Sample preparation, often overlooked by novice microscopists, forms the foundation of successful phase contrast imaging. Your transparent biological specimens must be thin enough—under 10 micrometers—to allow light transmission without distortion while maximizing clarity. Select specimens with significant refractive index differences to enhance subcellular structure visibility.
To achieve ideal phase contrast results:
- Maintain cell viability through appropriate culture techniques, as live cells provide superior contrast and detail for real-time observation.
- Minimize mounting media that could introduce bubbles or alter refractive indices, which compromises image quality.
- Keep samples thin and consistent, ensuring effective light transmission through your specimens.
Remember to regularly check your microscope setup, including phase plate and condenser annulus alignment, to prevent optical artifacts and maintain imaging precision.
Troubleshooting Common Phase Contrast Artifacts
Despite meticulous sample preparation, phase contrast microscopy often reveals frustrating artifacts that can compromise image interpretation. You’ll need to address these issues methodically to achieve ideal results.
| Artifact | Solution |
|---|---|
| Halos | Adjust phase plate and condenser annulus alignment |
| Shade-off effect | Use thinner specimen preparations |
| Reduced contrast | Check microscope calibration and alignment |
| Distortion in thick specimens | Switch to thinner samples or alternative techniques |
| Poor image quality | Consider sample’s refractive index and optical density |
When working with phase contrast, understanding your specimen’s properties is essential. Thick specimens commonly appear blurred because the technique has inherent limitations with dense samples. Regular maintenance of your microscope components helps prevent many artifacts. By consulting manufacturer guidelines for proper setup and making appropriate adjustments, you’ll greatly improve imaging outcomes and interpretation accuracy.
Fine-tuning Focus Techniques for Clear Phase Images
The perfect phase contrast image emerges through precise focusing techniques that reveal cellular details invisible to conventional microscopy. Your ability to capture these elusive structures depends on meticulous adjustments and proper alignment.
Begin by ensuring your phase contrast microscope’s condenser annulus and phase plate are perfectly matched. Use the fine focus knob to make incremental adjustments while observing how slight changes dramatically enhance image clarity.
Regular phase alignment checks with calibration slides will minimize halos and optical artifacts.
For ideal results:
- Make small, deliberate adjustments to the fine focus knob rather than large movements
- Document successful settings for reproducibility of high-quality images
- Focus both slightly above and below your specimen to identify the ideal focal plane
Capturing High-Quality Phase Contrast Photographs
With your specimen perfectly focused, it’s time to preserve those striking cellular details through photography. Confirm your phase contrast microscope has proper alignment between the condenser annulus and objective phase rings to prevent unwanted optical artifacts that can diminish image quality.
Optimize your light source intensity—whether halogen or LED—finding the sweet spot that provides sufficient illumination without washing out delicate structures.
When shooting, capture multiple images at different focal planes to maximize detail in your final high contrast photographs. For dynamic specimens, utilize real-time imaging to document cellular processes as they unfold.
After capturing your images, apply targeted post-processing techniques to enhance contrast while maintaining scientific accuracy. This combination of proper light microscopy technique and thoughtful image processing will deliver publication-quality phase contrast results.
Analyzing and Interpreting Phase Contrast Results
When analyzing phase contrast images, you’ll need to carefully interpret cellular structures by recognizing how optical density creates patterns of brightness and darkness.
You can troubleshoot common artifacts like halos and shade-off effects by adjusting your microscope settings and utilizing image processing software to enhance clarity.
For meaningful research outcomes, you should extract quantitative data from your images by measuring cell dimensions, tracking dynamic changes, and comparing your observations with complementary microscopy techniques.
Interpreting Cellular Structures
As you examine phase contrast images, understanding how to interpret the varying patterns of light and dark becomes vital for accurate cellular analysis. The contrast you observe results from differences in refractive indices, where cellular structures create distinctive phase shifts that appear as brightness variations.
When analyzing your specimens, focus on:
- Recognizing signature patterns – Nuclei typically appear darker while membrane structures often show bright halos, helping you identify different organelles within the cellular landscape.
- Assessing morphological features – Cell shape, size, and arrangement provide significant insights into physiological states and potential abnormalities.
- Accounting for specimen thickness – Thicker regions may produce artifacts or distortions that could affect your interpretation of cellular structures.
Remember that halo effects around high phase shift details often indicate larger structures, helping you differentiate between overlapping components.
Troubleshooting Image Artifacts
Phase contrast imaging, while powerful for visualizing transparent specimens, often presents optical artifacts that can mislead your analysis. The most common issue you’ll encounter is the halo effect around high phase shift details, which can obscure fine structures and compromise your observations.
Watch for shade-off contrast patterns in thicker specimens, which create intensity gradients that diminish clarity. To minimize these artifacts, maintain proper alignment of your phase plate and condenser annulus—misalignment is a primary cause of reduced contrast and poor image quality.
Implement regular calibration checks to verify your microscope components remain centered.
When interpreting results, distinguish between genuine structures and artifacts by comparing images taken with different microscopy techniques. This comparative approach will help you develop confidence in identifying true cellular details versus optical illusions.
Quantitative Data Extraction
Three essential steps transform phase contrast images from qualitative observations into measurable data. Begin by calibrating your phase contrast system to establish a reliable correlation between phase shifts and actual cellular characteristics. This calibration guarantees your quantitative data extraction yields accurate measurements of morphological features.
Next, process your phase contrast images using specialized software to enhance visibility and enable precise measurements:
- Measure optical density values across cellular structures
- Quantify dimensional parameters including area, perimeter, and thickness
- Compare contrast variations between cellular components and background
Finally, apply statistical analysis to your extracted data to identify significant variations across different experimental conditions.
Document all imaging settings and sample preparation methods meticulously—this documentation is vital for validating your results and assuring reproducibility in future studies.
Advanced Techniques for Specialized Phase Contrast Applications
While standard phase contrast methods serve many imaging needs, specialized applications often demand more sophisticated approaches that push the boundaries of what’s visible.
When working with complex specimens, consider incorporating Differential Interference Contrast (DIC), which manipulates polarized light diffracted through your sample to create a striking 3D appearance—particularly valuable for live cell imaging where detail is essential.
For neurobiology studies, you’ll benefit from implementing Dodt Gradient Contrast, which leverages refractive index differences to visualize unstained samples with remarkable clarity.
Your objective lens selection becomes even more important when combining phase contrast with fluorescence microscopy or employing oblique contrast techniques to enhance edge details.
Don’t overlook the significance of properly matching phase rings with your condenser annulus to minimize artifacts in these advanced applications.
Frequently Asked Questions
What Is the Process of Phase Contrast Microscopy?
You’ll use phase contrast microscopy by directing ring-shaped light through a specimen, where the objective’s phase plate shifts scattered light, creating interference that transforms invisible phase differences into visible contrast.
How Do You Get a Good Image Under Phase Contrast Microscope?
You’ll get a good image by aligning your condenser with phase rings, using appropriate light intensity, carefully focusing, regularly calibrating your microscope, and selecting the right objective lens for your specimen type.
How to Prepare Sample for Phase Contrast Microscope?
To prepare a sample for phase contrast microscopy, you’ll need to create thin specimens under 10 micrometers, use clean slides, avoid staining, maintain living cells in proper medium, and align with phase optics.
How to Set up a Phase Contrast Microscope?
To set up a phase contrast microscope, you’ll need to adjust the light intensity, center the condenser, align the annular diaphragm with the phase ring, and use a calibration slide for fine-tuning the alignment.
In Summary
You’ve now explored the full spectrum of phase contrast imaging. By mastering these ten steps, you’ll transform invisible cellular details into crisp, visible structures in your microscopy work. Remember that practice makes perfect—continue refining your technique with different specimens. As you apply these principles consistently, you’ll find yourself producing publication-quality images that reveal the subtle structures conventional brightfield microscopy simply can’t show.


Leave a Reply