Contrast artifacts in microscope images appear due to optical path differences between specimens and their surroundings. You’ll notice halos around cell membranes because of refractive index differences and phase shifts. Misaligned condensers worsen these issues by creating uneven illumination and reducing numerical aperture. Specimen thickness also matters—thicker samples produce more distortions and interpretation challenges. Proper alignment, matched phase stops, and specialized digital processing techniques can dramatically improve your image quality and reveal true cellular structures.
Fundamental Principles of Phase Contrast Microscopy
When examining transparent specimens under a conventional microscope, you’ll often struggle to see essential details, which is why Frits Zernike’s 1934 development of phase contrast microscopy revolutionized biological imaging.
This light microscopy technique converts phase shifts into visible amplitude differences, allowing you to observe unstained specimens between 5-10 micrometers thick.
The phase contrast microscope capitalizes on differences in refractive index between cells and their surrounding medium.
Specialized condensers work with objectives marked with green Ph1, Ph2, or Ph3 inscriptions to produce contrast imaging that reveals cellular structures without stains.
While this makes phase contrast ideal for observing living cells, it’s not without limitations.
Characteristic artifacts like halos around cell membranes and nuclei can obscure important boundary details, especially in thicker specimens.
Optical Path Differences Leading to Image Artifacts
Although fundamental to contrast generation in microscopy, optical path differences (OPD) serve as the primary source of artifacts that can compromise image quality.
When you examine specimens with varying refractive indices, light waves experience phase shifts calculated as δ = (2π/λ)(OPD), creating intensity variations that obscure fine details.
In phase contrast microscopy, you’ll notice halo artifacts around cell membranes where small refractive index differences exist. These halos misrepresent the true morphology of cellular structures.
Thick specimens present particular challenges, as unaccounted OPD produces distortions that don’t accurately reflect actual features.
You’ll achieve peak contrast only when properly understanding OPD principles.
Remember that equal refractive indices produce zero OPD, making phase differences undetectable and potentially leading to erroneous interpretations of your specimen’s structure and composition.
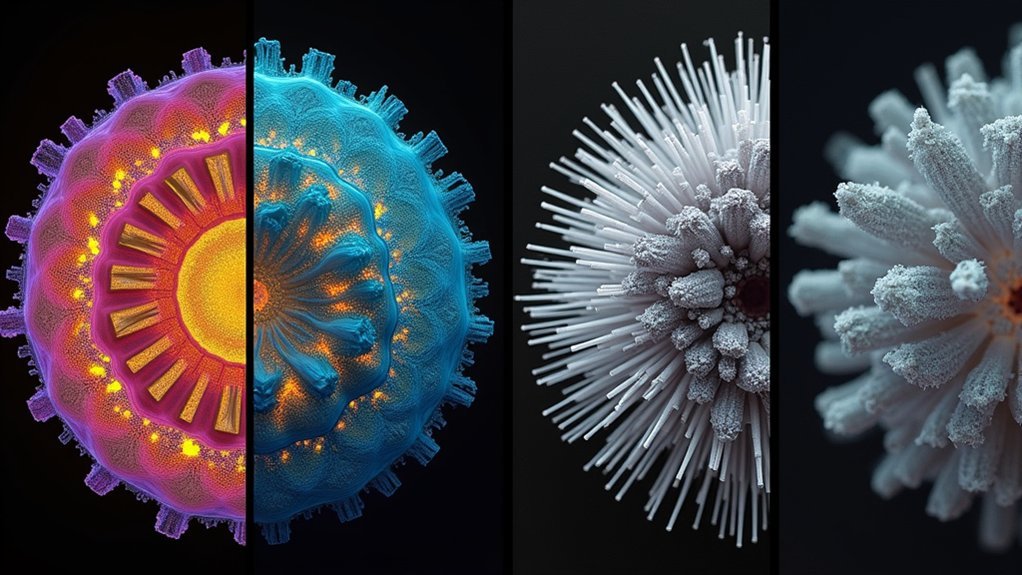
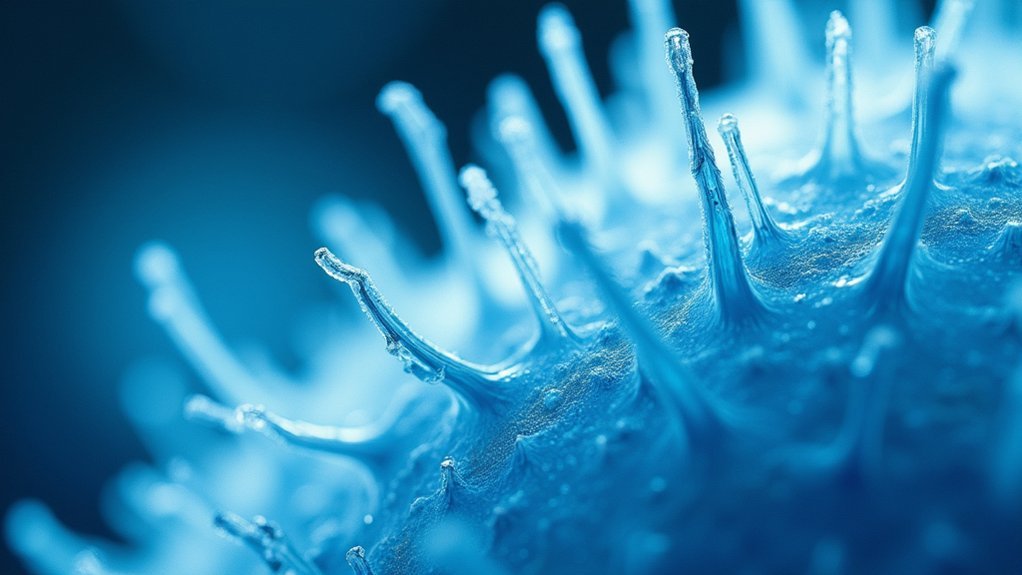
Halo Effects Around Cell Boundaries
Three distinctive bright rings characterize halo effects, the most common artifacts you’ll encounter in phase contrast microscopy. These halos form when refractive index differences between cells and surrounding media translate into visual distortions at cell boundaries.
You’ll notice these bright rings particularly in thin specimens (5-10 micrometers), where they can obscure critical morphological details.
The primary cause of these artifacts is misalignment of optical components. When phase stops don’t properly align with your objective’s numerical aperture, light diffraction creates these unwanted halos.
To improve image clarity, you’ll need to carefully adjust your condenser and select specialized phase contrast objectives with appropriate settings. Proper calibration minimizes these artifacts, allowing you to observe cellular structures with greater precision and without the distracting bright rings that otherwise mask important cellular features.
Impact of Condenser Misalignment on Image Quality
Proper alignment of your microscope’s condenser critically determines the quality of your microscopic images. When your condenser is misaligned, uneven illumination creates bright and dark patches across your specimen, greatly degrading image quality.
This misalignment reduces the effective numerical aperture, resulting in compromised resolution and contrast that make fine structural details nearly impossible to discern.
A misaligned condenser drastically lowers numerical aperture, obscuring critical details through degraded resolution and contrast.
You’ll notice unwanted artifacts like halos or rings surrounding objects, which can lead to misinterpretation of important features. Misalignment also introduces light scattering that generates noise, lowering the signal-to-noise ratio and diminishing image clarity.
To maintain ideal contrast and prevent these artifacts, you should regularly calibrate your condenser. This maintenance guarantees consistent image quality and preserves the resolution necessary for accurate specimen analysis.
Specimen Thickness Variations and Contrast Distortion
Specimen thickness represents a significant factor in microscopic imaging that can dramatically alter contrast integrity. When you’re working with samples of varying thickness, light travels different paths through the material, creating inconsistent refractive interactions that distort your image’s contrast.
| Thickness Issue | Effect on Imaging | Solution |
|---|---|---|
| Uneven sections | Overexposed/underexposed regions | Standardize sectioning techniques |
| Excessive thickness | Increased light scattering | Use thinner specimens |
| Varying optical path difference | Phase shifts and artifacts | Apply digital correction |
| Edge thickness changes | Halo formation in phase contrast microscopy | Optimize condenser settings |
These variations particularly affect phase contrast microscopy, where thickness-dependent optical path differences create unwanted halos around structural boundaries. To minimize these artifacts, you’ll need carefully prepared specimens with consistent thickness throughout the viewing field.
Digital Image Processing Challenges in Phase Contrast
While phase contrast microscopy excels at revealing transparent specimens without staining, it introduces unique digital processing challenges that can compromise image interpretation. When you attempt to process phase contrast images digitally, you’ll encounter several obstacles that affect accuracy and clarity.
- Background subtraction algorithms struggle with phase artifacts like halos around cell membranes, potentially creating misleading representations of your specimen’s true structure.
- Inconsistent intensity variations result from small refractive index differences, making it difficult to distinguish between actual cellular features and processing-induced anomalies.
- Contrast inconsistencies across varying specimen thicknesses complicate quantitative analysis, as the relationship between optical path differences and digital values isn’t always linear.
These challenges require specialized approaches when processing phase contrast images to avoid amplifying artifacts while preserving critical biological information.
Comparing Artifact Patterns Across Imaging Techniques
You’ll notice distinct halo effects in various microscopy techniques, with phase contrast producing bright bands around specimen edges while DIC creates shadowing artifacts that shift with focus.
These characteristic patterns serve as “fingerprints” of each contrast method, helping you identify the underlying technique even when viewing unfamiliar samples.
Halo Effect Mechanisms
When examining microscope images across different techniques, you’ll notice distinct halo artifact patterns that can greatly impact interpretation.
These halos occur through different mechanisms depending on your imaging method. In phase contrast microscopy, halos form when phase shifts convert to amplitude changes, creating bright rings around specimens.
Differential interference contrast produces halos through optical interference patterns that enhance 3D appearances but may mask critical boundary details.
The severity of these artifacts depends on several factors:
- Refractive index differences between your specimen and mounting medium
- Specimen positioning within the illumination pathway
- Optical configuration of your microscope system
In darkfield microscopy, scattered light creates halos particularly when specimens aren’t ideally positioned.
Understanding these mechanisms helps you distinguish between genuine structural features and optical artifacts when analyzing microscopic structures.
Contrast Type Fingerprints
Each microscopy technique leaves behind its own distinctive artifact signature, creating what experts call “contrast fingerprints” that can help identify both the imaging method used and potential interpretive pitfalls.
When you’re analyzing microscope images, recognizing these fingerprints helps you avoid misinterpreting artifacts as genuine specimen detail. Optical aberrations manifest differently across imaging techniques, with specific patterns that experienced microscopists learn to identify.
| Technique | Typical Artifacts | Visual Characteristics |
|---|---|---|
| Brightfield | Halo effects | Light rings around edges |
| Phase Contrast | Background noise | Uneven illumination patterns |
| Fluorescence | Photobleaching | Fading intensity over time |
| DIC | Shadowing | Directional relief effects |
| Darkfield | Scattering artifacts | Bright spots from dust/debris |
Environmental factors like vibrations create distinct artifacts in each technique, further complicating accurate interpretation of your microscopy images.
Optimizing Microscope Settings to Minimize Artifacts
Achieving artifact-free microscope images requires meticulous adjustment of multiple settings to balance contrast and resolution. When performing optical microscopy, you’ll need to carefully adjust the condenser aperture to enhance contrast without sacrificing resolution or introducing unwanted artifacts.
- Apply immersion oil with high numerical aperture objectives to improve light capture and reduce diffraction artifacts by matching refractive indices.
- Guarantee precise alignment of phase stops with your objective’s numerical aperture when using phase contrast techniques to prevent halos.
- Implement background subtraction techniques to reduce noise and enhance specimen visibility.
Regular calibration of your microscope’s optical components is essential for peak performance.
The Role of Numerical Aperture in Artifact Formation
Numerical aperture (NA) fundamentally shapes how artifacts appear in microscope images by controlling the light-gathering capacity of your objective lens. When you’re working with a low NA, you’ll capture insufficient light, which increases contrast artifacts as fine details and edges become unresolvable.
You’ll notice that matching NA to specimen thickness is essential—improper pairing creates differential focus problems that manifest as misleading intensity variations.
In phase contrast microscopy, an inappropriate NA introduces halo effects around structures that don’t actually exist in your specimen.
Be aware that varying NAs generate different optical path differences (OPDs), which can complicate image interpretation. These OPD variations create artificial contrast changes you might mistake for genuine specimen features.
Ultimately, understanding your microscope’s NA allows you to distinguish between true structural details and technical artifacts.
Quantitative Analysis of Phase Contrast Distortions
Beyond numerical aperture considerations, the accuracy of phase contrast imaging requires precise measurement of artifacts. You can quantify these distortions by calculating the optical path difference (OPD) using the formula OPD = t(n(s) – n(m)), where thickness (t) and refractive index differences between specimen and medium directly impact image quality.
Phase objects appear visible in phase contrast microscopy because of these refractive index variations, but several factors contribute to distortion:
- Halo artifacts at specimen boundaries obscure fine structural details when phase shifts convert to amplitude variations.
- Specimen thickness exceeding the ideal 5-10 micrometer range creates complex, difficult-to-interpret phase shifts.
- Improper objective selection (Ph1, Ph2, Ph3) can greatly amplify artifacts around delicate biological structures.
Understanding these quantitative relationships helps you minimize distortions and produce more accurate microscopic images.
Advanced Computational Methods for Artifact Removal
While traditional optical adjustments remain valuable, sophisticated computational approaches now offer powerful solutions for microscopy artifact elimination. You’ll find Fast Fourier Transform (FFT) algorithms particularly effective for isolating and removing frequency-specific artifacts from your images.
For user-friendly options, BioVoxxel Pseudoflatfield correction provides an accessible interface for normalizing contrast and eliminating illumination artifacts. When dealing with noise, Gaussian Blur techniques can smooth irregularities while preserving essential structural details.
You can maximize efficiency through batch processing scripts that automate artifact correction across entire datasets. Consider integrating community-developed tools like CIDRE and BaSiC for flat-field correction.
These methods not only address common illumination artifacts but also guarantee consistency in your quantitative analyses, ultimately producing cleaner, more reliable microscopy data for your research.
Frequently Asked Questions
Why Is the Contrast of a Microscope Image Important?
You need contrast to see cellular structures clearly. It helps you distinguish between components, identify abnormalities, and make accurate diagnoses. Without sufficient contrast, you’ll miss critical microscopic details in your specimens.
What Is the Function of the Contrast Microscope?
You’ll use a contrast microscope to view transparent specimens without staining. It converts phase differences in light into brightness variations, making previously invisible cellular structures visible by exploiting refractive index differences between samples and their surroundings.
What Increases Contrast on a Microscope?
You can increase contrast on your microscope by using stains, employing phase contrast or DIC techniques, adjusting lighting with darkfield methods, and utilizing color filters to enhance visibility of specimen features.
Why Do Images Appear Inverted When Viewed Under the Microscope as Compared to the Ones Viewed From the Side?
When you look through a microscope, images appear inverted because the objective lens flips light rays. This creates upside-down and reversed images compared to side views, a fundamental optical principle of microscope design.
In Summary
You’ll find that contrast artifacts in microscopy stem from inherent optical limitations rather than equipment failures. By understanding phase differences, optimizing your condenser alignment, and adjusting numerical aperture settings, you can greatly reduce halos and distortions. Remember, thicker specimens typically produce more pronounced artifacts. For critical imaging applications, consider implementing computational correction methods to achieve the cleanest, most accurate visual representation of your specimens.


Leave a Reply