
To align phase contrast annuli: 1) Set up Köhler illumination, 2) Place specimen on stage and select 10x phase objective, 3) Insert centering telescope into eyepiece, 4) Focus to visualize both phase rings clearly, 5) Use condenser centering screws to overlap rings precisely, 6) Replace eyepiece and verify with test specimen, 7) Repeat for each objective used. Proper alignment shows crisp images with distinct contrast and minimal halos—the hallmark of professional microscopy results.
Gathering the Essential Equipment for Annuli Alignment

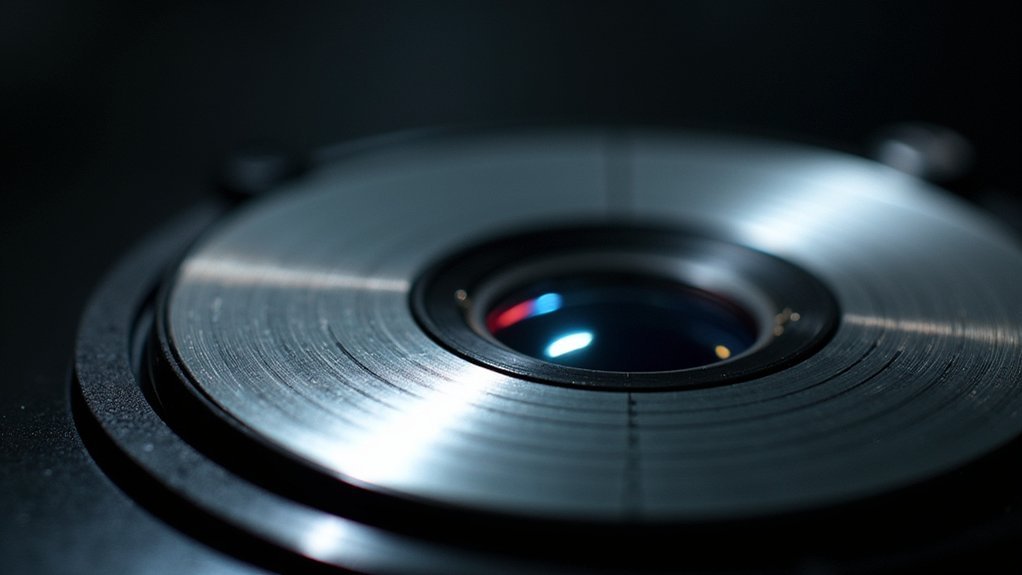
Five key components are essential before you begin aligning phase contrast annuli. First, you’ll need a properly functioning phase contrast microscope with a phase contrast condenser that matches your objectives. Confirm your microscope is equipped with appropriate phase objectives (typically 10x) labeled with their corresponding phase annulus designation (such as ‘Ph1’).
A centering telescope is indispensable for this process, as it allows you to view both rings simultaneously during alignment. Before starting, verify your microscope is set up for Köhler illumination to optimize light distribution and contrast.
Keep your specimen secured on the stage while preparing to align the rings.
Finally, locate the centering screws on your condenser—you’ll use these to precisely adjust and align the phase annulus with the objective’s phase plate.
Preparing Your Microscope for Phase Contrast
With your equipment ready, you’ll now need to properly prepare your microscope for phase contrast imaging.
Begin by guaranteeing your phase contrast microscope is set up for Köhler illumination to optimize light distribution and image quality.
Place your specimen securely on the stage and select the 10x phase objective lens for initial alignment.
Remove one eyepiece and insert the phase contrast centering telescope to clearly view both the light and dark phase rings.
The critical step comes next: use the centering screws on the condenser annulus to carefully adjust the position until both rings perfectly overlap.
This precise alignment guarantees the phase contrast mechanism works correctly.
After completing alignment, replace the eyepiece and check that your contrast images show enhanced detail and clarity.
Inserting and Focusing the Phase Telescope
Properly inserting and focusing the phase telescope represents a critical step in achieving ideal phase contrast imaging.
Begin by removing one eyepiece from your microscope, creating an opening to insert the phase telescope. This tool provides a direct view of the phase components that need alignment.
Once inserted, adjust the focus knob on the phase telescope until both the dark and light rings appear sharp and clearly defined. Confirm the telescope is centered on the microscope’s optical axis for best viewing of the phase elements.
With a clear focus established, use the centering screws on your condenser to align the phase annulus with the objective phase plate. The rings should perfectly overlap when properly aligned.
After completing the alignment process, replace the eyepiece to resume normal specimen observation.
Visualizing the Phase Rings and Annuli
When looking through the phase telescope, you’ll see two circular elements—the darker phase ring in the objective and the brighter annular diaphragm from the condenser—which must perfectly overlap for ideal contrast.
You’ll know your alignment is correct when the bright annulus appears as a uniform ring perfectly centered around the dark phase ring, with equal spacing visible all around.
Adjust the centering screws on your condenser while watching through the eyepiece until perfect concentricity is achieved, being careful not to overtighten the mechanism.
Centering Annuli Correctly
The success of phase contrast microscopy depends entirely on how well you align the phase rings and annuli.
To center the phase annuli properly, first focus the phase contrast telescope sharply on both the light and dark rings visible in your field of view.
Remove your specimen from the light path for clearer visualization of these rings. The light ring represents your condenser phase annulus, while the dark ring corresponds to the objective’s phase plate.
Using the centering screws or knobs on your condenser, carefully adjust until both rings perfectly overlap each other.
Remember to repeat this alignment process for each objective lens you’ll be using, as individual objectives may require specific adjustments.
Proper centering guarantees ideal contrast and image quality in your phase contrast observations.
Alignment Visual Indicators
Successful phase contrast microscopy relies on your ability to recognize and interpret key visual cues during alignment.
When properly centered, you’ll see two distinct rings through the eyepiece: a dark phase annulus and a light phase plate. These should overlap perfectly, creating sharp, well-defined concentric circles.
During the centering process, remove your specimen to focus solely on the rings. Adjust the condenser’s centering screws until both rings appear crisp and properly superimposed.
Watch for telltale signs of misalignment—halos or blurred edges around specimens are clear indicators that your phase rings need adjustment.
Remember to check alignment regularly, as even slight misalignment dramatically reduces contrast and image quality.
Your microscope’s peak performance depends on these rings being perfectly aligned.
Microscope Eyepiece Adjustments
Properly visualizing the phase rings and annuli requires a specialized approach to your microscope’s eyepiece setup.
Start by removing one eyepiece and inserting the centering telescope in its place. Adjust the telescope’s focus until both the dark phase annulus (from the condenser) and light phase plate ring appear sharp and distinct.
Perfect alignment is critical for ideal phase contrast imaging. Use the condenser’s centering screws to position the dark annulus so it completely overlaps with the light ring.
You’ll know you’ve achieved proper alignment when the rings perfectly superimpose, creating a unified image.
Once you’ve completed this alignment, remove the centering telescope and reinstall your regular eyepiece. Your microscope is now correctly configured for phase contrast observation of your specimens.
Centering Phase Annuli With Precision
Precise centering of phase annuli forms the cornerstone of high-quality phase contrast microscopy. To achieve ideal contrast, you’ll need to use a phase contrast centering telescope that allows you to simultaneously view both the condenser phase annulus and the objective phase plate.
First, remove your specimen from the light path to make alignment easier. Looking through the telescope, you’ll see two rings that must be perfectly concentric. Adjust the centering screws on the condenser until the annulus aligns perfectly with the phase plate of the objective.
Once properly aligned, replace the telescope with your regular eyepiece to resume specimen observation.
Remember to check this alignment regularly, as misalignment will result in washed-out images with poor contrast, undermining your microscopy work.
Verifying Alignment With Test Specimens
Select a phase contrast test slide that includes both phase and non-phase elements to validate your annuli alignment.
You’ll confirm proper setup by observing distinct contrast patterns where properly aligned systems display clear dark and light areas corresponding to phase shifts.
If you notice halos or blurred edges around your specimens, adjust the centering screws on your condenser until the phase rings appear perfectly concentric.
Effective Specimen Selection
When verifying the alignment of phase contrast annuli, choosing the right test specimens makes all the difference between success and frustration. Select phase contrast test slides or unstained living cells to effectively assess your alignment quality.
Opt for thin specimens like cheek cells or microorganisms, as these demonstrate phase contrast effects more clearly during your alignment checks. You’ll achieve peak contrast quality when specimens are thin enough to reveal subtle structural details without overwhelming the optical system.
As you evaluate alignment, look for crisp phase rings and absence of halos around your specimen—telltale signs that your phase annulus and objective phase plate are properly aligned.
Always verify your specimen is in the focal plane and well-illuminated. Remember to check alignment regularly, as specimen thickness variations can affect visibility.
Observing Contrast Patterns
After preparing your microscope, you’ll need to verify alignment using appropriate test specimens. A phase contrast test slide is ideal for this purpose, featuring clear and dark patterns that reveal alignment quality.
When you observe the test slide, look for sharp, distinct contrast patterns indicating proper phase ring alignment. If you notice halos or blurred edges surrounding the patterns, your phase rings are likely misaligned. You’ll need to adjust the condenser annulus to correct this issue.
For maximum visibility during testing, adjust your light intensity and guarantee Köhler illumination is correctly set up. These adjustments enhance the contrast patterns, making alignment problems easier to spot.
Remember to check alignment regularly with test specimens to maintain consistent imaging quality for all your phase contrast observations.
Maintaining Optimal Alignment Across Magnifications
Although mastering phase contrast microscopy requires attention to multiple factors, maintaining alignment across different magnification levels stands as perhaps the most critical skill.
When you switch between objectives, you’ll need to recalibrate your annulus centering for each phase objective, as misalignment drastically reduces image quality.
Use your centering telescope to guarantee perfect overlap between the annulus and phase plate. You’ll achieve ideal contrast microscopy results only when these components are correctly aligned.
Make fine adjustments with your substage condenser’s centering screws, focusing on precise light path alignment at each magnification.
After switching objectives, always check your images for halos or distortions—these are telltale signs that realignment is necessary.
This systematic approach guarantees consistently clear visualization regardless of the magnification you’re using.
Frequently Asked Questions
How to Align Phase Contrast?
To align phase contrast, you’ll need to use a centering telescope to perfectly overlap the condenser annulus and objective phase plate rings. Adjust centering screws until both rings align, then verify with a test slide.
What Is the Phase Contrast Annular Diaphragm?
The phase contrast annular diaphragm is a ring-shaped aperture in your microscope that creates a hollow cone of light. It works with the phase plate to transform invisible phase differences into visible brightness variations in transparent specimens.
What Is the Phase Contrast Microscope Procedure?
You’ll start with Köhler illumination, then use a centering telescope to align the condenser’s phase annulus with the objective’s phase ring. After alignment, replace the eyepiece and check image quality with a test slide.
How Do You Prepare for a Phase Contrast Slide?
To prepare a phase contrast slide, you’ll need to mount thin, unstained specimens on clean slides with coverslips. Use minimal mounting medium and make certain there are no air bubbles that could interfere with imaging.
In Summary
You’ve now mastered the essentials of phase contrast annuli alignment! Remember, proper alignment isn’t just about clear images—it’s about revealing cellular details invisible to brightfield microscopy. By following these seven steps regularly, you’ll guarantee consistent, high-quality observations. Take time to verify alignment whenever you switch objectives, and you’ll enjoy the full potential of your phase contrast microscope in all your scientific explorations.


Leave a Reply