
Nuclear stains light up cell samples through selective binding to DNA and RNA. These dyes contain aromatic rings that absorb specific wavelengths and emit longer ones, creating fluorescence. Cell-permeant stains like Hoechst work on live cells, while impermeant ones like DAPI only enter cells with compromised membranes. The key to clear imaging is optimizing concentration, incubation time (5-15 minutes), and thorough washing to remove unbound dye. Understanding these mechanisms reveals powerful cellular visualization techniques.
The Chemistry Behind Nuclear Dye Fluorescence
When nuclear stains bind to DNA or RNA, they undergo a remarkable transformation that amplifies their fluorescent signal, making the nucleus visible under specialized microscopy. This phenomenon, called “fluorescence enhancement,” occurs as dyes become intercalated within the double-stranded DNA structure.
The aromatic rings in fluorescent dyes absorb specific light wavelengths and emit longer wavelengths, creating the characteristic glow you’ll observe.
You’ll find both cell-permeant variants that penetrate living cells and impermeant ones that only enter cells with compromised membranes.
To achieve peak results with nuclear stains, you must carefully control concentration and incubation time. This maximizes the signal-to-background ratio while minimizing photobleaching.
The selective binding affinity of these compounds for nucleic acids guarantees that you’ll see precisely where genetic material resides within your cell samples.
Cell Permeant vs. Impermeant Stains: Choosing the Right Tool
Selecting the appropriate nuclear stain depends fundamentally on whether you’re working with live or fixed cells.
Cell-permeant stains like Hoechst and SYTO® penetrate intact membranes, making them ideal for live cell imaging with bright fluorescence intensity within 5-15 minutes of application.
Cell-permeant nuclear stains readily cross intact membranes, delivering vivid fluorescence for live-cell visualization within minutes of application.
In contrast, cell-impermeant nuclear stains such as DAPI and propidium iodide only enter cells with compromised membrane integrity, effectively marking dead cells. These reach maximum staining intensity in about 5 minutes when used with fixed samples.
Your experimental goals should guide your choice. If you’re tracking real-time cellular processes, you’ll need cell-permeant options. For fixed cell analysis, impermeant stains work well.
Remember to take into account binding affinity characteristics and appropriate washing steps to optimize signal clarity in your nuclear visualization experiments.
Optimizing Signal-to-Background Ratio in Nuclear Imaging
Nuclear stains rely on specific chemical mechanisms where dyes bind to DNA through intercalation or minor groove interactions, creating the fluorescent signal you’ll observe during imaging.
You’ll need to implement thorough washing steps after staining to remove unbound dye molecules that contribute to background noise and diminish image clarity.
Switching to saline-based imaging solutions can further reduce background fluorescence, allowing you to capture nuclear signals with remarkable precision and contrast.
Chemical Binding Mechanisms
To achieve ideal contrast in nuclear imaging, you’ll need to understand how stains chemically interact with cellular components. Nuclear stains work through specific binding mechanisms to nucleic acids, dramatically increasing fluorescence when they attach to DNA or RNA.
Cell-permeant dyes offer superior performance for live cells without extensive washing.
These binding mechanisms create visual clarity through:
- Intercalation – where the dye molecules wedge between DNA base pairs
- Groove binding – where dyes attach to the minor or major grooves of the DNA helix
- Electrostatic interactions – where positively charged dyes attract to negatively charged phosphate groups
Optimize your staining protocol with appropriate incubation times (5-15 minutes) and wash steps to reduce photobleaching and maximize signal-to-background ratio, especially when imaging in saline-based solutions.
Background Noise Reduction
When aiming for precise nuclear imaging results, your ability to distinguish true nuclear signals from background noise will ultimately determine image quality. Optimizing your protocol to enhance signal-to-background ratio is critical for successful fluorescence imaging.
| Strategy | Effect |
|---|---|
| Washing steps | Removes unbound dyes, reducing background fluorescence |
| Saline-based solutions | Creates clearer visualization by minimizing noise |
| Optimized incubation | Allows high-affinity dyes to accumulate in nuclei |
| Tight binding | Guarantees fluorescence comes primarily from binding to nucleic acids |
You’ll achieve superior results by implementing these techniques systematically. The tight binding of nuclear stains to DNA/RNA guarantees strong fluorescence intensity while reducing background noise. Remember that each improvement to your signal-to-background ratio translates directly to more accurate data interpretation and clearer images.
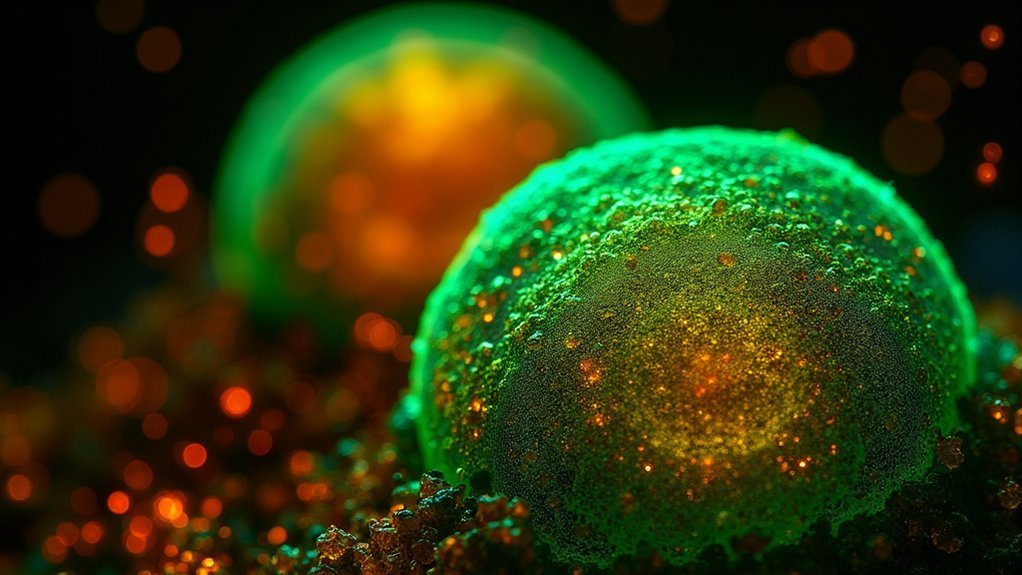
Multicolor Nuclear Staining for Complex Sample Analysis
Although traditional single-color nuclear staining has served researchers well for decades, the emergence of multicolor nuclear staining techniques has revolutionized complex sample analysis.
You’ll find that fluorescent dyes like NucSpot and DAPI bind stoichiometrically to nucleic acids, providing quantification directly proportional to DNA content—essential for accurate cell cycle analysis.
When working with complex samples, you’ll appreciate these advantages:
- Distinct spectral ranges (including red and near-infrared) minimize channel bleed-through, enabling effective multiplexing of multiple cellular components.
- Cell-permeant nuclear stains maintain cell viability during live-cell imaging, allowing observation of dynamic processes over time.
- No-wash staining processes using NucSpot Live dyes simplify your workflow while improving reliability in complex samples.
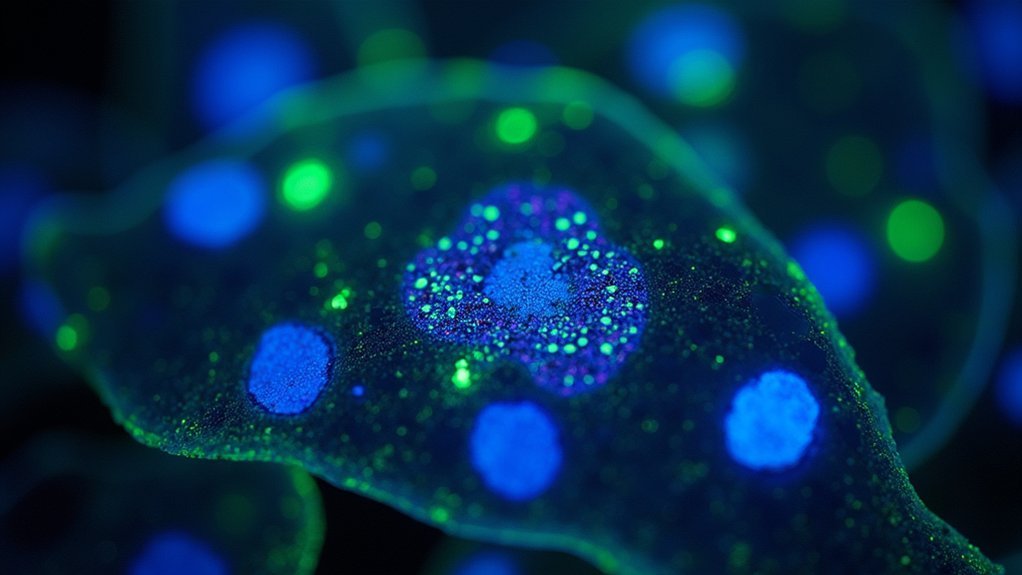
Live Cell Nuclear Labeling Techniques and Considerations
Your success with live cell nuclear labeling hinges on selecting dyes with ideal fluorescence selectivity mechanisms that bind specifically to DNA while minimizing cytoplasmic background.
To guarantee effective staining, you’ll need to take into account membrane permeability factors, possibly incorporating efflux pump inhibitors like verapamil to enhance dye retention and signal intensity.
You can mitigate phototoxicity by limiting exposure times during imaging, choosing low-toxicity options like NucSpot Live Dyes, and refining acquisition parameters to preserve both cell viability and fluorescent signal quality.
Fluorescence Selectivity Mechanisms
Understanding how nuclear stains achieve their remarkable selectivity begins with their molecular interactions. These dyes remain relatively non-fluorescent until they bind to nucleic acids, particularly double-stranded DNA, where their signal intensity dramatically increases.
You’ll notice this property enables real-time imaging without washing steps.
Cell-permeant dyes like Hoechst and SYTO® penetrate live cell membranes without compromising their integrity. For ideal incubation times:
- Allow 5-15 minutes for high-affinity dyes to accumulate in the nucleus
- Consider adding efflux pump inhibitors like verapamil to enhance dye retention
- Monitor fluorescence development to balance signal strength against background noise
NucSpot Live Dyes exemplify this selective approach—they remain virtually invisible until binding occurs, providing clean nuclear visualization in live cells with minimal background interference.
Membrane Permeability Factors
When selecting nuclear stains for live cell applications, membrane permeability emerges as the critical factor determining staining success. You’ll need cell membrane-permeant dyes like Hoechst or SYTO® for effectively labeling nuclei in live cells, as they penetrate intact membranes to provide bright fluorescence for real-time imaging without fixation.
Unlike DAPI and propidium iodide, which only enter dead or permeabilized cells, permeant nuclear stains allow visualization of DNA in viable specimens.
To improve staining efficiency, consider using an efflux pump inhibitor such as verapamil to enhance dye retention by preventing active transport out of cells. For ideal results, limit incubation to 5-15 minutes—this achieves effective nuclear labeling while minimizing photobleaching and phototoxicity, ensuring your live cell samples remain viable throughout imaging sessions.
Phototoxicity Mitigation Strategies
Beyond selecting membrane-permeant dyes, minimizing phototoxicity represents a major challenge in live cell nuclear imaging.
You’ll achieve better results by using low-toxicity nuclear stains like NucSpot Live Dyes that enable real-time imaging while reducing cellular stress. These dyes require minimal incubation time (just 10 minutes) and help prevent photobleaching when paired with short exposure times.
To further protect your live cell samples:
- Image in saline-based solutions to decrease background fluorescence, allowing clearer nuclear signals with less excitation light.
- Add efflux pump inhibitors such as verapamil to enhance dye retention without extended light exposure.
- Keep your exposure times as brief as possible during both staining and imaging procedures to minimize phototoxic damage.
Fixed Sample Nuclear Counterstaining Methods
Although researchers employ various techniques for visualizing cellular components, nuclear counterstaining remains essential for fixed sample analysis.
When you’re working with fixed, permeabilized cells, cell-impermeant dyes like DAPI and propidium iodide bind specifically to double-stranded DNA, creating bright nuclear visualization under fluorescence microscopy.
For effective counterstaining, you’ll typically incubate your fixed samples with DAPI for 5-10 minutes, then rinse with PBS or TBS-T to remove excess dye. The fluorescent signal intensifies dramatically upon DNA binding, revealing detailed nuclear morphology.
To preserve this visualization, add antifade reagents after mounting your samples.
This approach is particularly valuable for immunofluorescence applications where you need to precisely localize proteins within the nucleus. The clarity of nuclear boundaries provided by these counterstaining methods enables accurate interpretation of complex cellular structures during microscopy.
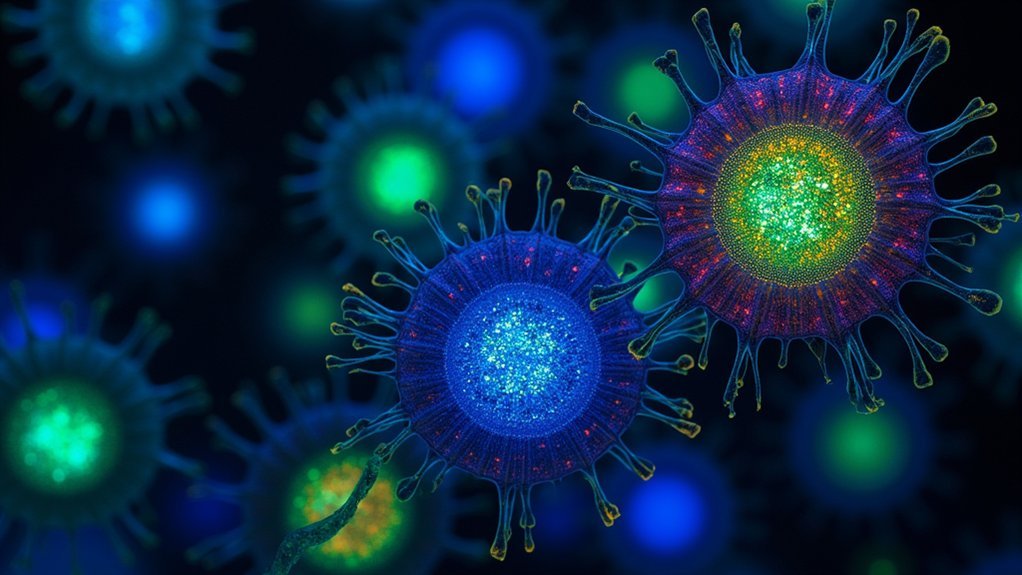
Nuclear Stains for Cell Cycle and Viability Assessment
Nuclear stains serve as powerful tools for evaluating both cell cycle progression and cellular viability through their DNA-binding properties. When you’re analyzing cell populations, these stains bind stoichiometrically to DNA, allowing you to distinguish between G1, S, and G2 phases based on fluorescence intensity.
- Cell-permeant stains like NucSpot Live selectively illuminate living cells with minimal toxicity, enabling real-time live cell imaging across multiple days.
- Cell-impermeant stains such as propidium iodide only penetrate compromised membranes, highlighting dead cells with bright fluorescence.
- DAPI’s bright blue fluorescence when bound to double-stranded DNA makes nuclei visibly distinct in both fixed and live samples.
Flow cytometry paired with these nuclear stains offers quantitative assessment of both cell cycle distribution and viability in large cell populations with remarkable precision.
Frequently Asked Questions
How Do Nuclear Stains Work?
Nuclear stains work when they bind to DNA or RNA in cells. You’ll see a fluorescent signal intensify upon binding, allowing you to visualize nuclei in either live cells (using cell-permeant dyes) or fixed specimens.
What Color Will the Nuclei Stain?
Your nuclei will glow blue with DAPI or Hoechst, green with NucSpot Live 488 or SYTO® green variants, and far-red with NucSpot Live 650 or RedDot stains. The color depends on your specific stain choice.
Why Are Stains Required to Observe Some Cells With a Light Microscope?
You’ll need stains because many cells are naturally transparent. Stains bind to specific structures like nuclei, providing contrast so you can see cellular details that aren’t visible under normal light microscope conditions.
What Stain Is Used to Highlight the Nucleus?
You’ll find that DAPI, Hoechst, propidium iodide (PI), and NucSpot® stains are used to highlight the nucleus. They bind to DNA and emit fluorescence when excited by specific wavelengths of light.
In Summary
You’ve now explored the illuminating science of nuclear stains. Whether you’re using DNA-intercalating dyes or protein-specific markers, you’ll need to select between permeant and impermeant options based on your experimental goals. By optimizing staining protocols, you’ll enhance your imaging contrast while avoiding background noise. Remember, the right nuclear stain combination isn’t just about visualization—it’s your key to revealing cellular dynamics and viability assessment.


Leave a Reply