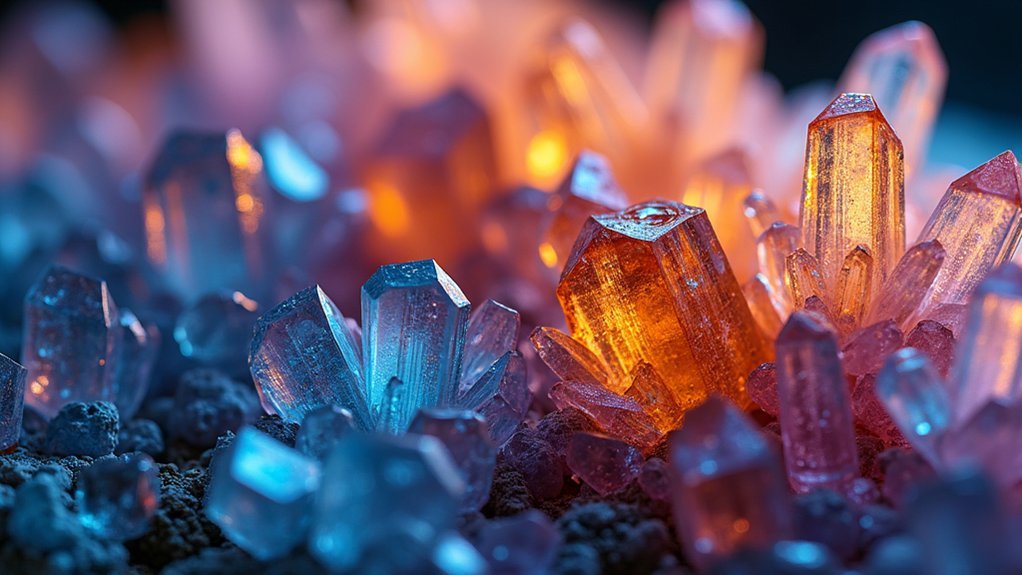
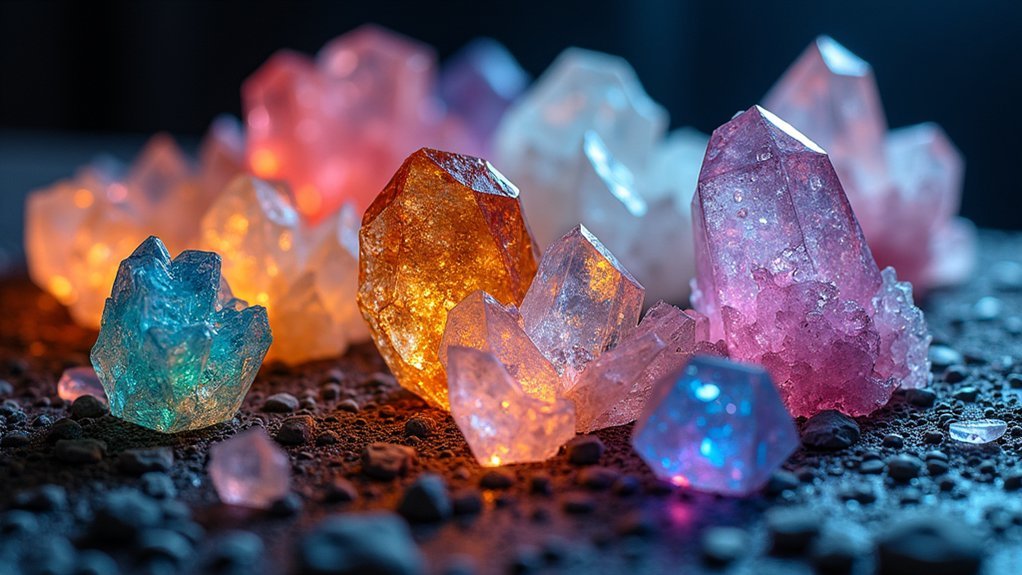
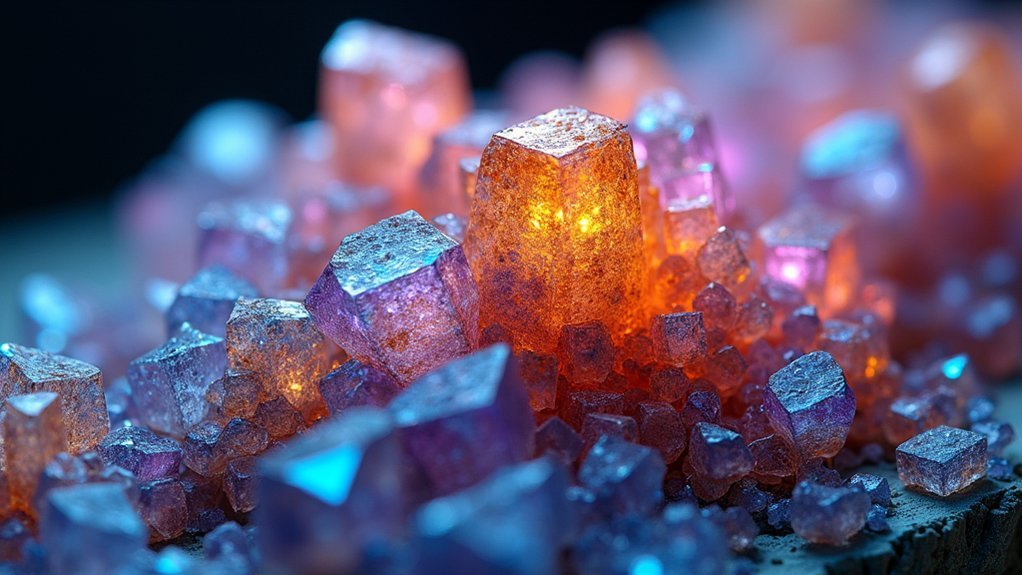
Great mineral photos through polarized light depend on proper sample preparation (0.03mm thin sections), quality equipment (polarizing microscope, digital camera with manual settings), and technique. You’ll need to align polarizing filters correctly, use consistent lighting, and rotate samples to capture vibrant interference colors and pleochroism. Adjusting the analyzer reveals shifting color patterns that highlight mineral structure. Mastering these elements transforms ordinary specimens into stunning scientific art.
The Science Behind Polarized Light and Mineral Birefringence

While most photography captures minerals in ordinary light, polarized light reveals their hidden optical properties through a fascinating physical phenomenon.
When you place a mineral between two polarizing filters, you’re witnessing birefringence in action—light waves splitting into two rays traveling at different velocities through anisotropic materials.
The first filter (polarizer) aligns light waves in one direction, while the second (analyzer) reveals how the mineral’s internal structure affects these waves. This setup exposes distinctive interference colors and variations in refractive index that aren’t visible in reflected light.
High birefringence minerals display dramatic color patterns in a polarizing microscope, while pleochroism—color changes when viewed from different angles—becomes more pronounced.
These optical properties create striking images while providing essential information about a mineral’s crystalline structure.
Essential Equipment for Capturing Stunning Mineral Photos
Capturing the mesmerizing optical properties of minerals requires specialized equipment that transforms ordinary specimens into stunning visual displays.
At the heart of your setup should be a polarizing microscope, which combines a polarizer and analyzer to reveal the birefringent properties and enhance contrast in your samples.
A polarizing microscope isn’t just equipment—it’s the gateway to revealing a mineral’s hidden birefringent beauty and structural secrets.
You’ll need high-quality thin sections (approximately 0.03 mm thick) to guarantee ideal light transmission and accurate color representation.
Pair this with a digital camera offering manual settings for precise exposure and focus control.
A light source with adjustable intensity is vital—it helps minimize glare while maximizing illumination of the minerals’ optical properties.
Don’t forget to use tripods or stable mounts to eliminate camera shake, especially when working with longer exposures in polarized light conditions.
Proper Microscope Setup and Sample Preparation Techniques

Once you’ve gathered your equipment, setting up your microscope correctly becomes the critical first step for successful mineral photography through polarized light.
Confirm your petrographic microscope is equipped with functioning polarizing filters—both polarizer and analyzer—to enhance mineral contrast.
Properly calibrate your instrument by checking optical alignment and adjusting the light source for consistent illumination.
When preparing samples, create thin sections approximately 0.03 mm thick to reveal optical properties effectively.
Apply immersion oil with a matching refractive index to minimize light refraction at the sample-glass interface, dramatically improving image clarity.
While viewing minerals, rotate the sample stage to discover ideal angles that showcase distinctive characteristics like pleochroism and birefringence in anisotropic specimens.
These techniques will transform ordinary mineral samples into stunning scientific imagery worthy of documentation.
Mastering Lighting and Polarization Controls for Vibrant Colors
The art of polarized light microscopy extends beyond proper setup into the domain of light manipulation. You’ll achieve striking mineral photos by strategically aligning your polarizing filters at specific angles to maximize color contrast.
Using a quartz halogen light source provides consistent illumination that reveals minerals’ optical properties.
For best results, rotate your analyzer while observing how interference colors shift and intensify. This technique highlights the mineral’s birefringence characteristics. Your samples should be approximately 0.03 mm thick to guarantee light interacts effectively with the crystalline structure.
Don’t hesitate to experiment with different observation angles by rotating your specimens. This approach discloses pleochroism and produces a range of vibrant interference patterns unique to each mineral.
Capture these dazzling optical phenomena with a high-resolution camera equipped with proper macro capabilities.
Advanced Composition Strategies for Dramatic Mineral Imagery

While technical setup provides the foundation for polarized microscopy, masterful composition transforms ordinary mineral specimens into extraordinary visual art.
You’ll achieve striking results by positioning samples to highlight areas where different refractive index values create the most vivid interference colors. Frame your shots to emphasize boundaries between mineral structures, where contrast is naturally heightened.
For minerals with pleochroism, capture a sequence at various rotation angles to document color changes, then select the most dramatic view or create a composite image.
Consider adjusting your mineral sample thickness to precisely 0.03 mm for peak light transmission. When photographing birefringent properties, experiment with polarizer angles to maximize the visibility of optical properties.
Add compensators strategically to quantify birefringence while simultaneously enhancing visual impact through additional color contrasts.
Frequently Asked Questions
What Are the Properties of Minerals Under Cross Polarized Light?
You’ll see anisotropic minerals display interference colors while isotropic ones appear black. You can observe birefringence, extinction angles, and relief. Mineral thickness and orientation affect the colors you’ll see under cross-polarized light.
What Causes Relief in Minerals Viewed in Plane Polarized Light?
Relief in minerals results from differences in refractive index between the mineral and surrounding medium. You’ll notice high-index minerals like garnet appear raised or depressed, creating that distinctive visual contrast when you’re using plane polarized light.
What Is Special About Polarized Light?
Polarized light’s special property is its directional vibration, allowing you to see features invisible in normal light. It reveals mineral birefringence, crystal structures, and internal stresses that you can’t observe otherwise.
What Is Polarized Light in Geology?
In geology, polarized light is a specialized illumination you’ll use in microscopy where light waves vibrate in one plane, helping you identify minerals by revealing their optical properties, birefringence, and crystal structures.
In Summary
When you’ve mastered these techniques, you’ll transform ordinary mineral specimens into extraordinary works of art. Remember, it’s not just technical skill that creates stunning polarized light photography—it’s your artistic eye and patience. Keep experimenting with different minerals, angles, and polarization settings. The vivid colors and intricate patterns you’ll capture reveal nature’s hidden beauty that most people never see.


Leave a Reply