
Your microscope video stream issues likely stem from poor illumination, dust contamination, misaligned specimens, or incorrect camera settings. Check if your condenser diaphragm is properly adjusted, clean your lenses regularly, and confirm your camera is using the correct resolution and drivers. Start with lower power objectives to establish focus before switching to higher magnification. The following troubleshooting steps will help you identify and fix these common problems fast.
What’s Wrong With Your Microscope Video Stream?

Why does your microscope video stream look so disappointing when you’re trying to capture vital details? The culprit might be dust accumulation on your lenses or camera, which greatly degrades image quality.
Regular cleaning is essential for maintaining clear visibility.
You’re likely damaging your lamp if you’re starting it at high intensity, reducing overall brightness and clarity.
Check if your specimen is properly centered over the condenser lens—misalignment creates an unclear view and frustrating results.
Are you using immersion oil correctly? Applying it to non-oil immersion objectives damages optics and produces faulty imaging.
Don’t overlook your condenser diaphragm adjustment—it’s important for enhancing contrast and revealing fine details in your specimens.
These seemingly small factors make a significant difference in your video stream quality.
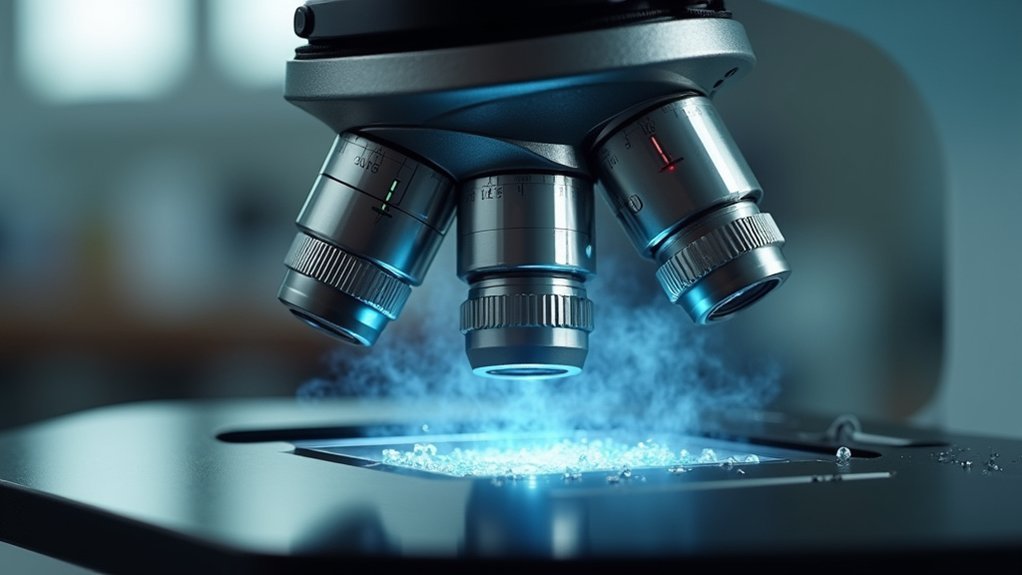
Poor Illumination and Light Source Problems
Three common issues often plague microscope illumination systems, compromising your video stream quality before it even reaches the camera.
First, an incorrectly adjusted condenser diaphragm reduces contrast and visibility—fine-tune this setting to dramatically improve image clarity in your stream.
The condenser diaphragm is the unsung hero of microscopy—proper adjustment transforms mediocre images into crystal-clear visual data.
Second, dust accumulation on optics or light sources is a silent culprit. Regular cleaning and covering your equipment when not in use prevents this degradation of illumination quality.
Third, lamp problems can manifest as insufficient brightness. If your lamp is old or malfunctioning, replace it with a compatible, high-quality alternative.
When powering up, always start with lower intensity to prevent cold-start damage from high current. This practice not only extends lamp life but guarantees ideal illumination for your video capture.
Camera Settings and Resolution Issues
When troubleshooting your microscope video stream, you’ll need to address common resolution challenges by ensuring your camera is set to the highest available option to capture essential fine details.
You can greatly improve image quality by adjusting exposure settings to prevent overexposure while maintaining ideal brightness and contrast.
Don’t overlook the importance of proper white balance configuration, as this directly affects color accuracy in your microscopic specimens and can mean the difference between usable and unusable research imagery.
Video Resolution Challenges
Matching your camera resolution to your microscope’s optical capabilities stands as the cornerstone of quality microscopic imaging.
You’ll need at least 1080p resolution to avoid degradation of microscope imagery. If your video appears blurry or pixelated, check your camera’s exposure, gain, and frame rate settings—they’re likely misconfigured.
Don’t overlook your software’s role in delivering high-definition output. Verify it supports resolution adjustments to optimize your live feed.
Outdated camera drivers can cause compatibility issues affecting overall video performance, so keep them updated.
Remember that even with perfect camera settings, poor lighting conditions will compromise your stream quality.
Adjust your condenser and light intensity to provide consistent, appropriate illumination across your specimen for the clearest possible resolution.
Camera Settings Fundamentals
Optimizing your microscope camera settings directly impacts the quality and usability of your video stream.
Finding the right resolution is a balancing act—higher settings deliver clearer images but require more processing power and storage, potentially causing lag in your stream.
Pay close attention to exposure settings to guarantee proper brightness and contrast, making specimen details visible without over or underexposure.
For smooth video that maintains quality, aim for a frame rate around 30 fps for most applications.
Don’t overlook focus and zoom calibration—even minor misalignments result in blurry images that misrepresent your specimen.
Finally, proper white balance adjustment guarantees accurate color reproduction under various lighting conditions, preventing color casts that might obscure critical details in your microscopy work.
Focusing and Depth of Field Challenges
Although microscope video streaming offers powerful visualization capabilities, mastering focus and depth of field presents significant challenges for both novice and experienced users.
Start with the 4x objective to establish initial focus and properly center your specimen over the condenser lens before advancing to higher magnifications.
Begin with lower magnification to establish focus and properly position your specimen before exploring higher power objectives.
If you lose sight of your specimen at high power, don’t panic—simply return to a lower power objective to reorient yourself.
Remember to switch to the fine focus knob when using high-power objectives; the coarse knob can damage both the slide and objective at these magnifications.
For ideal image quality, adjust your condenser diaphragm appropriately.
Closing it slightly enhances contrast and improves visibility of transparent specimens by increasing depth of field in your video stream.
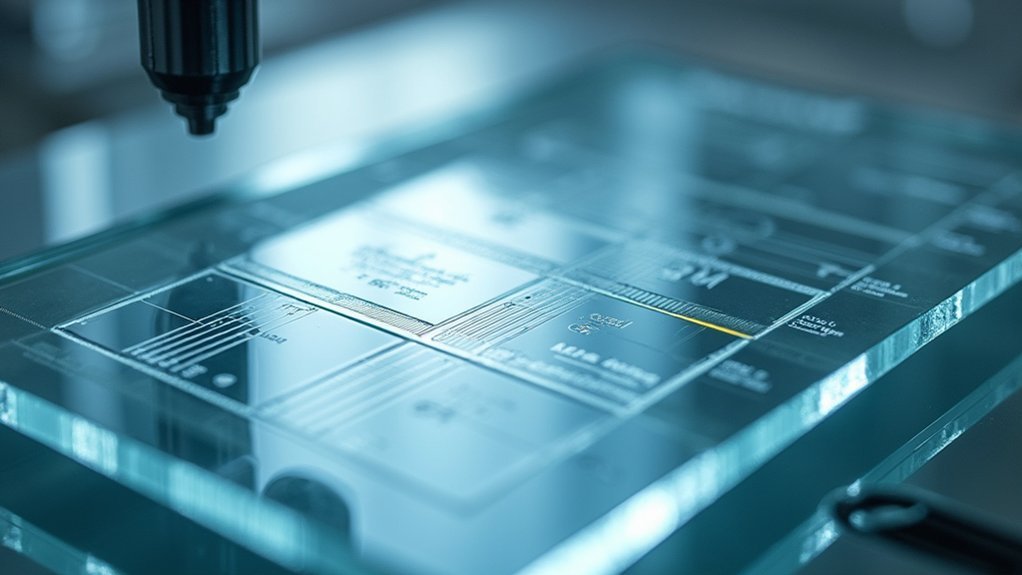
Alignment and Centering of Specimens

Proper alignment of your specimen forms the bedrock of successful microscope video streaming. When your specimen isn’t correctly positioned over the condenser lens, you might inadvertently stream the slide label instead of your intended subject—a common yet embarrassing mistake during presentations.
Always visually confirm your specimen’s position before streaming. Center it carefully to achieve ideal illumination and focus, which greatly enhances visibility in your video feed.
Start with low-power objectives to establish proper centering before shifting to higher magnifications for detailed observation.
Don’t forget to adjust your condenser based on which objective you’re using. This regular calibration maintains optimal lighting conditions and improves image clarity throughout your stream.
Proper alignment isn’t just about seeing your specimen—it’s about ensuring your audience sees it clearly too.
Dust and Debris Contamination
Even the smallest dust particles can greatly compromise your video stream quality, creating frustrating artifacts that distract viewers from your specimen. These contaminants reduce image clarity and contrast, directly impacting your video’s overall quality.
Implement a regular cleaning routine using compressed air or a soft brush to remove dust without scratching delicate lenses.
Don’t forget to keep your microscope covered when not in use—this simple habit greatly reduces dust accumulation over time.
Remember that cleanliness extends beyond the microscope itself. Dirty slides introduce additional contamination that can be mistaken for specimen features. Always prepare clean slides before observation.
Consistent maintenance of optical components isn’t just about immediate image quality—it prevents long-term damage that could permanently affect your microscope’s performance and video output.
Software and Hardware Compatibility

When troubleshooting microscope video streaming problems, you’ll often encounter driver compatibility issues that prevent proper communication between your device and computer.
Your microscope’s performance can be severely limited by bandwidth constraints, particularly when using older USB connections or attempting to stream high-resolution images without sufficient data throughput.
Check your system specifications against the microscope manufacturer’s requirements to guarantee your hardware can handle the video processing demands without introducing lag or image degradation.
Subheading Discussion Points
The compatibility between your microscope camera system and your computer setup forms the foundation for successful video streaming. Before troubleshooting other issues, confirm that your camera software works with your operating system—incompatible software won’t recognize your device properly.
Update your camera drivers regularly to avoid poor image quality and connection failures. When configuring your streaming software, match resolution settings to your camera’s capabilities to prevent lag and distortion.
Don’t overlook your hardware connections. Using a USB 2.0 port when your camera requires USB 3.0 will greatly limit performance and streaming quality.
Similarly, verify any third-party streaming applications are correctly configured to detect your microscope camera—improper setup often results in missing video feeds or functionality issues.
Driver Compatibility Issues
Driver compatibility presents one of the most common roadblocks to achieving clear, reliable microscope video streams. When you’re using outdated or incorrect drivers that don’t support your current operating system, video malfunctions are inevitable.
Before setting up your microscope, verify hardware compatibility—some microscopes require specific drivers unavailable for all operating systems or hardware configurations.
Don’t settle for generic drivers, as they typically deliver reduced functionality and degraded video quality compared to manufacturer-specific options.
To maintain peak performance, regularly update both your software and drivers. This practice guarantees ongoing compatibility and maximum microscope functionality.
Always check the manufacturer’s website for the latest driver updates and compatibility information. These simple precautions can save you considerable troubleshooting time and help deliver the high-quality video stream your work demands.
Bandwidth Limitations
Despite having the correct drivers installed, bandwidth limitations often become the next major hurdle in achieving smooth microscope video streaming. When your network can’t handle the data flow, you’ll notice degraded video quality, lag, or interruptions that compromise real-time observation and analysis.
Your computer’s hardware specifications matter greatly here. Insufficient CPU power or RAM will struggle with processing the incoming video data, regardless of connection speed. Similarly, outdated or incompatible software creates inefficient data transfer pathways.
To optimize your setup, consider reducing video resolution when full detail isn’t critical, and close background applications consuming network resources.
Check that your internet connection provides adequate speed and stability for your microscopy needs. Remember that even powerful equipment can’t overcome fundamental bandwidth constraints without these adjustments.
Microscope Objective Selection and Usage
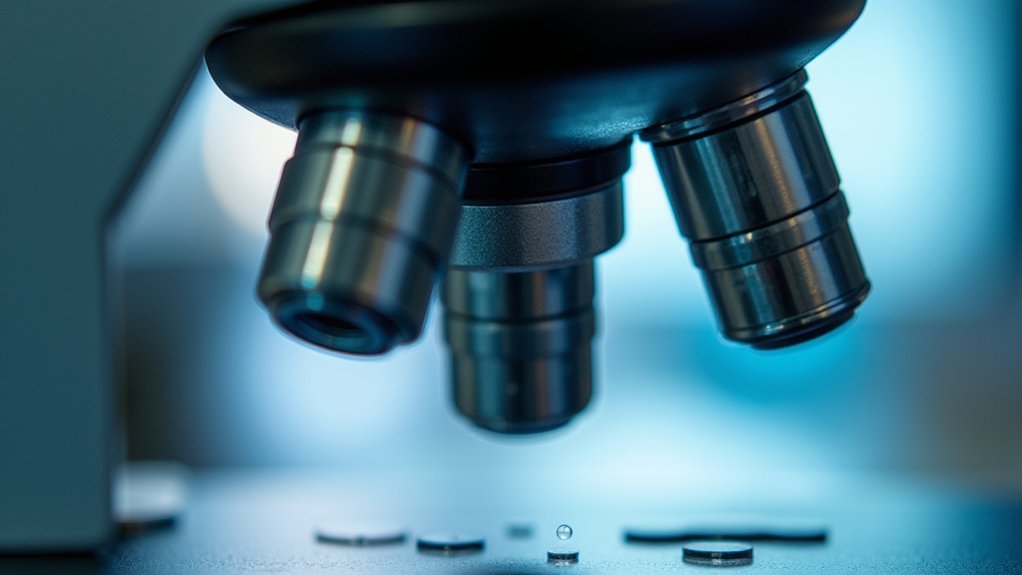
Proper objective selection forms the foundation of successful microscopic observation. Always begin with the lowest power objective (4x) to locate and center your specimen before moving to higher magnifications. This methodical approach prevents disorientation and specimen loss.
Ensure your slide is correctly centered over the condenser lens to maximize visibility and prevent misalignment. When using oil immersion objectives (typically marked “oil”), apply immersion oil only to these designated lenses to avoid damaging non-oil objectives.
Adjust the condenser diaphragm appropriately for each objective; closing it slightly can enhance contrast and improve focus quality.
When using high-power objectives, rely exclusively on the fine focus knob to prevent damaging both the slide and the expensive objective lens.
Frequently Asked Questions
Can Microscopes Record Video?
Yes, many modern microscopes can record video. You’ll find built-in cameras in newer models, while older microscopes can connect to external cameras or smartphones. You’ll need proper lighting and focus for quality recordings.
How to Fix Microscope Focus?
To fix microscope focus, start with the 4x objective. Center your specimen, adjust the condenser diaphragm for contrast, and use the fine focus knob when moving to higher magnifications. Return to low power if focus is lost.
What Are the Common Mistakes Students Make When Using a Microscope and How Can They Be Avoided?
You’ll avoid common microscope mistakes by starting with low power objectives, centering slides properly, adjusting the condenser diaphragm for contrast, using immersion oil only with appropriate objectives, and using the fine focus knob carefully.
What Is a Video Microscope?
A video microscope is a tool you’ll use that combines optical magnification with a camera system. It displays specimens on a screen, allowing you to capture images, record videos, and share observations easily.
In Summary
Many microscope video streaming issues you’re facing can be fixed with simple adjustments. Check your light source, optimize camera settings, properly focus your specimen, and guarantee everything’s aligned correctly. Don’t forget to clean dust from optical surfaces and verify software compatibility. By troubleshooting these common problems, you’ll dramatically improve your microscope video quality and achieve the clear, detailed images you need.

Leave a Reply