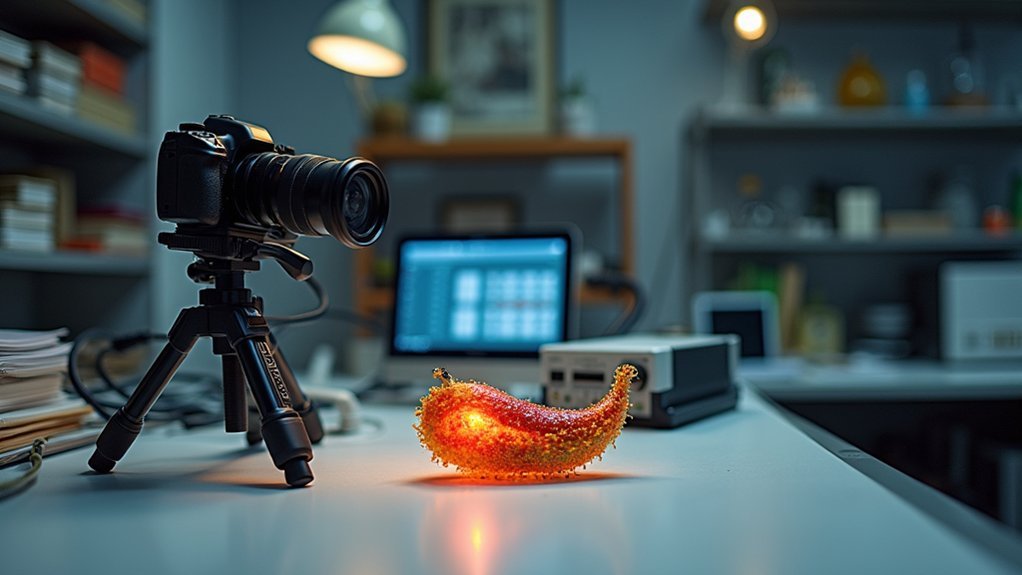
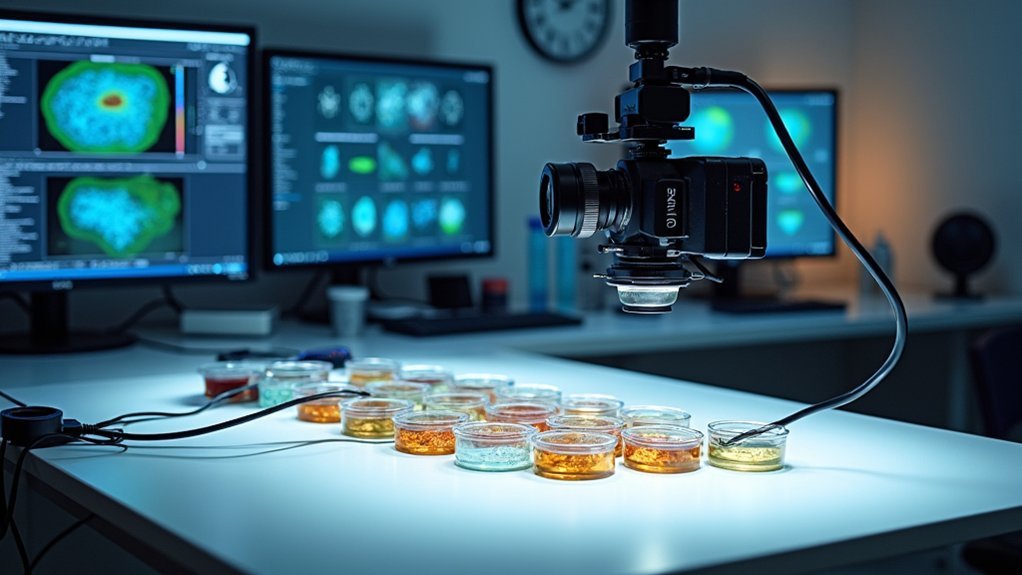
For successful scientific time-lapse imaging, use phenol red-free media and select adherent cell lines like HeLa. Configure your system (like EVOS FL Auto) with 12-minute intervals and maintain stable conditions (5% CO2, >70% humidity, consistent temperature ±0.5°C). Balance illumination to minimize photobleaching while maximizing signal quality. Implement systematic file naming and backup strategies for your data. Post-process with ImageJ for enhanced visualization. The following guide reveals technical nuances that transform ordinary captures into compelling scientific narratives.
Selecting the Right Imaging Media and Specimens
Anyone starting a time-lapse experiment must prioritize their media and specimen choices, as these fundamentally determine imaging success.
Choose phenol red-free media to reduce background fluorescence and minimize phototoxicity during extended imaging sessions. Your media should contain essential nutrients and growth factors, requiring replenishment approximately every 24 hours to maintain cell viability.
Media selection can make or break your imaging results—phenol red-free formulations with proper nutrients prevent background noise and sustain cellular health.
For your time-lapse video, select adherent cell lines like HeLa that can be easily transduced with fluorescent markers for clear visualization.
Consider utilizing 3D cell cultures such as spheroids to better represent in vivo conditions.
Pair your specimens with specialized imaging chambers like the Invitrogen™ EVOS™ Onstage Incubator to maintain physiological temperature and CO₂ levels throughout your experiment, ensuring ideal health during long-term observation.
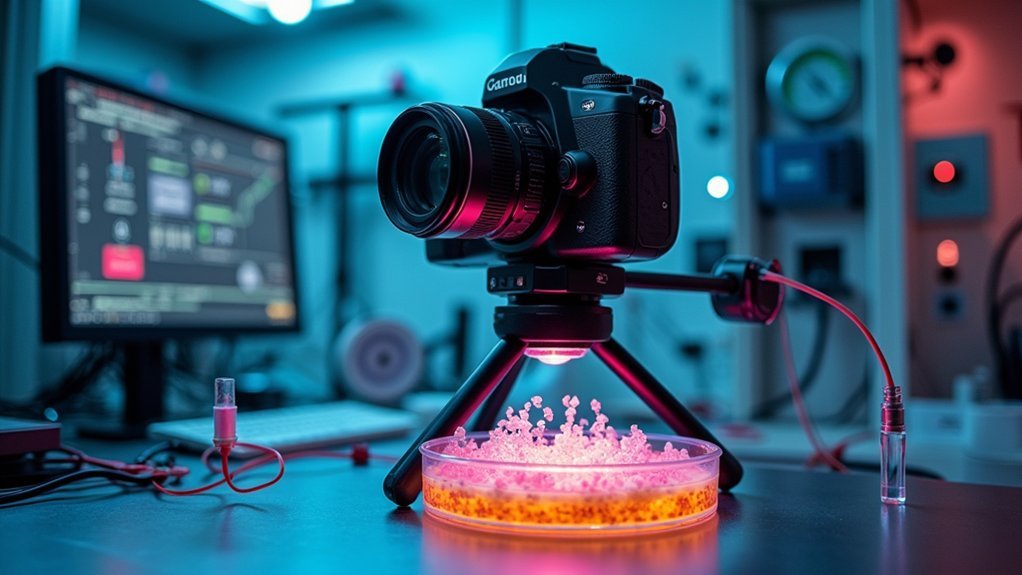
Essential Equipment Configuration for Time-Lapse Capture
Three critical components form the foundation of any successful time-lapse imaging setup.
First, you’ll need an advanced imaging system like the EVOS FL Auto with appropriate Light Cubes (GFP and RFP) for capturing real-time fluorescence microscopy. Confirm your cells are properly transduced with fluorescent markers such as CellLight Histone 2B-GFP and Mitochondria-RFP to visualize specific structures.
Second, configure your time-lapse intervals carefully—typically every 12 minutes—to capture significant cellular events without missing critical moments.
Finally, maintain stable physiological conditions using an onstage incubator like the EVOS™ Onstage Incubator throughout your imaging session.
When saving your data, preserve both underlying and merged images, then generate time-lapse movies at 1 frame/second for ideal visualization of dynamic cellular processes.
Optimizing Environmental Controls for Long-Duration Imaging
You’ll need robust temperature regulation systems that maintain consistent conditions within ±0.5°C to prevent thermal stress on your specimens during extended imaging sessions.
Proper CO2 and humidity control systems, such as the EVOS™ Onstage Incubator, will help you maintain physiological conditions and prevent medium evaporation that could alter concentration gradients essential for cell survival.
Managing light exposure through programmable illumination schedules can minimize phototoxicity while ensuring you capture all necessary data points throughout your time-lapse experiment.
Temperature Regulation Systems
While capturing beautiful cellular images is essential, maintaining proper environmental conditions becomes equally critical when conducting time-lapse experiments that span hours or days. Your temperature regulation systems must replicate physiological conditions—typically 37°C for mammalian cells—to guarantee cellular processes appear in their natural state.
Systems like the Invitrogen™ EVOS™ Onstage Incubator provide the consistent temperature control needed for reliable time-lapse imaging. Without proper regulation, cells experience altered metabolism, compromising your experimental accuracy.
| System Component | Function | Benefit |
|---|---|---|
| Temperature Controller | Maintains stable 37°C | Preserves cellular viability |
| Humidity Module | Prevents media evaporation | Stabilizes nutrient concentrations |
| CO₂ Regulator | Maintains pH balance | Creates physiological environment |
For multi-day experiments, invest in integrated systems that combine temperature, CO₂, and humidity control to maximize data reliability.
CO2 and Humidity Control
Beyond temperature regulation, controlling CO2 levels and humidity becomes essential when conducting time-lapse experiments that extend beyond a few hours.
You’ll need to maintain CO2 at approximately 5% to support proper cellular respiration and metabolism, ensuring your specimens remain viable throughout the imaging period.
Keep humidity levels above 70% to prevent culture medium evaporation, which can alter concentrations and disrupt cellular behavior.
Consider using an onstage incubator like the Invitrogen™ EVOS™ model that offers precise control of both CO2 and humidity parameters.
Implement a closed chamber system to minimize environmental fluctuations, and regularly monitor conditions to make necessary adjustments.
This proactive approach to managing CO2 and humidity will greatly improve the quality and reliability of your long-duration imaging data.
Light Exposure Management
Three critical factors determine successful long-duration imaging: illumination intensity, exposure timing, and light source selection.
When setting up your time-lapse experiment, you’ll need to carefully balance laser power and exposure times to achieve ideal signal-to-noise ratios without damaging your specimens or inducing excessive photobleaching.
To effectively manage light exposure:
- Program longer intervals between captures (e.g., every 30 minutes) rather than continuous imaging, giving cells recovery time while reducing cumulative phototoxicity
- Install specific filters that block irrelevant wavelengths to decrease background noise and improve image quality
- Replace traditional illumination with low-power LED systems that generate less heat while providing sufficient light for clear imaging
Setting Proper Acquisition Parameters and Intervals
Selecting appropriate acquisition parameters stands as the foundation of successful time-lapse imaging in scientific research.
You’ll need to match your image capture interval to the biological process speed—faster processes require intervals as short as every 2 minutes, while slower ones may need only one frame every 30 minutes.
Optimize your signal-to-noise ratio by adjusting illumination strength and exposure time, prioritizing shorter exposures for light-sensitive specimens to minimize photobleaching.
For smooth playback, aim for a frame rate of 1 frame per second.
Don’t overlook environmental conditions throughout your imaging session. Maintaining proper temperature is essential for live specimen health and data accuracy.
When performing 3D imaging, calculate appropriate z-slice thickness, typically using 15-20 slices across 50-60 μM for thorough coverage.
Balancing Signal Quality and Photobleaching
While pursuing high-quality images, you’ll inevitably face the fundamental challenge of balancing signal strength against photobleaching damage. Your fluorescence signal needs adequate illumination, but excessive light accelerates photobleaching and increases phototoxicity, potentially killing your specimens during time-lapse experiments.
Refine your approach by:
- Empirically determining ideal settings for your specific specimen—adjust pinhole size and laser power to maximize signal while minimizing background noise
- Considering spinning-disk confocal microscopy for faster acquisition, which reduces exposure time and subsequent photobleaching
- Planning z-stacks carefully—while 15-20 sections over 50-60 μM enhances image quality, each additional plane increases cumulative light exposure
Remember that finding this balance requires experimentation with your specific fluorophores and specimens, as photobleaching rates vary considerably between different fluorescent proteins and dyes.
Data Management Strategies for Large Image Sequences
Once you’ve optimized your imaging parameters to balance signal quality against photobleaching, you’ll face another challenge—managing the massive datasets that time-lapse experiments generate. While imaging is a powerful technique, without proper data management strategies, you’ll quickly find yourself overwhelmed.
Adopt a systematic naming convention that includes date and specimen identifiers. Utilize dedicated tools like ImageJ for batch processing, and implement both local and cloud backup solutions to prevent catastrophic data loss.
| Strategy | Emotional Impact |
|---|---|
| Organized naming | Relief from chaos |
| Metadata tracking | Confidence in reproducibility |
| Regular pruning | Freedom from digital clutter |
| Automated backups | Peace of mind |
Maintain thorough metadata detailing experimental conditions and imaging parameters. Regularly review and delete unnecessary files to optimize storage and improve analysis efficiency.
Post-Processing Techniques for Time-Lapse Visualization
After capturing hours or days of cellular dynamics, raw time-lapse images rarely tell the complete story without thoughtful post-processing.
You’ll need to stabilize your footage to eliminate motion artifacts, creating a smoother visual experience that draws attention to biological processes rather than technical shortcomings.
Enhancement techniques greatly improve your time-lapse quality:
- Adjust contrast and reduce noise to reveal subtle fluorescence signals that might otherwise remain hidden
- Merge multiple fluorescence channels into composite images that simultaneously display different cellular structures
- Optimize playback speed to highlight either rapid events or slow developmental changes
Export your finished sequences in high-definition formats using software like ImageJ or Adobe Premiere.
These post-processing techniques transform raw data into compelling visualizations that effectively communicate your scientific findings to colleagues and audiences.
Frequently Asked Questions
How Do I Handle Specimen Drift During Multi-Day Experiments?
To handle specimen drift during multi-day experiments, you’ll need to use mechanical stabilizers, implement software-based drift correction, create reference markers, and maintain consistent temperature. Regular image realignment will minimize positioning errors.
Can I Modify Acquisition Parameters Mid-Experiment?
Yes, you can modify acquisition parameters mid-experiment. You’ll need to pause the acquisition, adjust settings like exposure time or fluorescence channels, then resume. Just guarantee changes don’t compromise data consistency for analysis later.
What Emergency Backup Systems Prevent Data Loss During Power Outages?
Your data’s protected during power outages by UPS systems, automatic saves to external drives, cloud backup solutions, and recovery software. Consider installing battery backups that’ll give you time to safely shut down equipment.
How Do Different Objectives Affect Time-Lapse Temporal Resolution?
Higher numerical aperture objectives require longer exposure times, reducing your temporal resolution. You’ll achieve faster time-lapse intervals with lower magnification objectives where light collection is more efficient and exposure times are shorter.
When Should I Use Transmitted Light Versus Fluorescence for Time-Lapse?
Use transmitted light for long-term imaging of non-labeled structures with minimal phototoxicity. Choose fluorescence when you’re tracking specific labeled proteins or need high contrast, but be mindful of photobleaching and photodamage.
In Summary
Time-lapse microscopy isn’t just about taking sequential images—it’s about telling your specimen’s story through time. You’ve now got the tools to select appropriate media, configure your equipment, control environmental variables, and optimize acquisition parameters. Remember to balance image quality with photobleaching concerns, manage your data efficiently, and apply effective post-processing. With these techniques, you’ll capture dynamic biological processes that static imaging simply can’t reveal.


Leave a Reply