For new lab observers, a Complete Stain Kit with 19 bottles offers the most versatility. Start with Gram Stain Kit to differentiate bacteria and Acid Fast Stain for mycobacteria. Always wear protective equipment (gloves, lab coat, goggles) and consult safety data sheets before handling stains. Crystal Violet, Methylene Blue, and Eosin Y are essential basics. Proper microscope settings paired with stains like Basic Fuchsin will dramatically enhance your specimen visibility. The following guide explains everything you’ll need.
Essential Stains for Beginner Microscopy
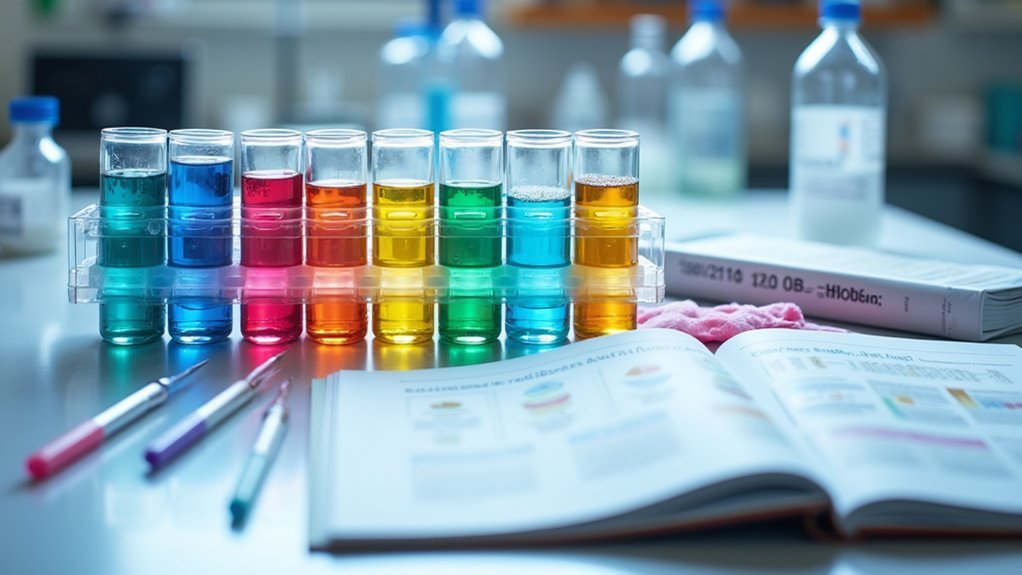
When diving into the world of microscopy, having the right staining tools makes all the difference between seeing vague cell outlines and discovering intricate cellular structures. You’ll find a Complete Stain Kit with 19 bottles is your best starting point, covering all essential techniques you’ll need.
The Gram Stain Kit is particularly valuable, as it helps you identify bacterial types by their cell wall composition using crystal violet, Lugol’s, safranin O, and ethanol.
For tuberculosis studies, you’ll need Acid Fast Stain, which produces striking red bacteria against blue backgrounds.
Don’t overlook general-purpose stains like Eosin Y for cytoplasmic components and Methylene Blue for cell nuclei.
Consider EZ-Prep Capsules for stains like Safranin, ensuring accurate results with minimal preparation hassle.
Understanding Basic Staining Techniques and Applications
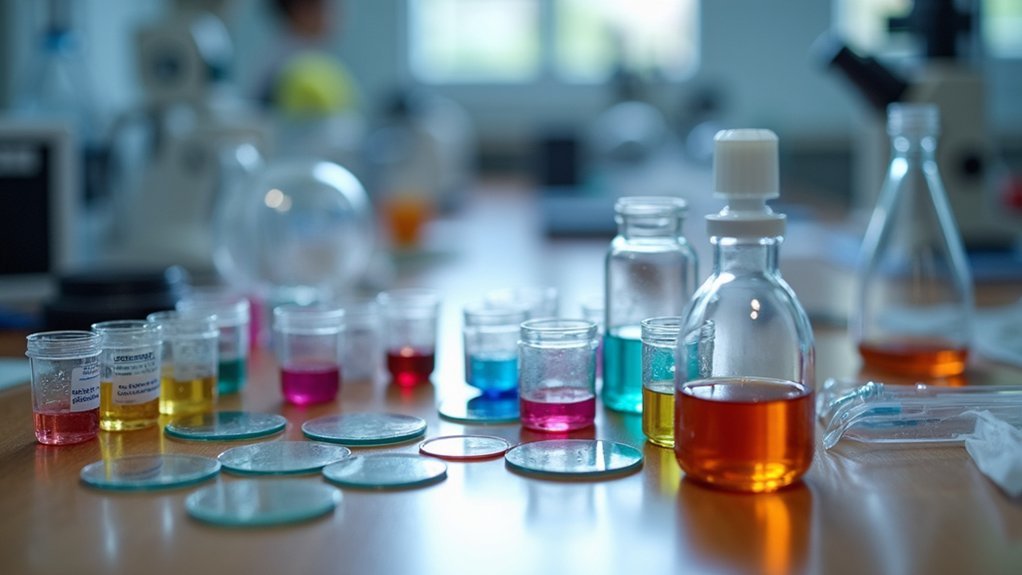
Mastery of basic staining techniques forms the foundation of successful microscopy work.
Precise staining methods unlock microscopic worlds, creating visible pathways to otherwise hidden cellular landscapes.
You’ll frequently use Crystal Violet for general staining of cellular structures, while the Gram Stain kit helps you differentiate bacteria based on their cell wall composition—Gram-positive bacteria retain the primary dye and appear purple, while Gram-negative bacteria appear pink from the safranin counterstain.
For identifying mycobacteria, you’ll need Acid-fast staining, where Carbol Fuchsin penetrates the waxy cell walls, causing acid-fast organisms to appear bright red against blue backgrounds.
When examining lipids and fats in tissue samples, turn to Sudan III, which selectively binds to these structures.
These techniques aren’t just procedures—they’re essential tools that reveal vital cellular details invisible to the naked eye.
Safety Protocols for Handling Laboratory Stains
While understanding staining techniques empowers your microscopy work, proper safety measures safeguard your health during these procedures.
Always wear personal protective equipment including gloves, lab coat, and safety goggles when handling stains like Neutral Red or Sudan IV, which may cause skin irritation or eye damage.
Consult safety data sheets for each stain before use, as many fall under California Proposition 65 regulations due to cancer and reproductive harm risks.
Store staining agents according to compatibility—keep acids separate from bases and oxidizers to prevent dangerous reactions.
Clearly label all containers with contents, concentration, and hazard warnings. This practice guarantees everyone in your lab can identify potential risks quickly.
Remember that proper handling of stains protects not just you, but everyone in your laboratory environment.
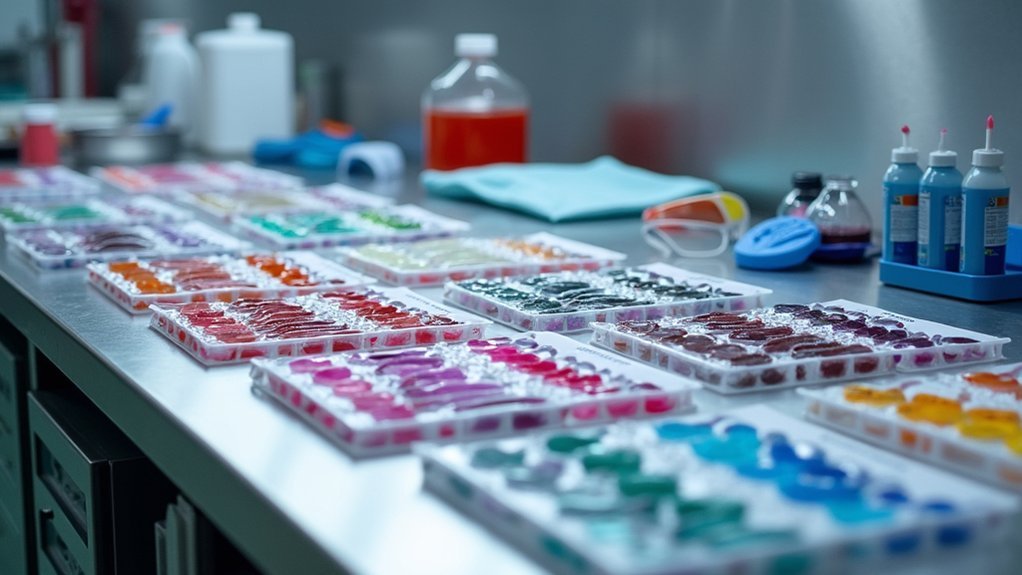
Recommended Starter Kits for Different Specimen Types
Selecting the right staining kit can dramatically improve your microscopy results and streamline laboratory procedures. For tuberculosis research, choose the Acid Fast Stain Kit with basic Fuchsin that delivers vibrant red staining against blue backgrounds.
If you’re examining bacterial cell walls, the Gram Stain Kit with Crystal Violet and iodine is your essential tool, clearly differentiating between Gram-positive and Gram-negative organisms.
| Specimen Type | Recommended Kit | Key Benefit |
|---|---|---|
| Mycobacteria | Acid Fast Stain Kit | Reveals TB pathogens with striking clarity |
| Mixed Bacteria | Gram Stain Kit | Differentiates cell walls with IV Violet precision |
| Broad Applications | Extensive Stain Kit | 19 bottles for versatile research applications |
For beginners seeking versatility, the Complete Stain Kit offers the widest range of options for various specimen types.
Enhancing Contrast for Effective Microscope Photography
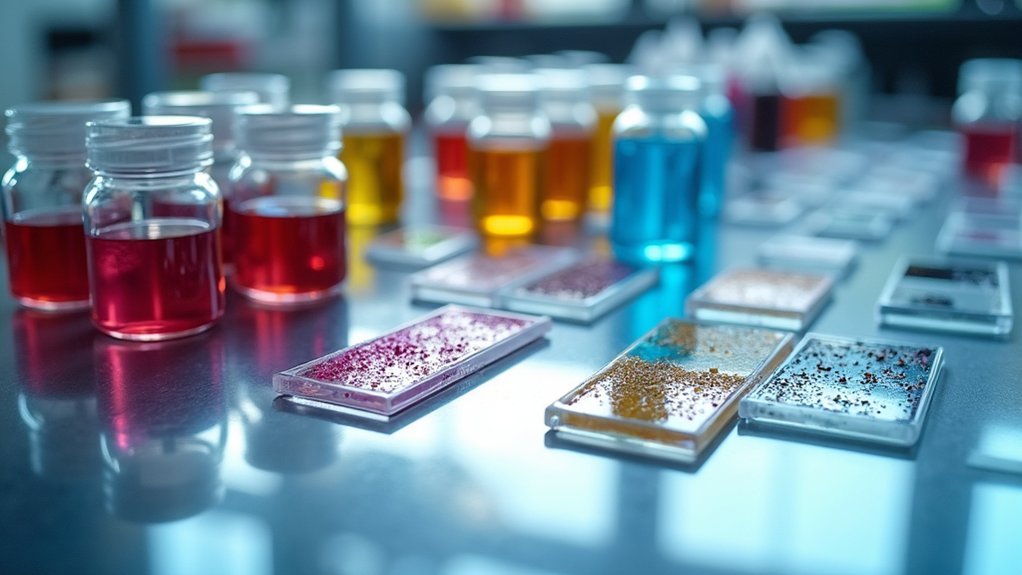
Because microscope photography depends heavily on visual clarity, proper staining techniques can dramatically transform your imaging results.
To maximize contrast, utilize Basic Fuchsin alongside counterstains like Safranin O or Congo Red—these combinations create distinct color differentiation between cellular structures and background elements.
Combining Basic Fuchsin with Safranin O creates the striking visual separation essential for identifying critical cellular boundaries.
Your staining procedure should incorporate appropriate dilutions to prevent overwhelming coloration while ensuring cellular details remain visible.
When working with specialized tissues, consider Fast Green or Alcian Blue to highlight specific components for clearer documentation.
Optimize your photography setup by adjusting microscope lighting and applying filters that enhance the visibility of your chosen stains.
Remember that contrast isn’t just about the stains themselves—your microscope settings play a significant role in capturing the subtle distinctions that make for publication-quality images.
Frequently Asked Questions
What Is the Correct Order of Staining Reagents?
You’ll typically apply stains in this order: primary stain first, then mordant, followed by decolorizer, and finally counterstain. This sequence guarantees proper visualization, though specific protocols like Gram or Acid-Fast staining may vary slightly.
What Is a Simple Stain Useful for Observing?
You’ll find simple stains useful for observing bacterial morphology, cell size, shape, and arrangement. They’ll help you quickly identify microorganisms and visualize basic cellular structures without complex procedures in your microscopic examinations.
What Happens if You Don’t Sand Before Staining?
If you don’t sand before staining, you’ll get an uneven, blotchy finish. Your stain won’t absorb properly, leading to poor adhesion that can peel over time. You’re also risking color inconsistency and durability issues.
What Is the Most Widely Used Counter Stain Routine Staining of Sections?
Safranin O is the most widely used counterstain in routine staining. You’ll find it commonly used in Gram staining at 0.25-1% concentration to differentiate between gram-positive and gram-negative bacteria in your specimens.
In Summary
You’re now equipped to begin your staining journey with confidence. Remember, you’ll achieve the best results when you match your stain to your specimen type and follow proper safety protocols. Don’t hesitate to experiment with different techniques as your skills grow. With your starter kit and this guide, you’re ready to reveal the microscopic world in stunning detail and capture impressive images.


Leave a Reply