
For ideal focus control, you’ll want slower stage speeds around 0.1 mm/s for precise adjustments, especially at high magnifications. Medium speeds (equivalent to 1/60-1/125s shutter speeds) offer a good balance for routine scanning. Faster speeds above 1 mm/s typically compromise precision. Always match your stage speed to your objective’s numerical aperture and minimize vibration for clarity. The right acceleration profile can prevent overshooting and enhance your overall imaging results.
Numeric List of Second-Level Headings
When mastering ideal focus control, you’ll need to understand several key technical components that work together to create sharp images.
The following sections will guide you through these essential elements:
- Fast Shutter Speeds for Moving Subjects
- Balancing Aperture and Shutter Settings
- Optimizing Continuous Autofocus Performance
- Action Photography Techniques
- Practice Exercises in Various Light Conditions
Make sure you pay attention to each section as they build upon one another to develop your focus control skills.
Understanding how shutter speed affects motion capture (starting at 1/500s for basic movement and 1/1000s for sports) will form your foundation.
You’ll then learn how these settings interact with aperture choices and autofocus modes to create consistently sharp images regardless of your subject matter or shooting environment.
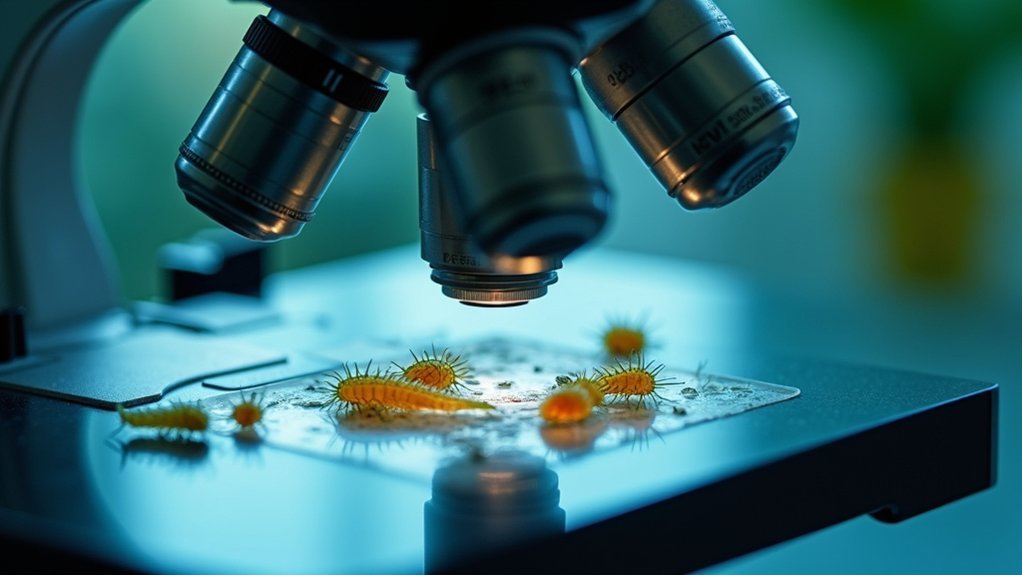
Understanding Microscope Stage Speed Parameters
When selecting stage speed parameters, you’ll need to balance acceleration capabilities with precision control requirements for your specific microscopy application.
The relationship between stage speed and focus quality is critical—faster speeds may introduce vibrations that compromise image clarity, while slower speeds enhance stability at higher magnifications.
You can optimize your microscope’s performance by adjusting manual parameters such as ramp-up rates and maximum velocity limits to match your specimen type and observation goals.
Acceleration vs. Precision Control
How effectively you control your microscope’s focus often depends on balancing speed against precision. When configuring your microscope stage, you’ll need to take into account both acceleration and speed settings to achieve the best focus control.
Lower acceleration settings enhance precision control by preventing the stage from reaching full speed too quickly. This measured approach allows you to make delicate adjustments without overshooting your target.
While higher speeds (up to 10 mm/sec) might seem efficient, they often compromise accuracy during critical observations.
For applications like live cell imaging, you’ll find that moderate speed settings paired with gentle acceleration create the ideal balance. This combination allows your stage to respond predictably to your commands while maintaining the clarity needed for detailed specimen examination.
Fine-tuning these parameters leads to consistently better imaging outcomes.
Speed-Focus Quality Relationship
The relationship between stage speed and focus quality forms the cornerstone of effective microscopy. When you’re working with high magnifications, slower stage speeds around 0.1 mm/s allow for precise focus adjustments by minimizing vibrations and preventing overshoot.
Conversely, faster speeds above 1 mm/s might help you scan larger areas quickly but will compromise your focus precision.
- Your objective lens hovering micrometers above a cell membrane, requiring absolute stability
- The subtle vibration rippling through your specimen as the stage moves too quickly
- Your fingers carefully adjusting the speed dial downward for that perfect focus
- The crystal-clear image emerging as the stage glides at the ideal speed
- Your focus lock engaging to maintain clarity during shifts between specimen regions
Always match your stage speed to your objective’s numerical aperture for ideal results.
Manual Adjustment Parameters
Properly configured manual adjustment parameters serve as the foundation for achieving ideal focus during microscopic examination.
When setting up your manual focus system, aim for speed settings between 0.1 and 1.0 mm/s, which provides the best balance between responsiveness and precision.
You’ll find that slower speeds give you finer control over critical focus points, especially when examining complex specimens.
While faster speeds around 5 mm/s help when scanning larger areas, they’ll compromise your ability to achieve sharp focus on minute details.
Take advantage of programmable settings on modern microscopes to customize stage speeds based on your specimen’s complexity.
For high-magnification work, combine slow stage speeds with fine focus knobs to achieve maximum sharpness.
This approach guarantees you’ll maintain control while maneuvering through different focal planes.
The Relationship Between Stage Speed and Focus Precision
When you’re adjusting microscope stage speed, you’ll find that slower movements typically yield more precise focus and reduced motion blur during specimen observation.
Your timing for focus adjustments becomes critical as the stage accelerates, requiring anticipatory focusing techniques to maintain clear visualization of mobile specimens.
You’ll need to balance speed with precision, often sacrificing one for the other depending on whether you’re conducting rapid screening or detailed structural analysis.
Motion Blur Management
Managing motion blur effectively requires understanding the critical relationship between stage speed and focus precision.
When you’re shooting fast-moving stage performances, slower shutter speeds can compromise your ability to maintain sharp focus. To implement advanced techniques for ideal control, you’ll need to balance technical settings with creative intent.
- Capture razor-sharp dancer movements by pushing shutter speeds to 1/500 sec or faster
- Watch as continuous autofocus tracks performers leaping across the stage with precision
- Feel the confidence of shooting in dim theatrical lighting by boosting ISO to maintain focus
- Experience the creative contrast of a sharp subject against a beautifully blurred background
- Visualize the perfect balance of motion and clarity as you master panning at 1/125-1/250 sec
Precision Focus Timing
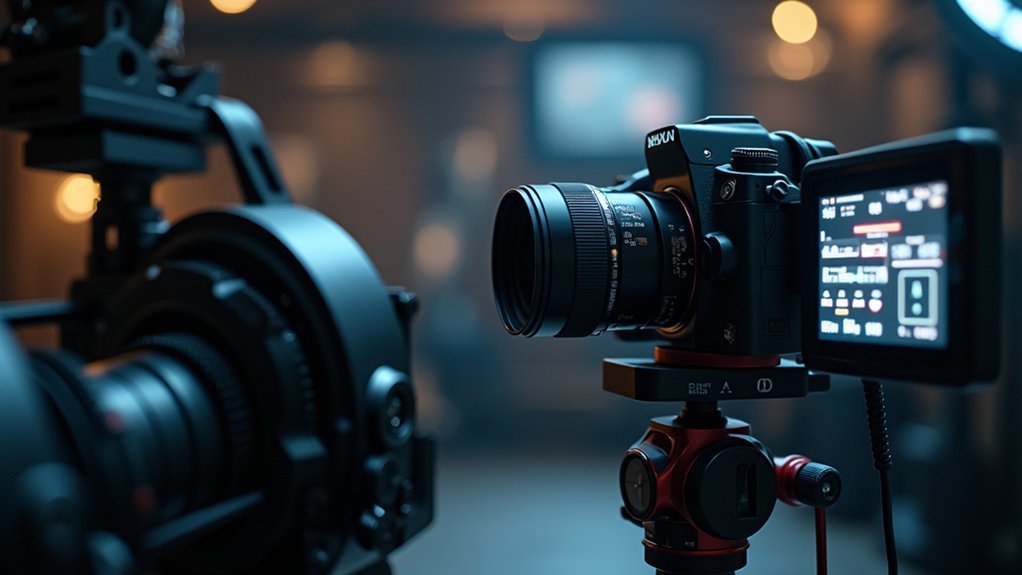
As performers accelerate across the stage, your ability to capture them with perfect clarity depends critically on synchronizing focus timing with movement speed. Activating Continuous Autofocus (AF-C for Nikon, AI Servo for Canon) allows your camera to track subjects in real-time, constantly adjusting as they move.
For faster stage speeds, implement back button focus to separate focus operation from shutter release, giving you greater control during rapid sequences. This technique lets you maintain focus independently while shooting, critical when performers move unpredictably.
Match your autofocus point pattern to the subject’s movement characteristics—single points work for predictable paths while group patterns excel for erratic motion.
Practice regularly with different settings to develop an intuitive sense of how your camera responds to various speeds, creating consistently sharp images regardless of stage dynamics.
Slow Speed Settings for High-Magnification Imaging

High-magnification imaging demands precise slow speed settings to capture the intricate details that might otherwise be lost.
When you’re working at high magnification, even minor camera movements can ruin your shot. You’ll need to reduce your shutter speed to approximately 1/30-1/60 of a second to maintain stability while focusing on minute details.
- Your camera’s sensor drinks in more light as time slows, revealing hidden textures invisible at faster speeds.
- The tripod becomes your steadfast companion, holding perfectly still when your hands cannot.
- Mirror lock-up eliminates the subtle vibrations that blur perfection at high magnification.
- Smaller apertures (f/16-f/22) extend your depth of field, keeping more elements in sharp focus.
- Each slow, deliberate adjustment builds toward crystal-clear images where every detail matters.
Medium Speed Settings for Routine Specimen Scanning
Three primary factors converge when selecting medium speed settings for your routine specimen scanning work. You’ll find ideal focus control within the 1/60 to 1/125 second range, balancing sharpness with proper exposure. These medium speed settings considerably reduce motion blur while preserving intricate specimen details essential for accurate analysis.
| Setting | Benefit | Application |
|---|---|---|
| 1/60s | Maximum light capture | Low-light specimens |
| 1/100s | Balanced exposure | Routine scanning |
| 1/125s | Enhanced sharpness | Detailed structures |
For best results, pair your medium speed settings with consistent lighting conditions to avoid increasing ISO and introducing noise. When examining static specimens, combine these settings with a tripod for improved focus accuracy. Remember to adjust your aperture regularly to enhance depth of field, keeping both foreground and background details sharply focused.
Acceleration Profiles for Smooth Focus Transitions
You’ll find that properly configured ramping curves prevent blur during rapid focus adjustments, especially when tracking unpredictable subject movements.
Precision stepping intervals can be customized in your camera’s AF-C settings to match the acceleration patterns of your subjects, allowing smoother shifts between focus points.
Setting up variable speed zones within your autofocus profile enables your camera to respond differently as subjects move between foreground and background areas, maintaining sharpness throughout the entire action sequence.
Ramping Curves Prevent Blur
As subjects accelerate across your frame, properly configured ramping curves become essential for maintaining tack-sharp images.
When you’re tracking fast-moving action, your autofocus system needs to intelligently adjust its response rate to match subject acceleration. By implementing gradual ramping curves in your focus control settings, you’ll achieve that perfect balance between speed and precision.
- Your camera smoothly shifts focus as an athlete suddenly sprints forward
- Wildlife photographers maintain crystal-clear shots as birds take flight
- Sports shots remain razor-sharp when players change direction unexpectedly
- Focus seamlessly follows dancers as they leap across the stage
- Action sequences stay perfectly crisp even when subjects accelerate rapidly
Pair these ramping curves with back button focus for even greater control over erratic subjects, allowing you to maintain focus integrity throughout the entire shooting sequence.
Precision Stepping Intervals
While ramping curves address the speed of focus adjustment, precision stepping intervals determine the fineness of each movement your lens makes. These intervals are essential for achieving smooth focus shifts when tracking moving subjects.
You’ll get better results by configuring acceleration profiles that match your subject’s movement patterns. For fast-moving scenes, opt for slower acceleration profiles to prevent focus hunting, allowing more gradual adjustment to the desired focus distance.
When quick reactions are needed, prioritize speed in your autofocus settings.
Fine-tune your precision stepping intervals based on your subject’s speed for ideal focus accuracy. Smaller intervals create smoother shifts but may slow response time, while larger steps offer quicker adjustments but potentially less refined focus.
The right balance will greatly improve image sharpness in dynamic environments.
Variable Speed Zones
Variable speed zones represent a crucial advancement in focus control technology, enabling photographers to precisely manage how quickly their lens shifts between different focus points.
By customizing these acceleration profiles, you’ll capture sharper images of fast-moving subjects while maintaining smooth, controlled focus shifts during dynamic shooting situations.
These variable speed zones help minimize focus hunting, giving you better results in challenging environments like sports events or wildlife encounters.
You’ll find your camera responds more intuitively as subjects change direction or speed unexpectedly.
- A bird taking flight from a branch with gradual acceleration maintaining perfect focus
- A soccer player sprinting across the field tracked smoothly without jumping focus
- A race car approaching then passing your position with consistent sharpness
- A dancer’s fluid movements captured with gentle focus shifts
- Wildlife subjects changing direction suddenly while staying perfectly sharp
Optimal Speed Settings for Live Specimen Photography
When capturing live specimens in motion, your shutter speed becomes the critical factor determining image clarity. Aim for at least 1/250th of a second to minimize motion blur while your subject moves.
You’ll want to enable Continuous Autofocus (AF-C) mode, which dynamically tracks and adjusts as specimens shift position.
Select a smaller aperture (f/8 to f/11) to increase depth of field, ensuring thorough focus throughout your frame. Adjust your ISO accordingly to maintain these ideal shutter speeds without underexposing your image. Higher ISO settings allow faster shutter speeds but watch for noise appearing at the back of the camera during review.
For ultimate precision, utilize back button focus to separate focusing from shutter release. This technique gives you complete control over when focus locks, critical when tracking unpredictable live specimens.
Motorized Stage Control Systems and Speed Calibration
The precision of motorized stage control systems transforms microscopic imaging by eliminating manual focus inconsistencies.
You’ll find these systems offer fine-tuned speed adjustments that maintain ideal focus during dynamic observations. Be sure to check to see how different lighting conditions affect your required speed settings, as proper calibration guarantees crisp imagery regardless of specimen movement.
- Experiment with acceleration settings to eliminate jarring shifts that blur focus
- Test various speeds under different magnifications to build your calibration profile
- Monitor how the feedback loop responds when tracking moving specimens
- Practice smooth shifts between different focal planes to capture layered structures
- Create presets for common scenarios to quickly adapt to changing observation needs
Synchronizing Camera Capture Rate With Stage Movement
Properly synchronizing your camera’s capture rate with microscope stage movements creates a critical foundation for capturing clear, usable images during dynamic observations.
To achieve this synchronization, monitor your subjects’ movement speed and adjust your camera settings accordingly. Set your shutter speed to at least 1/500s to freeze fast movements and guarantee sharp images. For rapidly moving specimens, you’ll need even higher shutter speeds.
Switch to Continuous Autofocus (AF-C) mode to allow your camera to track moving subjects effectively. This helps maintain focus as specimens move across your field of view.
Additionally, experiment with frame rates between 5-10 frames per second, capturing multiple moments in quick succession.
For precise focus control, try using back button focus to maintain concentration on specific areas while allowing quick adjustments as your stage moves.
Impact of Stage Speed on Depth of Field Management
Stage speed fundamentally influences your ability to manage depth of field effectively in microscopy imaging.
When you’re capturing detailed landscapes, slower stage speed settings allow you to select smaller apertures like f/11 or f/16, creating greater depth of field for sharper images across varying distances. This approach guarantees both foreground and background elements maintain clarity in your final image.
- Slower speeds let you control the hyperfocal distance with precision
- Faster settings often require wider apertures, creating unwanted background blur
- Your stage speed choice directly impacts how much of the scene remains in focus
- Balancing stage speed with focal length optimizes overall image sharpness
- Lower speeds provide time to calculate and achieve the ideal focusing distance
Frequently Asked Questions
What Is the Best Shutter Speed for Focus?
For ideal focus, you’ll want shutter speeds between 1/125 to 1/1000 seconds. Use faster speeds (1/500+) for moving subjects and at least the reciprocal of your focal length to prevent camera shake.
What Is the Best Focus Mode Setting?
For the best focus mode, you’ll want to use Continuous Autofocus (AF-C/AI Servo) with back button focusing. This combination gives you dynamic tracking for moving subjects while maintaining control over your focus timing.
Should I Use AF-S or AF C?
Use AF-S for stationary subjects like landscapes or portraits, as it locks focus. Switch to AF-C for moving subjects like sports or wildlife, as it’ll continuously track movement while you’re shooting.
How Do I Get My Camera to Focus Perfectly Every Time?
You’ll never achieve perfect focus 100% of the time, but you can maximize success by using AF-C, mastering back button focus, selecting appropriate focus points, and practicing consistently in varied lighting conditions.
In Summary
You’ll find there’s no single “perfect” stage speed setting for all microscopy work. Instead, match speeds to your specific task: slower movements (10-20µm/s) for high-magnification precision, moderate speeds (50-100µm/s) for routine work, and carefully calibrated speeds for living specimens. Regularly calibrate your motorized stage system and synchronize camera capture rates with stage movement to maintain ideal focus control throughout your imaging sessions.


Leave a Reply