To test stage movement precision, you’ll need several reliable methods. Use dial indicators to measure runout and backlash. Test repeatability by approaching positions from different directions. Apply calibrated tools like vernier calipers for accurate measurements. Consider optical tracking with high-resolution cameras for visual verification. Implement laser interferometry for nanoscale assessment. Conduct weighted load tests to evaluate real-world performance. Perform directional force analysis to identify inconsistencies. These techniques will reveal your stage’s true capabilities and limitations.
7 Ways To Test Stage Movement Precision
How accurately does your stage mechanism move? To properly evaluate your linear stage’s performance, attach a dial indicator directly to the actuator. This setup allows you to measure both runout and repeatability with precision during movement tests.
Test your actuator’s repeatability by measuring its ability to return to the same position from opposite directions at various speeds. Pay attention to any deviations that might occur.
Don’t overlook potential deflection caused by operational loads, as this greatly impacts precise movement.
Compare your measurements against specifications from commercial actuators to benchmark your system’s performance. For reliable results, use precision tools like vernier calipers or dial indicators with at least 0.01 inch accuracy.
These measurements will help you quantify exactly how well your stage mechanism performs under real-world conditions.
Dial Indicator Method for Measuring Runout
Among the precision tools mentioned for evaluating stage performance, the dial indicator stands out as the primary instrument for measuring runout specifically.
You’ll need to mount it properly using a magnetic base on the actuator, guaranteeing stability throughout your testing process.
To effectively measure runout with this method:
Dial indicator measurements require secure mounting, controlled stage movement, and careful observation of directional deviations.
- Attach the dial indicator securely to provide the level of precision required (at least 0.01 inch)
- Twist the slide assembly while watching for side to side movement, which directly indicates runout
- Note any forward/backward deviations separately, as these may indicate backlash rather than runout
As you need to move the stage during measurement, guarantee your setup won’t damage components.
Remember to regularly calibrate your measurement system for consistent accuracy.
Repeatability Testing With Direction Changes
While runout measurements reveal a stage’s rotational accuracy, repeatability testing evaluates its ability to return to the same position when approaching from different directions. This commonly used testing method requires a dial indicator to measure the precision of your stage’s return movements from both forward and backward approaches.
You’ll need to conduct tests at various speeds to determine how velocity affects positioning accuracy. Take measurements from both directions to identify any discrepancies that could indicate alignment issues or mechanical problems.
Remember that load deflection from the stage’s weight and mounted components can greatly impact results, so account for these factors during your assessment.
Thorough repeatability testing guarantees your stage delivers consistent positioning regardless of approach direction—critical for applications requiring precise, reliable movement.
Backlash Measurement Using Calibrated Tools
Beyond repeatability testing, accurately measuring backlash is the next critical step in evaluating stage movement precision. You’ll need to attach a dial indicator to your stage and measure the difference between forward and reverse movements.
For reliable results, conduct tests at various speeds and loads, as weight deflection can greatly affect your measurements.
To properly measure backlash:
- Move your stage to a specific position, then reverse direction and measure how far it travels before re-engaging.
- Use high-precision tools like a vernier or dial caliper with at least 0.01 inch accuracy.
- Compare your results to industry standards—well-calibrated systems should exhibit less than 10 microns of backlash.
These measurements will help you determine if your stage meets the precision requirements for applications like microscopy or fine machining.
Optical Tracking With High-Resolution Cameras
Optical tracking with high-resolution cameras provides you with exceptional stage movement measurement capabilities at micron-level precision.
You’ll need cameras with pixel resolutions fine enough to detect 1-micron displacements, typically requiring sensors with at least 5-10 megapixel capacity for most microscopy applications.
Proper pixel calibration methods, such as using certified reference patterns and sub-pixel interpolation algorithms, will guarantee your measurements maintain nanometer-level accuracy even when tracking dynamic stage movements.
OPTICAL TRACKING WITH HIGH-RESOLUTION CAMERAS
Three cutting-edge approaches have revolutionized stage movement analysis, with high-resolution camera tracking leading the advancement. You’ll find that modern cameras can achieve resolutions down to 1 micrometer, enabling unprecedented precision in tracking microscopy stage movements.
- Multi-camera setups – Deploy cameras from different angles to capture three-dimensional movement data, revealing deviations across all axes that single-perspective systems might miss.
- Real-time feedback integration – Connect optical tracking systems directly to your control software for immediate precision assessments and on-the-fly adjustments.
- Nanometer detection algorithms – Implement advanced image processing algorithms that can detect movements smaller than the camera’s native resolution, pushing the boundaries of optical tracking capabilities.
This approach offers non-contact measurement with minimal interference to your experimental setup.
Camera Resolution Requirements
When selecting cameras for optical tracking systems, you’ll need to prioritize resolution specifications that match your precision requirements. For accurate stage movement analysis, choose cameras with at least 12 megapixels to capture the fine details necessary for precision measurements.
Ensure your camera operates at a minimum of 60 frames per second to avoid motion blur during high-speed stage movements. This frame rate is critical when tracking rapid microscope stage adjustments.
Additionally, select cameras with low noise levels and high dynamic range to better differentiate subtle position changes.
Remember that proper calibration between your camera and stage is essential to establish accurate pixel-to-metric conversion factors. To achieve nanometer-scale precision, implement advanced image processing algorithms like sub-pixel interpolation, which enhances tracking resolution beyond the camera’s native pixel grid.
Pixel Calibration Methods
With your camera selection complete, pixel calibration becomes the cornerstone of accurate stage movement measurements. To achieve sub-pixel accuracy in your optical tracking system, you’ll need to properly calibrate how pixel displacement correlates to actual physical movement of your microscopy stage.
- Test under varied lighting conditions – Confirm your calibration remains consistent by verifying tracking performance in different illumination scenarios that match your operating environment.
- Implement displacement analysis algorithms – Utilize software that can quantify pixel shifts with high fidelity, providing detailed feedback on stage precision during operation.
- Capture high-speed movements – If your stage undergoes rapid changes, employ cameras capable of several thousand frames per second to analyze dynamic behavior that might be missed at standard frame rates.
Laser Interferometry for Nanoscale Precision
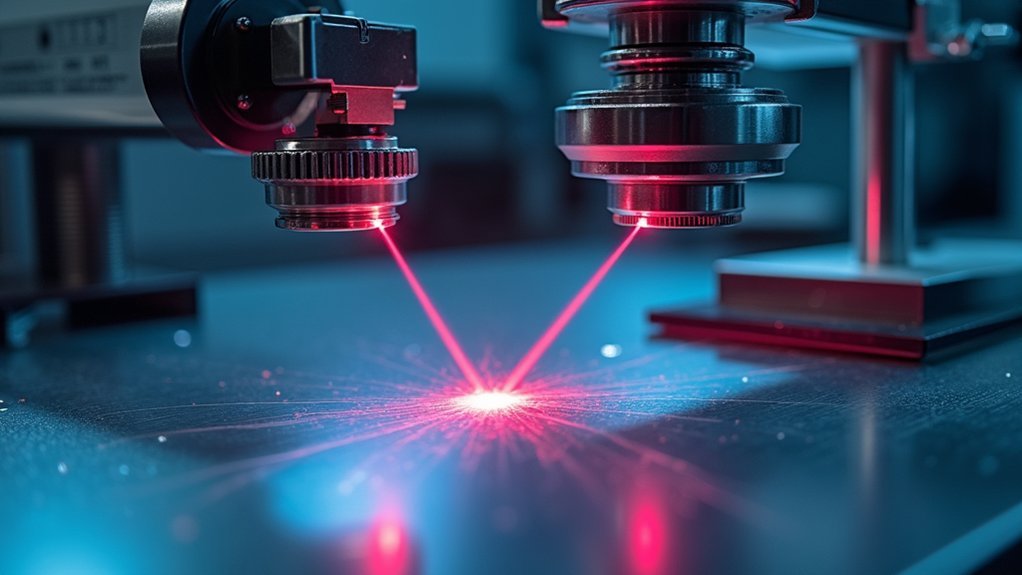
The quest for nanoscale measurement precision finds its most powerful ally in laser interferometry, a technique that achieves remarkable resolution by exploiting interference patterns between multiple laser beams.
You’ll gain resolution down to a few nanometers while monitoring phase shifts created by stage movement.
What makes this method particularly valuable is its ability to provide real-time feedback at frequencies exceeding 100 kHz, perfect for high-speed applications requiring exceptional precision.
You can detect subtle deviations caused by thermal expansion and mechanical vibrations, giving you extensive insight into your stage’s performance.
Detect nanoscale deviations from thermal and mechanical sources, revealing your positioning system’s true capabilities and limitations.
For peak results, integrate laser interferometry with closed-loop control systems.
This combination enhances positioning stability and accuracy, making it indispensable in advanced microscopy and nanotechnology where even nanometer-scale errors can’t be tolerated.
Load Testing to Evaluate Movement Under Stress
Load testing reveals how your precision stage performs when subjected to real-world forces, often uncovering issues invisible during unloaded operation.
You’ll want to run weighted movement tests across multiple axes to identify deflection points and positional drift that could compromise your application’s accuracy.
Analyzing directional forces—both parallel and perpendicular to the motion path—helps you understand how your stage responds to complex loading scenarios and where structural reinforcement might be needed.
Weighted Movement Tests
As precision demands increase in stage systems, weighted movement tests become essential to validate an actuator’s performance under real-world conditions. By applying known loads to your actuator, you’ll identify potential deflection or distortion issues that could compromise movement accuracy under operational stress.
Your testing should include:
- Measuring the actuator’s response to various weight levels to reveal inconsistencies and issues like backlash or slop.
- Observing linearity and repeatability under different loads, confirming the actuator returns to the same position consistently.
- Using a dial indicator to assess runout or path deviations while the actuator moves under load.
Document performance at each load level to understand operational limits and verify the actuator meets your precision specifications.
Directional Force Analysis
When directional forces impact your precision stage, they can considerably alter movement characteristics and positional accuracy. To properly evaluate this, apply increasing loads to your actuator while measuring displacement with a dial indicator.
Take readings from both directions to identify any inconsistencies in performance. As you conduct load testing, watch for deviations in position and repeatability that emerge under stress. Heavier weights typically cause greater deflection and movement inaccuracies, so it’s essential to document these changes systematically.
Compare your results against the manufacturer’s specifications for repeatability and backlash. This analysis reveals how well your actuator maintains precision under real-world conditions.
Frequently Asked Questions
How Does Temperature Fluctuation Affect Stage Movement Measurement Accuracy?
Temperature fluctuations cause thermal expansion or contraction of stage components, affecting your measurement accuracy. You’ll experience positional drift, reduced repeatability, and potentially altered sensor readings when temperatures change during your stage movements.
Can Wireless Sensors Replace Wired Systems for Precision Testing?
Wireless sensors can replace wired systems for precision testing, but you’ll face trade-offs. They’re convenient but may introduce latency, reliability issues, and lower sampling rates compared to wired alternatives. Consider your accuracy requirements carefully.
What Certifications Validate Stage Movement Precision Testing Procedures?
You’ll need certifications like ISO 9001, NIST traceability, ASTM E2309, IEC 60601, and CE marking to validate your stage movement precision testing procedures. These standards guarantee your methodologies meet recognized industry requirements.
How Frequently Should Precision Testing Equipment Be Recalibrated?
You should recalibrate precision testing equipment every 6-12 months, depending on manufacturer recommendations, usage frequency, and environmental conditions. Don’t wait for visible issues—regular calibration guarantees your measurements remain reliable and accurate.
Does Vacuum Environment Testing Differ From Atmospheric Testing?
Yes, vacuum testing differs considerably from atmospheric testing. You’ll need specialized equipment that works in vacuum conditions, must account for thermal expansion differences, and can’t rely on many conventional measurement techniques that require air.
In Summary
By applying these seven testing methods, you’ll gain thorough insight into your stage’s performance limitations. Whether you’re using dial indicators, optical tracking, or laser interferometry, you’re now equipped to detect tiny imperfections that affect your results. Don’t overlook regular testing—it’s your best defense against precision drift. Remember, your motion system’s true capabilities are only as good as your ability to verify them.

Leave a Reply