For the sharpest focus stacking results, aim for magnifications between 1:1 and 2:1, which balance detail capture with manageable depth of field. Use apertures of f/8 to f/11 to avoid diffraction while maintaining clarity. Higher magnifications (5x+) require more precise step intervals—about 1/4 to 1/2 of your depth of field. Make certain 30% frame overlap and consistent exposure settings for smooth blending. The right equipment and technique combinations will dramatically improve your final images.
Numeric List of Second-Level Headings

While planning your focus stacking workflow, you’ll need to take into account several key factors that affect final image sharpness.
The ideal magnification settings often fall between 2x and 5x for macro photography, offering the best balance between detail capture and manageable depth of field.
Here’s what you’ll explore in this article:
- Balancing Magnification and Depth of Field
- The Sweet Spot: 1:1 to 2:1 Magnification Range
- Managing Higher Magnifications (5x+)
- Equipment Considerations (Canon MP-E 65mm)
- Ideal Aperture Settings for Sharp Results
Each section will help you determine which magnification settings will deliver the sharpest stack results for your particular subject.
You’ll learn how to avoid diffraction issues while maximizing detail at apertures between f/8 and f/11.
Understanding Magnification Factors in Microscopy Stacking
When setting up your microscopy stacking workflow, you’ll need to balance optical magnification (5x-20x for most subjects) against digital magnification which simply enlarges pixels without adding detail.
You’ll notice depth of field drastically narrows as magnification increases, requiring more stack images at 10x compared to 5x to achieve fully sharp results.
Your choice of magnification directly impacts not only the visible detail but also the efficiency of your stacking process, with higher powers demanding more precision in both equipment stability and focus step increments.
Optimal Magnification Ranges
Although microscopy stacking depends on numerous factors, selecting the right magnification range serves as the foundation for achieving crisp, detailed results.
You’ll typically find the ideal magnification settings between 5x and 100x, with the sweet spot often falling in the 10x to 40x range. This moderate range balances depth of field and resolution, reducing artifacts while maintaining detail.
When working at higher magnifications (above 40x), you’ll need precise focus control and stable equipment to combat vibration sensitivity.
Investing in quality apochromatic lenses proves essential, as they correct chromatic aberration and enhance clarity across all magnifications.
For extreme macro photography, specialized macro lenses like the Canon MP-E 65mm can achieve up to 5x magnification, though they demand meticulous technique for sharp stacking results.
Digital vs. Optical
Since many practitioners confuse these terms, understanding the crucial difference between digital and optical magnification directly impacts your stacking results.
Optical magnification uses the physical properties of high-quality lenses to enlarge your subject without sacrificing detail, preserving overall image quality and depth of field.
Digital magnification, however, simply enlarges existing pixels, creating no new information. When you digitally magnify beyond your optical limits, you’ll notice decreased sharpness and introduced artifacts.
For microscopy stacking, aim for 10x-100x optical magnification range, which balances detail capture with practical depth of field considerations.
Remember that effective magnification equals objective lens magnification multiplied by eyepiece magnification.
You’ll achieve superior results by optimizing your optical system with appropriate lighting rather than relying on digital enlargement, which inevitably degrades image quality regardless of stacking technique.
Depth of Field Effects
The relationship between magnification and depth of field represents one of the most significant challenges in microscopy stacking. As you increase magnification, your depth of field decreases dramatically, requiring more precise focus adjustments to maintain image sharpness.
When working with a standard macro lens at 1-5x magnification, you’ll achieve reasonable results with fewer stacked images. However, pushing beyond 10x magnification causes depth of field to diminish so rapidly that even tiny subjects require numerous focus steps.
Your working distance also shrinks to mere millimeters at high magnifications, making precise alignment critical.
Focus stacking becomes essential in these scenarios, allowing you to overcome the physical limitations of optics. With specialized equipment like the Canon MP-E 65mm, you’ll capture intricate details that would otherwise be impossible due to the inherently shallow depth of field.
Optimal Magnification Ranges for Different Specimen Types
Selecting the right magnification for your specimens greatly impacts the quality and detail of focus-stacked images.
The perfect magnification choice unlocks extraordinary detail in your focus-stacked specimens while ensuring practical workflow.
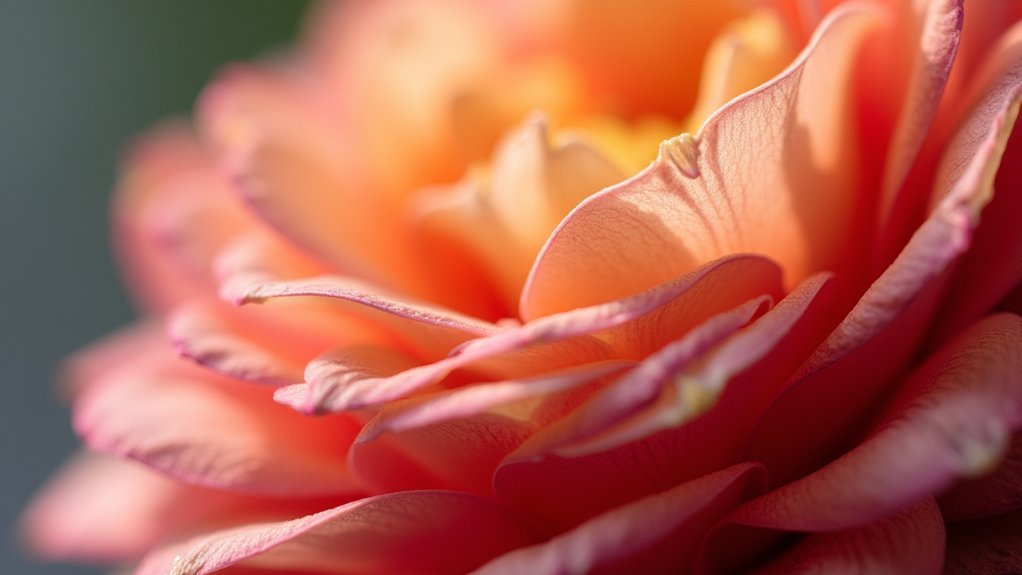
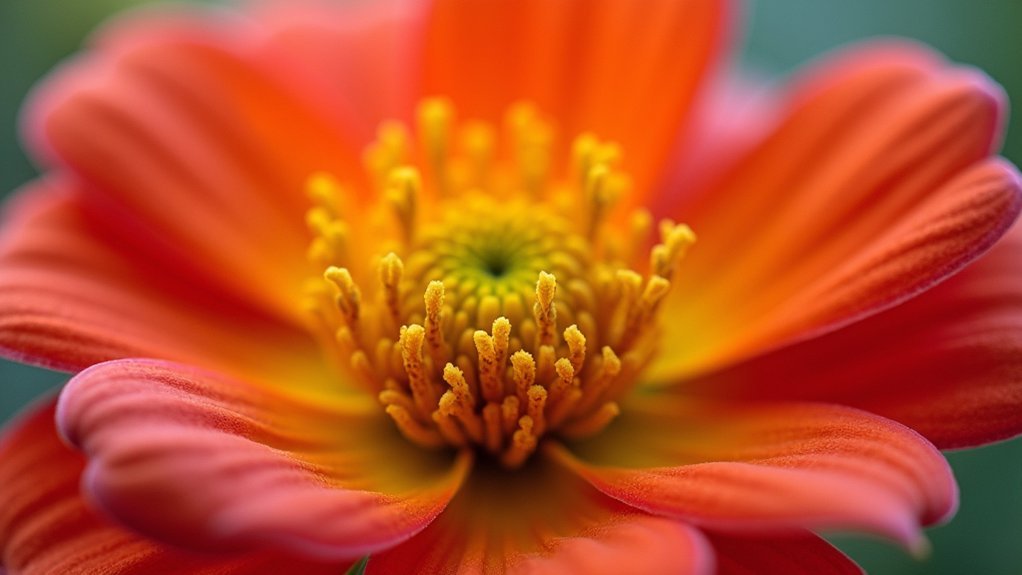
For general macro photography, working between 1:1 and 2:1 magnification provides perfect balance – capturing sufficient detail while maintaining manageable depth of field for subjects like flowers and insects.
As you move to higher magnifications (5:1 and beyond), focus stacking becomes essential as depth of field narrows considerably.
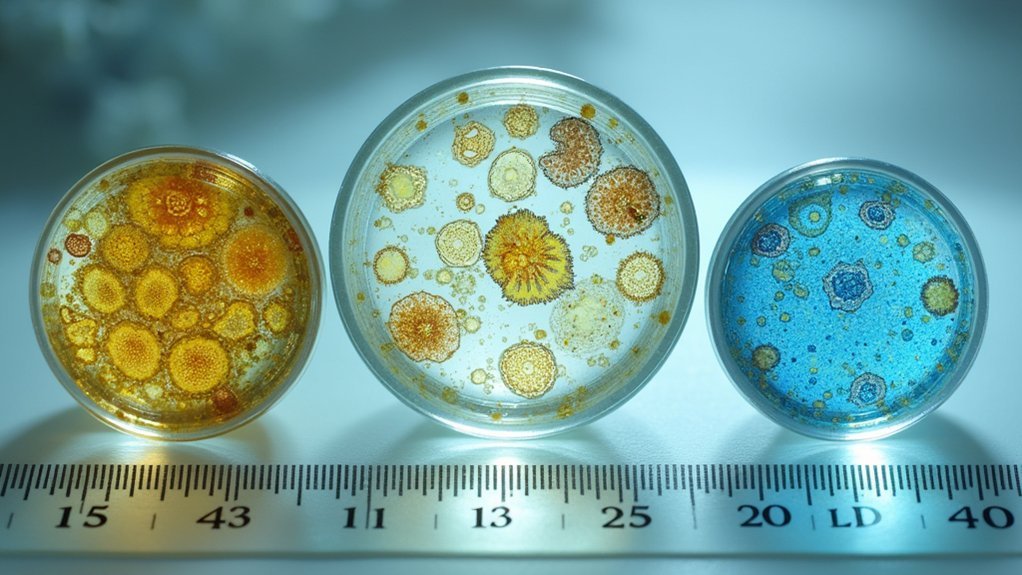
For photomicrography, 20x-100x magnifications reveal intricate details in specimens like pollen or diatoms.
When examining tiny insect parts or cellular structures, you’ll need specialized high magnification lenses (10x-100x) combined with precise focus adjustments.
Each specimen type has an ideal magnification range that balances detail capture with practical stacking requirements – choosing appropriately guarantees your final images display maximum sharpness across all focal planes.
Balancing Depth of Field and Resolution at Various Magnifications
When choosing your magnification settings, you’ll need to carefully select your aperture based on the trade-off between diffraction and depth of field, with f/8-f/11 typically offering the ideal balance for macro work.
At magnifications above 2:1, you’ll want smaller increments between focus steps (0.1-0.2mm) to guarantee complete subject coverage without gaps in sharpness.
Your magnification choice directly impacts how many images you’ll need in your stack, with higher magnifications requiring more frames to maintain resolution across the entire subject.
Optimal Aperture Selection
Achieving the perfect balance between depth of field and resolution requires careful aperture selection when creating focus stacks at various magnifications.
For macro photography, you’ll find the ideal aperture range typically falls between f/8 and f/11. These settings provide the best balance of minimizing diffraction while maintaining sufficient depth of field across different magnification levels.
As you increase magnification, particularly with specialized lenses like the Canon MP-E 65mm, avoid the temptation to stop down to f/16 or smaller.
Despite intuition suggesting smaller apertures yield greater depth of field, diffraction will actually reduce your overall sharpness. Instead, maintain f/8 to f/11 and increase the number of frames in your stack.
This approach—staying two to three stops down from maximum aperture—ensures each individual frame remains crisp while providing enough overlap for seamless stacking results.
Diffraction Vs Depth
The battle between diffraction and depth of field intensifies as magnification increases in macro photography.
You’ll need to balance these competing factors to achieve the sharpest focus stacks possible. At magnifications between 1x-2x, you’ll find the sweet spot where depth of field and resolution are ideally balanced without excessive diffraction.
When selecting your aperture, remember:
- Diffraction greatly degrades image sharpness beyond f/11
- Higher magnifications (>2x) dramatically reduce depth of field, making focus stacking essential
- Moderate apertures like f/8 at 1x-2x magnification often yield the sharpest results
As you increase magnification, your depth of field shrinks, tempting you to use smaller apertures.
However, this introduces diffraction, reducing overall sharpness. The key is finding that middle ground where you’ve got enough depth without sacrificing critical resolution to diffraction.
Magnification Step Intervals
Successful focus stacking hinges on selecting the right step intervals between consecutive shots in your stack. At lower magnifications, you’ll need steps of 1/4 to 1/2 of your total depth of field to guarantee proper overlap without sacrificing resolution or sharpness.
As you push into higher magnifications (5:1 and beyond), the depth of field shrinks dramatically, requiring much finer step increments. At 10:1 magnification, you’ll need considerably more images with smaller steps between them to achieve complete subject coverage.
For ideal results, pair your magnification with appropriate aperture settings—typically f/8 to f/11 provides the best balance between diffraction control and depth of field.
A quality focusing rail becomes essential for making these precise adjustments, guaranteeing consistent movement between shots that preserves detail throughout your stack.
Technical Limitations of High vs. Low Magnification Stacking

When choosing magnification settings for focus stacking, you’ll encounter fundamental physical constraints that greatly impact your results. Higher magnification reveals intricate details but dramatically reduces depth of field, requiring more precise focus adjustments between stacking images.
Conversely, lower magnification provides greater depth of field but sacrifices resolution of fine details.
At extreme magnifications, diffraction becomes problematic, potentially compromising sharpness unless you select a superior aperture (typically f/8-f/11).
Diffraction can sabotage sharpness at high magnifications—combat this by using optimal apertures in the f/8-f/11 range.
- High magnification – Delivers exceptional resolution but requires more frames and precise focus control
- Low magnification – Offers greater depth of field but loses subtle detail information
- Intermediate settings – Often provide the best balance between resolution and practical workflow
Motorized focus rails can greatly enhance your results at any magnification by enabling consistent, precise incremental adjustments.
Equipment Considerations for Sharper Stack Results
Having determined your ideal magnification range, your equipment choices will make or break your stacking results.
Invest in high-quality macro lenses, like the Canon MP-E 65mm, which deliver superior resolution at extreme magnifications compared to standard lenses with extension tubes.
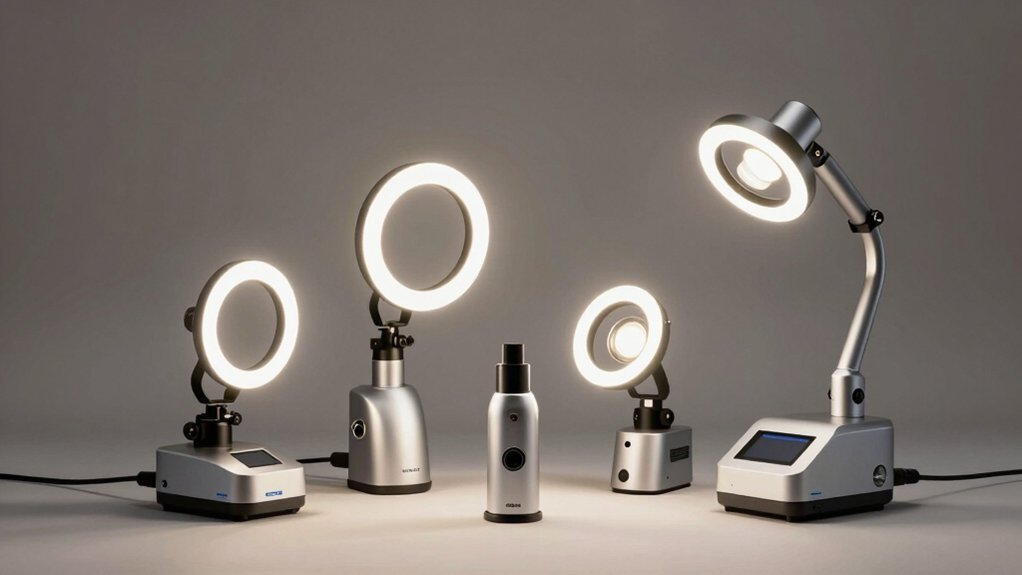
Mount your setup on a sturdy tripod and use a precision focusing rail for consistent, incremental adjustments throughout your focus stacking sequence.
This combination eliminates unwanted vibrations that can compromise sharpness.
Select mid-range apertures between f/8 and f/11 to balance depth of field against diffraction effects, particularly important when working at high magnifications.
Keep your ISO low (100-200) to minimize noise that becomes more pronounced when images are combined.
Step Size Adjustments Across Magnification Levels
How precisely you space your focus steps dramatically affects the quality of your stacked images. As magnification level increases, you’ll need to decrease your step size to maintain sharpness.
At lower magnifications (1-2x), you can use larger steps around 1mm since the depth of field is more forgiving.
For best focus stacking results across different magnifications:
- Use 0.1-0.5mm steps for higher magnifications (5x+) to guarantee adequate focus overlap
- Adjust to larger 1mm steps at lower magnifications where depth of field is greater
- Employ a focusing rail for consistent step sizes, particularly critical for macro photography
Don’t hesitate to experiment with your specific setup—ideal step size varies with subject, lighting conditions, and lens characteristics.
Post-Processing Techniques for Different Magnification Stacks
Effective focus stack processing requires different approaches based on your chosen magnification level. When working above 1:1 magnification, guarantee you’re maintaining consistent exposure settings throughout your stack, as even minor variations can compromise final sharpness.
Software solutions like Helicon Focus excel at aligning and blending high magnification stacks, but you’ll need to select appropriate blending methods for your specific magnification. Higher magnifications typically benefit from methods that preserve intricate details. Aim for 30% overlap between frames to guarantee smooth shifts in your composite.
After processing, carefully inspect your images for artifacts—particularly around detailed areas where focus stacking algorithms might struggle.
Don’t hesitate to manually adjust layer masks for problem areas, as this fine-tuning often makes the difference between acceptable results and truly impressive sharpness in your final image.
Frequently Asked Questions
What Is the Best Aperture for Focus Stacking?
For focus stacking, you’ll get the sharpest results using apertures between f/8 and f/11. This range balances ideal lens sharpness with minimal diffraction, while maintaining consistent exposure throughout your stack.
What Is the Difference Between 1 1 and 2 1 Macro?
At 1:1 macro, your subject appears life-size on the sensor. With 2:1, you’re capturing it twice life-size, showing finer details but requiring more precise focusing and stability to maintain sharpness.
How Many Shots Do You Need for Focus Stacking?
You’ll need at least 3 shots (foreground, middle, background) for basic focus stacking. For macro subjects, use 5-10 images. Adjust based on subject depth, movement, and overlap between shots (30-50% recommended).
How Do You Achieve Sharp Focus and Detail in Macro Shots?
You’ll achieve sharp macro detail by using f/8-f/11 aperture, mounting your camera on a tripod, employing a focusing rail for precise adjustments, and maintaining consistent settings when capturing multiple images for focus stacking.
In Summary
You’ll find the sharpest stack results by matching your magnification to your specimen’s size and detail level. Don’t simply chase the highest power—aim for the sweet spot where depth of field and resolution are balanced. Adjust your step size accordingly, use appropriate equipment for your magnification range, and refine your results with post-processing techniques suited to your specific magnification level.

Leave a Reply