
For best photo stacking results, use LED lights positioned at various angles to reduce glare. Mount a ring light at eye level with a softbox for even illumination. Employ shoot-through umbrellas to soften harsh reflections on specimens. Balance your setup with a main light plus a secondary light to add dimension. Adjust intensity based on your subject—lower for translucent items, higher for opaque ones. These techniques will transform your stacked images from flat to professionally detailed.
Choosing the Optimal Light Sources for Microscope Stacking
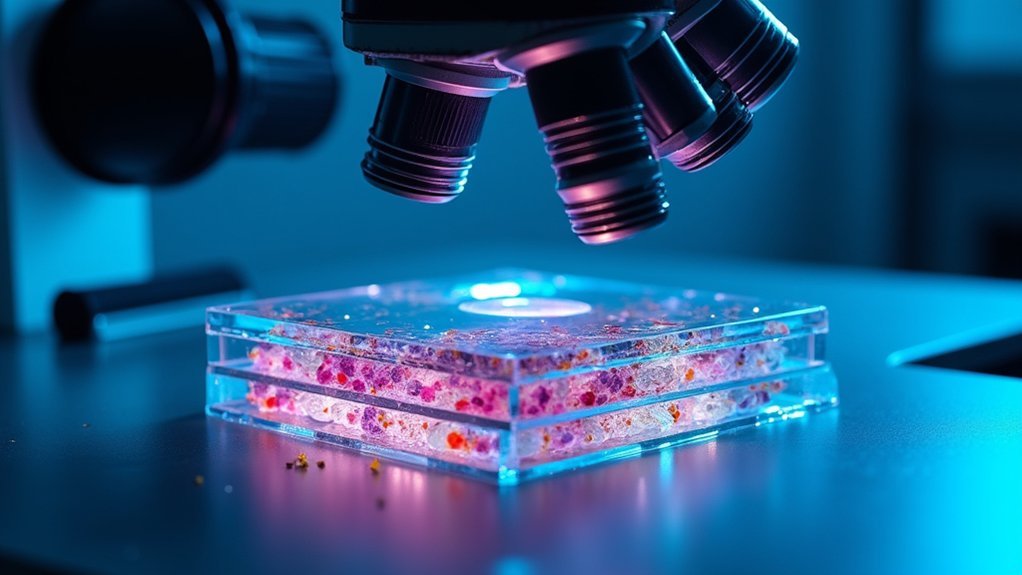
When it comes to microscope stacking, your lighting setup can make or break the final image quality. LED lights are your best choice as they provide exceptional brightness while emitting minimal heat that could damage delicate specimens.
Position your light sources at varying angles and distances to minimize glare and highlight fine details. You’ll want to place a diffusing material like frosted glass between the light source and your subject to create even illumination across the entire specimen.
Don’t rely on ambient light alone—utilize multiple light sources to enhance depth and texture in your images.
Try combining ring lights for uniform coverage with strategically placed spotlights to emphasize specific features. This combination will reveal intricate details through the interplay of shadows and highlights.
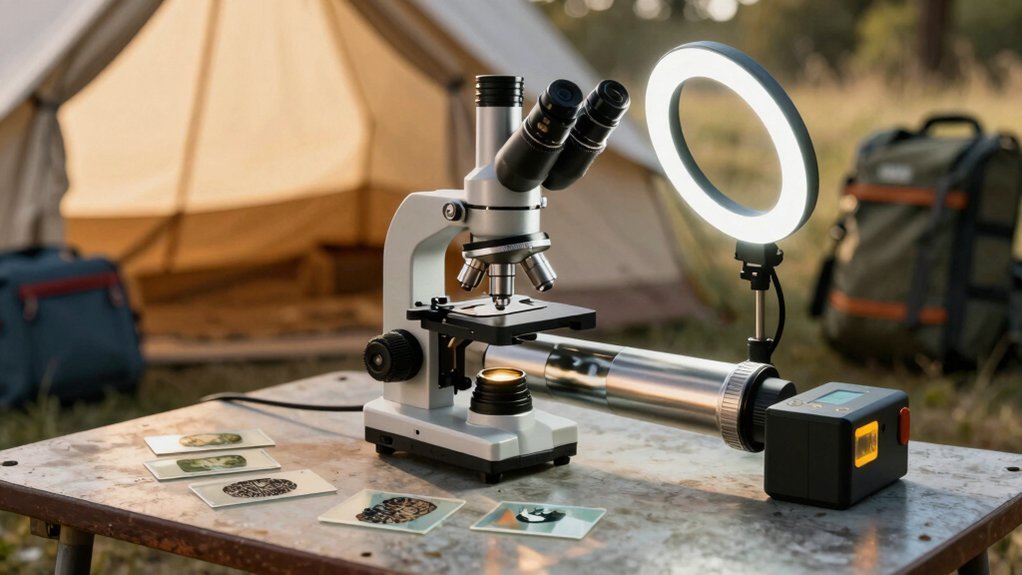
Setting Up Ring Lights for Maximum Detail Capture
Ring lights stand as the cornerstone of detail-rich focus stacking photography, offering that distinctive circular illumination pattern that photographers prize.
Position your ring light at eye level to achieve even facial illumination without harsh shadows. Attach a softbox attachment to soften the light and minimize glare, enhancing fine detail capture.
Eye-level ring light positioning eliminates harsh shadows, while softbox attachments reduce glare for optimal detail preservation in macro work.
Your favorite two light setup should include the ring light as primary and an additional light source—like a reflector—to create dimension.
Keep the additional light at lower power to maintain the ring light’s dominance while adding depth. Experiment with distance: closer placement yields softer, more flattering detail, while greater distances create dramatic effects.
Always adjust brightness to complement ambient lighting for a balanced exposure that reveals details without washing them out.
This careful balance will maximize the crisp definition focus stacking requires.
Diffusion Techniques to Eliminate Harsh Reflections

Three essential diffusion tools transform harsh lighting into focus-stacking friendly illumination. When shooting products or macro subjects, shoot-through umbrellas create beautifully soft light that eliminates distracting reflections.
Experiment with the distance between your light source and diffusion materials to achieve ideal softness for your stacked images.
- Shoot-through umbrellas – Position them at varying distances from your subject to control shadow edges and eliminate hotspots that ruin detail capture.
- MagMod Cold Shoe attachments – Secure your diffused lights precisely where needed for consistent illumination across all frames.
- Reflector positioning – Fill shadows strategically to maintain texture while reducing contrast issues.
Fine-tune your power settings incrementally when using diffusion techniques. This careful balance guarantees you’ll capture all the necessary detail for stunning images without the harsh reflections that plague many stacked photographs.
Balancing Multiple Light Sources for Even Illumination
Creating perfect stacked images requires mastering the delicate balance between multiple light sources. When setting up your two-light arrangement, use your main light source with a smaller umbrella for broad, diffused illumination across the entire scene.
Position your second light to sculpt facial features and add dimension, adjusting each light’s power independently to guarantee your subject pops against a slightly darker background.
Monitor your histogram throughout the process of shooting to verify shadow depth and exposure distribution. You’ll notice how one light provides the base exposure while the second creates definition.
Strategic reflector placement helps fill shadows where light coming from your primary sources doesn’t reach. For ideal results with Magmod modifiers or shoot-through umbrellas, experiment with different angles until you achieve even illumination that reveals texture without creating distracting hotspots.
Adjusting Light Intensity for Different Specimen Types
Although mastering light intensity might seem challenging at first, it’s essential for capturing accurate details across various specimen types.
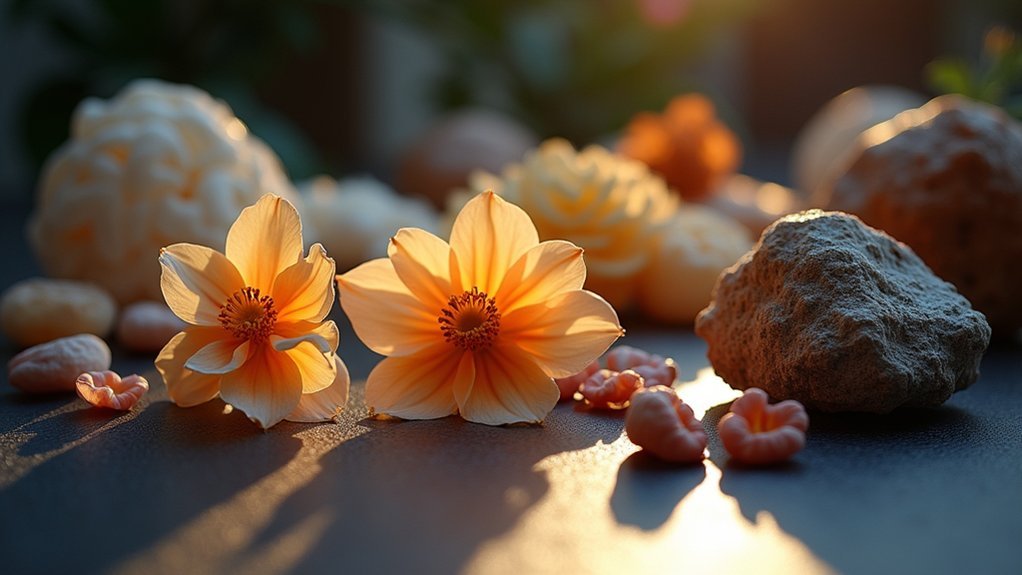
When working with translucent subjects like leaves or flower petals, you’ll want to reduce your light source power and incorporate diffusers to create soft light intensity that reveals delicate textures without harsh shadows.
Opaque specimens such as fruits or textured objects benefit from increased illumination to highlight surface details and enhance color vibrancy.
For shiny surfaces, lower your lights to minimize glare while strategically positioning them to create controlled highlights.
- Start low – Begin with minimal intensity and gradually increase until details emerge
- Watch for hotspots – Immediately adjust when overexposure threatens to destroy fine details
- Experiment boldly – Try unexpected lighting angles that might reveal previously hidden textures
Frequently Asked Questions
What Is the Most Flattering Lighting for Photos?
For the most flattering photos, you’ll want soft, diffused light positioned at a 45-degree angle. This minimizes harsh shadows, creates even skin tones, and enhances your facial features with natural-looking highlights.
What Are the Three Rules of Lighting for Photography?
The three rules of lighting for photography are: understand light direction to create depth, manage light quality (soft vs. hard), and control exposure by balancing ambient and artificial light. You’ll see dramatic improvements using these principles.
How Do You Focus Stack Photography?
You’ll need to capture multiple images at different focal points, using a tripod for stability. Then combine these shots in software like Photoshop or Helicon Focus to create one perfectly sharp image throughout.
What Is the Ideal or Best Light for Taking Photos?
The ideal light for your photos combines soft, diffused main light with strategic harder accent lights. You’ll want even illumination with controlled shadows, whether you’re using natural window light or studio strobes.
In Summary
By mastering your lighting setup, you’ll transform ordinary image stacks into extraordinary macro photographs. Remember that effective diffusion, proper light placement, and customized intensity are your best allies when capturing minute details. Don’t be afraid to experiment with different combinations of light sources—your perfect setup might require some trial and error. With these techniques in your arsenal, you’re ready to reveal the hidden world of microscopic subjects.

Leave a Reply