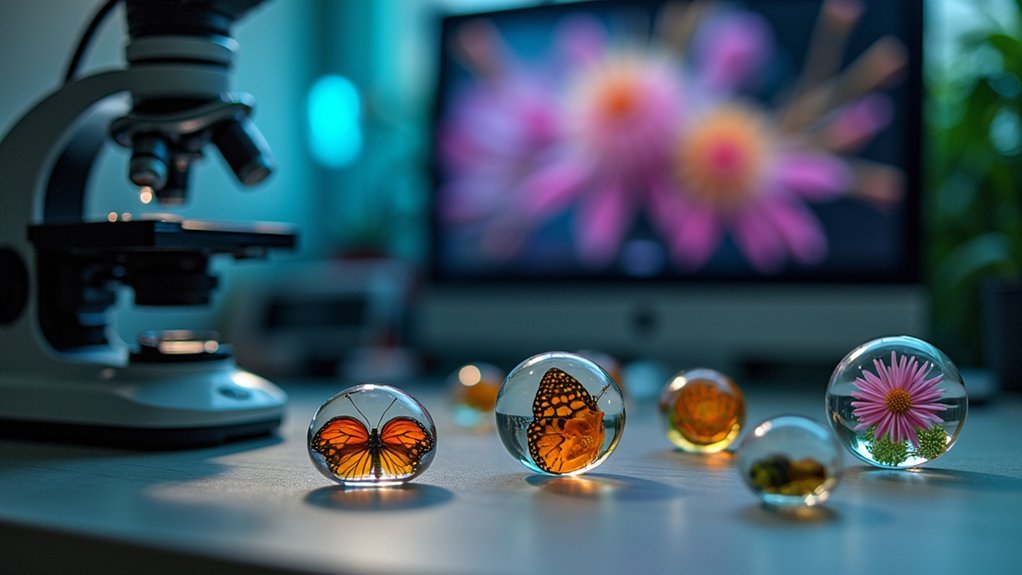
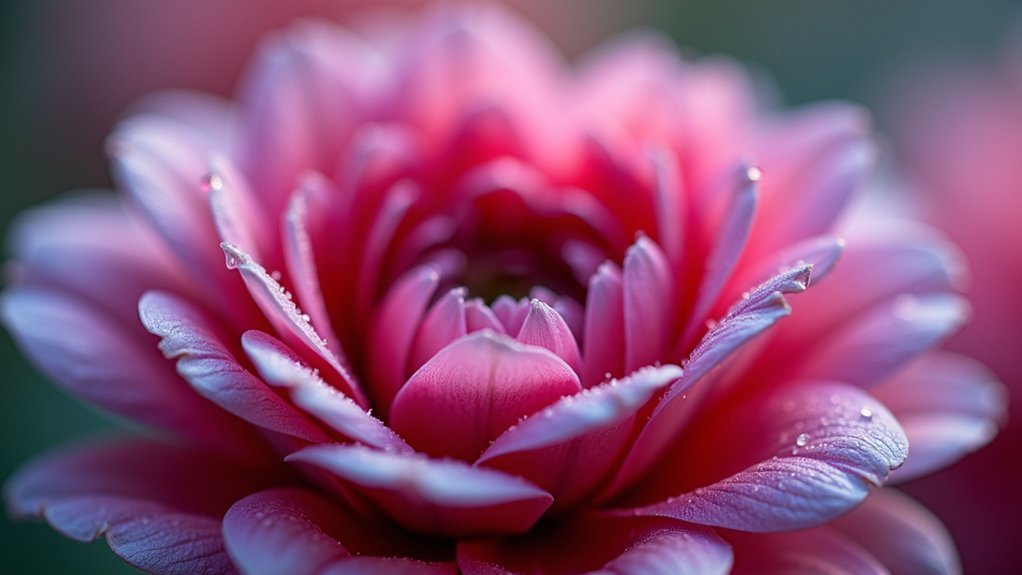
Focus stacking overcomes depth of field limitations in microscope photography by combining multiple images with different focal points. You’ll need a sturdy tripod, quality macro lens, focusing rail, and consistent lighting. Capture images with 30-50% overlap between shots, starting at the closest focal point and working backward. Use software like Helicon Focus or Photoshop to align and blend your images into a single, sharp composite. These techniques will transform your scientific documentation with unprecedented clarity and detail.
Focus Stacking: Capture Every Layer With Precision

Immerse yourself in the world of focus stacking, a powerful technique that lets you overcome depth of field limitations by combining multiple images focused at different distances.
This approach is particularly valuable when working with a macro lens, where even at narrow apertures, portions of your subject inevitably fall out of focus.
To create successful stacked images, start by mounting your camera on a tripod—this stability is non-negotiable.
Rock-solid camera support forms the foundation of focus stacking—never compromise on tripod stability.
Capture a series of shots with identical exposure settings, changing only the focus point between frames. Move methodically through your subject from front to back.
Later, specialized software like Helicon Focus or Photoshop will align and blend these layers into a single, tack-sharp composite that reveals details impossible to capture in a single exposure.
What Is Focus Stacking in Microscope Photography?
You’ll overcome the severe depth of field limitations in microscope photography through Extended Depth Field techniques, where multiple images at different focal planes combine to reveal your specimen’s complete structure.
This Z-Stack Image Merging process captures every layer of detail by incrementally adjusting the focal point through your specimen, from foreground to background.
When specialized software blends these sequential images together, you’ll achieve a single composite photograph with remarkable clarity throughout the entire field of view.
Extended Depth Field
While traditional microscope photography often struggles with limited depth of field, focus stacking offers a revolutionary solution specifically designed for microscopic subjects.
You’ll overcome the extreme depth constraints inherent at high magnifications, where even the thinnest specimens appear partially blurred.
Z-Stack Image Merging
Focus stacking in microscope photography, specifically through z-stack image merging, transforms how we capture microscopic specimens by solving the fundamental challenge of limited depth of field.
When you’re working with high magnifications, you’ll find it impossible to get everything sharp in a single shot. Z-stack image merging addresses this by capturing a series of images at different focal planes, each revealing details that would otherwise remain blurred.
You’ll need specialized software like Helicon Focus or Zerene Stacker to align and blend these layers automatically into one seamless composite. This technique progressively captures each layer of your specimen, resulting in a remarkably sharp image with enhanced clarity throughout.
For scientific documentation, research, or educational purposes, z-stack image merging delivers the thorough detail and precision that single-plane microscopy simply can’t achieve.
Essential Equipment for Microscopic Focus Stacking

Five key pieces of equipment form the foundation of any successful microscopic focus stacking setup.
You’ll need a sturdy tripod to eliminate camera movement and maintain perfect stability throughout the capture process. Pair this with a quality macro lens for the extreme magnification necessary to reveal minute details invisible to the naked eye.
A focusing rail is indispensable for your workflow—it allows you to make precise, incremental adjustments between shots, ensuring you capture every focal plane with accuracy.
Don’t overlook the importance of a remote release or timer function to prevent vibrations when triggering the shutter.
Camera vibration is the silent destroyer of microscopic detail—employ remote triggering for the tack-sharp results your subjects deserve.
Finally, consistent lighting is critical. Opt for well-diffused light sources that provide even illumination across your subject and minimize harsh shadows that can compromise your final image.
Setting Up Your Microscope for Optimal Stacking Results
Precision and stability form the cornerstone of effective microscopic focus stacking.
Begin by confirming your microscope is properly calibrated and positioned on a sturdy stand to eliminate vibrations that could compromise image quality.
Adjust your camera settings to capture in RAW format, maximizing detail preservation for post-processing.
When establishing focus points, use manual focus rather than relying on auto-focus capabilities, as this gives you complete control over the incremental depth changes needed for thorough stacking.
Proper lighting is essential—position your illumination source to create even, shadow-free lighting across your specimen.
If available, utilize a motorized stage to achieve consistent, precise movements between focus points. These small adjustments between layers ensure you’ll capture every critical detail in your final stacked image.
Determining the Ideal Number of Image Slices

With your microscope properly configured, you’ll now need to address a critical question: how many images should you capture to create a perfectly sharp composite?
The number of slices required for successful focus stacking varies considerably with your subject. Landscape photographers might need only 2-3 images, while macro work demands 8-20 slices due to the severely limited depth of field. For microscopy, this number often increases further.
A reliable approach is ensuring your focus areas overlap by 30-50% between shots. Consider using a focus rail for precise incremental adjustments, particularly when capturing minute details.
Don’t hesitate to experiment—review your initial captures to determine if additional slices are needed.
Step-by-Step Capture Process for Microscope Specimens
To guarantee successful microscope focus stacking, you’ll need proper specimen preparation—flat mounting, appropriate staining, and minimal debris.
Your focus increments should be small enough to capture overlapping areas of sharpness, typically 5-10 microns depending on magnification and depth of field.
Connect your camera to the microscope using a dedicated adapter or eyepiece coupler, ensuring the sensor aligns perfectly with the optical path for maximum resolution and field of view.
Specimen Preparation Techniques
Effective specimen preparation forms the foundation of successful focus stacking in microscopy. Proper preparation guarantees your specimen maintains structural integrity while overcoming shallow depth of field limitations.
When preparing specimens for a focus-stacked image, follow these essential techniques:
- Fix your specimen using appropriate preservatives to prevent deterioration during the imaging process
- Dehydrate samples thoroughly through an alcohol gradient to remove water that could distort imaging
- Embed in suitable media (paraffin or resin) for stable sectioning
- Section at consistent thickness (5-10 micrometers) to guarantee even focus across all layers
- Mount slices on clean, high-quality slides with appropriate mounting media to prevent bubbles or debris
You’ll find these preparation steps critical for capturing the crisp, detailed layers needed for professional-quality microscopy focus stacking.
Optimal Focus Increments
Three critical factors determine successful focus stacking of microscope specimens: proper preparation, ideal focus increments, and effective post-processing. When capturing images for focus stacking, you’ll need to adjust the focus in precise increments to guarantee complete coverage of your specimen.
| Specimen Type | Recommended Increment | Number of Images |
|---|---|---|
| Thin/Flat | 5-10 microns | 5-8 |
| Medium Depth | 10-15 microns | 8-12 |
| Deep/Large | 15-20 microns | 12-20 |
| Transparent | 8-12 microns | 10-15 |
| Opaque | 10-15 microns | 8-12 |
Use a focusing rail for sharp focus throughout your stack. Begin at the closest focal point and work backward, maintaining consistent lighting between shots. This methodical approach guarantees each layer captures different focal planes, resulting in a fully sharp final image.
Camera-Microscope Integration
Properly integrating your camera with a microscope forms the foundation of successful focus stacking for specimen photography. Verify your camera is compatible with the microscope’s optical system for ideal alignment and image quality.
- Set up a motorized focusing stage to capture precise incremental depths.
- Use RAW format to preserve maximum detail for focus stacking processing.
- Create diffused, consistent lighting to eliminate harsh shadows on specimens.
- Align your camera precisely with the optical axis for distortion-free images.
- Capture a complete series of images across the entire depth of your specimen.
After capturing your image series, specialized software like Helicon Focus or Zerene Stacker will combine the sharpest areas from each layer, creating a composite image with remarkable depth and clarity throughout the entire specimen.
Software Options for Microscopic Focus Stacking
Microscopic photography demands specialized software solutions capable of handling the intricate challenges of focus stacking at high magnifications.
Two standout options are Helicon Focus and Zerene Stacker, both designed specifically for the fine details essential in macro work.
Helicon Focus offers advanced algorithms with depth mapping and multiple projection methods that excel in challenging stacking scenarios.
You’ll appreciate its ability to minimize focus breathing issues that often plague microscopic images.
Zerene Stacker provides a user-friendly interface with powerful alignment and blending tools, making it particularly effective for preserving fine details in high-magnification photography.
Both programs support RAW processing, ensuring you maintain maximum image quality throughout your workflow while considerably reducing processing time compared to manual methods.
Dealing With Movement and Vibration Challenges

When shooting focus stacks outdoors, you’ll need to secure your subjects with plamps to prevent movement from wind and other disturbances.
Your camera system must remain absolutely vibration-free, requiring a sturdy tripod, locked mirror on DSLRs, and remote shutter release or timer to eliminate camera shake during capture.
Consider using a focusing rail for macro work, allowing precise adjustments between shots while maintaining the stability of your entire setup.
Stabilizing Outdoor Subjects
Three major challenges confront photographers attempting focus stacking outdoors: wind movement, camera vibration, and subject instability.
Conquering these obstacles requires strategic equipment and thoughtful technique to capture consistently sharp images across your focus stack.
- Use a plamp to gently secure flowers or delicate subjects, preventing them from swaying in even slight breezes.
- Position your tripod on stable ground, spreading legs wider for additional stabilizing support in uneven terrain.
- Employ a remote shutter release to eliminate finger-induced vibrations when capturing each frame.
- Add weight to your tripod’s center hook for extra stability in windy conditions.
- Shield your subject and camera setup from wind using your body or portable windbreaks.
These simple yet effective techniques will dramatically improve your outdoor focus stacking success rate, ensuring clean, detailed final images.
Vibration-Free Camera Systems
Successful focus stacking depends entirely on eliminating even the slightest camera vibrations that can ruin your carefully planned sequence.
Invest in a sturdy tripod with a stable head—lightweight models simply won’t provide the rock-solid foundation needed for precision focus stacking.
Use a remote shutter release or timer to avoid touching your camera during the shooting process. If you’re using a DSLR, engage the mirror lock-up function to minimize internal vibrations that can affect image sharpness.
When making adjustments between shots, switch to Live View mode rather than looking through the viewfinder to prevent inadvertent camera movement.
For maximum control, incorporate a focusing rail into your vibration-free camera system. This allows for precise incremental adjustments without physically touching the camera, ensuring each layer in your focus stack remains perfectly aligned.
Post-Processing Techniques for Enhanced Detail
Once you’ve captured your series of differently focused images, the real magic of focus stacking happens during post-processing.
Begin your workflow in Photoshop by using “Auto-Align Layers” to correct any slight misalignments, ensuring pixel-perfect registration. Then apply “Auto-Blend Layers” with the “Stack Images” option to merge the sharpest areas automatically.
- Use layer masks to manually refine your focus areas for complete creative control
- Apply global adjustments to all layers before blending for consistent tone and color
- Watch as formerly impossible depth of field materializes before your eyes
- See microscopic details emerge with crystal clarity in your macro photography
- Transform ordinary subjects into extraordinary images with complete sharpness
Consider specialized software like Helicon Focus for more advanced stacking algorithms when tackling complex projects.
Advanced Stacking Methods for Scientific Specimens

Scientific specimen photography demands an unprecedented level of precision that goes beyond conventional focus stacking techniques. You’ll need a focusing rail for consistent micro-adjustments between shots, capturing 20+ images to compensate for the extremely shallow depth-of-field at high magnifications.
| Equipment | Purpose | Benefit |
|---|---|---|
| Focusing Rail | Precise increments | Consistent focus steps |
| Diffuse Lighting | Minimize shadows | Reveals subtle details |
| RAW Format | Maximum data retention | Enhanced post-processing |
Process your multiple images using specialized software like Helicon Focus or Zerene Stacker, which selectively combines only the sharpest portions from each frame. This guarantees your final image contains thorough detail throughout the specimen, even at microscopic levels. For ideal results, always use diffuse lighting to prevent harsh shadows that might obscure critical scientific details.
Troubleshooting Common Microscope Stacking Issues
Despite your best preparations, microscope focus stacking often presents unique challenges that can frustrate even experienced photographers. When capturing several images for a stack, you’ll need to address common pitfalls to achieve seamless results.
- Watch for focus breathing where magnification shifts between frames, causing misalignment.
- Clean your equipment thoroughly—even microscopic dust particles become glaring artifacts.
- Verify your lighting is evenly diffused to maintain consistent exposure across all slices.
- Mount your camera on a tripod with a focus rail for precise, incremental adjustments.
- Choose specialized stacking software like Helicon or Zerene instead of general editing programs.
Frequently Asked Questions
What Are the Best Settings for Focus Stacking?
For focus stacking, you’ll want to use Manual mode, set aperture to f/8, use ISO 100, maintain 1/100th second shutter speed, and utilize Live View for precise focus adjustments between shots.
What’s the Difference Between Focus Stacking and Focus Bracketing?
Focus stacking combines multiple images at different focus points into one sharp composite, while focus bracketing simply captures a series of differently focused shots without blending them. You’ll need post-processing software for stacking but not necessarily for bracketing.
Can You Do Focus Stacking in Capture One?
Capture One doesn’t have built-in focus stacking. You’ll need to manually layer your images and use masks to blend sharp areas, or export to software like Helicon Focus or Photoshop for automated stacking.
How Many Shots Do You Need for Focus Stacking?
You’ll need 2-3 shots for basic landscapes and 8+ for macro subjects. The number depends on your scene’s complexity, with macro requiring more frames due to reduced depth of field at high magnifications.
In Summary
You’ve now mastered the art of focus stacking for microscope photography. With practice, you’ll capture specimens with unprecedented detail and depth. Don’t be discouraged by initial challenges—every stack improves your technique. Remember to maintain consistent lighting, minimize vibrations, and experiment with different software options. Your scientific imagery will stand out with crystal-clear precision across every focal plane. Keep exploring the microscopic world!


Leave a Reply