Achieve perfect specimen slides by selecting appropriate slide types, cleaning thoroughly, and handling by edges only. Master wet mounts by placing specimens in distilled water and lowering cover slips at angles to prevent bubbles. Keep specimens 5-10 micrometers thick for ideal light transmission. Use proper fixation techniques, compatible mounting media, and effective staining methods for contrast. Store slides in cool, dry places away from sunlight. These foundational techniques will transform your microscopy results.
10 Essential Tips for Perfect Specimen Slides

While preparing microscope slides may seem straightforward, achieving perfect specimens requires attention to detail.
Always verify your slides are clean and dry before use, removing any dust or fingerprints that could interfere with observation clarity.
Cleanliness is paramount—eliminate dust and fingerprints that compromise clarity before mounting your specimen.
When mounting your specimen, select the appropriate slide type based on what you’re examining.
Apply the proper staining techniques to enhance visibility of specific structures you’re studying.
As you place the cover slip, angle it gently from one side to minimize air bubbles that might obstruct your view.
Don’t forget to label each slide with the specimen name and preparation date.
This simple step maintains organization and proves invaluable when you need to reference these slides in the future.
Your careful preparation will greatly improve observation quality.
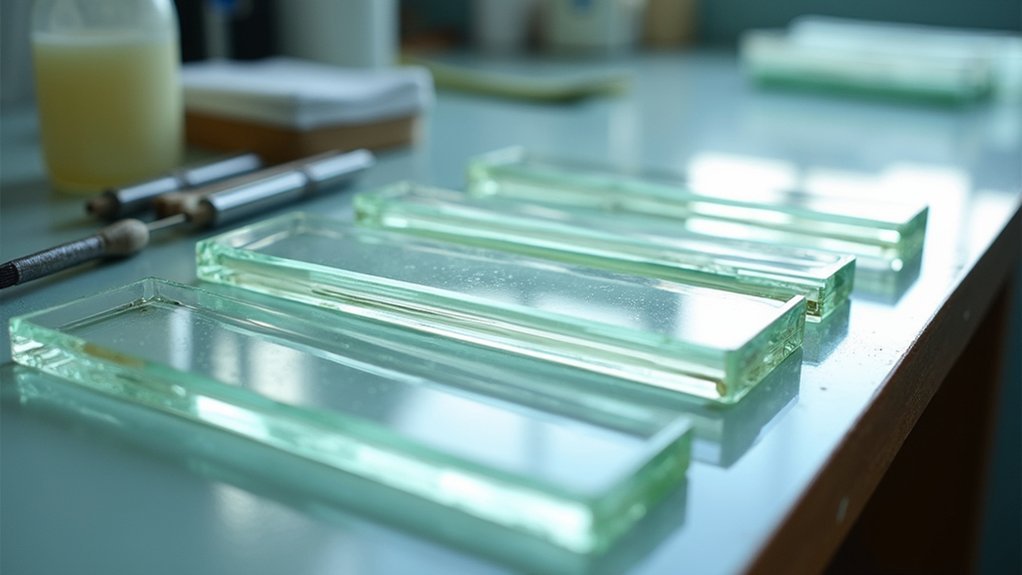
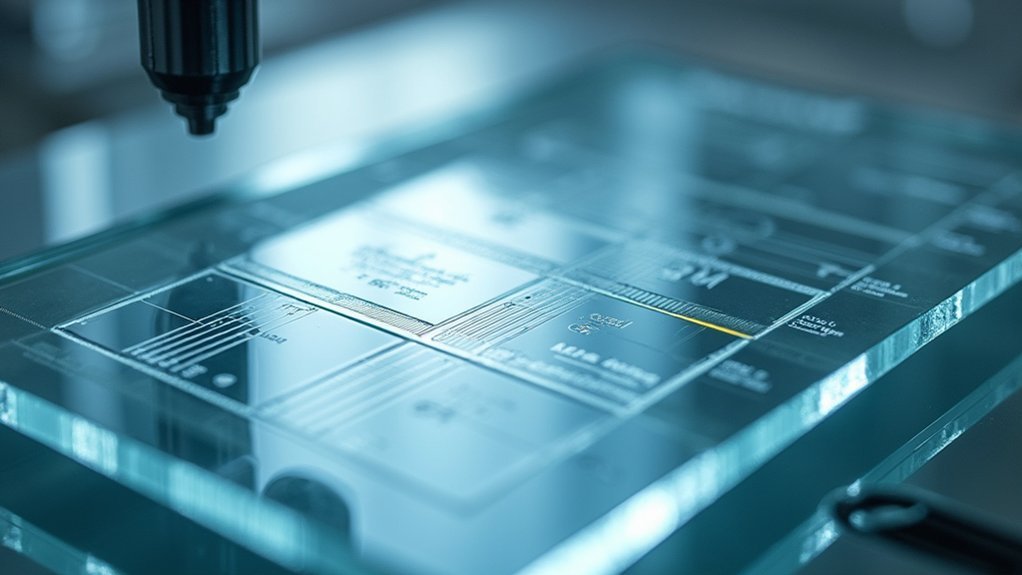
Selecting the Right Slide Type for Your Specimen
The foundation of excellent microscopic observation begins with selecting the right slide type for your specimen. Flat slides provide an ideal base for thinly sliced specimens, allowing for clear observation while maintaining structural integrity during mounting procedures.
For specimens requiring hydration or those that are motile, concave slides offer a depression that holds liquids without the immediate need for a cover slip. This feature is essential for preserving natural movement and preventing dehydration.
Consider your specimen’s characteristics when choosing slides. Is it thick or thin? Does it need to remain in liquid? Will you need to measure its dimensions?
For quantitative analysis, graticule slides with measurement scales are invaluable, while specialized slides enhance accuracy for histological or cytological microscopy work.
Proper Cleaning and Handling of Glass Slides
Maintaining pristine glass slides requires diligent cleaning and careful handling techniques. Always clean glass slides with soap and water or alcohol-based cleaners, then dry them with a lint-free cloth to prevent contamination. This guarantees your specimens will be clearly visible under the microscope.
When you handle slides, grip them only by their edges to minimize transfer of oils and fingerprints that can interfere with your observations. Before use, inspect slides for scratches or residues that might obstruct your view.
Wear gloves or use forceps during preparation to maintain cleanliness and avoid introducing contaminants.
After use, store slides in a clean, dry place—preferably a dedicated slide box—to protect them from dust and physical damage.
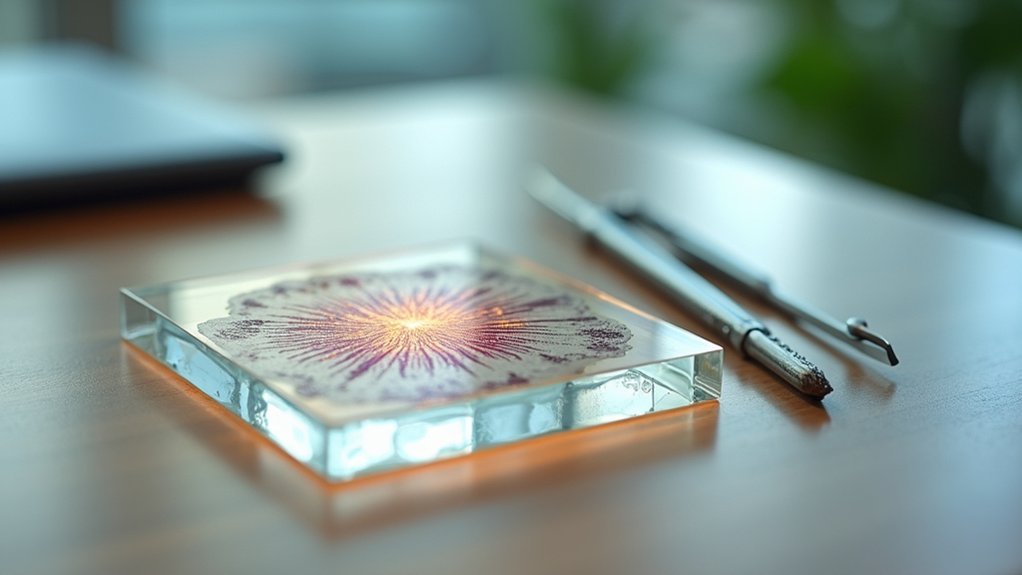
Mastering Wet Mount Techniques for Living Specimens
Preparing effective wet mount slides represents a fundamental skill for any microscopist working with living specimens.
To create a proper wet mount, place your specimen in a drop of distilled water on the slide, then lower the cover slip at an angle to prevent air bubbles from forming. This technique preserves the specimen’s natural state while allowing light transmission.
Ensure your specimen is sufficiently thin for ideal microscopy. When observing motile organisms, the wet mount technique enables you to study their dynamic movements in real time.
Always use the appropriate medium for your specific specimen type to maintain its viability during observation.
Don’t forget to label your slides with the specimen name and date for proper organization and future reference. This simple step saves time and prevents confusion when revisiting your work.
Creating Bubble-Free Cover Slip Application
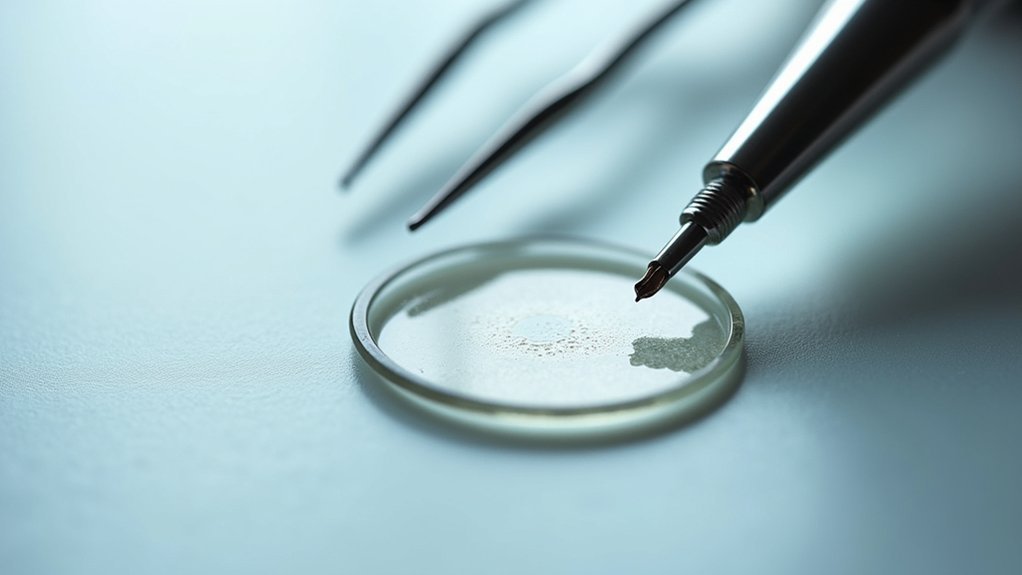
Achieving bubble-free slides starts with the angled application method, where you’ll position one edge of the cover slip down first and gradually lower it to push air outward.
You’ll need precise control of your mounting medium quantity—too much creates overflow while too little leads to air pockets beneath the cover slip.
Manage bubbles that do appear by gently tapping the cover slip with a dissecting needle or completely reapplying if multiple bubbles compromise your specimen’s visibility.
Air Bubble Elimination Techniques
When applying cover slips to specimen slides, air bubbles can ruin your careful preparation work if not properly managed. To prevent this common issue, angle your cover slip at approximately 30 degrees to the slide and lower it gently, allowing trapped air to escape.
Always apply a drop of mounting medium before placing the cover slip—this creates a smooth interface that minimizes bubble formation.
Verify your specimen is flat and not too thick, as bulky samples often trap air underneath.
Handle cover slips with forceps rather than your fingers to avoid transferring oils that contribute to bubbles.
If bubbles do appear, don’t panic—gently tap the cover slip with a wooden stick to dislodge them, or carefully lift and reposition it if necessary.
Angled Application Method
The perfect angled application technique remains one of the most effective strategies for achieving bubble-free cover slip placement.
Hold your cover slip at a precise 45-degree angle to the slide, positioning one edge to make first contact with your specimen. This creates a controlled point of initial contact rather than trapping air underneath.
As you gently lower the cover slip, maintain steady hands to avoid sudden movements that introduce air bubbles. Confirm your slide is completely clean and dry beforehand, as debris or moisture will compromise your preparation.
You can manipulate the cover slip using fine forceps or sanitized fingers for improved precision.
If you still notice trapped air bubbles after placement, try lightly tapping around the edges—this often releases air without disturbing your specimen.
Managing Mounting Medium
Proper management of your mounting medium serves as the foundation for bubble-free cover slip application. Start by ensuring your mounting medium is freshly prepared and free from contaminants.
Using a glass stick or pipette, place a small drop (about 0.05 ml) onto your glass slide to minimize air entrapment.
When applying the cover slip, position it at a slight angle before lowering it onto the specimen. This technique allows air to escape rather than becoming trapped underneath.
Gently press down on the cover slip after placement to create an even distribution of mounting medium across the sample.
If you notice air bubbles forming, don’t panic. Carefully reposition the cover slip or use a fine needle to release trapped air without disturbing your specimen.
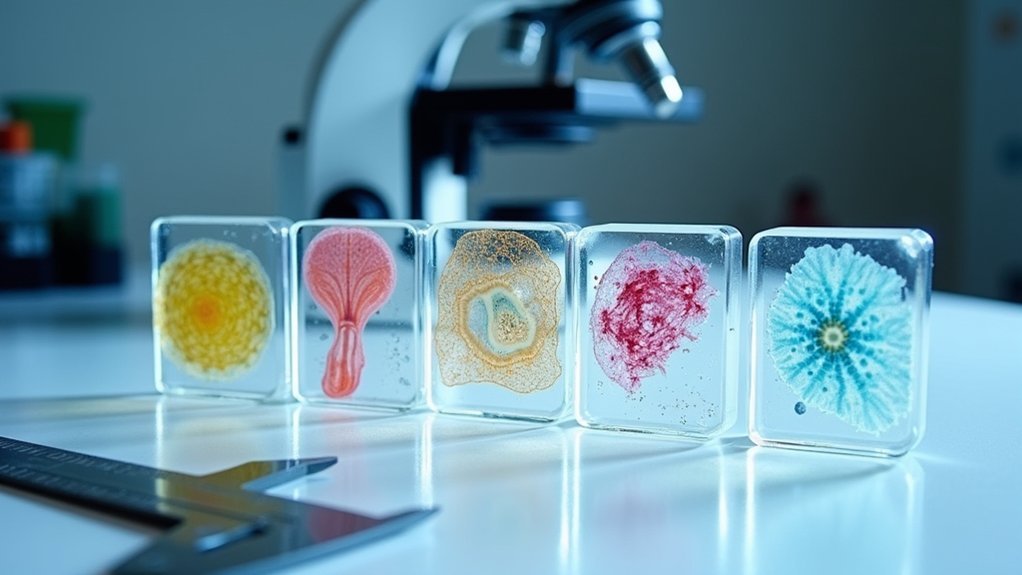
Staining Methods to Enhance Specimen Contrast

You’ll find that differential staining techniques, which use multiple dyes to distinguish between different cell structures, offer superior contrast compared to simple stains.
When choosing between progressive staining (where you apply the stain until desired intensity is reached) and regressive staining (where you overstain then remove excess), consider your specimen type and the structures you want to highlight.
Essential staining methods allow you to observe living cells in real time, as these special dyes don’t kill the specimen during the staining process.
Differential Stain Techniques
When examining microscopic specimens, differential staining techniques serve as powerful tools that reveal what would otherwise remain invisible to the eye.
You’ll find these methods essential for distinguishing various cellular components and structures.
Gram staining helps you identify bacteria based on their cell wall composition, turning Gram-positive organisms purple and Gram-negative ones pink—crucial information for treatment decisions.
For mycobacteria detection, use acid-fast staining, which highlights tuberculosis-causing bacteria as bright red against blue backgrounds.
In tissue analysis, Hematoxylin and eosin (H&E) excels at staining nuclei blue while rendering cytoplasm pink, giving you clear visualization of tissue architecture.
When examining blood samples, Wright’s stain differentiates blood cell types by color, helping you identify various hematologic conditions with precision.
Progressive vs. Regressive
Selecting the right staining approach dramatically impacts your ability to visualize microscopic structures.
When using progressive staining, you’ll gradually increase dye concentration on your specimen, giving you precise control over color intensity and contrast. This technique works excellently with Hematoxylin and Eosin (H&E), where nuclei appear blue and cytoplasm pink.
Conversely, regressive staining begins with a strong dye application followed by decolorization to remove excess stain. This method enhances visibility of specific structures in your specimen and often uses Crystal Violet or Safranin for high-contrast results.
Your choice between progressive and regressive techniques should depend on which microscopic details you need to highlight.
Each method offers distinct advantages for structural visibility, ultimately determining the quality and accuracy of your microscopic analysis.
Vital Staining Methods
Essential staining methods represent the foundation of microscopic visualization, transforming nearly invisible cellular structures into clearly defined components. When you apply stains like Methylene Blue or Eosin Y, you’ll dramatically increase contrast between cellular components, making previously hidden details apparent under your microscope.
Choose your staining techniques based on what you need to observe. For bacteria, Gram stains differentiate organisms by staining their cell membranes differently, revealing vital taxonomic information. If you’re examining cell division, try toluidine blue for staining acidic cell structures involved in mitosis.
To achieve peak results, always follow established protocols for timing and concentration. Rushing or extending staining periods can obscure stainable structures rather than highlighting them.
Remember that proper technique guarantees cellular components remain visible without distortion from overstaining or inadequate coloration.
Achieving the Ideal Specimen Thickness
The precision of your specimen’s thickness directly determines what you’ll see under the microscope. For ideal visibility, aim for 5-10 micrometers thick sections, which allow light to pass through effectively while preserving structural details.
When preparing wet mounts, make sure your specimen doesn’t exceed the thickness of your cover slip (0.13-0.2 mm) to prevent light obstruction.
- Use a microtome for sectioning – This tool guarantees consistent thickness across samples, reducing variability and enabling meaningful comparative analysis.
- Thinner specimens provide better resolution – They minimize light scattering, revealing fine cellular details that thicker sections might obscure.
- Apply additional staining when necessary – If your specimen is unavoidably thick, proper staining techniques can enhance visibility by improving contrast where light penetration is limited.
Proper Fixation Techniques for Cellular Preservation
Achieving ideal fixation requires careful attention to timing, with most specimens needing between 10 minutes to several hours depending on their size and the fixative used.
You’ll find that maintaining proper temperature control during fixation helps prevent cellular degradation and guarantees consistent results.
Remember to adjust your fixation duration based on tissue type, as overfixation can damage cellular structures while underfixation may lead to inadequate preservation.
Fixation Duration Matters
Proper specimen preservation hinges on the delicate balance of fixation timing. Your fixative choice directly impacts both preservation quality and required fixation time. For peak cellular integrity, you’ll need to monitor duration carefully—typically 10-30 minutes for smaller specimens.
Remember to fix specimens immediately upon receipt to halt enzymatic activity that can distort cellular structure.
- Timing precision: Under-fixation leads to incomplete preservation and distorted morphology, while over-fixation causes tissue hardening that complicates sectioning.
- Tissue-specific approach: Different tissue types require customized fixation times for ideal results.
- Fixative selection: Choose rapidly penetrating fixatives like formaldehyde or glutaraldehyde based on your preservation goals.
Don’t compromise your specimens with improper timing—when it comes to fixation, precision matters.
Temperature-Controlled Preservation
While fixative selection is critical, temperature control during preservation represents an equally essential but often overlooked component of successful specimen preparation.
You’ll achieve peak preservation by maintaining fixation at room temperature, as extreme temperatures can damage delicate cellular structures and compromise your results.
When specimens arrive at your lab, immediately place them in buffered formalin or an equivalent fixative at room temperature. This halts enzymatic activity and prevents cellular degradation, ensuring structures remain in their “life-like” state.
This temperature balance allows fixatives to thoroughly penetrate specimens without causing structural distortion.
Your attention to proper temperature control during fixation directly impacts staining results and microscopic examination quality.
Eliminating Debris and Contamination From Preparations
Clean specimens begin with spotless materials. Your observations are only as good as your preparation techniques. Always clean microscope slides with soap, water, or alcohol-based cleaners to remove oil and residues that could interfere with visibility.
Pristine slides ensure accurate observations. Quality microscopy depends entirely on meticulous preparation methods.
Handle slides by their edges to prevent fingerprint contamination, and use lint-free cloths when drying to avoid introducing unwanted fibers.
- Sanitize work surfaces and tools like pipettes before preparing specimens to prevent cross-contamination between samples.
- Store prepared slides in a dust-free environment such as a slide box until you’re ready to examine them.
- Inspect glassware under low magnification before adding specimens to ascertain no debris remains that could be mistaken for part of your sample.
Mounting Media Selection for Long-Term Preservation
The choice of mounting medium determines whether your specimen slides will remain viable for weeks or decades. For long-term preservation, Canada Balsam stands out due to its exceptional clarity, ideal refractive index, and ability to prevent specimen deterioration over time.
When preparing permanent slides, select mounting media that polymerize or harden, creating a protective barrier against environmental factors. Always verify your mounting medium is compatible with the clearing agent—using the same solvent maintains clarity and preserves specimen integrity.
To avoid air bubbles, apply the medium carefully and tilt the cover slip gradually when placing it.
Finally, maintain proper storage conditions by keeping slides at consistent temperatures and away from direct sunlight. These precautions will markedly extend your specimens’ observational quality and lifespan.
Frequently Asked Questions
How to Prepare a Specimen Slide?
Clean your slide and coverslip thoroughly. Select appropriate mounting technique for your specimen. For wet mounts, add liquid before gently placing the coverslip. Use stains to enhance visibility of cellular structures when needed.
What Are the 6 Steps of Slide Preparation?
To prepare a slide, you’ll need to: clean the slide, fix your specimen, choose your mounting technique, mount the specimen, add stain if needed, and label your slide properly for future reference.
What Should You Always Remember When Using Microscope Slides?
You should always handle slides by their edges, keep them clean and dry, use thin specimens, avoid air bubbles with angled cover slips, and label slides properly for organization and identification.
What Are the Steps to Show the Correct Method for Focusing on a Specimen?
Start with low power, position your slide, use coarse focus first. Then switch to higher power and use fine focus knob for detail. Always adjust light intensity for best visibility.
In Summary
By mastering these ten essential techniques, you’ll transform your microscopy from amateur to expert. You’re now equipped to select appropriate slides, prepare specimens correctly, and preserve your work for future viewing. Whether you’re a student, researcher, or hobbyist, these skills will guarantee you don’t waste valuable samples and you’ll capture the clearest possible images of your microscopic world. Apply them consistently for remarkable results.

Leave a Reply