For accurate scientific image scale bars: Place them in the lower left corner with high-contrast colors (black or white). Calibrate your microscope using precision slides with 1mm scales. Automate generation using ImageJ/Fiji for consistency across multiple images. Recalculate after cropping to maintain accuracy. Use batch processing for efficiency. Add scale bars as the final step in your workflow. These techniques guarantee your measurements remain reliable and professional, enhancing the impact of your research visuals.
7 Scale Bar Tricks for Scientific Image Accuracy
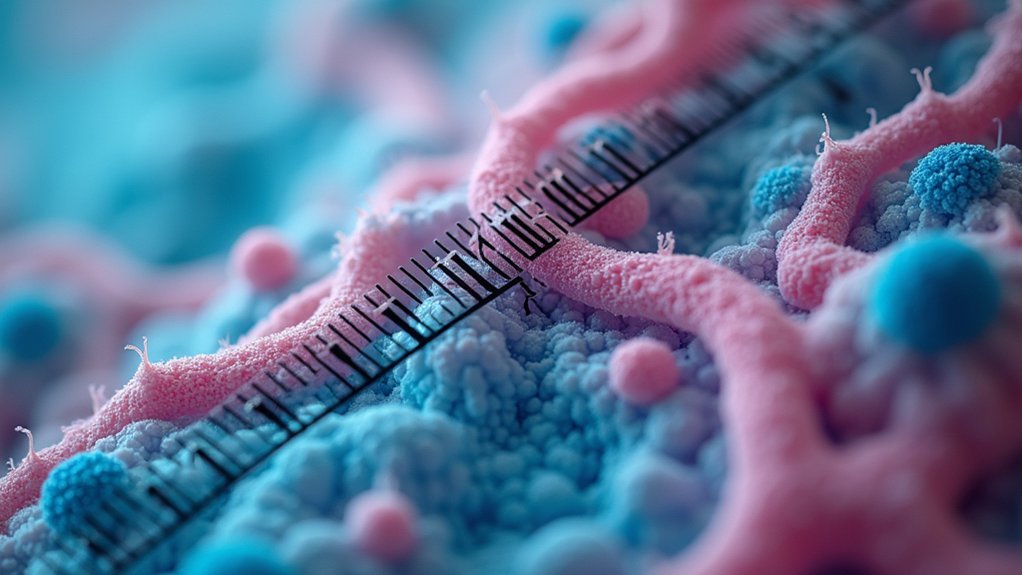
When presenting scientific images, accurate scale bars are essential for conveying size relationships and guaranteeing reproducibility. To achieve this, position your scale bars in the lower left corner of the image where they won’t obscure critical details but remain easily visible.
Choose high-contrast colors for your scale bars, avoiding red, green, or blue that might blend with backgrounds. This guarantees clarity across various scientific images regardless of content.
Before adding scale bars, calibrate your microscope with reference slides to determine the exact pixel-to-micron ratio. For consistent results, photograph a scale alongside your subject from the same perspective to prevent distortion.
Software tools like ImageJ or Photoshop offer precise methods to measure and add scale bars—follow their protocols carefully to maintain scientific integrity in your visual data.
Calibrating Your Microscope for Precise Measurement
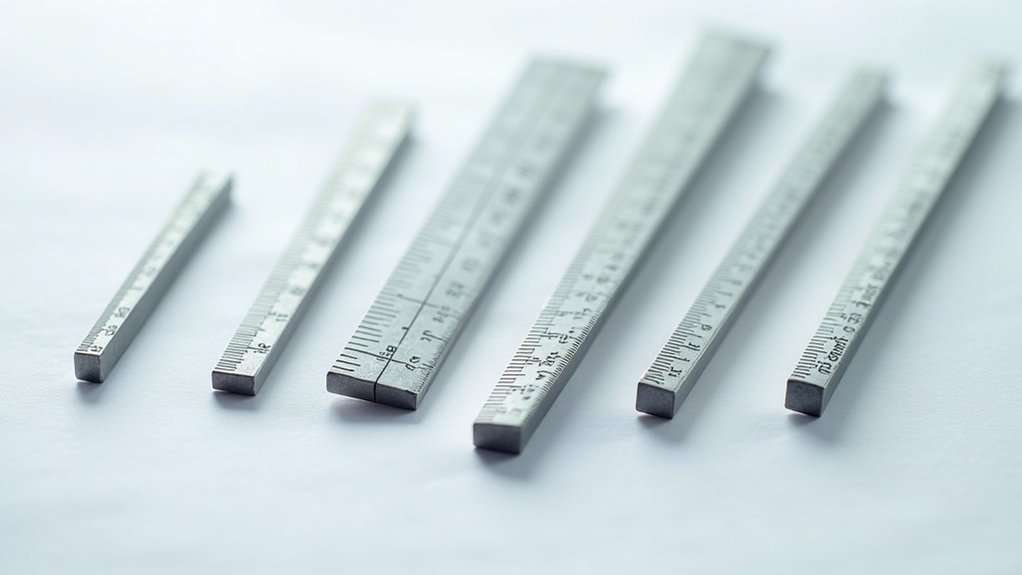
Before applying scale bars to your scientific images, you’ll need to properly calibrate your microscope to guarantee measurement accuracy. Start by using a precision slide with a 1 mm scale divided into 0.010 mm increments alongside your eyepiece reticule.
Determine the micron distance represented by each reticle division for all objectives, including higher magnifications like 60X and 100X. Record your calibration values near the microscope for consistent reference.
To measure objects accurately, calculate your field of view diameter using the micrometer scale slide, converting from millimeters to microns. This enables you to estimate specimen size within ±10% accuracy by determining what fraction of the FOV they occupy.
Precise measurements start with knowing your field of view—the foundation for reliable microscopic size estimation.
With proper calibration, you’ll create scale bars that truly represent the size relationships in your microscope images.
Choosing the Optimal Scale Bar Length and Placement
With your microscope properly calibrated, you’ll now need to focus on creating effective scale bars for your scientific images. The right scale bar size and placement guarantees accurate measurement interpretation while maintaining visual clarity.
- Select common measurement units in your field (100 µm or 50 µm) to maximize relevance.
- Position your scale bar in the lower left corner to avoid obscuring critical image details.
- Use high-contrast colors that stand out against your background, avoiding reds, greens, or blues.
- Match the scale bar size in pixels to accurately reflect the intended measurement in microns.
- Add scale bars as the final step in your editing workflow to accommodate any figure size adjustments.
Remember that thoughtful scale bar implementation demonstrates attention to detail and enhances your scientific communication.
Color Contrast Strategies for Maximum Visibility
Selecting the right color for your scale bar dramatically impacts its visibility and effectiveness in scientific images. For maximum contrast, choose black or white scale bars, which stand out against virtually any background and guarantee your measurements remain clearly visible regardless of image content.
Avoid red, green, or blue colors for your scale bars—these commonly appear in scientific images and can blend into the background, reducing visibility and compromising the scale reference. Instead, opt for high-contrast alternatives that assure your scale bar remains distinct.
For best results, position your scale bars in the lower left corner and add them last in your editing workflow. This prevents accuracy issues if you resize your image and maintains the integrity of your carefully selected color contrast throughout the publication process.
Automating Scale Bar Generation With Imagej/Fiji
You’ll save countless hours by setting up batch processing for scale bars in ImageJ/Fiji, allowing you to apply consistent measurements across dozens or hundreds of images with a single click.
Before running your batch process, verify your calibration memory settings correctly store your microscope’s pixel-to-micron conversion ratio, as this determines the accuracy of every scale bar you generate.
Record your scale bar generation steps using the built-in macro recorder, then save this script for future projects to maintain consistency across all your scientific publications.
Scale Bar Batch Processing
Researchers analyzing hundreds of microscopy images can save countless hours through batch processing in ImageJ/Fiji. This powerful feature lets you apply scale bars to your entire dataset in one operation, ensuring consistency in actual size representation across all images.
To implement batch processing for scale bars:
- Create a macro that defines the scale bar length in pixels based on your known scale
- Use “File > Batch > Macro” to process an entire folder of images at once
- Customize parameters to accommodate different magnifications or image sizes
- Test your workflow on a small batch first to verify proper scale bar placement
- Record specific actions that can be repeated automatically across multiple images
This automated approach eliminates tedious manual adjustments while maintaining scientific accuracy in your visual data presentation.
Calibration Memory Settings
While batch processing handles multiple images efficiently, proper calibration memory settings form the backbone of accurate scale bar generation in ImageJ/Fiji. You can automate this process by creating a macro that remembers your scaling information.
Use the macro recorder to capture your calibration steps, including measurements with the ruler tool that establish the relationship between pixels and microns.
When setting up calibration memory settings, always verify you’re preserving the original metadata of your images. This critical information maintains accuracy across your scientific visuals.
Your macro can define the original image scale, measure existing reference bars, and apply consistent calibration to all subsequent images. This automation not only saves time but also guarantees uniformity in scale representation—an essential factor for publication-ready scientific images.
Recalculating Scale Bars After Image Cropping
When scientific images are cropped for publication or presentation, the scale bars must be recalculated to maintain measurement accuracy. Proper scaling guarantees your measurements remain valid even after cropping.
To accurately recalculate scale bars in your cropped image:
- Calculate the new scale factor by dividing the original scale bar length by the original pixel distance.
- Multiply your cropped image’s pixel size by this scale factor to determine the new scale bar length.
- Remember that a 50μm scale bar measuring 216 pixels would need adjustment if cropped to 200 pixels.
- Always preserve original file formats (.czi or .nd2) to retain scaling information.
- Consult resources like imagej.net for guidance on proper scale adjustment techniques.
This recalculation process prevents measurement errors and guarantees scientific integrity in your visual data.
Batch Processing Multiple Images With Consistent Scaling
Adding scale bars to numerous scientific images individually can consume valuable research time and introduce inconsistencies in your visual data.
Instead, utilize Photoshop’s action recording feature to automate this repetitive task. Create a single action that adds properly calibrated scale bars, then apply it to multiple images using File > Automate > Batch.
For best results, maintain your original file formats (.czi or .nd2) to preserve crucial scaling metadata.
When processing batches, confirm all images use identical calibration settings so your scale bars accurately measure the same dimensions across your dataset.
Alternatively, consider ImageJ or Fiji, which offer specialized tools for scientific image processing.
These platforms let you apply consistent scale bars to multiple images while preserving measurement integrity—important for creating professional figures that properly represent your research.
Frequently Asked Questions
How Is a Scale Bar Used in Scientific Images?
You use scale bars in scientific images to provide size reference for measurements. They help you interpret microscopic features accurately by showing actual dimensions, typically in micrometers or millimeters, usually placed in the lower left corner.
What Are the Rules for Scale Bars?
For scale bars, you’ll want to use simple units, choose high-contrast colors, position them in the lower left corner, add them last in editing, and record scale information in metadata.
What Is the Scale Bar for 40X Magnification?
At 40x magnification, your scale bar should typically measure 100 microns (0.1mm). You’ll need to calibrate it based on your specific microscope’s field of view, which is approximately 560 microns wide.
What Is the Importance of Scale Bar in Specimen Imaging?
Scale bars are crucial in specimen imaging because they help you accurately interpret dimensions, guarantee credibility, and enable precise comparisons between different images. They’re essential when you’re working with microscopic specimens where size references aren’t intuitive.
In Summary
You’ve now mastered the essential scale bar techniques for your scientific imaging. By properly calibrating, placing, and formatting your scale bars, you’re ensuring data accuracy and reproducibility. Remember to verify your scale when cropping images and take advantage of batch processing for efficiency. These seven strategies will elevate your scientific visuals, making your research more credible, accessible, and professional. Your attention to these details matters.


Leave a Reply