Placing reflected light below your microscope subject eliminates shadows and enhances 3D characteristics through even illumination. This under-stage arrangement minimizes glare while revealing surface details invisible with traditional lighting. You’ll gain improved contrast through Köhler illumination, making fine textures and structures more visible, especially in opaque specimens like metals and ceramics. With proper angle and intensity adjustments, you can customize visualization based on your specimen’s unique properties. Deeper exploration will unveil techniques to maximize detail visibility.
The Science Behind Reflected Light Microscopy
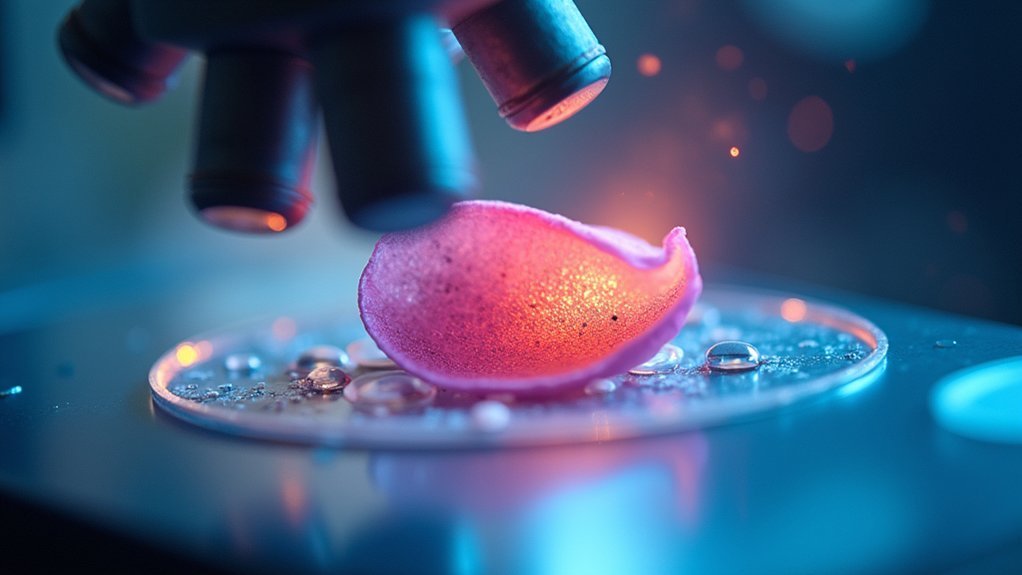
While transmitted light passes through specimens, reflected light microscopy takes a fundamentally different approach by directing light onto the specimen’s surface.
Reflected light microscopy illuminates specimens from above, revealing surface details invisible to traditional methods.
You’ll notice this method relies on principles of absorption and diffraction, where the light source interacts with surface characteristics to create variations in image intensity and color.
The optical system is designed to capture only light bounced back from your specimen.
Köhler illumination plays an essential role in this setup, ensuring even illumination of the specimen while maximizing contrast and resolution.
You can further enhance visibility by employing various contrast techniques such as darkfield or polarized light illumination.
This approach makes reflected light microscopy ideal for examining opaque materials like metals, ceramics, and certain biological specimens where traditional transmitted light methods fall short.
Benefits of Under-Stage Illumination for Specimen Visibility
Under-stage illumination eliminates shadows that typically obscure fine specimen details, allowing you to see surface features with remarkable clarity.
You’ll notice considerably enhanced depth perception as the reflected light creates subtle gradients across topographical variations of your sample.
This lighting technique reveals three-dimensional characteristics that would remain hidden with conventional top-down illumination, making textural analysis much more accurate and informative.
Shadow Elimination Techniques
Because shadows often mask critical details in opaque specimens, effective illumination from beneath the stage has become a cornerstone technique in advanced microscopy. When you position your reflected light source below the specimen, you’ll achieve superior clarity by eliminating shadows that typically obscure important surface features.
| Technique | Benefits |
|---|---|
| Köhler illumination | Optimizes resolution and contrast |
| Diffused lighting | Minimizes harsh shadows on irregular surfaces |
| Adjustable intensity | Controls illumination for different specimen types |
| Angled under-stage light | Highlights surface textures in metallurgical samples |
This approach is particularly valuable when examining ceramics and metals where texture analysis is essential. By controlling the angle and intensity of your under-stage illumination, you’ll enhance contrast while preventing the glare that often compromises specimen visibility with traditional lighting methods.
Depth Perception Enhancement
One of the most remarkable advantages of reflected light techniques extends beyond shadow elimination to dramatic improvements in depth perception.
When you position your light source beneath your specimen, you’ll notice how the light interacts with surface features to create natural shadows and highlights that enhance visibility of three-dimensional structures.
This under-stage illumination greatly improves contrast in the image of the specimen, making subtle variations in surface relief more distinguishable.
You’ll immediately see how fine details and textures become more pronounced, especially when examining opaque materials like metals or gemstones.
The reflected light accentuates depth of field without requiring extensive sample preparation, allowing you to observe specimens in their natural state.
This approach minimizes glare while maximizing your ability to discern critical surface characteristics for more accurate analysis.
Optimizing Contrast With Below-Subject Light Placement
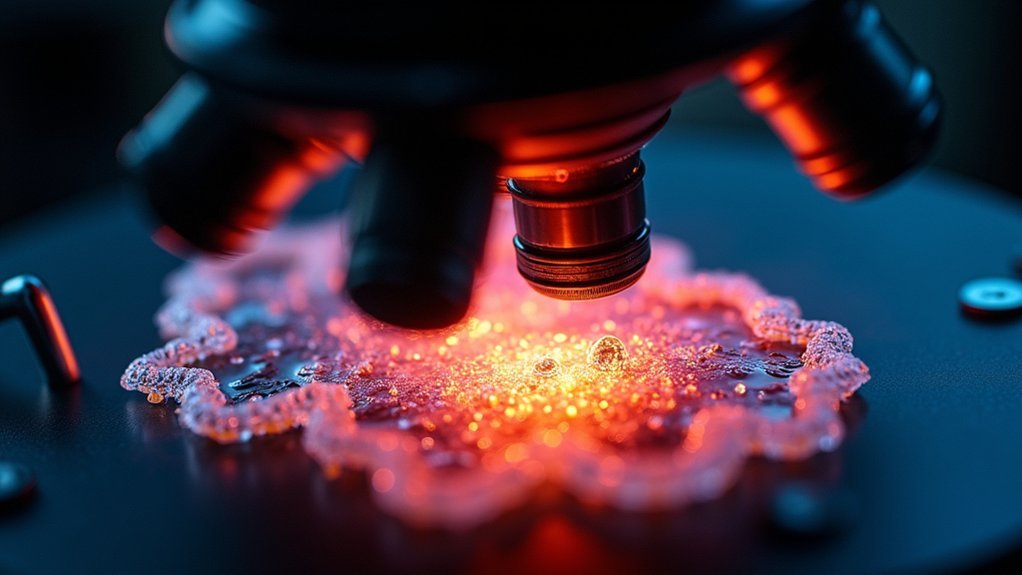
When examining opaque specimens, proper light placement becomes essential for revealing subtle surface details that might otherwise remain hidden. By positioning reflected light below your specimen, you’ll create ideal illumination angles that greatly enhance contrast. This technique follows darkfield illumination principles, highlighting edges and textures without requiring stains.
Below-subject placement minimizes ambient light interference, reducing glare while improving visibility of surface features. You’ll achieve clearer images with sharper definition of minute elevation differences and surface roughness.
For best results, implement Köhler illumination to guarantee even light distribution across your entire field of view.
Don’t hesitate to adjust both angle and intensity of your light source—these modifications profoundly affect how opaque specimens appear under your microscope, allowing you to customize visualization based on the specific textures you’re examining.
Critical Applications in Biological and Material Sciences
Reflected light microscopy serves as a cornerstone technique across diverse scientific disciplines, particularly where surface characteristics reveal critical information. In materials science, you’ll find this approach invaluable for examining opaque materials like metals, where surface textures and minute structural details become visible through reflected illumination.
In biological sciences, you can examine specimens without staining, preserving their natural structures while still achieving remarkable clarity. This technique proves especially powerful when coupled with darkfield illumination, which dramatically improves contrast and highlights edges in microorganisms and tissue samples.
For gemologists and mineralogists, reflected light reveals internal structures and reflective properties that transmitted light would miss entirely.
Equipment Setup for Effective Reflected Illumination
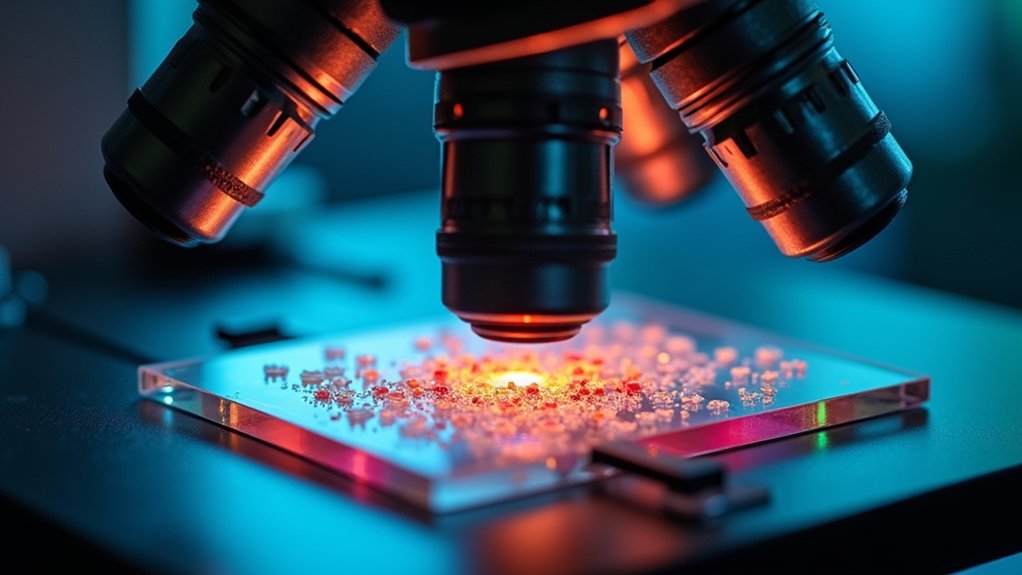
When setting up your microscope for reflected light work, you’ll need to position the illumination at ideal angles to highlight surface features without creating glare.
Mount your light source securely to the microscope base, ensuring stability during observations and preventing unwanted shifts that could compromise image quality.
Position diffusion panels strategically between your light source and specimen to soften harsh illumination, creating more uniform lighting that reveals subtle topographical details.
Light Angle Optimization
Although many microscopists focus primarily on magnification power, the strategic positioning of your light source remains essential for obtaining clear, detailed images in reflected light microscopy. By placing your light source below the specimen, you’ll optimize the angle of illumination to reveal subtle surface details while minimizing distracting glare.
Proper positioning facilitates Köhler illumination, ensuring uniform lighting across your specimen for enhanced contrast and resolution. You can further refine your observations by adjusting the angle to highlight specific features that might otherwise remain hidden.
- Use specialized reflectors to direct light precisely where needed, emphasizing particular surface textures
- Experiment with different angles to create shadows that accentuate topographical features
- Combine positioning with illumination techniques like darkfield or polarized light for specialized applications requiring maximum surface detail visibility
Base Mounting Techniques
Achieving ideal light angles requires proper equipment foundation—this begins with your base mounting setup.
You’ll need a stable platform that securely holds your microscope while ensuring the light source aligns perfectly with the optical path. This alignment is critical for effective illumination of opaque specimens.
Install your universal illuminator below the stage to facilitate seamless switching between reflected and transmitted light modes.
Don’t overlook the condenser lens—proper calibration focuses reflected light precisely on your specimen, considerably enhancing resolution and detail visibility.
Fine-tune your setup by adjusting the aperture diaphragm in coordination with your light source. This controls light intensity according to your specimen type, dramatically improving contrast.
When correctly configured, your base mounting arrangement transforms ordinary observation into detailed examination, revealing surface characteristics that would otherwise remain invisible.
Diffusion Panel Positioning
Three critical factors determine successful diffusion panel positioning in reflected light microscopy. When you place the diffusion panel below your specimen, you’ll create evenly distributed light that reveals surface details without harsh shadows or glare.
The panel’s position affects how light travels through the optical path, directly impacting image quality and contrast.
- Maintain ideal distance between the diffusion panel and specimen (typically a few centimeters) to prevent light loss while maximizing illumination.
- Align your light source with the diffusion panel to support proper Köhler illumination techniques.
- Adjust the panel’s angle relative to both light source and specimen to manage reflectivity challenges in samples with varying surface properties.
Proper positioning guarantees the diffusion panel effectively softens incident light, enhancing contrast and revealing intricate textures that would otherwise remain hidden in reflected light microscopy.
Comparing Above vs. Below Light Source Positioning
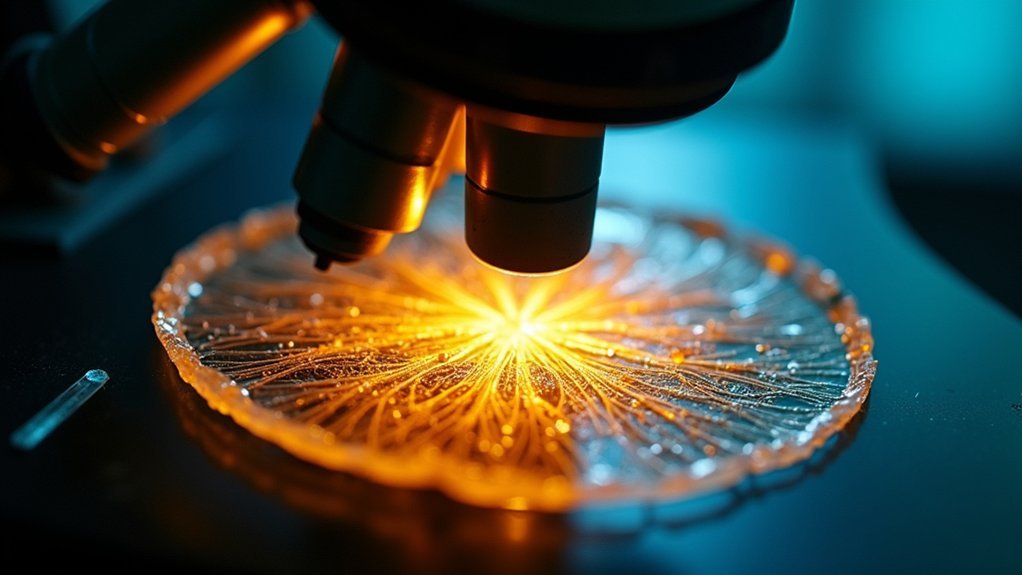
When examining specimens under a microscope, the position of your light source dramatically affects what details you’ll observe. Placing reflected light below your subject creates uniform illumination that considerably enhances visibility of surface features, unlike top-positioned lighting that often produces harsh shadows.
Below-positioned illumination maximizes the Köhler principle, ensuring even light distribution across your entire field of view. This positioning particularly benefits materials science and biological research by highlighting three-dimensional appearance through differential lighting.
You’ll notice opaque and metallic samples reveal textural details that might otherwise remain hidden.
Additionally, below-source positioning facilitates various contrast techniques including darkfield and polarized light microscopy. By allowing light to interact with specimens at ideal angles, you’ll achieve superior contrast that brings subtle surface characteristics into sharp relief—something nearly impossible with overhead lighting.
Techniques for Enhancing Detail in Translucent Specimens
Translucent specimens present unique challenges that require specialized illumination techniques to reveal their subtle details. By placing reflected light below your specimens, you’ll create contrast through specular reflection at the angle of incidence, making surface features more visible.
Implementing Köhler illumination guarantees even light distribution while optimizing contrast in your translucent samples.
Köhler illumination delivers superior contrast and uniform light, essential for revealing the hidden structures within translucent specimens.
- Adjust your condenser settings and aperture diaphragm to control light intensity, focusing more illumination precisely where needed.
- Utilize darkfield illumination to prevent direct light from entering your objective lens, allowing only scattered light to form the image.
- Incorporate polarizers with your reflected light setup to highlight differences in refractive index, revealing structural characteristics that would otherwise remain invisible.
Troubleshooting Common Issues With Reflected Light Placement
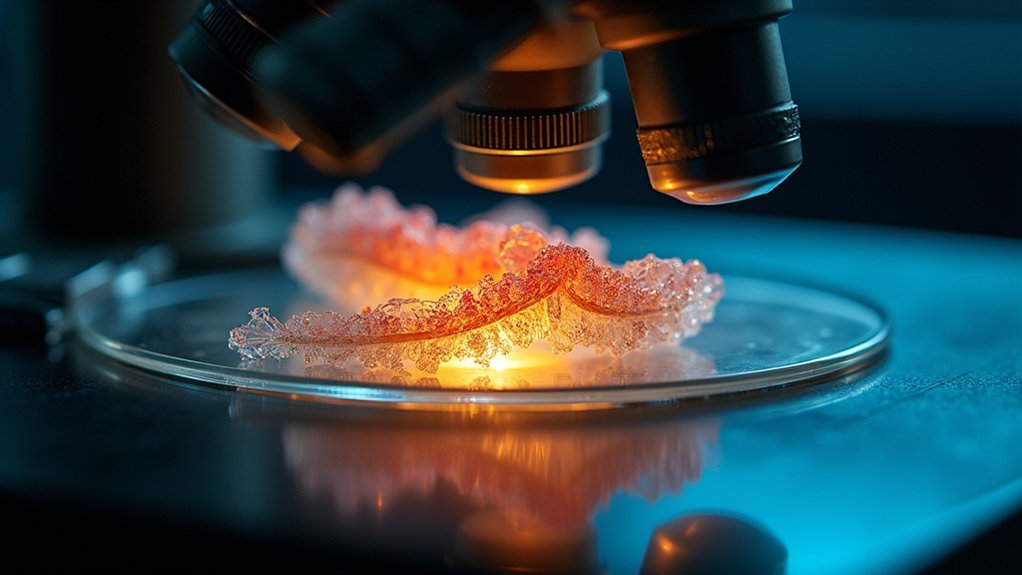
Despite careful setup, reflected light microscopy often presents challenges that can frustrate even experienced microscopists.
If you’re noticing uneven illumination across your specimen, first check your light source positioning. It should be properly aligned below the subject to guarantee light travels upward evenly through the sample.
When shadows or glare obscure details, try adjusting the angle of your light source in small increments. This simple modification can dramatically improve contrast and resolution, especially with highly reflective specimens.
Many issues stem from inadequate calibration and maintenance of your equipment—regular checks help prevent light intensity fluctuations that compromise visualization of the sample.
Consider implementing specialized filters if you’re examining materials with varying reflective properties. These accessories can enhance detail visibility and overcome common illumination problems that might otherwise limit your microscopic observations.
Advanced Photography Methods Using Under-Specimen Lighting
Mastering under-specimen lighting transforms microscopic photography by revealing intricate surface details that remain invisible with traditional top-lighting approaches.
When you position light sources beneath your specimen, you’ll create striking three-dimensional effects that enhance surface textures and reflectivity variations.
Advanced photography methods with under-specimen lighting include:
- Implementing darkfield illumination to create dramatic contrast between your specimen and a dark background, making fine structures more visible
- Incorporating specialized filters and polarizers to eliminate unwanted glare while improving color contrast for more detailed analysis
- Utilizing Köhler illumination to guarantee perfectly even light distribution across your specimen, which is essential for capturing high-resolution images
These techniques are particularly effective when working with transparent or highly reflective specimens, where traditional lighting methods often fail to reveal subtle surface features.
Frequently Asked Questions
What Is the Use of Reflected Light Microscope?
You’ll use a reflected light microscope to examine opaque specimens by bouncing light off their surfaces. It’s perfect for studying metals, minerals, and biological samples without needing to make them translucent.
What Is the Use of a Reflector in a Microscope?
A reflector in your microscope directs light onto specimens that can’t be viewed with transmitted light. You’ll use it to illuminate opaque samples, creating ideal lighting conditions for brightfield, darkfield, or polarized microscopy techniques.
What Do You Think Is the Reason Behind Why Images Under Microscope Is Inverted?
Images under your microscope appear inverted because light rays cross when passing through the objective lens. This optical effect flips the image both horizontally and vertically, creating the reversed view you’re seeing during observation.
What Is the Purpose of Having a Light or Mirror at the Base of the Microscope?
The light or mirror at your microscope’s base illuminates opaque specimens from below, allowing you to see surface details clearly. It provides consistent lighting and lets you adjust illumination angles for ideal contrast and resolution.
In Summary
You’ve now seen why placing reflected light beneath your microscope subject offers superior contrast, detail revelation, and structural clarity. By positioning your light source below the stage, you’ll capture critical details in translucent specimens that overhead lighting simply can’t provide. Whether you’re examining biological samples or material specimens, this illumination technique should become an essential component of your microscopy toolkit for best visualization results.


Leave a Reply