
Focus stacking is a photography technique that combines multiple images taken at different focus points to create one perfectly sharp photo with extended depth of field. You’ll need a steady tripod, manual focus control, and specialized software like Helicon Focus or Zerene Stacker to merge your images. It’s especially valuable for macro and microscopy work where depth of field is naturally limited. Master this technique and you’ll reveal details in your subjects that single exposures simply can’t capture.
Second-Level Headings for “What Is Focus Stacking For Crystal-Clear Photos?”
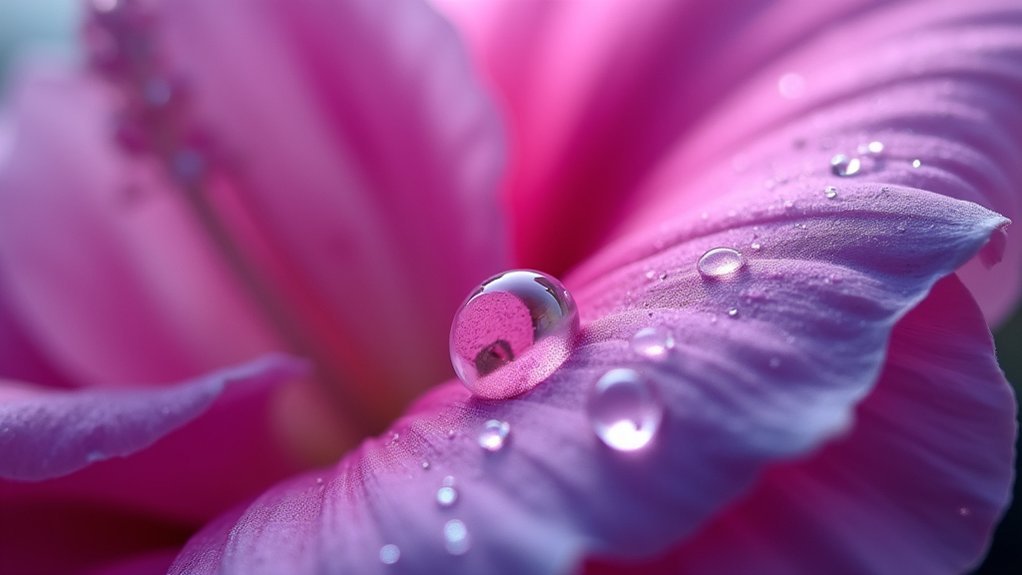
Photography enthusiasts often face the challenge of capturing perfectly sharp images from foreground to background. Focus stacking offers a powerful solution, especially for macro photography where depth of field is naturally limited.
Focus stacking requires taking multiple images of the same composition at different focus points. To achieve consistent results, you’ll need your camera on a tripod to maintain exact positioning throughout the sequence. Each shot captures a different plane in sharp focus, creating building blocks for your final image.
The magic of focus stacking lies in layering precisely aligned shots, each capturing different focus planes to build extraordinary depth.
After shooting, specialized software helps blend the layers, combining only the sharpest portions from each frame. Modern cameras might include built-in focus stacking features, but programs like Photoshop or Helicon Focus provide powerful finishing tools for professionals.
The result? A single photograph with extraordinary depth and detail impossible to achieve with a traditional single exposure.
The Science Behind Focus Stacking in Microscopy
While traditional photography struggles with depth of field limitations, microscopy faces this challenge at an extreme level. At 100× magnification, you’re working with just 1 μm of focus depth—impossibly shallow for capturing complex structures.
Focus stacking revolutionizes this limitation by combining multiple images taken at different focal planes.
- High-resolution images from different focus points reveal structural details that would otherwise remain hidden
- The blending process integrates only the sharpest areas from each capture
- Specialized software automates the complex task of identifying and merging in-focus regions
- Scanning transmission electron microscopy (STEM) achieves atomic resolution through this technique
- Macro photography principles apply at microscopic scales, but with far greater precision requirements
This technique effectively transforms complex 3D structures into clear, detailed 2D representations—essential for scientific analysis and documentation.
Essential Equipment for Microscope Focus Stacking
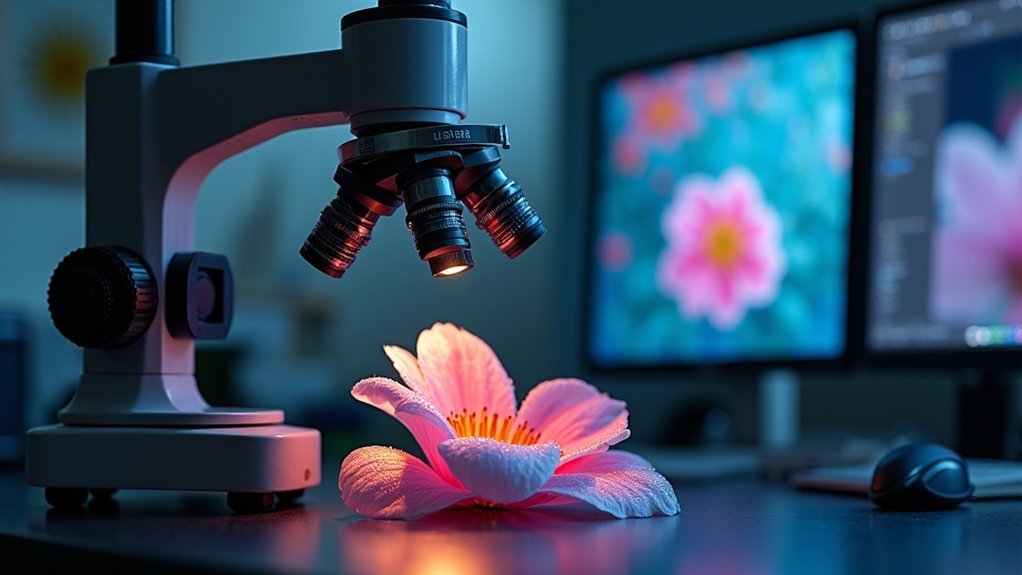
Microscope focus stacking demands specialized equipment beyond what’s needed for regular digital photography.
Focus stacking in microscopy requires dedicated gear that goes well beyond standard photography equipment
You’ll need a high-quality microscope fitted with a high numerical aperture lens to capture the fine details with minimal depth of field.
A stable setup is essential—invest in a motorized stage or focus rail to make precise adjustments between shots.
For processing your stacked images, software like Helicon Focus or Zerene Stacker is indispensable, seamlessly blending multiple frames into one sharp composite.
Don’t underestimate the importance of your camera—a high-resolution CCD or CMOS sensor will dramatically improve your results.
Finally, proper lighting makes or breaks microscope focus stacking; LED illumination or phase contrast systems provide the consistent, shadow-free lighting necessary for professional-quality outcomes.
Setting Up Your Microscope for Optimal Stacking Results
To achieve exceptional focus stacking results, you’ll need to secure your microscope on a vibration-free surface and consider using a dedicated focus stacking rail for precise incremental movements.
Proper lighting balance is critical—position your illumination source to eliminate shadows and create even lighting across your entire specimen. You can fine-tune this balance by adjusting the microscope’s condenser height and aperture while monitoring the light distribution through your viewfinder or camera’s live view.
Microscope Stability Essentials
Achieving crystal-clear focus stacked images begins with proper microscope setup, as even minor vibrations can ruin your entire stack.
You’ll need to create an environment where your microscope remains absolutely stable throughout the entire capturing process.
- Place your microscope on a solid, vibration-free surface—even small movements can cause misalignment between frames.
- Invest in a quality microscope stage with fine focus adjustments for precise control over focal plane shifts.
- Mount your digital camera securely, ensuring it perfectly aligns with the microscope’s optical axis for consistent framing.
- Consider automating the process with a focus stacking rail or motorized stepping device to eliminate hand-induced movement.
- Maintain a stable light source throughout your session, as lighting variations between shots can compromise your final stacked image.
Lighting Balance Techniques
Three critical lighting factors can make or break your focus stacking success when working with microscopy.
First, proper lighting balance is vital—use diffused sources to avoid harsh reflections and glare that obscure fine details. You’ll want even illumination across your specimen to minimize variations that can disrupt the stacking process.
Second, consider using a ring light or combining backlighting with side lighting to highlight textures while reducing shadows. This approach reveals delicate contours without creating distracting hotspots.
Finally, maintain consistent exposure throughout your image series. Regularly check your lighting setup during the stacking process, as fluctuations between frames can create blending issues in your final composition.
A stable, well-calibrated lighting arrangement guarantees your stacked images reveal the specimen’s true microscopic detail.
Step-by-Step Process for Capturing Stackable Images

Mastering focus stacking begins with proper image capture techniques that create a seamless foundation for your final composite.
When shooting for macro or landscape focus stacking, you’ll need methodical preparation and execution to achieve those crystal-clear photos.
- Mount your camera on a sturdy tripod to maintain identical framing across all images
- Switch to manual mode to lock exposure settings, preventing brightness variations between shots
- Begin with focus on the closest element, then gradually adjust your focus points farther into the scene
- Capture 10-30 images with overlapping focus areas from foreground to background
- Review your images before leaving the scene, checking for any missed focus points that might create gaps
This systematic approach guarantees you’ll have all necessary data for a successful photo stacking process.
Software Options for Microscope Image Stacking
Once you’ve captured your stackable images, you’ll need specialized software to combine them into a seamless, crystal-clear composite. Several excellent options can help you create a stunning focus stacked image with extended depth of field.
Helicon Focus stands out as a purpose-built solution for microscopy, delivering exceptional quality when you stack images from multiple focal planes.
For those preferring free alternatives, ImageJ with its stacking plugins and CombineZP offer robust capabilities to combine images effectively.
If you’re using Zeiss equipment, their ZEN software automates the stacking process beautifully.
Many photographers already familiar with Adobe Photoshop can utilize its layer alignment and blending features to manually or automatically merge your microscope photos into sharp, detailed composites.
Dealing With Movement and Vibration Challenges

Even the most meticulously planned focus stacking session can be ruined by microscopic movements and vibrations. Your camera’s stability is absolutely essential when capturing multiple images for a perfectly aligned composite.
To combat these challenges:
- Mount your camera on a sturdy tripod – this is non-negotiable for consistent framing across all shots.
- Use a remote shutter release to prevent camera shake when pressing the button.
- For macro photography, invest in a rail system instead of changing focus settings.
- Wait for calm conditions when shooting outdoors to minimize subject movement from wind.
- Take multiple series of shots so you’ll have options if vibrations affect some images.
Remember that in focus stacking, even imperceptible camera movement between frames can create noticeable artifacts in your final image, undermining all your careful setup work.
Optimizing Lighting for Microscope Specimens
When examining minuscule details through a microscope, lighting becomes the defining factor between mediocre and exceptional focus stacks. You’ll need to balance various illumination techniques to reveal your specimen’s finest details.
| Lighting Technique | Benefits | Best For |
|---|---|---|
| Brightfield | Enhances natural colors | Transparent specimens |
| Darkfield | Improves contrast | Translucent objects |
| LED | Consistent intensity, reduced heat | Delicate specimens |
| Polarized | Eliminates reflections | Crystalline structures |
Adjust your light’s angle to minimize glare and unwanted shadows, which can dramatically improve sharpness in your final stacked image. By combining different illumination methods, you’ll capture greater depth of field and structural details that might otherwise remain hidden. Remember that consistent lighting throughout your focus stacking sequence guarantees seamless blending when processing the final composite.
Advanced Techniques for Complex Microscopic Subjects
With your lighting optimized, you’re ready to tackle more challenging microscopic subjects that conventional imaging methods can’t fully capture.
When working with high magnification, your depth of field becomes extremely limited—especially with higher numerical aperture objectives that gather more light but create shallow focus planes.
Focus stacking revolutionizes how you can document complex structures by combining multiple images taken at different focal depths:
- Use the Brenizer Method adapted for microscopy to maintain sharp images while expanding visual field
- Capture sequential focal planes similar to MAHLI’s approach on Mars for thorough structural analysis
- Apply atomic resolution techniques for visualizing intricate crystalline specimens
- Implement focus bracketing to guarantee no critical details are lost in complex 3D structures
- Adjust stack density based on subject complexity—more planes for finer details
Common Errors and Troubleshooting in Focus Stacking
Despite your best efforts, focus stacking can sometimes produce frustrating results that fall short of the crystal-clear images you’re aiming for. Many common errors stem from inconsistent lighting conditions during shooting, which create exposure discrepancies that disrupt seamless blending.
Alignment issues frequently occur when you don’t use a tripod or accidentally move the camera between shots. To prevent this, secure your equipment and verify your setup before beginning.
Ensure you capture overlapping focus areas with at least 30% overlap between images, allowing software to accurately merge the sharpest details. If you notice blurry edges or artifacts, try manually refining layer masks in Photoshop.
Finally, don’t skimp on the number of images—complex subjects often require 20-50 shots to achieve complete sharpness across varying depth levels.
Post-Processing Your Stacked Microscope Images
Post-processing your microscope image stacks requires choosing between specialized software like Helicon Focus or the more versatile Photoshop suite, each offering distinct advantages for different imaging needs.
You’ll need to identify and fix common artifacts such as misalignments by using Photoshop’s Auto-Align Layers function, which prevents distortion during the blending process.
After blending layers to select the sharpest pixels, you’ll likely need to crop the final image to eliminate white edges, resulting in a pristine, fully-focused specimen photograph.
Software Options Comparison
Once you’ve captured all your microscope images at various focal planes, selecting the right software to blend them becomes essential for achieving crystal-clear results.
The market offers several powerful focus stacking solutions, each with distinct advantages.
- Helicon Focus excels with large image stacks and complex structures through its advanced alignment algorithms.
- Adobe Photoshop provides superior layer management for manual fine-tuning when blending images.
- Zerene Stacker delivers exceptional results specifically designed for microscopy with both automatic and manual options.
- Consider your specific needs—ease of use, processing speed, and image complexity—when choosing software.
- Your subject matter might perform better with one program than others, so experimenting with different options can be worthwhile.
Fixing Common Artifacts
Even with the best software selection, your stacked microscope images may still contain unwanted artifacts that diminish overall clarity. Common issues include blurred edges and misalignment that can compromise your final results.
When processing your images, utilize Helicon Focus or Photoshop’s Auto-Align Layers and Auto-Blend functions to correct positioning problems and seamlessly integrate sharp areas. For persistent artifacts, try manual layer masking to precisely control which focused regions appear in your final composite.
Always check for light consistency across your stack—illumination variations often create artifacts that are difficult to eliminate later.
Real-World Applications in Scientific Research
Beyond its popularity in photography, focus stacking has become an indispensable tool in scientific research where microscopic details can make or break important discoveries.
When you’re examining complex structures through microscopy, this technique transforms your ability to document and analyze with extraordinary detail and clarity.
- STEM microscopy uses focus stacking to create fully focused atomic-level images that reveal structures invisible to single-shot photography.
- Mars Curiosity Rover’s MAHLI camera employs focus stacking to capture detailed Martian geology from various focal planes.
- Forensic scientists rely on this technique to document evidence like fingerprints and tool marks with complete focus.
- Biological research benefits from high-resolution images that reveal intricate cellular and tissue structures.
- Scientific publications feature focus-stacked images that provide thorough visual data for analysis and verification.
Frequently Asked Questions
What Is Photo Focus Stacking?
Photo focus stacking is a technique where you take multiple images at different focal points and combine them into one photo, giving you crystal-clear sharpness throughout your entire subject or scene.
What Are the Best Settings for Focus Stacking?
For focus stacking, use manual mode with f/5.6-f/8, consistent ISO and shutter speed. Mount your camera on a tripod, focus manually from nearest to farthest points, and capture 10-20 overlapping images for complete depth coverage.
How Do You Take Crystal Clear Pictures?
Use a tripod, switch to manual mode, focus sequentially on different areas, and maintain a narrow aperture (f/8-f/16). After shooting, combine your images through focus stacking to create one crystal-clear composite photo.
How Many Shots Do You Need for Focus Stacking?
For focus stacking, you’ll typically need 5-20 images depending on your subject. Macro photography requires 20-30 shots for intricate details, while landscapes may only need 5-10 if there’s less depth variation.
In Summary
You’ve now accessed the power of focus stacking for microscopy! By combining multiple images with different focal points, you’ll achieve incredible depth of field that’s otherwise impossible. Whether you’re studying biological specimens or analyzing materials, this technique transforms your microscopic photography. Don’t be intimidated by the process—with practice, you’ll create stunningly detailed images that reveal a hidden world of scientific discovery.


Leave a Reply