For shake-free lab photos, invest in a sturdy tripod or vibration-dampening platform that absorbs up to 90% of environmental vibrations. Use remote shutter releases or self-timer settings to prevent physical contact with your camera. Secure all cables with ties to avoid accidental movement, and enable image stabilization (but disable when using tripods). Consider specialized microscope adapters made from durable materials like aluminum. Proper mounting techniques will dramatically improve your image clarity and experimental documentation.
10 Camera Mounting Tips For Shake-Free Lab Photos
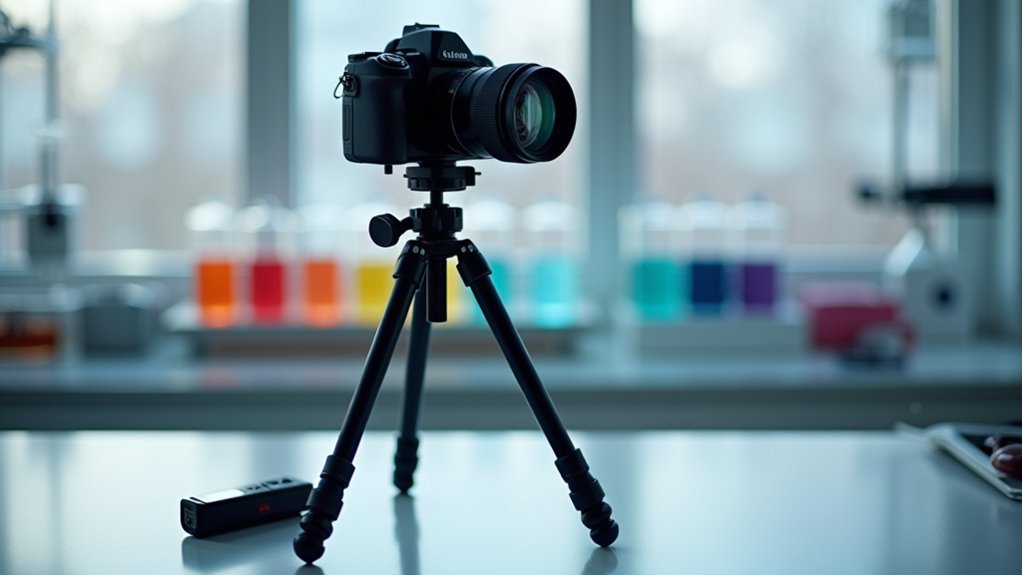
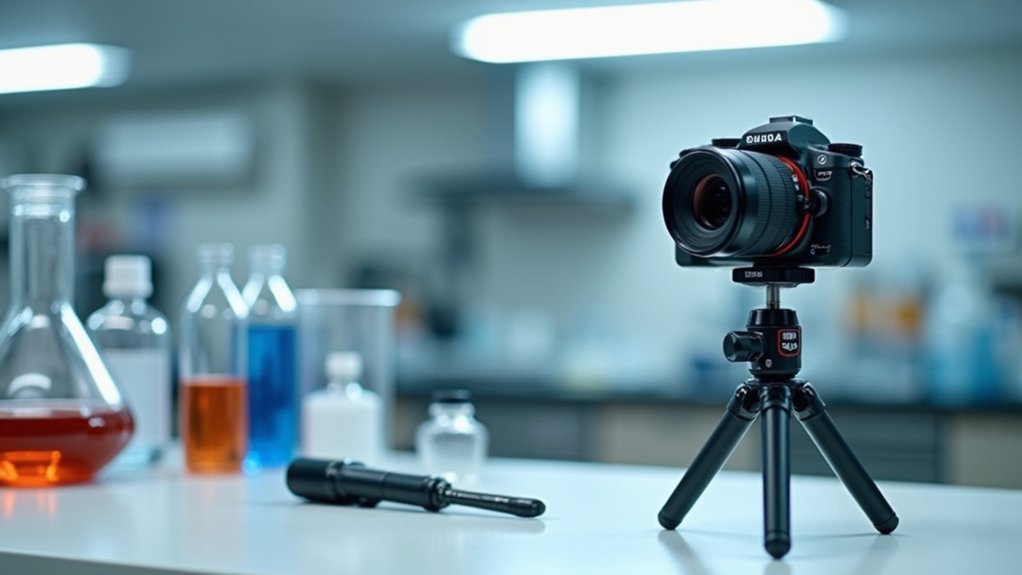
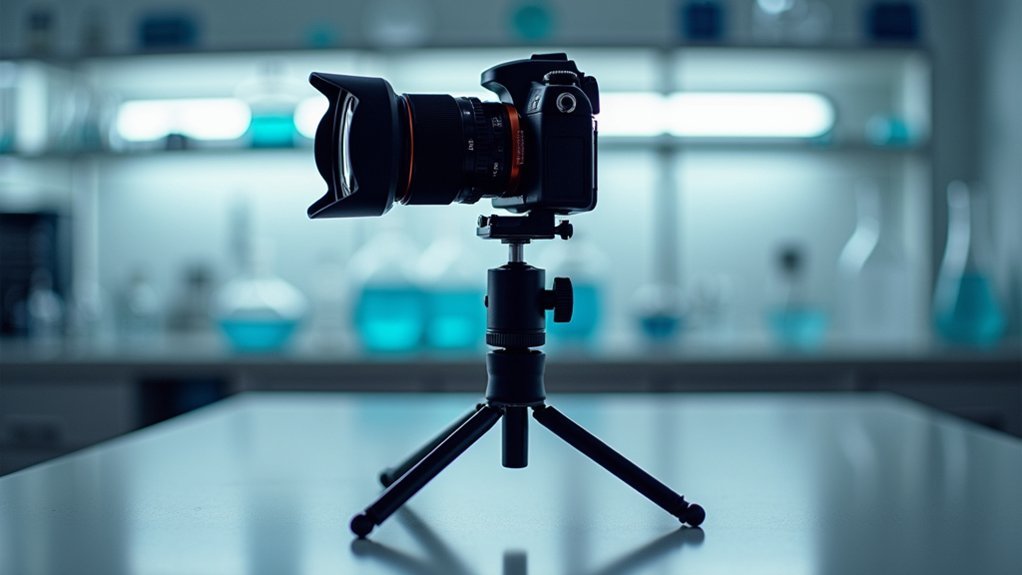
When capturing critical laboratory images, stability becomes your most valuable asset. Invest in a sturdy tripod like the Manfrotto Mini Pixie or B3 to eliminate camera shake and guarantee consistent results.
For moving subjects or confined spaces, consider adding a monopod to your kit—it provides vertical flexibility while maintaining stability.
If you’re hand-holding your camera, maintain proper technique by gripping the body with your right hand and supporting the lens with your left. Keep your elbows tucked in to create a stable platform.
Enable your camera’s image stabilization features for additional support, but remember to turn them off when using a tripod to prevent interference.
In low-light lab conditions, opt for faster shutter speeds to minimize blur, guaranteeing your scientific documentation remains sharp and professional.
Selecting the Right Microscope Camera Adapter
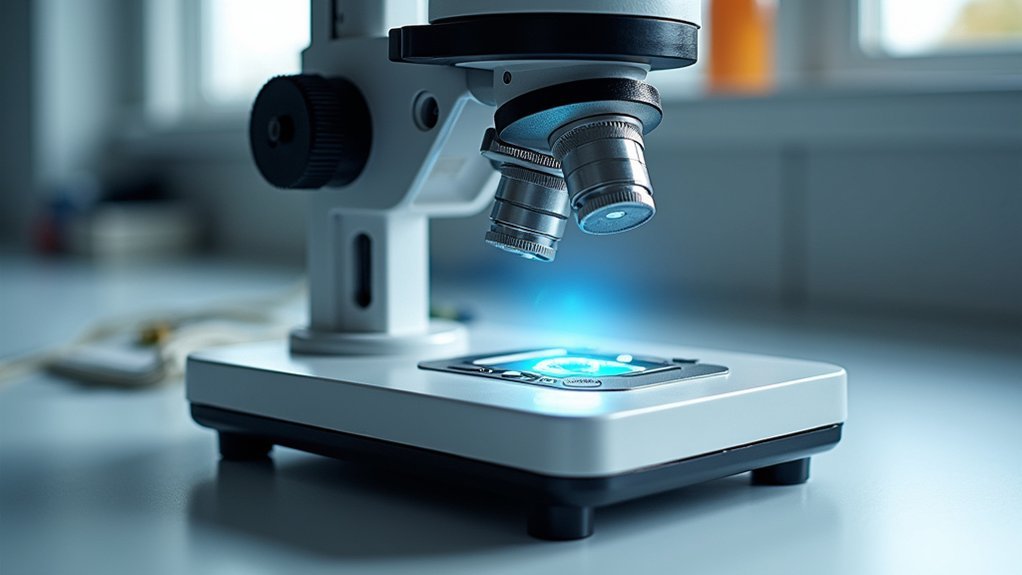
Why do microscope images often fail to match what you see through the eyepiece? The culprit is typically an incompatible camera adapter. You’ll need one that works with both your specific microscope model and camera type to achieve faithful reproduction.
Focus on the adapter’s optical path length, which directly impacts your field of view and image clarity. To eliminate vignetting and distortion, guarantee proper matching between your equipment and adapter specifications.
The proper optical path length ensures true representation—match your adapter carefully or sacrifice both field of view and clarity.
Look for adjustable zoom capabilities that’ll give you flexibility when capturing different specimens.
Don’t overlook construction quality—durable materials like aluminum provide stability during imaging sessions.
The best adapters offer built-in image stabilization features that reduce camera shake. When these factors align, you’ll finally capture images that accurately represent what you observe through your microscope.
Vibration-Dampening Platforms for Microscopy
Even the slightest tremors can ruin your microscopy images, especially at high magnifications where microscopic movements become dramatically amplified.
That’s why investing in a quality vibration-dampening platform is crucial for your lab photography setup.
These specialized platforms, like air or isolation tables, feature suspension systems that absorb shocks and can reduce environmental vibrations by up to 90%.
You’ll notice immediately sharper images, free from the blur caused by foot traffic or nearby equipment.
When choosing your platform, check the weight capacity and dimensions to verify it accommodates your microscope system.
Don’t forget to regularly calibrate and maintain your vibration-dampening system—this preserves its effectiveness and protects your sensitive equipment in the long run.
Using Electronic Shutter Release Systems
Despite your best efforts to stabilize your camera mount, the simple act of pressing the shutter button can introduce unwanted vibrations.
Electronic shutter release systems eliminate this risk by removing physical contact during image capture, especially critical for long exposures and sensitive lab photography.
For ideal results with electronic shutter systems:
- Pair your remote release with your camera’s built-in electronic shutter option to completely eliminate mechanical movements and minimize vibrations.
- Use programmable interval timing for precise exposure control during time-sensitive experiments without manual intervention.
- Always verify your camera remains mounted on a stable tripod to maximize stability benefits.
This approach is particularly valuable for macro photography in lab settings, where even microscopic movements can compromise image clarity and experimental documentation.
Optimizing Microscope Stage Stability
You’ll considerably reduce image blur by placing your microscope on specialized vibration-absorbing mats or pneumatic platforms that isolate the system from environmental vibrations.
Secure your microscope firmly with proper clamping techniques, ensuring all stage adjustment knobs are tightened and using dedicated stage stabilization brackets when available.
Don’t overlook your camera’s digital stabilization settings, which can complement physical stability measures by compensating for minor movements during exposure.
Vibration-Absorbing Surface Options
When capturing precise microscopic images, the stability of your setup determines the clarity of your results. Investing in proper vibration-absorbing surfaces will greatly improve your lab photography outcomes by eliminating unwanted movement that can blur images.
For ideal vibration control, consider these options:
- Specialized isolation pads – Place Sorbothane pads under your equipment to dampen vibrations and create a more stable imaging environment.
- Heavy, solid base – Lower your microscope’s center of gravity with a substantial base that reduces susceptibility to environmental vibrations.
- Anti-vibration table – Mount your entire setup on a dedicated vibration-absorbing table designed specifically for precision laboratory work.
Remember to regularly calibrate and maintain your equipment while it’s positioned on these vibration-dampening surfaces for consistently shake-free results.
Microscope Clamp Techniques
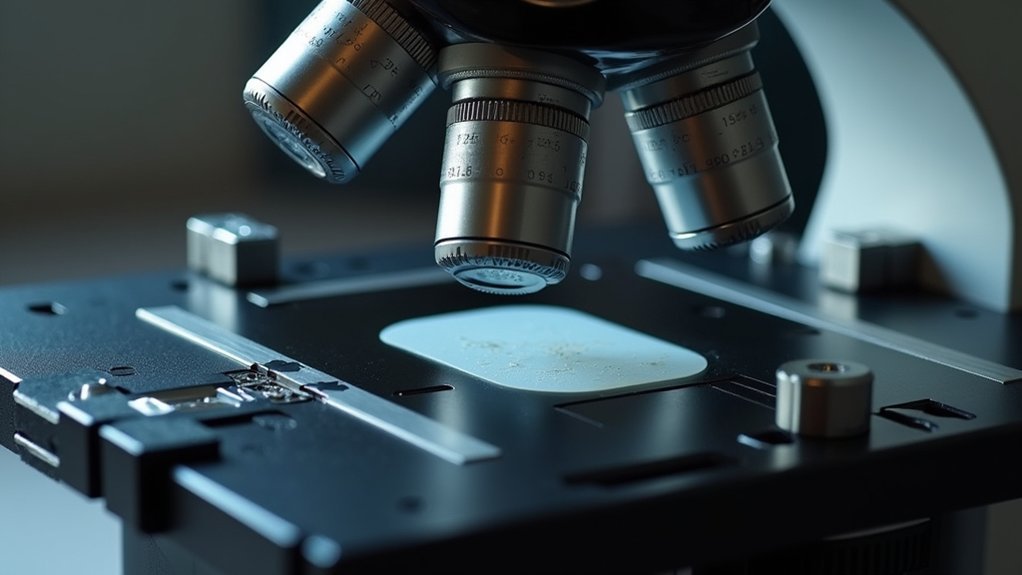
Properly securing your microscope stage with specialized clamps forms the foundation of high-quality microscopic photography. Select a clamp that’s specifically compatible with your microscope model to maximize stability during imaging sessions.
Mount the clamp on a vibration-dampening table or other stable surface to further minimize unwanted movement. Position it carefully to support the stage without blocking your specimen view—proper placement guarantees clear, shake-free images while maintaining full access to your sample.
Don’t forget to regularly check and tighten all screws and fittings. Even minor loosening can introduce vibrations that compromise image quality. This maintenance is especially important during extended lab sessions when equipment may gradually shift.
With your microscope firmly secured, you’ll capture crisp, professional-quality images consistently.
Digital Stabilization Settings
Although physical stability forms the foundation of microscopy, digital stabilization settings can dramatically enhance your image quality. When vibrations threaten to blur your lab photos, these settings act as your digital safety net, preserving clarity even in challenging conditions.
Optimize your microscope’s digital stabilization by:
- Matching stabilization levels to your specific microscope model, as some equipment offers complementary built-in stability features.
- Combining lower ISO settings with digital stabilization to minimize both noise and motion blur simultaneously.
- Regularly recalibrating your settings to accommodate environmental changes and equipment wear.
Don’t forget to test your stabilization settings under various lighting conditions. This helps you find the perfect balance between exposure and stability, ensuring your scientific images remain publication-worthy regardless of minor vibrations.
Camera Counterweight Techniques for Balance
The stability of your camera setup can make or break your lab photography results. Counterweights offer a simple yet effective solution to enhance stability and reduce camera shake during critical lab photo sessions.
Consider adding sandbags or specialized weights to your tripod, aiming for 10-20% of your total camera setup weight. You’ll find ideal results by attaching these weights to the center column or at the base of tripod legs, effectively lowering the center of gravity and improving balance—especially valuable when working with heavier equipment.
Don’t hesitate to experiment with different counterweight placements to find the perfect balance for your specific shooting conditions.
For maximum stability, combine this technique with proper handling practices like tucking your elbows in and maintaining a steady grip.
Isolation Tables and Anti-Vibration Mats
Two essential tools can transform your lab photography results: isolation tables and anti-vibration mats. These specialized surfaces minimize vibrations from surrounding equipment and foot traffic, ensuring your images remain crisp and clear.
When setting up your photography station, consider:
- Using adjustable-height isolation tables that feature built-in dampening properties to accommodate different camera setups.
- Placing anti-vibration mats under both your camera equipment and the specimens being photographed.
- Securing both camera and subject firmly to the isolation surface to eliminate any potential movement.
Combining these tools creates a stable platform that greatly enhances image quality.
You’ll notice immediate improvements in clarity, especially in labs with heavy machinery or high foot traffic.
For best results, implement both isolation tables and anti-vibration mats in your photography workflow.
Remote Operation Methods for Zero Contact
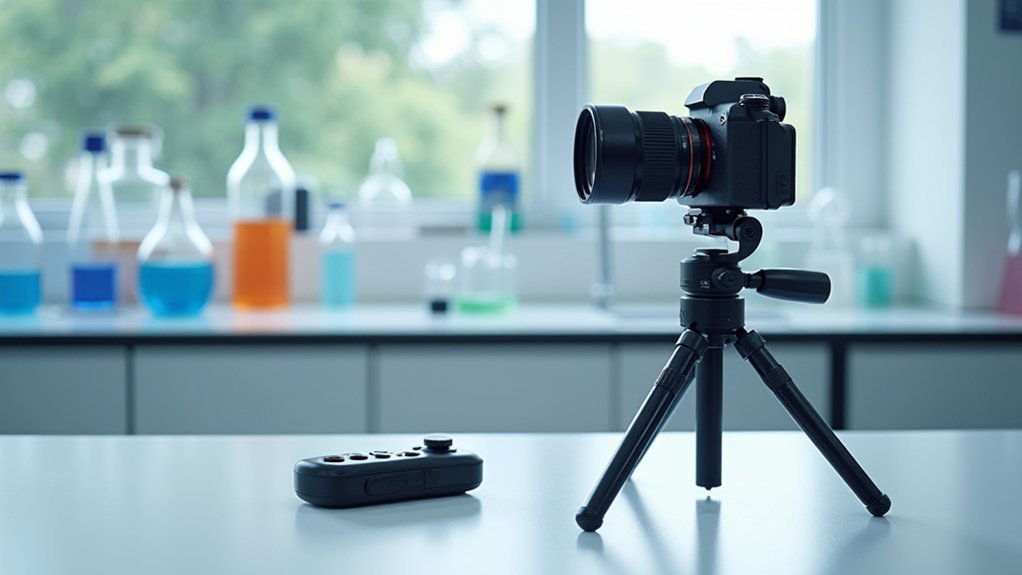
Four critical remote operation techniques enable you to capture pristine laboratory images without ever touching your camera.
First, employ a dedicated cable release that provides precise shutter control while maintaining your setup’s stability. Alternatively, use your camera’s built-in timer mode, giving the equipment several seconds to settle after you’ve made adjustments.
Minimize vibration by using a cable release or timer mode to create crucial distance between photographer and equipment.
For more flexibility, wireless trigger systems allow operation from across the room, completely eliminating physical contact with your equipment. Many modern cameras also support smartphone apps that transform your mobile device into a sophisticated remote control.
Remember that these methods are most effective when your camera is already secured on a stable tripod or mounting system.
Combining remote operation with proper mounting creates the ideal conditions for capturing the sharp, vibration-free images essential in laboratory documentation.
Timed Capture Settings to Eliminate Hand Shake
Implementing a self-timer delay of at least 2 seconds will let camera vibrations settle after you press the shutter button, dramatically improving image sharpness in your tripod-mounted shots.
You’ll find additional stability by using remote shutter releases, which eliminate physical contact with your camera during exposure, especially valuable in low-light conditions.
For DSLR users, engaging mirror lock-up before capture prevents internal camera movements that can compromise image quality, even when mounted securely.
Self-Timer Delay Benefits
Everyone knows the frustration of reviewing what should have been a perfect shot, only to find it blurred by subtle hand movements.
Even the slightest pressure when pressing the shutter button can introduce vibrations that compromise image quality, especially in lab settings where precision is paramount.
Your camera’s self-timer feature offers a simple yet effective solution:
- Stabilization time – A 2-10 second delay allows your camera to settle completely after you’ve pressed the button
- Shake elimination – Particularly valuable when using slower shutter speeds where any movement is amplified
- Enhanced precision – Combines perfectly with a tripod or stable surface for maximum image clarity
For ideal lab photography results, you’ll want to engage this feature whenever possible—it’s a zero-cost technique that dramatically improves image quality without requiring additional equipment.
Remote Shutter Options
While self-timers provide excellent basic shake reduction, many photographers seeking laboratory-grade precision require more advanced control. Remote shutter releases eliminate the need to physically touch your camera, virtually eradicating any risk of camera shake during capture.
Most cameras offer built-in timer settings ranging from 2-10 seconds, giving you flexibility based on your specific needs. For even greater control, consider wireless remote options that let you trigger the camera from a distance—ideal in lab environments where even minor vibrations can compromise image quality.
For the ultimate in precision, explore camera apps that connect via Wi-Fi or Bluetooth. These allow you to set timed captures and adjust settings remotely without any physical contact.
Remember to secure your camera on a stable tripod regardless of which remote method you choose.
Mirror Lock-Up Techniques
For DSLR users focused on lab-grade precision, mirror lock-up represents the next level in vibration elimination. This feature prevents the subtle shake caused by your camera’s mirror flipping up during exposure—a critical consideration when capturing microscopic details in laboratory settings.
To implement mirror lock-up effectively in your workflow:
- Activate mirror lock-up in your camera’s custom functions menu
- Set a timed delay between mirror movement and shutter release
- Pair with a tripod and remote trigger for maximum stability
When you’ve configured these settings, your camera will raise the mirror first, allow vibrations to dissipate, then capture the image without interference.
This technique proves especially valuable for macro photography and documentation of sensitive lab specimens where even microscopic movement can compromise your results.
Cable Management for Disturbance-Free Imaging
Although often overlooked, proper cable management plays an essential role in achieving stable, shake-free images in laboratory settings. Loose cables can cause accidental tugs that introduce unwanted camera movement during critical imaging sessions.
Secure any dangling cables with ties or clips, positioning them away from your camera and tripod to prevent interference. Consider using cable sleeves or conduits to bundle multiple connections together, reducing clutter in your workspace. This approach not only enhances stability but creates a safer lab environment.
Tame unruly cables to prevent vibration, eliminate workspace hazards, and ensure crisp, artifact-free laboratory images.
Don’t forget to label your cables—this simple step helps you quickly identify connections when troubleshooting issues.
With a thoughtful cable management system in place, you’ll eliminate a common source of image blur while maintaining an organized workspace conducive to precise scientific photography.
Frequently Asked Questions
How to Hold a Camera to Avoid Shake?
To avoid camera shake, grip your camera firmly with your right hand while supporting the lens with your left. Tuck elbows close to your body, engage image stabilization, and use controlled breathing when shooting.
How to Stabilize Shaky Camera Footage?
You can stabilize shaky footage using video editing software with stabilization features, a gimbal, or by applying warp stabilizer in post-production. Remember to shoot at higher frame rates when possible for smoother results.
How Do You Avoid Out of Focus Pictures Due to Camera Shake When Shooting With a DSLR Digital Single Lens Reflex Camera?
You’ll avoid camera shake blur with a DSLR by using a tripod, activating image stabilization for handheld shots, maintaining proper grip, using faster shutter speeds, and considering a monopod for dynamic situations.
How to Reduce Camera Shake When Filming?
Use a tripod, enable image stabilization, hold your camera firmly, maintain faster shutter speeds, and use a remote shutter. You’ll also benefit from wider lenses and proper breathing techniques when filming handheld.
In Summary
You’ve now got the essential tools to capture crystal-clear, shake-free laboratory images. Remember, it’s not just about expensive equipment—it’s how you use it. Implement these mounting techniques in your workflow, and you’ll see immediate improvement in your microscopy images. Don’t let vibration ruin your research documentation when these simple solutions are at your fingertips. Your future publications will thank you!


Leave a Reply