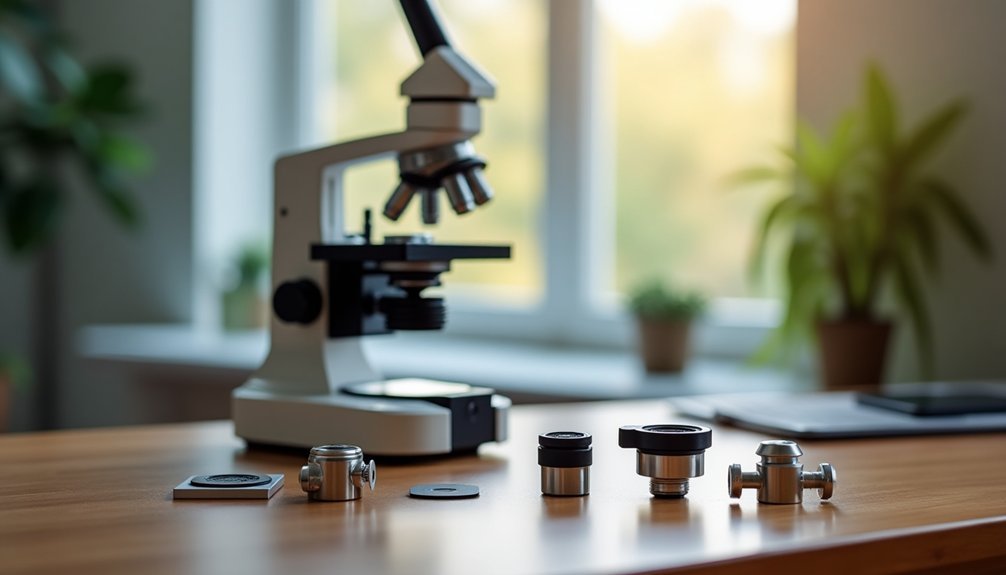
The seven best mounting options for microscope digital imaging include C-mounts for standardized performance, T-mounts for versatile connections, F-mounts for wider fields of view, prime focus systems for direct camera attachment, afocal photography mounts for flexible positioning, trinocular port adapters for simultaneous viewing, and specialized research mounts for specific applications. You'll need to match your camera and microscope specifications with the right mount type to achieve ideal results. Discover which solution will take your microscope imaging to the next level.
Understanding Prime Focus Mounting Systems
When capturing microscope images with professional-quality results, prime focus mounting stands out as one of the most effective methods available. You'll achieve maximum light transmission and superior image quality by directly replacing your microscope eyepiece with a camera, eliminating the need for additional optics.
This technique works exceptionally well with DSLR cameras, as their larger sensors can capture detailed, high-resolution images and videos. Since you won't be using the camera's lens, the microscope's optics handle all the magnification and focusing.
You'll need to guarantee proper alignment between your camera's sensor and the microscope's optical path to avoid vignetting and achieve the best results. The straightforward nature of prime focus mounting makes it easier to capture precisely focused images, making it ideal for research and detailed specimen documentation.
Afocal Photography Mounting Techniques
To achieve ideal results with afocal photography, you'll need to carefully position your camera lens at the microscope eyepiece's exit pupil, maintaining precise alignment between both optical components.
You can enhance the light path by ensuring your camera lens is parallel to the eyepiece and positioned at the correct working distance, which varies depending on your specific equipment.
For the clearest images, you should adjust your camera's focus settings while monitoring the live view display, making minor positioning adjustments until you see sharp, well-illuminated results.
Camera Lens Positioning Steps
Since afocal photography demands precise alignment between your camera and microscope, proper positioning of the camera lens becomes critical for capturing clear, undistorted images.
You'll need to carefully align your camera lens with the microscope's eyepiece to maintain the optical path integrity. Start by positioning your camera lens parallel to the eyepiece at the same focal distance.
You'll want to guarantee there's no tilt or misalignment that could cause vignetting. Once you've achieved basic alignment, fine-tune the position until you see a full, clear image through your camera's viewfinder or screen.
If you're planning to use additional optical elements like barlow lenses, make sure to adjust the positioning accordingly. Remember, you can switch between different eyepieces for varying magnifications while maintaining your camera's position once properly aligned.
Light Path Optimization Methods
Although afocal photography offers flexibility in microscope imaging, fine-tuning the light path requires careful attention to several key factors. Your camera will work best when you've properly aligned it with the eyepiece to prevent vignetting and guarantee complete field coverage.
To achieve quality images through proper light path fine-tuning:
- Position your camera at the ideal focal distance from the eyepiece, guaranteeing the lens captures the entire field of view.
- Adjust the camera's position to eliminate any dark corners or circular shadows in your image.
- Select a camera lens with a focal length that matches your eyepiece specifications for maximum clarity.
- Monitor the alignment continuously during imaging sessions, making minor adjustments as needed to maintain proper light transmission.
Remember that successful afocal mounting depends heavily on maintaining precise positioning throughout your observation session.
T-Mount Adapters and Their Applications
T-mount adapters serve as essential bridges in microscope imaging, featuring a standardized M42x0.75 thread that connects cameras to microscopes.
With a precise flange distance of 55mm, you'll achieve proper alignment for quality images when using these versatile connectors.
To set up your digital cameras with a T-mount adapter, you'll need two specific components: one to connect the microscope to the T-mount and another for the T-mount to camera attachment.
Since these adapters are fully manual, you'll need to enable your camera's "Shoot without lens" setting to capture images effectively.
While you won't have electronic communication between your camera and the adapter, this manual setup gives you complete control over your microscope imaging process, making T-mount adapters an ideal choice for scientific photography applications.
C-Mount Solutions for Digital Microscopy
When you're selecting a C-mount for your microscope imaging setup, you'll need to take into account its standardized specifications of 25.5 mm diameter and 17.52 mm flange focal distance to guarantee proper camera attachment.
You must match the C-mount's optical path to your microscope's photo port characteristics, as this affects the quality and clarity of your captured images.
Your camera's sensor size needs to align with the C-mount's specifications to prevent vignetting and maximize your field of view potential.
C-Mount Thread Specifications
Standard C-mount thread specifications feature a 25.5 mm diameter and 17.52 mm flange focal distance, making them a reliable choice for microscope-to-camera connections.
When you're setting up your digital microscope, choosing the right C-mount adapter guarantees peak image quality and compatibility with your equipment.
Key considerations for C-mount specifications include:
- Verify your microscope brand's specific requirements, as you'll need to match the exact threading specifications.
- Check your camera's mounting compatibility, whether it's USB, HDMI, or SLR.
- Confirm the C-mount adapter maintains proper focal distance for clear imaging.
- Consider cost-effectiveness compared to other mounting solutions.
You'll find these standardized specifications particularly helpful in laboratory settings where you need consistent, high-quality digital imaging results across multiple microscope setups.
Optical Path Considerations
Beyond the physical thread specifications, proper C-mount implementation hinges on understanding optical path dynamics.
You'll need to carefully match your camera's sensor diameter with the circular photo port to achieve ideal results. When properly aligned, C-mounts deliver excellent image quality through their standardized 25.5 mm diameter and 17.52 mm flange focal distance.
To maximize your microscope's performance, you should avoid adding extra optical elements to your C-mount setup. These additional components can compromise image quality and create uneven illumination patterns across your sensor.
Your field of view will be determined by both your camera's sensor size and the C-mount specifications, so it's essential to select compatible components. When implemented correctly, C-mounts provide a cost-effective and reliable solution for high-resolution microscope imaging.
Sensor Size Compatibility
Selecting the right C-mount configuration depends heavily on your camera's sensor size and its compatibility with your microscope's photo port.
You'll need to carefully match these components to achieve ideal image quality and field of view. Larger sensors typically offer better performance with C-mounts, requiring fewer additional optics and reducing potential image degradation.
Key considerations for sensor size compatibility:
- Match your C-mount's specifications (25.5mm diameter, 17.52mm flange distance) to your microscope's brand and model.
- Consider your desired field of view, as larger sensors provide wider coverage.
- Evaluate whether you'll need additional optics if using smaller sensors with circular photo ports.
- Assess potential vignetting issues, which are more common with mismatched sensor sizes and optical configurations.
Always prioritize proper sensor size matching to maximize resolution and minimize light loss in your microscopy setup.
Camera-Specific Mounting Hardware Options
Three primary mounting options dominate the microscope camera attachment landscape: C-mounts, T-mounts, and F-mounts.
When choosing between these options, you'll need to take into account your specific imaging requirements and equipment compatibility.
C-mount adapters, with their 25.5mm diameter and 17.52mm flange focal distance, are your go-to choice for most scientific imaging setups.
If you're working across different camera brands, T-mounts offer versatility with their standardized M42x0.75 thread system.
For higher quality imaging with a wider field of view, F-mounts are ideal, especially if you're using Nikon SLR cameras.
Remember that your choice should align with both your microscope model and camera specifications.
You'll also want to factor in whether you need additional optics, as these can greatly impact your field of view and image resolution.
Advanced Trinocular Port Mounting Methods
While choosing the right mount type sets the foundation, advanced trinocular port mounting elevates your microscope imaging capabilities to professional standards.
You'll achieve superior results through dedicated optical pathways that prevent image degradation while maintaining simultaneous eyepiece viewing.
- Select an SLR adapter or C-mount that perfectly matches your camera and microscope specifications to guarantee ideal compatibility.
- Align your camera precisely with the microscope's optical axis to prevent vignetting and maintain full field of view.
- Take advantage of adjustable diopters for precise focus control during digital imaging sessions.
- Confirm your trinocular port setup provides direct optical pathways specifically designed for high-quality image capture.
Specialized Mounting Solutions for Research Microscopes
Research microscopes demand precision-engineered mounting solutions to achieve publication-quality results.
You'll find three primary mounting options that dominate the research landscape: C-mount, F-mount, and T-mount adapters.
C-mount adapters offer standardized performance with their 25.5 mm diameter and 17.52 mm flange focal distance, making them ideal for scientific imaging cameras.
If you're using Nikon SLR cameras, you'll want to take into account F-mount solutions, which provide an expanded field of view for high-resolution imaging.
T-mount systems give you maximum flexibility with their M42x0.75 thread standard, allowing connection across different manufacturers.
When selecting your mount, you might need additional relay lenses to optimize your field of view and resolution.
Just remember that these extra optics can affect image quality and light transmission.
Frequently Asked Questions
What Is a Microscope C-Mount?
You'll find that a microscope C-mount is a standardized camera attachment with a 25.5mm diameter and 17.52mm flange focal distance, which lets you connect your digital imaging camera directly to your microscope's photo port.
Which Type of Adapter Is Useful for Attaching Still Cameras to the Microscope?
You'll need a C-mount adapter and a camera-specific SLR adapter to attach your still camera to a microscope. T-mount adapters are also effective, working with the standard 55mm flange distance.
How Do I Connect My Digital Microscope to My Computer?
You'll need to connect your USB microscope camera to your computer's USB port, install the provided imaging software, and guarantee proper adapter compatibility with your microscope's photo port for successful digital imaging.
What Is the Best Zoom for Microscope?
You'll find the ideal microscope zoom typically ranges from 40x to 1000x. For general use, start with 100x and adjust based on your specimen. Higher magnifications require better lighting and stability.
In Summary
You'll find that selecting the right mounting system transforms your microscope imaging capabilities. Whether you've chosen prime focus, afocal, or specialized research mounts, proper installation guarantees peak results. Consider your camera type, microscope model, and imaging needs when making your choice. Don't forget to test alignment and stability before capturing critical images – it's essential for achieving professional-quality microscopic photography.


Leave a Reply