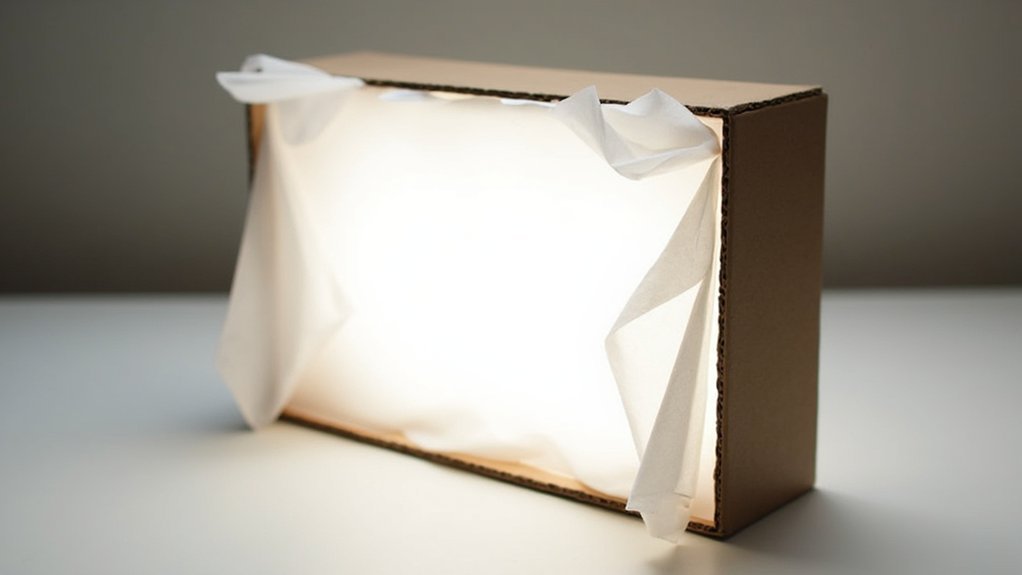
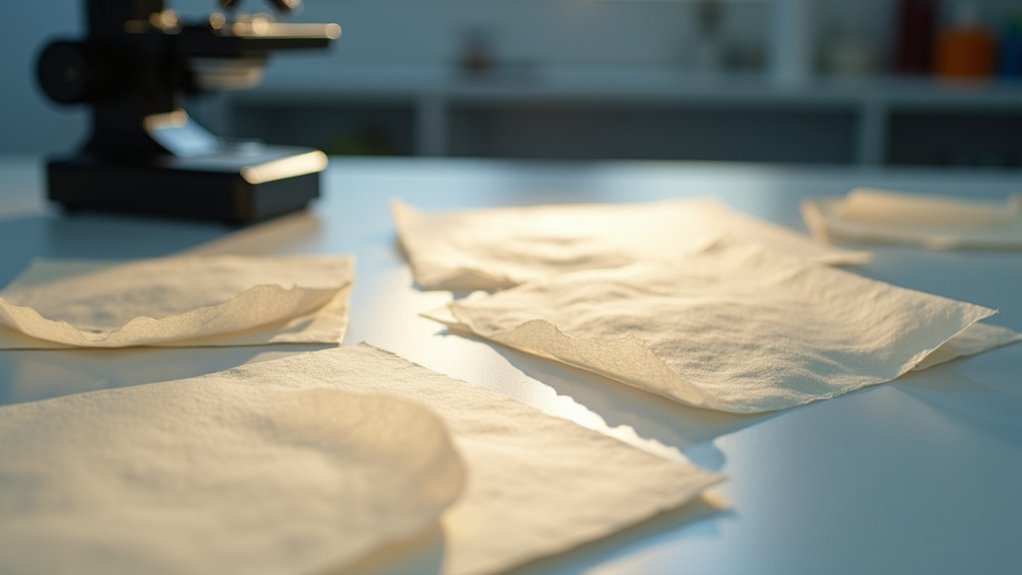
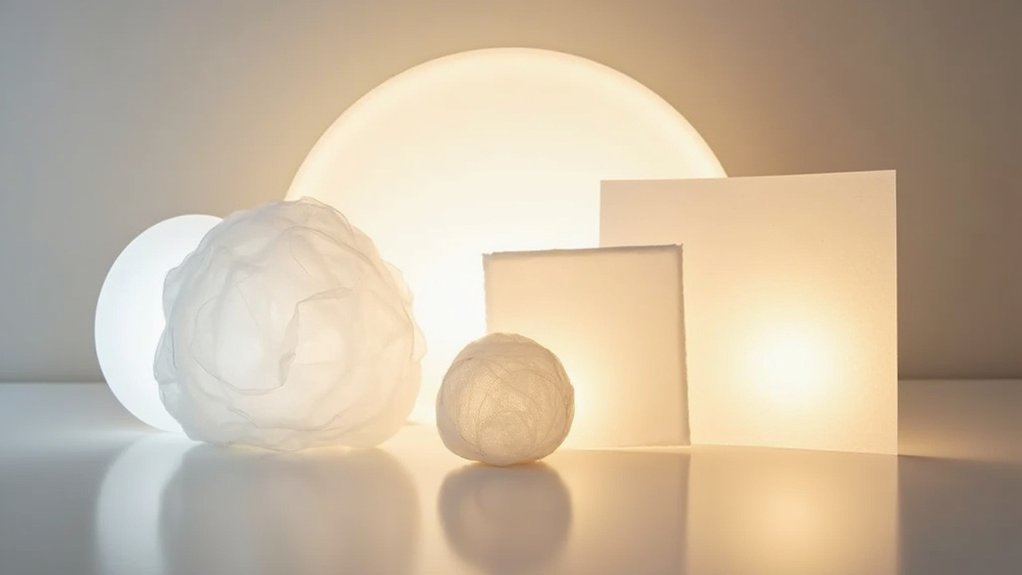
DIY lighting diffusers dramatically improve scientific photography by eliminating harsh shadows and enhancing detail visibility. You can create effective diffusers using common household items like parchment paper, frosted shower curtains, or tissue paper attached to cardboard frames. Position these between your light source and specimen, experimenting with distance and angles for ideal results. Try layering different materials or adding aluminum foil reflectors to control light direction. The right diffusion technique will transform your microscope images from flat to professional-quality.
Understanding Light Diffusion in Scientific Imaging

When you’re capturing scientific images, the quality of your lighting makes all the difference between mediocre and exceptional results. Diffuse light plays a critical role by distributing illumination evenly across your subject, eliminating harsh shadows that can obscure important details.
By placing materials like frosted glass or plastic between your light source and subject, you’ll minimize glare and unwanted reflections—particularly valuable in microscopy and precision imaging.
The size of your light source matters too; larger sources or stacked diffusers create softer lighting that reveals subtle features.
Different diffusion materials affect color temperature and light quality. White tissue paper or frosted acrylic can alter how your subject appears, so choose carefully.
Properly diffused light enhances contrast and color representation, allowing you to differentiate fine details essential for accurate scientific analysis.
Essential Materials for Budget-Friendly DIY Diffusers
You’ll find numerous household items that can transform into effective light diffusers for your photography needs.
Parchment paper, frosted shower curtains, and white bed sheets top the list of cost-effective materials that create professional-quality light diffusion.
These budget-friendly alternatives can dramatically improve your image quality without the steep price tag of commercial diffusers.
Materials Guide
Creating effective diffusers doesn’t require expensive equipment, since many household items can transform harsh lighting into soft, flattering illumination for scientific photography. Parchment paper makes an excellent light diffuser that can withstand high temperatures while effectively softening light for detailed specimen photography.
For larger setups, consider using frosted shower curtains that provide extensive coverage and minimize harsh shadows. White bed sheets stretched over frames offer customizable sizing for various lighting scenarios.
If you need flexibility, sheer fabrics are lightweight and easy to position at different angles. For creative effects in your scientific imaging, colored tissue paper can introduce subtle tints while diffusing light.
These affordable materials enable you to achieve professional-quality lighting without specialized equipment, ensuring your scientific subjects are captured with ideal clarity.
Homemade Diffuser Alternatives
The world of homemade diffusers extends far beyond specialized photography stores, with numerous household items serving as effective alternatives. Parchment paper stands out as a remarkably versatile option, able to withstand high temperatures while providing excellent light softening capabilities for your scientific photography.
For larger setups, consider repurposing a frosted shower curtain, which offers substantial surface area for more uniform light distribution.
White bed sheets stretched over a simple frame deliver professional-quality diffusion without the professional price tag. Lightweight sheer fabrics provide similar benefits while being easily customizable to fit specific lighting scenarios.
These budget-friendly materials let you experiment with different diffusion strengths by layering or combining them. You’ll achieve sophisticated lighting effects for your scientific photography while keeping costs minimal.
Building a Basic Cardboard and Tissue Paper Diffuser

Three simple materials—cardboard, tissue paper, and glue—can transform harsh lighting into soft, flattering illumination for your photography subjects.
Start by cutting a 30 x 20 inch piece of foam core or cardboard with rounded corners for safety and visual appeal.
Using Gorilla Glue, attach a 24 x 20 inch sheet of white tissue paper to the cardboard. Confirm it’s wrinkle-free to properly diffuse light. Carefully cut along your guidelines with an Exact-O knife for precision.
The strong bond of Gorilla Glue ensures your tissue paper stays perfectly flat, creating professional light diffusion for stunning photographic results.
Position your completed diffuser between your light source and subject to soften shadows and create more even lighting.
Don’t hesitate to experiment with colored tissue papers or multiple layers to customize the lighting effects for your specific scientific photography needs.
Aluminum Foil Reflectors for Enhanced Light Control
While tissue paper diffusers soften light, aluminum foil reflectors redirect it precisely where you need it. This inexpensive material transforms your lighting setup by bouncing illumination toward your subject, reducing shadows in scientific photographs.
You’ll find aluminum foil incredibly versatile—adjust its angle to control light direction and intensity for your desired effect. By creating a larger reflective surface, you’re fundamentally simulating a bigger light source, which softens shadows and improves overall light quality.
Try different crumpling techniques to produce varied textures and diffusion effects. The foil easily attaches to frames or surfaces, making it perfect for quick DIY solutions.
Whether you’re photographing specimens or equipment, these reflectors offer professional-quality lighting control without the professional price tag.
Parchment Paper Diffusers for Microscope Illumination

Ever struggled with harsh glare ruining your microscope observations? Parchment paper offers a simple yet effective solution. When placed between the light source and your specimen, this kitchen staple transforms harsh illumination into soft, even light that reveals fine details while reducing contrast and glare.
You’ll appreciate how parchment paper withstands microscope lamp heat without degrading or releasing harmful fumes—making it lab-safe and reliable.
For even softer illumination, try using a double layer to further diffuse light and eliminate harsh shadows across your field of view.
The best part? These diffusers are incredibly cost-effective. You can easily customize them by cutting the paper to fit your specific microscope setup, providing professional-quality illumination without expensive equipment.
Your specimens will appear clearer and more detailed immediately.
Repurposing Household Items as Diffusion Materials
You’ll find surprisingly effective diffusion materials right in your kitchen drawers, with wax paper offering a softer light spread than parchment paper, though it can’t withstand the same high temperatures.
White plastic grocery bags create unique textured lighting effects when stretched taut, while coffee filters stack well for adjustable diffusion strength.
Comparing crafting materials reveals that translucent vellum paper delivers professional-quality light diffusion, outperforming standard printer paper when you need to balance light softening with maintaining adequate brightness.
Kitchen Items as Diffusers
When working with limited resources, your kitchen and home can become treasure troves of effective lighting diffusion materials. Everyday items can transform harsh lighting into soft, even illumination perfect for scientific photography without expensive equipment.
- Parchment paper creates a gentle softening effect when placed between your light source and subject.
- White bed sheets, while not strictly kitchen items, excellently diffuse light for larger setups.
- Aluminum foil inside a lampshade paired with parchment paper outside creates balanced illumination.
- Plastic containers covered with tracing paper make custom-sized diffusers for specific subjects.
- Sheer fabrics from kitchen curtains provide gentle light spread that minimizes shadows in detailed work.
These affordable alternatives help you achieve professional-quality diffusing light while saving money and making use of items you already have on hand.
Crafting Materials Comparison
Repurposing common household items for photography diffusion offers a practical way to achieve professional results without specialized equipment. When your light bulb creates harsh shadows, these everyday materials can transform your scientific photography.
| Material | Best Use Case |
|---|---|
| Parchment paper | Heat-resistant diffusion near hot light sources |
| Frosted shower curtains | Large subject illumination with even coverage |
| White bed sheets | Affordable diffusion when stretched over frames |
| Sheer fabrics | Portable setups requiring quick adjustments |
| Aluminum foil | Enhancing reflectivity when paired with diffusers |
You’ll find these materials provide varying levels of diffusion depending on your needs. Parchment paper works well for close-range setups, while shower curtains excel at creating soft, even lighting across broader areas. Choose your diffusion material based on subject size and available light sources.
Positioning Techniques for Optimal Shadow Reduction

Achieving the perfect balance of light in scientific photography depends largely on how you position your diffusers relative to both subject and light source. Your light diffuser creates the soft illumination necessary for capturing scientific details that harsh direct lighting would obscure.
- Position your diffuser as close to the subject as possible to minimize harsh shadows.
- Experiment with slight tilting of the diffuser away from the subject to reduce direct light impact.
- Layer multiple diffusers to further soften shadows and enhance texture visibility.
- Control light intensity by adjusting the distance between light source and diffuser.
- Choose a diffuser size proportional to your subject—larger diffusers create softer shadow gradations.
These positioning techniques will transform your scientific photography, revealing subtle details that might otherwise be lost in harsh shadows or overexposed highlights.
Custom Diffuser Designs for Different Microscope Models
Microscope photography presents unique challenges that require specialized diffuser solutions tailored to each instrument’s design. When you make a light diffuser for your microscope, consider the specific light source used in your model—this determines which materials will work best.
For compound microscopes, try frosted acrylic sheets or thin white plastic to spread light evenly without adding color casts. You’ll achieve better results by positioning your diffuser close to the light source, enhancing softness and eliminating harsh shadows that obscure specimen details.
For customized lighting effects, experiment with layered designs. Combine a frosted cover with colored tissue paper, or test different materials like parchment paper or thin fabric. Each creates distinct diffusion qualities that can be matched to your specific microscopic application, greatly improving image clarity and detail.
Testing and Evaluating DIY Diffuser Performance

Four essential tests will help you determine if your homemade diffuser is truly effective. When evaluating your creation, you’ll need objective measurements rather than just visual impressions.
- Conduct side-by-side comparisons by photographing the same subject with and without your diffuser under identical light conditions.
- Use a light meter to quantify intensity changes and determine necessary exposure adjustments.
- Test multiple material combinations and configurations to find your best setup.
- Document color temperature shifts with a color checker chart to maintain accurate reproduction.
- Analyze histograms in editing software to assess contrast reduction and shadow detail.
Don’t just rely on how images look at first glance. These systematic tests will confirm whether your DIY diffuser is actually improving light quality or simply reducing its intensity without the desired softening effect.
Combining Multiple Diffusion Methods for Complex Specimens
When photographing intricate scientific specimens, a single diffuser often falls short of delivering the nuanced lighting required. To achieve superior results, try layering multiple diffusers such as frosted shower curtains with white bed sheets to diffuse the light more effectively across complex surfaces.
Consider placing a small softbox inside a larger one for greater control over light spread and evenness. You’ll find that adjusting the distance between your light source and diffuser layers dramatically affects shadow softness—critical for capturing delicate specimen details.
Don’t hesitate to experiment with colored tissue paper as an outer layer to highlight specific features.
Remember that stacking diffusers reduces light intensity, so compensate with dimmable LED lights to maintain proper exposure while preserving that beautifully soft, diffused illumination your complex specimens demand.
Frequently Asked Questions
What Is the Best Material for Homemade Light Diffuser?
Parchment paper is your best choice for a homemade light diffuser. It’s heat-resistant and maintains brightness while softening light effectively. For larger setups, you’ll find frosted shower curtains work exceptionally well too.
What Can I Use Instead of a Light Diffuser?
You can use parchment paper, frosted shower curtains, white bed sheets, or sheer fabrics instead of a light diffuser. They’ll soften harsh lighting effectively. For creative effects, try colored tissue paper in your photography setup.
What Is the Best Material for a DIY Diffuser?
For your DIY diffuser, parchment paper is the best material as it withstands heat and spreads light evenly. You’ll find it’s affordable, easy to work with, and creates professional-looking results immediately.
What Is the Best Fabric for Light Diffusion?
For light diffusion, you’ll find sheer materials like chiffon or organza work best. Muslin is also excellent – it’s affordable and versatile. Don’t overlook white bed sheets or frosted shower curtains for larger diffusion needs.
In Summary
With your DIY diffusers, you’ve now got professional-quality lighting solutions without breaking the bank. You’ll notice dramatically improved detail in your scientific photographs and more accurate specimen representation. Don’t hesitate to experiment with different materials and combinations as your photography needs evolve. Remember, good science requires clear documentation—and your handmade diffusers are ensuring your images meet that standard every time.


Leave a Reply