To fix focus issues when shooting through eyepieces, first adjust the diopter to match your vision by rolling the adjustment wheel while looking at a high-contrast subject. Verify proper eye placement at the ideal 10-20mm relief distance to avoid vignetting. Clean optical surfaces regularly with a microfiber cloth, and use manual focus for precise control. Check that your eyepiece is fully seated in the adapter and that mirrors are properly collimated. These fundamentals will transform your viewing experience considerably.
Understanding Eyepiece Diopter Adjustments
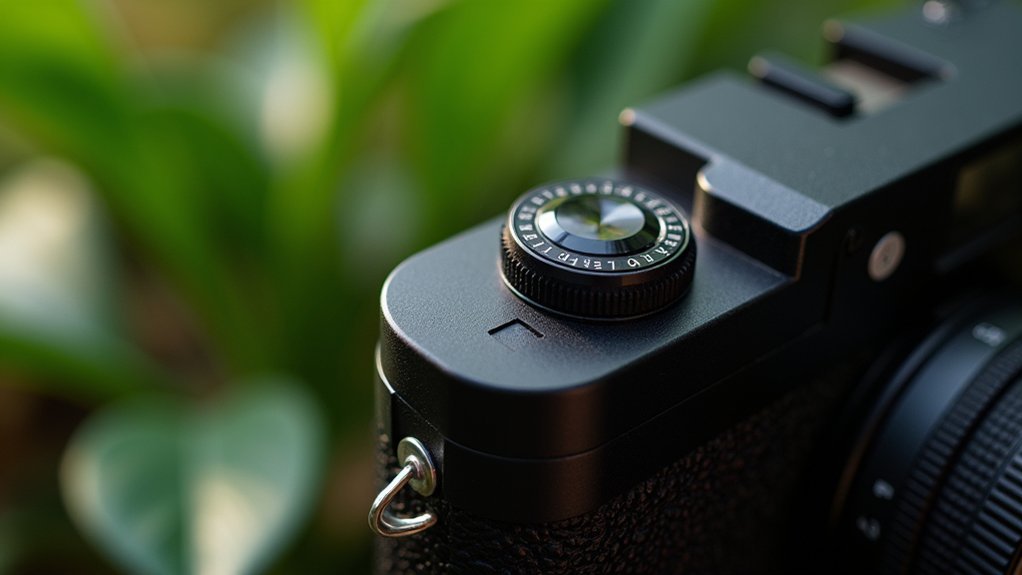
When you’re struggling with focus through your camera’s viewfinder, the issue often lies not with your lens but with the diopter adjustment. This small dial compensates for your individual eyesight differences, ensuring you see a sharp image regardless of your vision.
To find the ideal setting, roll the diopter adjustment wheel through its complete range until the reticle appears at maximum clarity. Many photographers mistakenly blame their camera’s focusing system when the real culprit is an improperly set diopter.
For specific guidance, check your camera’s manual as settings vary between models.
If you wear strong prescription glasses, consider investing in a Canon Dioptric Adjustment Lens to extend the range of correction available, giving you the best possible focus experience while shooting.
Proper Eye Placement and Relief Distance
Your eye position relative to the eyepiece creates the foundation for viewing clarity through any optical instrument.
Finding the ideal eye relief distance—typically between 10mm to 20mm—ensures you’ll experience the full field of view without frustrating blackouts around the edges.
When adjusting your focus, remember these key eye placement principles:
- Position your eye at the manufacturer’s specified eye relief distance for your particular eyepiece.
- Readjust your eye position when changing magnification settings, as higher powers require more precise alignment.
- If you notice blurry edges or a partial view, you’re likely too close or too far from the eyepiece.
- Align your eye properly to enhance reticle sharpness and overall image clarity, especially when fine-tuning focus.
Cleaning Optical Surfaces for Sharper Images

The smallest speck of dust or fingerprint smudge can dramatically reduce image quality and frustrate your viewing experience. To guarantee you’re able to focus properly, regularly inspect your optical surfaces for contaminants that obstruct light transmission.
When cleaning optical surfaces, always use a microfiber cloth or specialized lens cleaning solution. Begin at the center of the lens and work outward in circular motions to prevent scratching.
Never substitute household cleaners or paper towels, as these can damage delicate coatings. After cleaning, check the diopter settings to confirm proper focus has been restored.
Remember to store your eyepieces and telescope in protective cases when not in use to minimize dust accumulation. This preventative maintenance will keep your optics performing at their best and extend their lifespan.
Manual vs. Autofocus Techniques for Microscope Photography
Although both focus methods have their place in microscopy, manual focusing techniques generally provide superior results when capturing detailed specimen images through eyepieces.
Manual focusing offers unparalleled precision for microscopy work, revealing specimen details that autofocus systems often miss.
When working with eyepiece projection, you’ll find that autofocus systems often struggle with the low contrast and tiny details present in microscopic subjects.
- Manual focus allows you to make precise adjustments that capture the exact focal plane where specimen details appear sharpest.
- Focus peaking highlights in-focus edges, making it easier to identify when you’ve achieved ideal focus through the eyepiece.
- Live view magnification lets you zoom in on critical areas before capturing your image.
- Single-point autofocus can work in some situations, but you’ll need to carefully position the focus point directly on your subject of interest.
Adjusting for Different Magnification Levels
When working with eyepiece magnification, you’ll find that starting with lower powers before shifting to higher ones considerably simplifies your focusing process.
You must guarantee your scope’s focuser has adequate travel distance to accommodate the varying focal lengths required by different magnification levels.
For best results, match your eyepiece focal lengths to your camera sensor position, remembering that higher magnifications demand more precise adjustments due to their reduced depth of field.
Low vs. High Power
Because successful astrophotography depends heavily on proper focus, your choice between low and high power eyepieces becomes essential for capturing clear celestial images.
Start with low power eyepieces to establish initial focus, as they offer wider fields of view that make locating and centering your target much simpler.
- Use a moderate power eyepiece first to achieve stable, clear focus before attempting higher magnifications.
- When using high power in eyepiece projection, the entire reticle may not focus uniformly—adjust incrementally.
- You’ll need to reposition both your telescope’s mechanical focuser and the eyepiece within the projection unit when switching magnifications.
- Remember that different eyepieces have varying optical designs, requiring unique focus positions even at similar magnification levels.
Step-Down Magnification Approach
The step-down magnification approach offers a practical solution to the focus challenges we discussed with varying eyepiece powers. When using eyepiece projection, always begin with your lowest power eyepiece (longer focal length) to establish initial focus more easily. This provides a wider field of view, making target acquisition straightforward before attempting higher magnifications.
Once you’ve achieved focus with the lower power eyepiece, gradually step up to higher magnifications by either switching to shorter focal length eyepieces or adding a Barlow lens.
Between each magnification increase, make incremental adjustments to the eyepiece position within your projection unit. This methodical approach helps maintain the critical alignment between your camera sensor and the eyepiece drawtube, preventing frustrating focus issues as you pursue greater detail in your astronomical images.
Matching Eyepiece Focal Lengths
Successful eyepiece projection requires understanding the direct relationship between focal length and magnification power. Different eyepieces produce varying levels of detail and image size when used for projection, affecting your ability to achieve sharp focus.
To properly match eyepiece focal lengths to your imaging needs:
- Start with a 25mm eyepiece for initial focus, as its wider field of view makes alignment considerably easier.
- Make incremental adjustments to the eyepiece position within your projection adapter to fine-tune focus for each focal length.
- Consider your telescope’s optical characteristics when selecting eyepiece focal lengths – not all combinations work equally well.
- Maintain awareness of the distance between your eyepiece and camera sensor, as this relationship directly impacts focus quality.
Compensating for Personal Vision Conditions
When you’re struggling with eyepiece focus, proper diopter adjustment can compensate for your specific vision needs, especially if you have nearsightedness or farsightedness.
If you wear glasses, look for eyepieces with extended eye relief that allow you to maintain the full field of view without removing your corrective lenses.
You’ll find that many modern optical instruments offer eyeglass-friendly adaptations like adjustable eyecups that fold down or twist up to accommodate different viewing preferences.
Diopter Adjustment Basics
For many photographers struggling with focusing issues, a properly adjusted diopter can make all the difference between blurry and tack-sharp images. This small adjustment wheel compensates for your unique vision, allowing you to see a sharp viewfinder image without wearing glasses.
To achieve ideal diopter adjustment:
- Look through your viewfinder at a high-contrast subject.
- Roll the diopter wheel through its entire range until the display elements appear crisp.
- Verify your setting by focusing on different subjects to confirm consistency.
- Check your diopter regularly, especially after lending your camera or if your vision changes.
Don’t mistake a misadjusted diopter for actual focus issues with your lens. If standard adjustments aren’t sufficient, consider add-on dioptric lenses available for many camera models like Canon.
Eyeglass-Friendly Adaptations
Photographers who wear corrective lenses face unique challenges when using viewfinders, but modern camera systems offer several solutions to accommodate their specific needs.
Most cameras feature adjustable eyepiece diopters specifically designed for eyeglass wearers, allowing for clear reticle visibility without removing your glasses.
If you’re nearsighted, you’ll benefit from fine-tuning your eyepiece focus while maintaining proper eye-relief distance. For best results, aim your camera at a white wall when making these adjustments—this creates contrast that helps achieve crisper reticle appearance before tackling actual subjects.
Those with cataracts or similar conditions should schedule regular eye exams, as these conditions can affect eyepiece projection quality.
Remember to position your eye at the ideal eye-relief distance for your specific eyepiece design to eliminate vignetting and maximize your field of view.
Environmental Factors Affecting Focus Quality
Although many focus problems stem from equipment issues, the environment around you plays an essential role in determining eyepiece clarity. Keep in mind that even perfect equipment can yield poor results when environmental factors interfere with your view.
Environmental factors can make perfect equipment perform poorly when they disrupt your optical clarity.
- Lighting conditions – Shoot during mid-morning or early afternoon for ideal reticle clarity, as your pupil dilation affects focus accommodation. Adjust your shutter speed accordingly.
- Weather elements – Humidity and temperature changes alter air density, creating distortion that requires focus adjustments.
- Ambient light interference – Position yourself away from direct light sources or use sunshades to reduce glare that hinders visibility.
- Thermal equilibrium – Allow your telescope to acclimate to the surrounding temperature before observing, as heat currents create turbulence that disrupts focus quality.
Depth of Field Control in Microscope Imaging
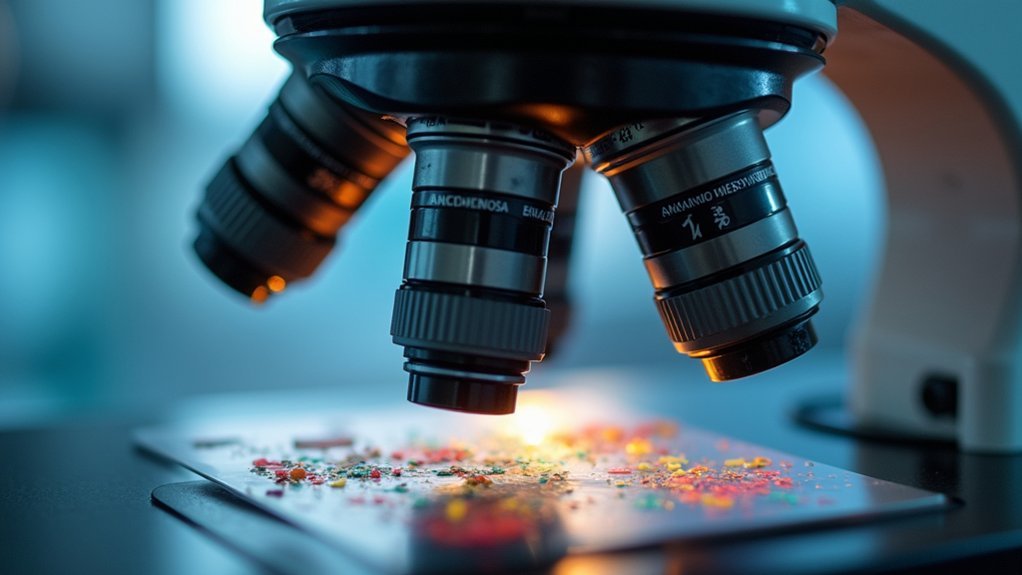
When working with microscopes, you’ll find that adjusting the aperture diaphragm is essential for balancing depth of field against image brightness and resolution.
You can overcome limited depth of field by employing focus stacking techniques, which combine multiple images taken at different focal planes into one fully-focused composite.
Field flatteners and specialized objectives can help correct curvature issues that often plague microscopy, ensuring your entire field of view remains in sharp focus simultaneously.
Aperture’s Critical Role
The depth of field in microscope imaging hinges critically on aperture settings. When you’re struggling with focus issues, understanding how aperture affects your view is essential.
Lower f-stop numbers create a shallower depth of field, meaning only a thin slice of your specimen appears sharp.
For better focusing results through eyepieces:
- Use higher f-stop numbers (smaller apertures) to increase depth of field when you need more of the specimen in focus.
- Recognize that higher magnifications naturally reduce depth of field, requiring more precise aperture adjustments.
- Balance your aperture settings to optimize light entry and improve contrast in your images.
- Consider starting with a higher f-stop and gradually adjusting until you find the sweet spot between clarity and detail.
Focus Stacking Techniques
Despite your best aperture adjustments, certain specimens simply demand more depth of field than a single shot can provide. Focus stacking solves this challenge by combining multiple images captured at different focal planes into one incredibly detailed composite.
When using eyepiece projection, capture 5-15 images of your specimen, each focused on a different plane. Confirm you’re working with a stable setup—a microscope with fine focus adjustments prevents unwanted movement between shots that could ruin your stack.
Software like Helicon Focus or Photoshop can automatically align and blend your images into a seamless composite.
For best results, make small, incremental focus adjustments between shots to thoroughly document every critical detail in your specimen, resulting in microscopically precise images with thorough depth of field.
Field Flattening Solutions
While focus stacking captures depth through multiple images, field flattening tackles a different challenge altogether.
When using eyepiece projection in microscopy, you’ll often notice the edges of your field appear blurry while the center remains sharp. This optical aberration requires specific solutions to achieve uniform focus across your entire image.
- Invest in flat-field objective lenses specifically designed to correct curvature of field and provide even sharpness throughout your images.
- Install specialized field flattener lenses between your eyepiece and camera to correct optical aberrations.
- Adjust your aperture size strategically to control depth of field while minimizing background blur.
- Maintain regular calibration of your microscope’s optical components to guarantee consistent field flattening performance.
These approaches will dramatically improve your microscope imaging results, delivering crisp focus from center to edge.
Focus Stacking for Extended Depth of Field
When working with eyepieces, you’ll often encounter situations where a single shot simply can’t capture everything in sharp focus. Focus stacking is your solution for eyepiece projection photography, extending depth of field beyond what’s normally possible.
The technique involves capturing multiple images at different focus points, then combining them into one incredibly detailed composite. Take between 3-10 shots, ensuring each image’s focus area slightly overlaps with the previous one.
Maintain perfect stability throughout to prevent misalignment. Software like Photoshop or Helicon Focus will merge your images, automatically selecting the sharpest areas from each frame.
This process eliminates the frustrating trade-offs of limited depth of field, giving you tack-sharp details throughout your entire subject when shooting through eyepieces.
Troubleshooting Common Focusing Errors
Even experienced astrophotographers struggle with focusing issues when using eyepieces for projection photography. When your images remain stubbornly blurry despite your best efforts, methodical troubleshooting can resolve most focusing problems.
Precise focus remains the eternal challenge for astrophotographers, requiring patience and systematic adjustment to achieve crisp celestial images.
- Insertion depth matters – Verify your eyepiece is fully seated in the projection adapter before attempting any focus adjustment.
- Two-stage focusing – Adjust both the telescope’s mechanical focuser and the eyepiece position within the adapter incrementally for peak clarity.
- Check back focus – Verify your camera sensor plane properly aligns with the eyepiece drawtube position to avoid focus range limitations.
- Daytime testing – Test your focus setup on distant objects during daylight hours before attempting difficult low-light astronomical observations.
Don’t overlook collimation of your telescope’s mirrors, as even slight misalignment can prevent achieving proper focus regardless of other adjustments.
Advanced Focusing Aids and Accessories
Despite mastering basic focusing techniques, serious astrophotographers can benefit from specialized tools that dramatically improve precision and efficiency. Barlow lenses create additional optical path length, pushing the focus point outward—a vital advantage when you’re struggling with eyepiece projection setups that won’t quite reach focus.
When making focus adjustments, consider using adjustable-length projection adapters that let you fine-tune the distance between eyepiece and camera sensor. Start with low-power eyepieces for easier initial focusing before attempting higher magnifications.
For simplicity, try mounting your camera directly to the telescope using just a T-ring, eliminating components that complicate focus.
Remember that understanding your specific back focus requirements is essential—each telescope-camera combination has unique needs that, when properly addressed, will markedly improve your imaging results.
Frequently Asked Questions
Can Smartphone Adapters Improve Focus When Shooting Through Eyepieces?
Yes, smartphone adapters can improve focus when shooting through eyepieces. They’ll hold your phone steady at the ideal distance, eliminating hand shake and allowing perfect alignment with the eyepiece’s focal point.
How Does Eyestrain Affect Focus Accuracy Over Extended Shooting Sessions?
Your eyestrain can greatly decrease focus accuracy during long sessions. You’ll notice diminished precision, missed details, and inconsistent results. Take breaks every 20 minutes and adjust your viewing position to maintain ideal performance.
Do Different Eyepiece Brands Require Different Focusing Techniques?
Yes, different eyepiece brands do require different focusing techniques. You’ll need to adjust to each brand’s eye relief distance, diopter settings, and optical characteristics. Don’t assume one technique works universally across all manufacturers.
Will Using Polarizing Filters Help With Focus Through Eyepieces?
Polarizing filters won’t improve your focus through eyepieces, but they can reduce glare and improve contrast. You’ll still need proper diopter adjustment and careful focusing technique to get sharp images when digiscoping.
Can Focus Issues Indicate Microscope Stage Alignment Problems?
Yes, your focus issues can indicate microscope stage alignment problems. If parts are misaligned, you’ll notice uneven focus across the field of view. Check that your stage moves smoothly and sits level.
In Summary
You’ll master eyepiece photography with practice and patience. Remember to adjust your diopter properly, maintain ideal eye relief, and keep your optics clean. Whether you’re using manual or auto focus, understanding depth of field limitations will improve your results. Don’t hesitate to try focus stacking for complex specimens. When problems arise, return to these fundamentals and consider investing in focusing aids for your specific setup.



Leave a Reply