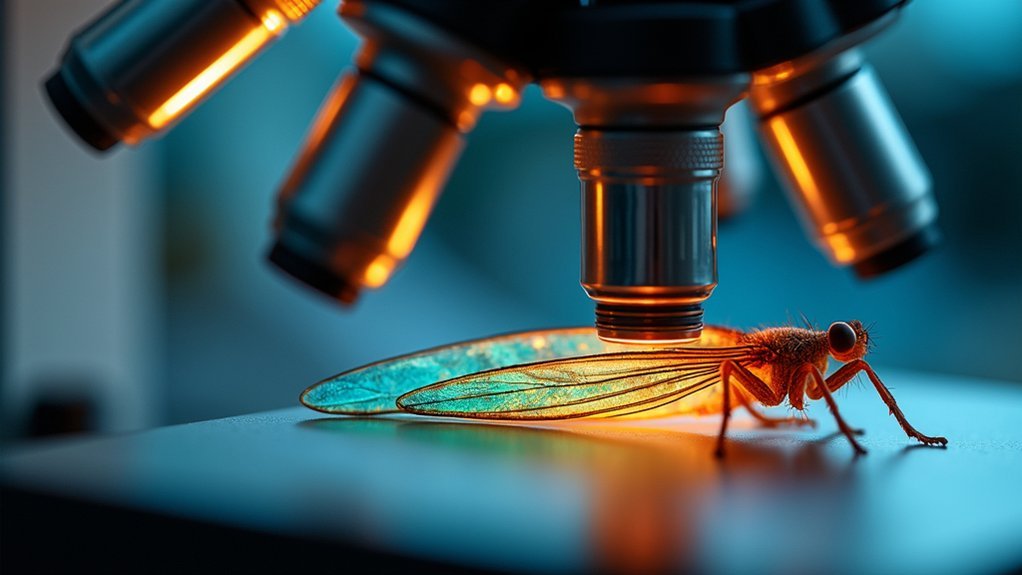
For crisp microscope focus stacks, first stabilize your setup with vibration isolation and a sturdy mount. Use a motorized rail or fine-adjustment stage for precise increments. Capture RAW images with 30% overlap at consistent 1/3 to 1/2 depth-of-field intervals. Apply diffused, even lighting to minimize shadows. Choose specialized software like Helicon Focus or Zerene Stacker. Review at 100% magnification to spot artifacts. Maintain your equipment regularly. These fundamentals will transform your microscopic imaging results.
7 Tips For Crisp Microscope Focus Stacking

When creating stunning microscope images with exceptional depth of field, focus stacking becomes your most powerful technique.
To achieve the best results, use a motorized macro rail or adjustable bellows that provides precise control over focal plane movements.
Always capture your series of images in RAW format to preserve maximum detail and color information. Confirm your lighting is evenly diffused to prevent harsh shadows that can create unwanted artifacts during the stacking process.
For each focus zone, capture at least three images with one-third overlap between them. This overlap gives stacking software sufficient information to blend seamlessly.
Don’t forget to check each image at 100% magnification before including it in your stack—only the sharpest shots should make the cut to guarantee a crisp final composite.
Optimizing Your Microscope Setup for Stability
To achieve pristine focus stacks, you’ll need to prioritize vibration isolation through a heavy, stable base and possibly vibration-dampening pads or an isolation table.
Your focusing controls should include a reliable fine-adjustment mechanism, whether manual or motorized, that allows for precise incremental steps without introducing unwanted movement.
When upgrading your setup, consider investing in linear stages with minimal backlash and high load capacity to maintain absolute stability throughout the entire image capturing process.
Vibration Isolation Methods
Vibrations represent the invisible enemy of focus stacking photography, capable of ruining even the most carefully planned microscope captures. To achieve crisp, detailed images, you’ll need effective vibration isolation strategies for your microscope setup.
Begin by placing your equipment on a specialized vibration-dampening table or isolation platform. Never press the shutter button directly—instead, use a remote release or your camera’s electronic shutter function to prevent camera shake.
- Install vibration isolation pads beneath your microscope to absorb environmental disturbances and prevent them from affecting your images.
- Secure all microscope components tightly, as loose parts can amplify vibrations.
- Utilize a motorized focus stage with adjustable speed settings for smooth shifts between focal points.
These measures will greatly improve your focus stacking results by eliminating motion blur.
Precision Focusing Controls
Achieving flawless focus stacks depends critically on your microscope’s precision focusing controls. For ideal results, invest in a motorized stage or high-quality manual linear stage with fine adjustment knobs that allow for consistent, repeatable movements between shots.
These precision focusing controls guarantee you’ll capture sharp images throughout the whole series.
Mount your microscope on an anti-vibration table or vibration-free surface to eliminate unwanted movement that can ruin your stack. Use an electronic or remote shutter release to prevent camera shake during exposure—a necessity at higher magnifications where even breathing can cause blur.
Don’t neglect regular calibration and maintenance of your focusing mechanisms.
Finally, select focus stacking software that allows you to define exact incremental steps appropriate for your sample’s depth characteristics.
Essential Equipment for Precise Focus Incrementing

Four key tools form the foundation of precise focus stacking in microscopy.
You’ll need equipment that guarantees consistent focal plane shifts while maintaining stability throughout your imaging session. Motorized focus rails offer the most reliable results, providing reproducible increments that manual adjustments simply can’t match.
- Adjustable macro rail or bellows – Allows for precise movement between focal planes, critical for capturing complete depth information.
- High-quality microscope objectives – Improves resolution but requires more stacked images due to shallower depth of field.
- Sturdy support system – Either a robust tripod or dedicated microscope stand to eliminate vibrations that compromise image sharpness.
Don’t overlook the importance of a remote shutter release or electronic shutter—these eliminate subtle camera movements that can ruin perfectly planned focus increments.
Mastering Lighting Techniques for Clear Image Capture
With your focus equipment properly set up, lighting becomes your next challenge in microscopic photography. Flash units with short durations excel at freezing motion, ensuring your subject in focus appears sharp without blur during rapid exposures.
For real-time adjustments, continuous LED lighting with variable brightness allows you to fine-tune illumination conditions without introducing flicker.
Always incorporate diffusers—even budget-friendly modified IKEA lamp shades work effectively—to soften harsh light and minimize reflections.
Position your diffuser at least one to two times the diameter of your light source away from the specimen to prevent unwanted shadows.
Don’t hesitate to experiment with different lighting angles; directional illumination enhances surface textures and reveals critical details that contribute to a more defined focus stack.
Determining the Ideal Number of Images in Your Stack

The ideal number of images in your focus stack represents a critical balancing act between detail preservation and processing efficiency.
While 10-30 images typically works for most microscopy subjects, higher magnifications require more images due to decreased depth of field. You’ll need to capture frames at 1/3 to 1/2 depth-of-field intervals to guarantee proper overlap for seamless blending in your final image.
- Start conservatively – Begin with fewer images (10-15) and increase gradually until you achieve desired sharpness.
- Adjust for magnification – Higher magnifications require more images (potentially 20-30) to maintain detail.
- Consider complexity – Intricate specimens with varying depths need more frames than simpler, flatter subjects.
Don’t waste processing time with excessive images – experiment to find the minimum number needed for your specific specimen.
Software Selection and Settings for Perfect Blending
Choosing the right focus stacking software like Helicon Focus or Zerene Stacker can make a dramatic difference in your final microscope images.
You’ll need to adjust blending modes, opacity settings, and select the appropriate stacking method (such as “Depth Map” for complex textures) to achieve ideal results.
Always examine your stacked image at high magnification before finalizing to guarantee every detail appears crisp and properly aligned.
Software Selection and Settings for Perfect Blending
Because focus stacking relies heavily on post-processing, selecting the right software and optimizing its settings will dramatically impact your final image quality. When choosing focus stacking software, consider specialized options like Helicon Focus and Zerene Stacker, which feature algorithms specifically designed for microscope imagery.
- Look for software that supports layers and includes auto-align capabilities, which are essential for properly merging images captured at different focal planes.
- Use the “Stack Images” option in Photoshop’s Auto-Blend Layers to automatically combine sharp areas while eliminating blurry regions.
- Fine-tune your results by adjusting blending modes and transparency settings after the initial stacking process.
Don’t forget to keep your software updated to benefit from improved algorithms that enhance blending precision and overall image quality.
Compare Stacking Programs
Which stacking program will deliver the best results for your microscope images? Commercial options like Helicon Focus and Zerene Stacker offer specialized tools designed specifically for microscopy, with algorithms that accurately identify and blend focal points.
However, user experiences vary depending on subject matter.
Don’t overlook open-source alternatives such as Enfuse, ImageJ, and FIJI. While they may require more setup, they provide excellent customization for specific needs.
When evaluating stacking software, consider how different algorithms handle your particular specimens—some excel with textured subjects while others perform better with smooth surfaces.
Always set proper image overlap (around 30%) and review your final stacks at 100% magnification to check for artifacts.
Remember that the best software for your workflow depends on your specific imaging requirements and subject matter.
Troubleshooting Common Focus Stacking Artifacts

Even with careful preparation, focus stacking projects can produce frustrating artifacts that diminish the quality of your final image. Halos and ghosting typically result from subject movement or misalignment between frames.
Establishing a stable setup with a sturdy tripod and remote shutter release will greatly reduce these artifacts, especially vital for microscope work where even tiny vibrations matter.
- Inspect at high magnification – Regularly check your stacked results at 100% zoom to spot subtle artifacts that might be missed at normal viewing sizes.
- Control your lighting – Use consistent, diffused illumination to prevent brightness variations between frames that can create blending problems.
- Apply feathering techniques – When aligning layers in your stacking software, utilize feathering options to smooth shifts between focal planes and minimize edge artifacts.
Frequently Asked Questions
What Is the Best Program for Focus Stacking?
For focus stacking, you’ll find Helicon Focus and Zerene Stacker lead commercially. They’re user-friendly with powerful features. If you’re budget-conscious, try Enfuse or ImageJ. Olympus cameras offer built-in options worth considering too.
What Is the Best Aperture for Macro Focus Stacking?
For macro focus stacking, you’ll get best results using apertures between f/8 and f/16. Try f/11 as your starting point—it balances depth of field with sharpness while avoiding diffraction issues that occur at smaller apertures.
Where Do You Focus When Focus Stacking?
When focus stacking, you’ll start by focusing slightly in front of your subject, then incrementally adjust focus toward the back, ensuring each focal plane overlaps by about one-third to capture all depths clearly.
How Many Shots Do You Need for Focus Stacking?
You’ll need 5-20 shots for most focus stacking, with one-third overlap between in-focus areas. For high magnification work, you might need 30+ images. Subject complexity determines your final count—start small and experiment.
In Summary
You’ll create impressive microscope focus stacks by following these seven techniques. Remember, stability is your foundation, precise equipment controls your increments, and proper lighting guarantees detail capture. When you’ve mastered the ideal number of images and chosen appropriate software settings, you’ll minimize artifacts and produce stunningly clear composite images. With practice, you’ll transform complex specimens into breathtaking scientific visualizations that reveal details impossible in single-plane photography.


Leave a Reply