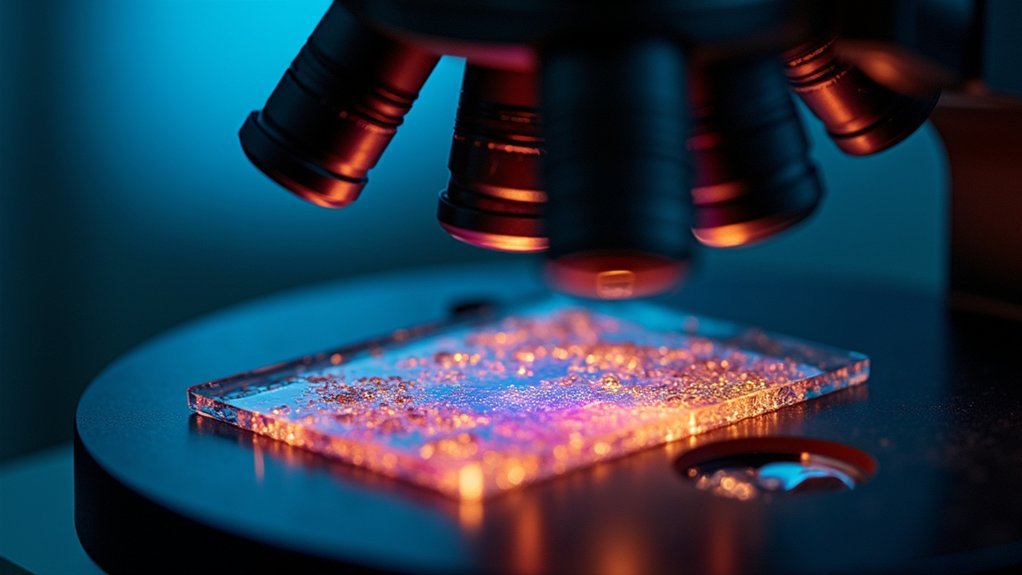
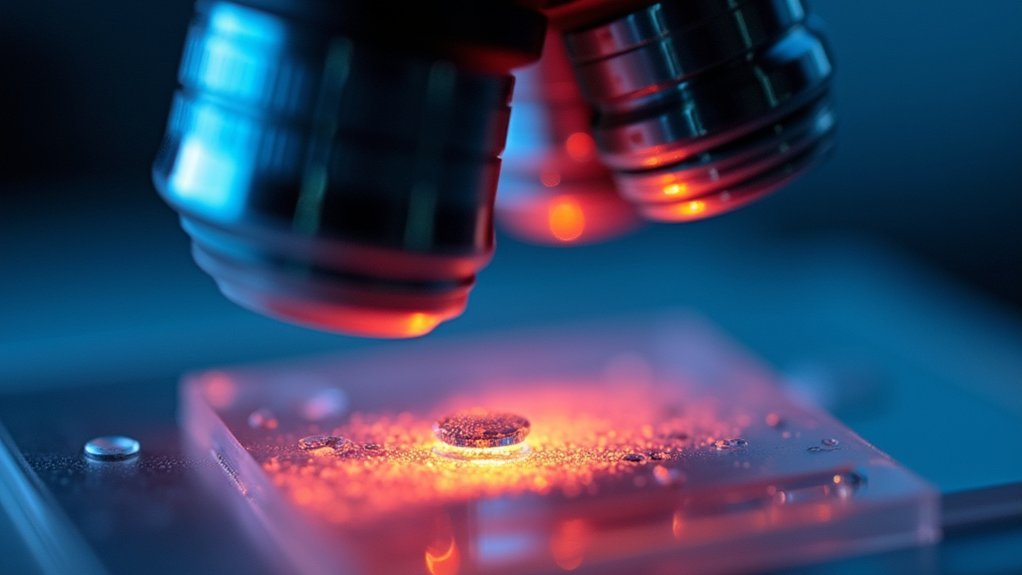
Exposure compensation is essential in microscope photography because specimens often present extreme contrast that confuses automatic metering systems. You’ll need to manually adjust exposure to preserve both highlight and shadow details that would otherwise be lost. Transparent specimens particularly benefit from positive compensation, while reflective samples may require negative adjustments. Without proper compensation, your scientific images won’t accurately represent the specimen’s true characteristics. The techniques below will transform your microscopy results from mediocre to publication-quality.
Numeric List of Second-Level Headings
Organization is key when maneuvering the complexities of exposure compensation in microscope photography.
When planning your microscopy workflow, consider structuring your approach with these essential headings:
- Understanding Dynamic Range Limitations
- Combating Reciprocity Failure
- Adjusting for Specimen Transparency
- Fine-Tuning Automatic Settings
- Preserving Detail in Highlights and Shadows
Each of these areas requires specific attention to achieve proper exposure in your microscope images.
By methodically addressing each component, you’ll develop a thorough approach to exposure compensation that greatly improves image quality.
This structured method helps you anticipate challenges before they occur, reducing reliance on post-processing corrections.
Remember that proper exposure at capture always yields better results than trying to recover details later in editing.
Understanding the Unique Lighting Challenges in Microscopy
Unlike conventional photography where light typically falls on the subject from above, microscopy presents an inverted lighting paradigm that fundamentally alters exposure dynamics.
When you’re capturing microscopic subjects, you’ll encounter distinctive challenges that demand precise exposure compensation.
- Transmitted illumination creates strong contrasts as light passes through your specimen, often confusing your camera’s metering system and requiring adjustments to preserve detail in both highlights and shadows.
- High magnification objectives (particularly oil immersion lenses) greatly reduce available light, necessitating exposure compensation to achieve proper brightness without introducing noise.
- Background brightness from stained slides or fluorescent specimens can trick your camera’s metering, leading to underexposed subjects unless you apply positive exposure compensation to counteract the misleading lighting conditions.
The Science of Exposure in Microscope Photography
While exposure settings in conventional photography follow predictable patterns, microscope photography operates with its own distinct scientific principles that demand a nuanced approach.
You’ll need to understand how the reciprocity law affects your images during long exposures, where failure can result in lost shadow detail. This is particularly critical when working with high-contrast specimens, where proper exposure becomes essential for capturing both bright and dark areas accurately.
Your microscope’s lamp voltage (typically 8.5-9 volts for tungsten-halogen bulbs) directly impacts exposure requirements.
Since your camera’s automatic metering often misreads microscopic specimens, manual exposure compensation becomes necessary.
Consider implementing exposure bracketing techniques to capture a series of images at different settings, ensuring you’ll achieve the ideal representation of your specimen despite challenging lighting conditions.
How Camera Metering Systems Struggle With Microscope Subjects
Camera metering systems designed for conventional photography face significant challenges when applied to microscope subjects. Your camera’s automatic metering often misinterprets the unique lighting conditions present when photographing through a microscope, leading to suboptimal results.
- High contrast specimens with fine details in both shadows and highlights confuse metering systems, which typically seek middle-gray averages rather than preserving critical microscopic features.
- Transparent or translucent specimens further complicate matters, as light passes through them differently than it reflects off conventional subjects, causing metering errors.
- Uneven illumination due to variations in specimen thickness creates exposure inconsistencies across your field of view.
These limitations make exposure compensation an essential tool for microscope photography, allowing you to override your camera’s automatic settings and achieve the precise exposure needed for scientific accuracy.
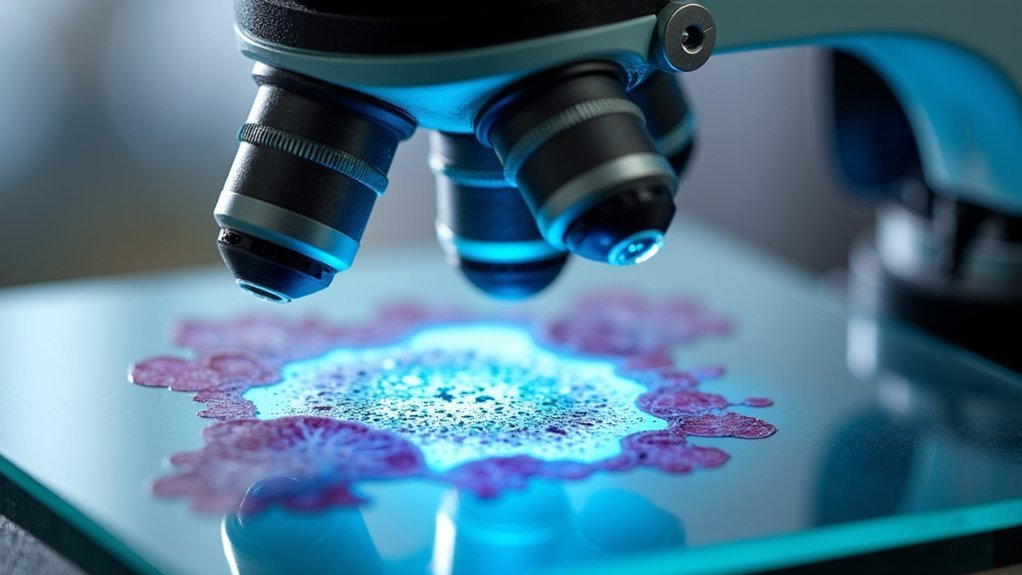
Overcoming High Contrast Specimens With Exposure Compensation
High contrast specimens present one of the most challenging scenarios in microscope photography, as they contain both extremely bright and dark areas within the same field of view.
Navigating the stark disparities between light and shadow defines the ultimate test of microscope imaging skill.
When your camera’s metering system encounters these specimens, it often misinterprets the scene, resulting in underexposed images where critical details are lost in the shadows.
You’ll need to apply positive exposure compensation (+1 or +2 EV) to reveal fine details that would otherwise remain hidden. This technique is especially valuable when photographing specimens with bright features against dark backgrounds.
Be careful, though—excessive compensation can wash out delicate structures. By regularly adjusting your exposure compensation settings, you’ll achieve ideal exposure that preserves both highlight and shadow details.
This precise control guarantees your microscopic images maintain scientific accuracy while capturing the full dynamic range of high contrast specimens.
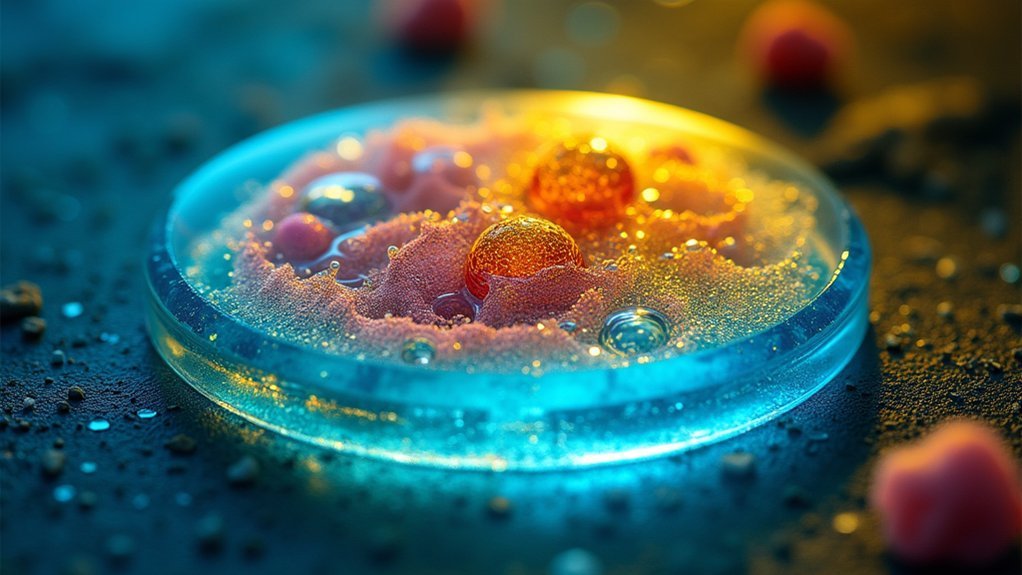
Preserving Fine Details in Transparent and Translucent Samples
Transparent and translucent specimens create unique exposure challenges that differ markedly from high-contrast samples. When you’re working with specimens that allow light to pass through, you’ll need to apply exposure compensation to prevent essential details from washing out.
- Adjust your exposure compensation to counteract the light-refracting properties of transparent samples, ensuring subtle structures aren’t lost against bright backgrounds.
- Apply positive compensation to enhance visibility of fine details, making your camera prioritize the specimen’s characteristics rather than background elements.
- Balance your settings carefully to improve depth of field perception, particularly when your sample contains both opaque and transparent regions.
With proper exposure adjustments, you’ll preserve the delicate textures and intricate features that make microscope photography so valuable for accurate analysis and documentation.
Adapting to Different Objective Magnifications and Their Light Requirements
As you move between different objective magnifications, you’ll notice that each requires a distinct approach to exposure compensation. Higher magnifications typically demand more light due to their increased numerical apertures, necessitating significant adjustments to maintain image clarity.
When switching to oil immersion objectives, you’ll need to recalibrate your exposure settings to prevent underexposure in bright field microscopy. Remember to adjust the exposure time based on your film’s ISO rating and the specific requirements of each objective magnification.
For tungsten-halogen microscope lamps (typically set between 8.5-9 volts), you’ll need to fine-tune the light intensity according to the objective you’re using.
Consider implementing exposure bracketing when working with unfamiliar objectives—this technique allows you to experiment with various exposure times, ensuring ideal image capture regardless of the magnification’s unique light requirements.
Balancing Exposure When Using Specialized Microscope Illumination Techniques
When working with specialized illumination techniques, you’ll need to master precise exposure compensation to capture accurate microscopic details. Tungsten-halogen bulbs and other bright light sources require careful adjustment to prevent detail loss in your specimens.
- For reflective samples, apply positive exposure compensation to preserve surface details that would otherwise wash out under intense illumination.
- When using high numerical aperture objectives, even minor light variations dramatically affect image clarity, making proper exposure compensation vital for maintaining shadow detail.
- In high-contrast situations, your camera’s automatic settings often fail to capture the full range of details—manually adjusting exposure compensation guarantees accurate color representation and prevents reciprocity failure during longer exposures.
Don’t underestimate this critical setting; it’s often the difference between mediocre and publication-quality microscope photography.
Practical Exposure Compensation Techniques for Different Specimen Types
Different specimen types demand specific exposure compensation strategies to reveal their unique structural details.
Mastering exposure adjustments unlocks the hidden architecture of diverse specimens under the microscope.
When working with transparent or low-contrast specimens like unstained cells, apply positive exposure compensation (+1 or +2 EV) to brighten your final image and enhance visibility of subtle features.
For brightly stained or highly reflective samples, use negative exposure compensation (-1 or -2 EV) to prevent overexposure and preserve delicate structures.
You’ll need to adjust your approach when changing magnifications, as the numerical aperture of different objective lenses affects light capture.
Try exposure bracketing to achieve good exposure across various specimen types—this technique helps you compare multiple exposure levels and select the best setting that balances detail in both highlights and shadows, ensuring nothing critical is lost in your microscopy images.
Avoiding Reciprocity Failure in Long Microscope Exposures
Reciprocity failure presents a significant challenge in microscope photography whenever exposure times extend beyond 1/2 second.
When you’re shooting specimens that require long exposures, your negatives can appear underexposed with poor shadow detail unless you take specific countermeasures.
To combat reciprocity failure effectively:
- Implement exposure compensation by extending your exposure times beyond what your light meter suggests, particularly when working with dim specimens.
- Consult your film’s manufacturer data sheet to determine the specific adjustment needed for your film type.
- Bracket your exposures by taking multiple shots at different settings to guarantee you capture the ideal image despite reciprocity failure.
You’ll need to increase development time to compensate for density loss during long exposures, assuring your microscope images maintain critical detail in shadow areas.
Exposure Bracketing Strategies for Critical Microscope Subjects
Exposure bracketing serves as your microscope photography insurance policy against losing critical detail in challenging specimens.
When you’re faced with high-contrast or low-light subjects, take multiple images using different exposure settings to identify the best capture.
Select subjects with diverse tonal ranges—those with both shadows and highlights will help you better assess your exposure using various increments.
High-contrast specimens reveal exposure truths—choose subjects that challenge your microscope’s dynamic range for true bracketing mastery.
Adjust exposure in one-third or half-stop increments to create a thorough exposure series for later evaluation.
Maintain consistent illumination throughout your bracketing sequence; any lighting variations will compromise your results.
This technique guarantees that differences in your images stem solely from exposure adjustments, not lighting inconsistencies.
With proper bracketing, you’ll dramatically improve detail capture in your microscopic subjects, preserving fine structures that might otherwise be lost in shadows or highlights.
Film vs. Digital Sensors: Exposure Compensation Considerations
The fundamental differences between film and digital sensors greatly impact how you’ll approach exposure compensation in microscope photography. Film’s characteristic curves require precise exposure adjustments to preserve detail in varying light conditions, while digital sensors offer more flexibility.
- Overexposure tolerance: Digital sensors provide greater latitude for overexposure without significant detail loss, allowing you to adjust exposure compensation more liberally when capturing intricate microscopic structures.
- Shadow performance: Film suffers from reciprocity failure during long exposures common in microscopy, requiring specific exposure compensation to maintain shadow detail.
- Dynamic range management: Digital sensors maintain consistent performance across fluctuating light conditions, but proper exposure compensation remains essential to balance highlights and shadows, ensuring you capture the full detail range in microscopic specimens.
Frequently Asked Questions
Why Should You Use Exposure Compensation?
You should use exposure compensation to adjust for challenging lighting conditions, guarantee critical details aren’t lost in shadows or highlights, and minimize the need for extensive post-processing that could reduce image quality.
Why Is Exposure Important in Photography?
Exposure is important in photography because it’s how you control your image’s brightness and clarity. You’ll capture more details in highlights and shadows, reduce noise, and achieve accurate color representation when properly exposed.
Does Exposure Compensation Affect Image Quality?
Yes, exposure compensation directly affects your image quality. It guarantees you’re capturing ideal detail in highlights and shadows, reducing noise, and minimizing the need for destructive post-processing that can introduce unwanted artifacts.
Which Exposure Compensation Value Will Make Your Photo Brighter?
Positive exposure compensation values will make your photo brighter. You’ll want to use +1 to +3 EV, depending on your subject. Higher values (+2 or +3) create brighter images in darker or backlit situations.
In Summary
You’ll find that mastering exposure compensation transforms your microscope photography from mediocre to exceptional. It helps you overcome the unique lighting challenges, reveals critical details in high-contrast specimens, and guarantees accurate representation of your subjects. Whether you’re working with brightfield, darkfield, or fluorescence microscopy, proper exposure control isn’t just a technical skill—it’s what separates scientific documentation from truly impactful microscope imagery that communicates your findings effectively.


Leave a Reply