For scientific photography, you’ll typically get the best results using apertures between f/8 and f/11. This range ideally balances depth of field with resolution while minimizing diffraction effects. For microscopy and macro work, these middle apertures preserve fine details while maintaining sufficient focus depth across your specimens. Extremely small apertures (beyond f/16) can introduce diffraction blur, while larger apertures limit focus depth. The sections below reveal testing methods to find your equipment’s specific sweet spot.
Understanding Aperture’s Role in Scientific Microscopy
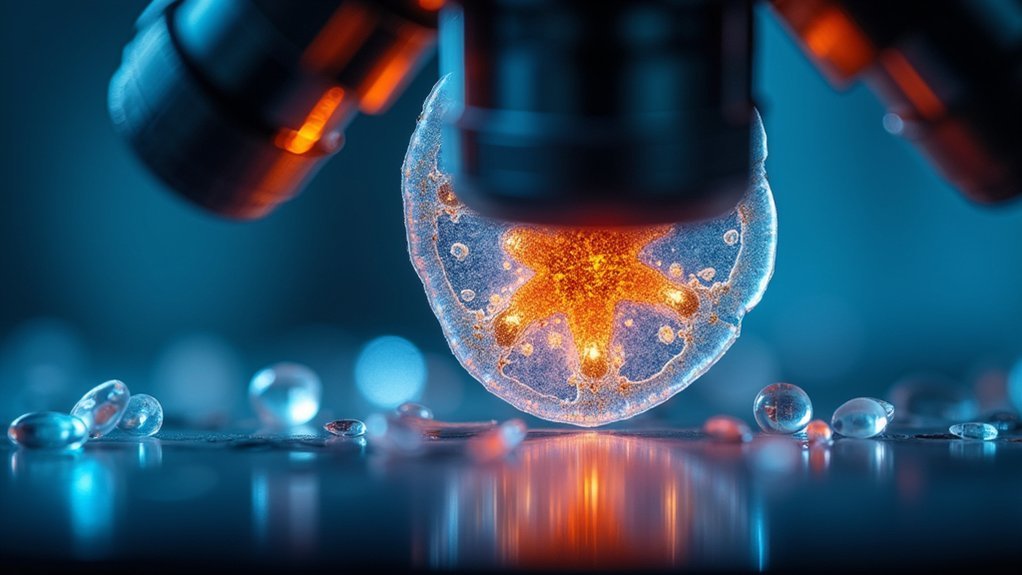
While many photographers focus on aperture primarily for artistic effect, in scientific microscopy this setting becomes a critical technical decision. Your choice directly impacts image clarity and detail preservation.
The ideal aperture in scientific photography typically falls between f/8 and f/11, striking the perfect balance between light intake and depth of field. When you select a small aperture (higher f-number), you’ll gain extended depth of field—keeping more of your specimen in focus—but risk diffraction blur at extreme settings like f/22.
Conversely, a large aperture captures more light but reduces focus depth. The sharpest image often requires empirical testing specific to your equipment and specimen.
Unlike artistic photography, scientific microscopy demands precision where technical considerations outweigh aesthetic ones, making aperture selection a methodical process based on your specific research needs.
Determining the Sweet Spot: F/8 to F/11 for Optimal Detail
The concept of an aperture “sweet spot” proves especially significant in scientific photography.
When you’re capturing scientific subjects that demand exceptional clarity, you’ll find the best aperture range typically falls between f/8 and f/11.
At f/8, most high-quality lenses achieve their maximum sharpness, delivering superior resolution and detail reproduction—essential for documenting fine structures in scientific specimens.
Optimal sharpness occurs at f/8, where premium optics reveal microscopic details critical for scientific documentation.
Lens testing consistently demonstrates that stopping down from wider apertures to f/8 dramatically improves contrast and detail retention.
While f/11 introduces slight diffraction, it remains negligible for most applications while providing additional depth of field.
This balance makes the f/8-f/11 range ideal for scientific photography where precision matters.
Beyond f/16, diffraction effects begin noticeably softening images, compromising the very details you’re working to preserve.
Balancing Depth of Field With Resolution in Specimen Photography
Scientific specimen photography requires careful balancing of depth of field with resolution to achieve ideal results. When photographing specimens, you’ll need to find the aperture that maintains maximum sharpness while providing sufficient depth of field to capture your subject clearly.
- Small apertures like f/8 to f/11 typically provide the best balance—they deliver greater depth of field than wider openings while avoiding the diffraction issues that occur at f/22 and smaller.
- Macro photography often benefits from apertures between f/8 and f/16, depending on subject size and required detail level.
- Focus stacking techniques can help when a single aperture setting can’t achieve the necessary depth while maintaining resolution.
Test different apertures with your specific lens to find its sweet spot—the setting that delivers peak sharpness without sacrificing the depth you need for your specimen.
Practical Testing Methods to Find Your Microscope’s Sharpest Aperture
Finding your microscope’s best aperture requires systematic testing rather than relying on general guidelines. Begin with a high-contrast subject like printed text, working through multiple aperture settings from wide open and stopping down incrementally.
Unlike landscape photography where a small aperture often works best, microscope lenses typically achieve peak detail clarity between f/8 and f/11.
As you adjust aperture settings, maintain consistent exposure by compensating with shutter speed or ISO adjustments. Mount your microscope securely to eliminate vibrations that could compromise your results.
After capturing your test images, examine them at 100% magnification on a computer, paying close attention to fine details. Document findings by labeling each image with its corresponding aperture, then fine-tune by testing in third-stop increments for best scientific photography results.
Overcoming Diffraction Limitations in High-Magnification Imaging
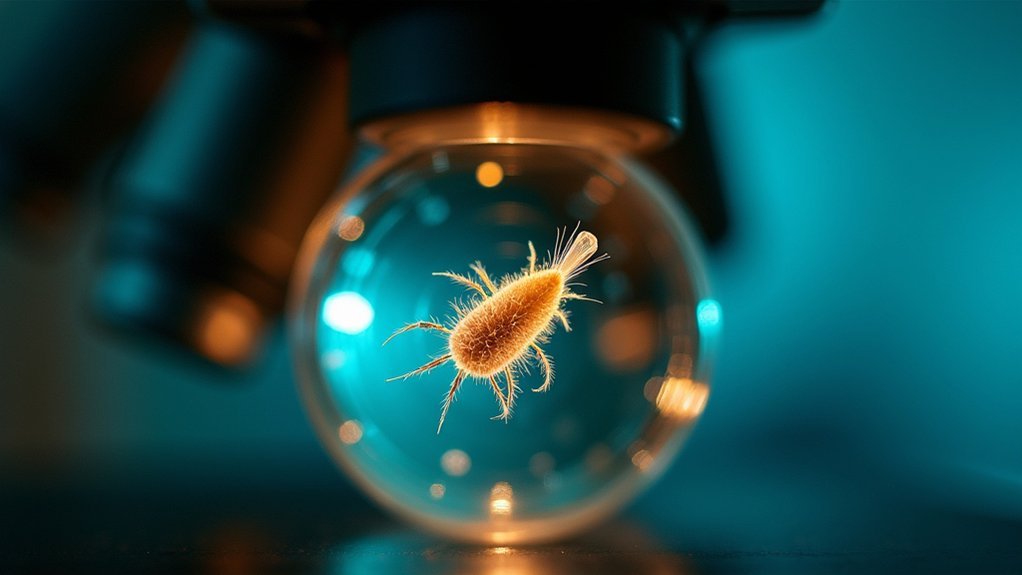
While diffraction becomes a significant challenge in high-magnification imaging, understanding its fundamental limitations can help you achieve excellent results.
You’ll need to find the ideal aperture that balances depth of field with image quality—typically between f/8 and f/11—to overcome diffraction effects that diminish sharpness.
- Avoid extreme apertures – Settings smaller than f/22 create unacceptable softness as diffraction causes circles of confusion to grow larger.
- Employ focus stacking techniques – Combine multiple images taken at different focal points to enhance overall sharpness while maintaining image quality.
- Test your specific equipment – Each lens has its own “sweet spot” for effective resolution in scientific photography.
Advanced imaging systems with specialized optics can further help you maintain high levels of detail while minimizing diffraction’s impact on your high-magnification work.
Frequently Asked Questions
What F-Stop Is the Sharpest?
The sharpest f-stop is typically between f/8-f/11 for most lenses. You’ll find your lens performs best in this range, though you should test yours specifically as ideal apertures can vary by design.
Is a 1.6 or 1.8 Aperture Better?
For your specific needs, f/1.6 lets in more light but has shallower depth of field, while f/1.8 is slightly sharper. You’ll notice minimal difference as they’re only one-third stop apart. Choose based on your lighting conditions.
What Is a 2.8 Aperture Good For?
A 2.8 aperture is good for your low-light photography, creating pleasing background blur while maintaining sharpness. You’ll achieve faster shutter speeds, reducing motion blur when capturing moving subjects in various shooting conditions.
What F Stops for Group Shots?
For group shots, you’ll want to use f/8 to f/11 for ideal results. If your group is smaller, f/5.6 can work well. For larger groups or varied distances, consider stopping down to f/11 or f/16.
In Summary
You’ll find that f/8-f/11 offers the sweet spot for most scientific photography, balancing critical sharpness with adequate depth of field. Don’t hesitate to test your specific microscope setup to determine its ideal aperture. Remember, you’re always maneuvering a compromise between diffraction effects at smaller apertures and focus limitations at wider ones. Your specimen type should ultimately guide your aperture selection.


Leave a Reply