To install a camera eyepiece adapter, first check compatibility between your camera and microscope. Remove the microscope eyepiece and attach the adapter to the eyepiece tube. Mount your camera securely to the adapter, ensuring all connections are tight to prevent movement. Use the live view function to align the optical path properly. Take test shots and make focus adjustments as needed. The following steps will transform your microscope into a powerful photographic tool.
Understanding Camera and Microscope Compatibility
Before you begin installation, it’s crucial to verify that your camera will work with your microscope. Different microscope types require specific adapters for proper attachment, so check your equipment’s compatibility first.
Review your camera’s specifications, paying close attention to sensor size and resolution—these factors directly impact image quality.
Next, measure your microscope’s eyepiece diameter to confirm you select an adapter that fits both devices securely.
The mounting mechanism must align precisely with the microscope’s optical path to prevent distortion in your images.
If you’re uncertain about compatibility, don’t hesitate to contact your microscope manufacturer for guidance. They can recommend camera models and adapters designed specifically for your equipment, saving you time and potential frustration during setup.
Required Equipment for Eyepiece Adapter Installation
Now that you’ve confirmed compatibility between your microscope and camera, you’ll need to gather all necessary components for a successful installation.
Your essential equipment list should include a camera with appropriate mounting capabilities, an eyepiece adapter designed for your microscope’s specific eyepiece diameter, and any required mounting hardware.
Ensure you have tools to securely fasten the camera to the eyepiece adapter while maintaining proper alignment with the optical axis. This alignment is vital for capturing clear, accurate images.
For best results during the installation steps, you’ll also want a remote shutter release or timer function on your camera to minimize vibrations when taking photos.
Double-check that all components fit together properly before beginning the attachment process to avoid complications during setup.
Preparing Your Microscope for Camera Attachment
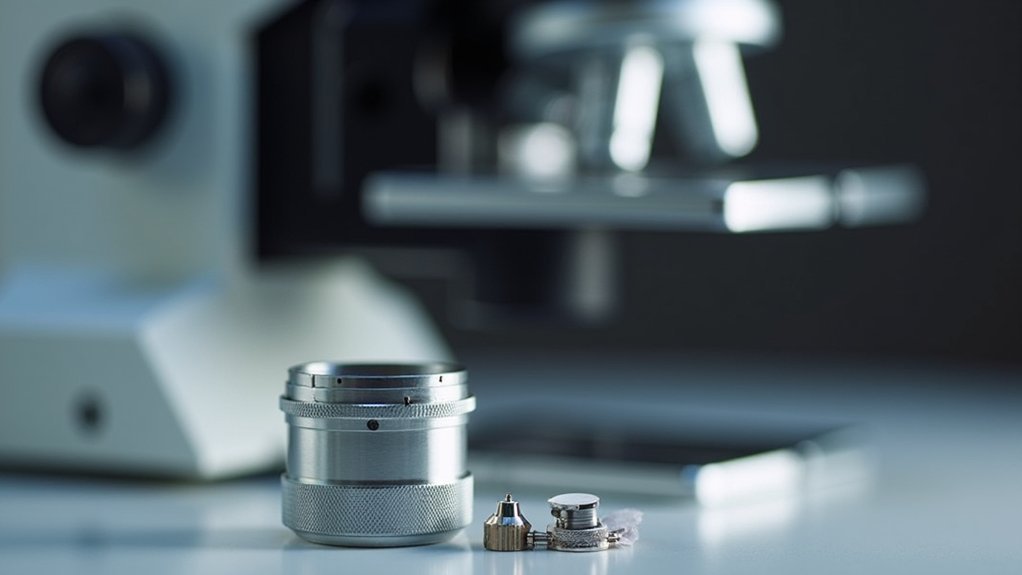
Proper preparation of your microscope creates the foundation for successful camera attachment and image capture. Before you attach your camera, verify your microscope is powered on and properly calibrated for ideal imaging results.
Remove the eyepiece from the microscope to create the necessary space for the camera adapter. This provides a direct optical path for photography.
Next, select a compatible camera adapter that fits securely into the eyepiece tube, considering your specific camera’s mounting requirements.
When positioning the adapter, carefully align the camera lens with the optical path of the microscope. Verify all components are stable and secure before proceeding.
Once attachment is complete, adjust the focus and exposure settings on your camera to achieve the desired image clarity and quality.
Installing the Eyepiece Adapter to Your Microscope
To install your eyepiece adapter correctly, you’ll need basic tools like a small screwdriver set and lens cleaning supplies.
Proper alignment requires centering the adapter within the microscope’s optical path and ensuring it sits flush against the eyepiece tube without any tilt.
Secure the adapter by carefully tightening all locking mechanisms without over-torquing them, which could damage the threads or create optical distortion.
Tools Needed
Assembling the right tools before installation guarantees a smooth, efficient process when mounting your camera adapter to the microscope’s eyepiece.
You’ll need a compatible camera adapter specific to your camera model and microscope type to ascertain secure attachment.
Keep a small screwdriver set handy for adjusting mounting screws on both the adapter and your camera’s mounting mechanism.
Anti-static gloves protect sensitive optical surfaces while handling components. A microfiber cloth helps keep the optical path and camera lens clean during installation.
Consider having a small level to ascertain your camera sits perfectly horizontal, preventing camera shake during imaging.
Allen wrenches may be necessary for tightening certain connections for stability.
Finally, keep your camera’s manual nearby for specific mounting instructions related to your equipment.
Alignment Techniques
Achieving perfect alignment between your camera and microscope requires careful attention to the installation process.
Begin by removing the microscope’s eyepiece to create a clear optical path for your adapter.
Select a camera adapter that’s compatible with both your microscope’s eyepiece tube diameter and camera model to ascertain a secure fit.
Carefully insert the adapter into the eyepiece tube, making sure it’s fully seated and stable. When attaching your camera, verify it’s properly aligned with the microscope’s optical path.
Test the stability of your setup by gently shaking the camera—any movement indicates a need for adjustment.
Proper alignment techniques prevent misalignment issues that could compromise image quality.
Take your time with each step to guarantee peak results from your microscope-camera system.
Securing the Adapter
Proper installation of your eyepiece adapter creates the essential connection between microscope and camera.
Begin by removing the existing eyepiece from your microscope to prepare for adapter installation. Check that your adapter is compatible with both your microscope’s eyepiece tube diameter and your camera model.
Insert the adapter into the eyepiece tube with careful alignment, guaranteeing it’s fully seated to create a stable foundation.
When properly positioned, attach your camera securely to the adapter, aligning the camera lens with the microscope’s optical path for precise imaging.
Double-check all connections to confirm they’re tight and stable.
Perform a quick test to verify the adapter and camera function correctly without wobble.
This secure installation guarantees quality microscopic imaging and protects your equipment during use.
Mounting Your Camera to the Adapter
You’ll need to mount your camera to the adapter by first attaching any required lens rings that guarantee proper alignment with the microscope’s optical path.
Secure the camera body to the adapter using the designated mounting mechanism, making sure all connections are tight to prevent movement during image capture.
Double-check that your camera is positioned correctly and firmly attached before proceeding to adjust focus settings for ideal clarity.
Attaching Lens Rings
Select the appropriate T-Ring that matches your specific camera brand and model before starting the attachment process. Thread the lens rings onto your camera’s lens mount with firm but gentle pressure to create a secure connection. Proper attachment guarantees peak image quality when using your camera adapter.
| Camera Model | Ring Type | Attachment Method |
|---|---|---|
| Canon DSLR | T-Ring C | Clockwise thread |
| Nikon DSLR | T-Ring N | Bayonet twist |
| Sony Mirrorless | T-Ring S | Quarter-turn lock |
| Olympus/Panasonic | T-Ring M43 | Direct press-fit |
Ascertain the rings are fully seated and don’t wobble when attached. You’ll feel a distinctive click when they’re properly positioned. Remember that misaligned rings can cause vignetting and focus issues, compromising your microscope images.
Securing Camera Body
The connection between your camera and adapter represents the critical link in your imaging system. When attaching a camera to a telescope or microscope, proper alignment is essential for ideal results.
Begin by positioning your camera adapter so it aligns perfectly with your camera’s lens mount, ensuring the optical path remains unobstructed.
Once aligned, gently attach your camera body to the adapter using the appropriate mounting mechanism. Tighten any clamping screws or locking mechanisms until your camera is securely fastened, but avoid overtightening which could damage components.
Test the camera connection by applying gentle pressure—there should be no movement or wobbling. This secure fit prevents camera shake during imaging sessions and maintains precise focus.
Before capturing images, double-check that everything is properly aligned and stable to achieve the best possible results.
Aligning the Optical Path for Optimal Imaging
Proper alignment of the optical path is critical for capturing clear, detailed images through your microscope. Once you’ve removed the eyepiece, attach your camera adapter directly to the eyepiece tube or trinocular port, ensuring it fits securely to prevent image distortion.
To verify alignment, observe a specimen through the camera while making minor adjustments until the image appears centered. Use your camera’s live view function to fine-tune the alignment in real-time—this allows you to see immediate results as you make focus adjustments.
Live view provides immediate visual feedback, allowing precise microscope alignment while you adjust focus.
After securing everything in place, take a few test photographs of your specimen. Check these images carefully for clarity and detail, confirming that your optical path is correctly aligned.
Well-aligned equipment will consistently produce sharp, detailed photographs with minimal effort.
Testing and Adjusting Your Setup
With your optical path now aligned, you’ll need to test and fine-tune your camera setup to guarantee ideal imaging results.
Use your DSLR camera attached to your telescope’s live view feature to focus on a bright object. Make small adjustments until the image appears perfectly sharp.
Experiment with camera settings, particularly exposure times. Start with shorter exposures to prevent overexposure, then gradually increase as needed. Capture images at various ISO settings to find the best balance between sensitivity and noise.
After taking several test shots, review them carefully for sharpness and detail. If necessary, reposition the camera or adjust settings further.
This methodical testing process guarantees your camera to your telescope connection is refined before you begin serious astronomical imaging sessions.
Troubleshooting Common Installation Issues
Despite careful setup, you’ll likely encounter some challenges when installing your camera-to-eyepiece adapter. Proper alignment is essential for capturing clear images, so make certain your camera adapter is securely positioned on the eyepiece tube.
If you’re experiencing issues, check for these common problems:
- Misalignment – Reposition the camera adapter to guarantee perfect alignment with the optical path.
- Obstructions – Remove any dust or debris that might be blocking the view between camera and microscope.
- Incomplete preparation – Confirm you’ve fully removed the eyepiece before attaching the adapter.
- Blurry images – Adjust both microscope and camera focus, then verify your camera settings configuration.
Don’t forget to optimize exposure time and ISO settings based on your specimen type and lighting conditions.
Frequently Asked Questions
How to Connect Camera to Eyepiece?
To connect your camera to an eyepiece, remove the eyepiece, attach the camera to a compatible adapter, align it with the microscope’s optical path, and secure all connections for ideal imaging quality.
How to Attach a Canon Camera to a Celestron Telescope?
To attach your Canon camera to a Celestron telescope, remove the camera lens, attach a Canon T-Ring to your camera, connect a compatible nosepiece adapter, then insert it into the telescope’s focuser and secure it.
How Do You Attach a Phone Camera to a Telescope?
You’ll need a smartphone adapter that mounts to your telescope’s eyepiece. Secure the adapter, position your phone’s camera lens over the eyepiece, and adjust for alignment. Use your camera app to focus and capture.
How to Attach CCD Camera to Telescope?
To attach a CCD camera to your telescope, you’ll need a T-Adapter that fits both your camera’s thread and telescope’s focuser. Remove the eyepiece, secure the adapter, then thread your camera onto it until tight.
In Summary
You’ve now successfully installed your camera-to-eyepiece adapter and can capture microscopic images with ease. Remember to check alignment regularly and make minor adjustments as needed for the best results. If you’re experiencing issues, revisit the troubleshooting section. With practice, you’ll quickly become proficient at setting up and optimizing your microscope-camera system for your specific imaging needs.


Leave a Reply