Image stitching dramatically improves your microscope photos by overcoming single-frame limitations. You’ll capture wider fields of view while maintaining high magnification detail that would otherwise be impossible. Modern algorithms like SIFT and SURF, combined with tools like Fiji and BigStitcher, eliminate ghost pixels and alignment issues that plagued earlier attempts. With proper 15-30% image overlap and consistent illumination, you’ll produce seamless panoramas revealing critical context and relationships. Discover how these techniques transform your microscopy capabilities below.
Numeric List of Second-Level Headings
Four key components structure our approach to microscope image stitching.
We’ve organized these elements to guide you through the complete process:
- Acquisition Fundamentals: Learn how to capture overlapping images (15-30%) that provide the foundation for successful stitching algorithms.
- Software Selection: Discover modern tools like Fiji and BigStitcher that handle RGB images with greater flexibility than traditional methods.
- Algorithm Implementation: Understand how keypoint detection and RANSAC alignment minimize artifacts in your stitched image, creating seamless composites.
- Metadata Integration: Explore how OME-XML formats maintain accurate positioning, dramatically improving your final results.
Understanding the Limitations of Single-Frame Microscope Imaging
Despite significant advances in microscope technology, single-frame imaging continues to impose substantial constraints on scientific observation and analysis.
When you capture microscope images with a single frame, you’re restricted to a limited field of view that often excludes critical details from larger specimens. High-magnification views might reveal fine structures but sacrifice context by missing surrounding areas.
The narrow depth of field leaves portions of your sample out of focus, compromising clarity of important features. Uneven illumination creates shadows and exposure inconsistencies that hamper accurate analysis.
Depth of field limitations and lighting inconsistencies create critical barriers to comprehensive microscopic analysis.
These limitations become particularly problematic when documenting rare events or complex interactions across vast sample areas. This is why many researchers now implement stitching algorithms to combine multiple images, creating thorough representations that overcome the inherent constraints of single-frame microscopy.
The Technical Principles Behind Effective Image Stitching
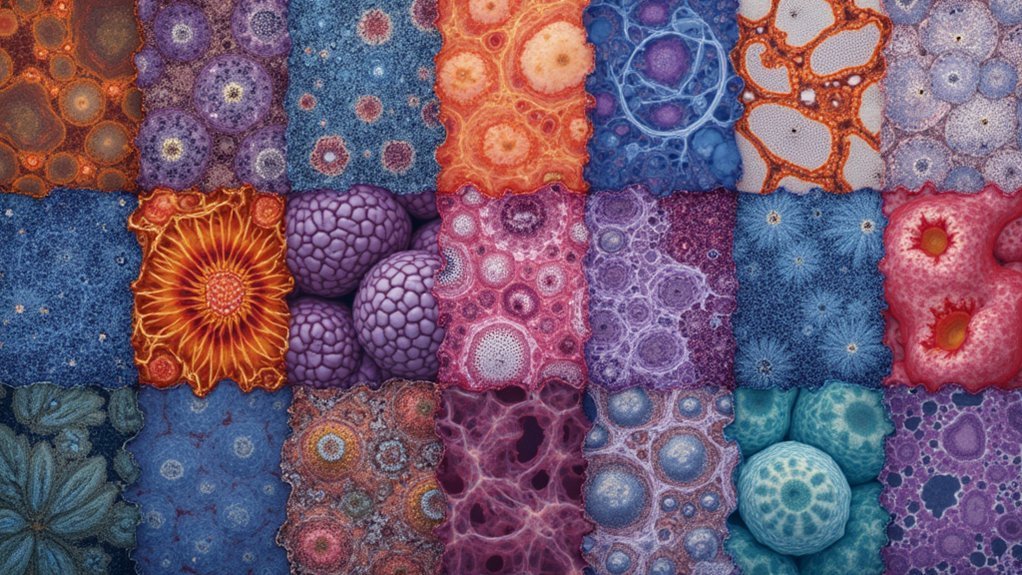
Successful image stitching transforms disconnected microscope photos into seamless panoramic views through a precise technical framework.
Stitching is the process that requires overlapping images by 15-30% to create continuity between frames. Your microscope’s Image Analysis system identifies key features using algorithms like SIFT and SURF, mapping corresponding points across different XY positions.
The technique relies on careful calibration to correct lens distortions and exposure variations before alignment. Software employing RANSAC methodology filters out mismatched points, ensuring accurate alterations between images.
For truly professional results, sophisticated blending algorithms smooth interchange zones between overlapping regions, eliminating visible seams and balancing color differences. This technical precision allows you to capture specimens in their entirety with consistent detail and resolution across the expanded field of view.
Advanced Algorithms for Precise Feature Detection and Alignment
The backbone of effective microscope image stitching lies in sophisticated algorithms that identify and match visual elements across multiple frames.
When you’re capturing microscopic specimens, advanced algorithms like SIFT and SURF detect distinctive features across your images regardless of rotation or scale differences, ensuring precise alignment.
RANSAC plays an essential role by filtering out mismatched points while calculating the ideal transformation between images. The resulting homography matrices transform your separate frames into a cohesive whole, requiring just four corresponding points to work effectively.
Modern image stitching software integrates these technologies with machine learning advancements, allowing you to overcome challenges like varying illumination or optical distortions across your microscope’s field of view.
These computational improvements mean you’ll achieve seamless, high-resolution composite images that reveal intricate specimen details impossible to capture in single frames.
Optimizing Overlap Parameters for Seamless Microscope Image Composites
When creating composite microscope images, proper overlap between adjacent frames serves as the foundation for seamless stitching results. You’ll achieve ideal outcomes by maintaining 15-30% overlap during image acquisition, which minimizes visible seams in your final composite.
To enhance your stitching process, consider increasing the maximum shift parameter to 12-22%, particularly when working with samples that have subtle features. Higher overlap percentages (20-30%) are especially beneficial for challenging specimens where distinct landmarks are sparse.
Don’t overlook the importance of consistent exposure and using Plan-corrected objectives to maintain uniformity across your images.
Additionally, verify your slides remain securely fastened during acquisition—even minor movement can compromise alignment quality and undermine your stitching efforts.
Managing Color Consistency and Illumination Across Stitched Images
Maintaining uniform illumination and color balance represents one of the most critical challenges in microscope image stitching. When your final image shows inconsistent lighting or color shifts, the composite appears artificial and scientifically unreliable.
Before acquiring the images, verify your microscope uses Plan corrected objectives and maintain consistent camera settings throughout the process. Aim for 15-30% overlap between adjacent frames—this provides sufficient data for algorithms to blend illumination differences seamlessly.
When you stitch images, employ advanced algorithms that compensate for exposure variations. These tools analyze and adjust brightness gradients across boundaries, resulting in a more harmonious composite.
Remember that uniform lighting during capture will always produce better results than attempting to correct significant illumination differences in post-processing.
Hardware Considerations for Successful Microscope Image Acquisition
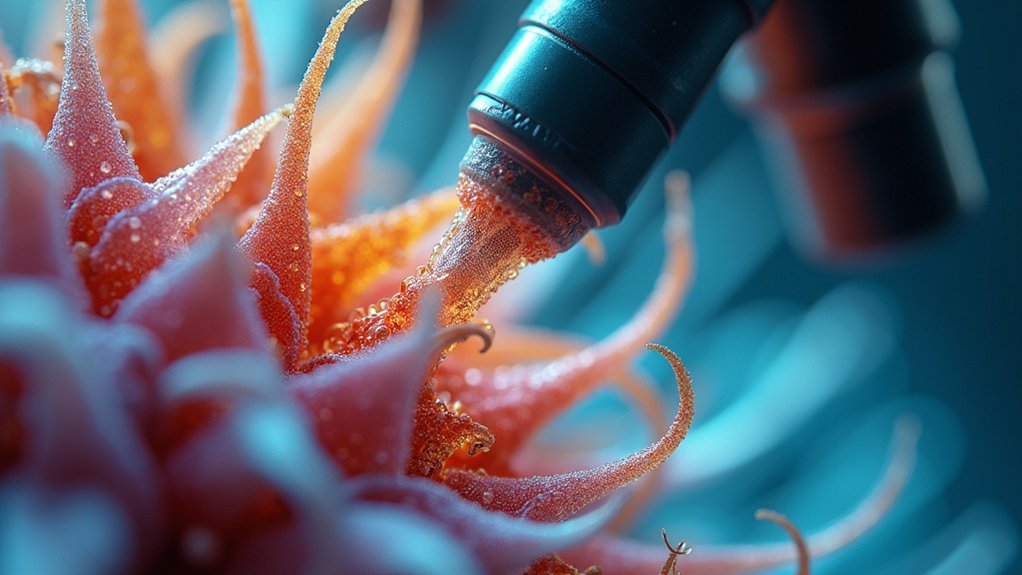
Successful image stitching begins with proper hardware configuration, long before you touch any stitching software. Your microscope stage’s precision directly impacts stitching quality—automated stages like the Zaber MVR provide the consistent positioning needed when capturing overlapping image sets.
| Component | Importance | Recommendation |
|---|---|---|
| Stage | Critical | Automated (Zaber MVR/X-ASR) |
| Software | High | µManager for grid acquisition |
| Objectives | Essential | Plan-corrected lenses |
| Overlap | Necessary | 15-30% between frames |
When setting up for stitching using automated acquisition, guarantee proper overlap percentages (15-30%) between adjacent images. This shared area gives stitching algorithms the information they need for alignment. Don’t forget to calibrate your system by establishing pixel size at each magnification—this guarantees accurate positioning and seamless results.
Comparing Popular Microscope Image Stitching Software Solutions
Which software solution best suits your microscopy stitching needs?
Fiji stitching offers robust capabilities with settings like “Filename defined position” and “Grid: row-by-row,” allowing you to arrange images systematically based on metadata or file names for precise alignment.
BigStitcher stands out for its superior handling of RGB composite images, providing flexibility that traditional plugins lack when processing color data.
You’ll find better stitching results compared to alternatives that struggle with multi-channel images.
When selecting microscope image stitching software, consider format compatibility—save your images as grayscale or OME-TIFF to avoid processing issues.
Tools like M2Stitch and Ashlar might better serve specific imaging scenarios.
The microscopy community regularly shares troubleshooting insights, helping refine techniques for achieving seamless, high-resolution composite images.
Overcoming Common Artifacts in Microscope Image Stitching
When your microscope images show ghost pixels or double features at seam areas, you’re likely facing one of the most common stitching artifacts that can undermine your analysis.
You’ll need to guarantee proper overlap between adjacent images—15-30% is ideal—while maintaining consistent illumination and exposure settings across all captures.
Adjusting your acquisition parameters and using specialized software like BigStitcher can greatly reduce these alignment challenges, especially when working with multi-channel fluorescence images.
Ghost Pixel Elimination
Ghost pixels represent one of the most frustrating challenges in microscope image stitching, appearing as unwanted duplications or transparent overlays that compromise image quality.
You’ll minimize these artifacts by maintaining consistent exposure and lighting conditions across all images before stitching begins.
Aim for ideal overlap percentages between 15-30% during acquisition—this provides sufficient matching points without creating excessive redundancy.
When processing your images, utilize advanced algorithms incorporating RANSAC for precise feature alignment and robust stitching.
Don’t underestimate the impact of file formats: OME-TIFF with accurate metadata provides critical positional information that reduces misalignments.
Finally, apply blending techniques and seam line adjustments to smooth changes between tiles, effectively eliminating remaining ghost pixels and producing seamless, high-quality panoramic microscope images.
Overlap Alignment Challenges
Proper overlap alignment forms the backbone of successful microscope image stitching, yet achieving seamless results demands attention to several technical hurdles.
You’ll need to maintain a tile overlap of 15-30% between adjacent images to guarantee the software can accurately stitch together your specimens without visible seams.
Watch for inconsistent stage position adjustments that create random patchwork patterns in your final composite. Even minor rotation discrepancies can disrupt alignment algorithms.
Parallax errors, exposure variations, and specimen movement further complicate the process, potentially creating distracting artifacts at seam boundaries.
For ideal results, calibrate your microscope stage movements precisely and save your images in compatible formats like properly stacked TIFFs.
Software tools like BigStitcher that support RGB composites can help overcome these alignment challenges through improved detection and correction of positioning inconsistencies.
Practical Applications of Stitched Microscope Images in Research
Researchers across scientific disciplines have revolutionized their analytical capabilities through the implementation of image stitching technology. When you’re examining biomedical tissue samples, stitched images provide extensive visualizations that single frames simply can’t match, enabling more accurate pathological assessments and disease diagnosis.
In material science, you’ll find these high-resolution composite views essential for investigating microstructures and understanding how materials behave under various conditions. Computer vision algorithms process these stitched images, revealing rare cellular interactions or material defects that might otherwise go unnoticed.
The enhanced field of view doesn’t just improve qualitative observations—it empowers your quantitative analysis by allowing precise measurements across entire sample areas. This precision greatly increases the reliability of your experimental data and strengthens the conclusions you can draw from your research.
Frequently Asked Questions
What Is the Purpose of Image Stitching?
Image stitching lets you combine multiple overlapping images into one seamless composite, increasing your field of view, capturing rare events, and eliminating distracting seams. It’s essential for detailed analysis of larger samples.
How Can You Improve the Quality of an Image on a Microscope?
You can improve microscope image quality by using high-quality objectives, maintaining consistent exposure settings, ensuring proper sample preparation, adjusting illumination precisely, and keeping the microscope clean and properly calibrated for best results.
What Are the Problems With Image Stitching?
You’ll face challenges with image stitching including overlap precision requirements, exposure variations causing artifacts, parallax errors from different viewpoints, software compatibility issues, and positioning inconsistencies that can result in misaligned final images.
What Qualities of Microscopes Allow Us to See Images Better?
You’ll see images better with microscopes that have high-resolution capabilities, advanced optics like Plan-corrected objectives, automated motorized stages, enhanced illumination techniques, and integrated software for precise control and uniform image quality.
In Summary
You’ve seen how image stitching transforms microscope photography, overcoming traditional limitations while revealing detailed panoramic views once impossible to capture. Whether you’re a researcher, educator, or enthusiast, these techniques expand what’s possible at the microscopic scale. By implementing the right software, optimizing hardware setups, and understanding alignment principles, you’ll create thorough microscope images that tell a more complete scientific story.



Leave a Reply