For ideal phase contrast fluorescence photography: align your condenser with the objective’s phase ring, use high numerical aperture lenses, balance light intensity with exposure time to prevent phototoxicity, focus first at low magnification before increasing, and make consistent post-processing adjustments without altering original data integrity. Proper microscope configuration combined with careful focusing techniques will dramatically improve your image clarity and scientific accuracy. These fundamentals represent just the beginning of your microscopy mastery journey.
Optimizing Microscope Configuration for Phase Contrast Fluorescence

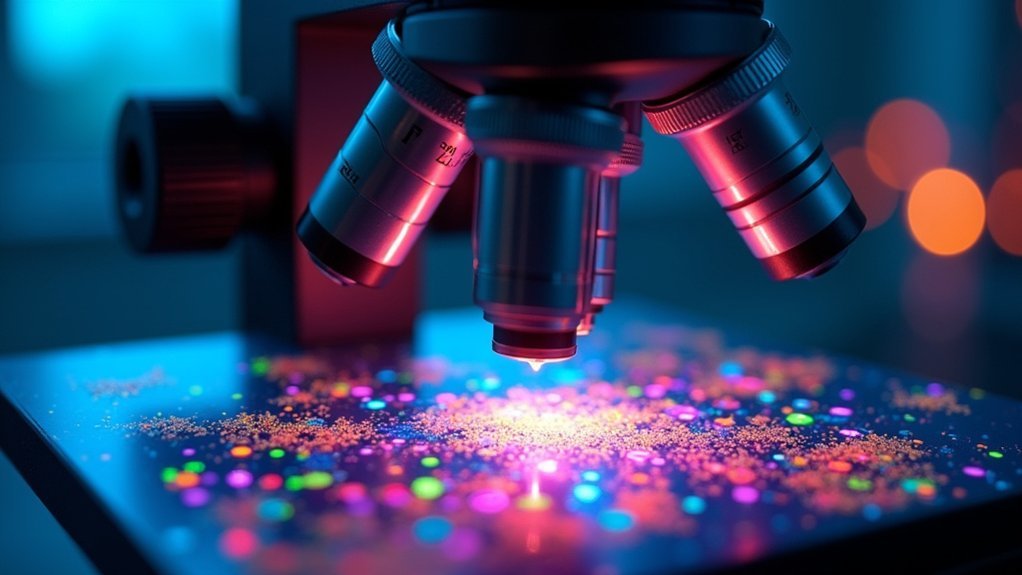
When setting up your microscope for phase contrast fluorescence imaging, proper alignment of the phase contrast condenser with the objective’s phase ring is essential. This critical adjustment prevents optical artifacts and unwanted halos that can obscure cellular details in your specimens.
Select objectives with high numerical aperture to maximize both brightness and resolution. You’ll capture sharper images while revealing fine structural elements that might otherwise remain invisible in standard contrast microscopy.
Carefully balance excitation light intensity and exposure time to achieve ideal brightness without inducing phototoxicity in live cells. Remember to regularly verify phase alignment during extended imaging sessions.
For capturing high-quality images, use cooled monochrome CCD cameras that greatly improve the signal-to-noise ratio in your fluorescence imaging workflow, resulting in clearer visualization of subtle cellular components.
Focusing Techniques for Maximum Image Clarity
Mastering proper focusing techniques remains fundamental to achieving exceptional clarity in phase contrast fluorescence photography. When you’re working with these sophisticated imaging methods, proper focus guarantees maximum signal intensity and reveals detailed cellular structures with ideal clarity.
Precision in focus unlocks the full potential of phase contrast fluorescence imaging, revealing cellular structures with unparalleled clarity.
For superior image quality, follow these essential steps:
- Begin with low magnification to locate your specimen, then gradually increase to higher magnifications with high NA objectives while refocusing at each step.
- Confirm precise alignment between the phase ring in your condenser and the phase plate in your objective to eliminate artifacts.
- When switching between fluorescence channels, refocus for each excitation filter as different fluorophores may require slightly different focal planes.
Remember to utilize the thinnest part of your specimen for initial focusing, particularly critical in phase contrast applications.
Balancing Light Intensity and Exposure Time

Finding the perfect balance between light intensity and exposure time represents one of the most critical challenges in phase contrast fluorescence photography. When you increase light intensity, you’ll achieve brighter images but risk damaging living cells through phototoxicity.
Start by analyzing your histogram—an ideal distribution shows clear signal intensity without saturation. You’ll want to underexpose ambient light by at least 3 f-stops to enhance your fluorescence signal visibility.
Remember that longer exposures amplify both signal and background noise, potentially compromising image quality.
For successful fluorescence imaging, you’ll need to experiment with various microscopy techniques and settings. Each sample may require different adjustment approaches.
Monitor your specimens carefully during this process, adjusting parameters incrementally until you achieve the finest balance that preserves cellular integrity while delivering clear, noise-minimized fluorescence images.
Multi-Channel Imaging Strategies
To access the full potential of phase contrast fluorescence photography, multi-channel imaging stands as an essential technique that allows you to visualize multiple fluorescent labels simultaneously within a single sample.
This approach dramatically enhances your understanding of complex biological processes by capturing distinct signals from different fluorescent dyes.
For ideal signal clarity when implementing multi-channel imaging:
- Select specific excitation filters for each fluorescent dye to minimize spectral overlap and enhance fluorescence light detection.
- Use high numerical aperture lenses to boost brightness and signal-to-noise ratio, revealing subtle variations in fluorescence intensity.
- Confirm proper alignment of phase contrast objectives and carefully position filters to prevent artifacts that could compromise image quality.
Consider using deconvolution software to further enhance resolution and contrast in your multi-channel images.
Post-Processing Do’s and Don’ts

While capturing the perfect phase contrast fluorescence image is essential, your post-processing decisions can either preserve or compromise the scientific integrity of your work. Guarantee brightness and contrast adjustments enhance visualization without altering original data representation.
| Do’s | Don’ts |
|---|---|
| Use histogram analysis to maintain ideal fluorescence intensity range | Apply excessive sharpening that introduces artifacts |
| Make consistent adjustments across similar images | Overexpose images during post-processing |
| Enhance light/dark contrast to improve structure visibility | Alter original data in ways that lead to misinterpretation |
When working with phase contrast and fluorescence observation methods, develop a standardized workflow for post-processing adjustments. This consistency guarantees reliable comparisons within your dataset and prevents artificial enhancement that might exaggerate image features. Remember that your goal is to accurately represent cellular details, not create visually appealing but scientifically compromised images.
Frequently Asked Questions
What Camera Settings Are Best for Fluorescent Lighting?
For fluorescent lighting, use a cooled monochrome CCD camera, set exposures at 1/200-1/500 sec, keep gain low, match filters to your fluorescent reagents, and monitor histograms to avoid saturation while maximizing signal-to-noise ratio.
How to Obtain a Good Image Under a Phase Contrast Microscope?
You’ll get a good phase contrast image by aligning the condenser annulus with phase rings, starting at low magnification, adjusting focus gradually, optimizing exposure settings, and using high NA objectives for better resolution.
How Do You Photograph Fluorescence?
You’ll need a camera with fast shutter speeds (1/200-1/500 sec), attach a barrier filter to your lens, underexpose ambient light by 3 f-stops, and capture fluorescence during the brief 2-millisecond flash duration.
What Is the Exposure Time for Fluorescence Imaging?
Your fluorescence imaging exposure time typically ranges from 100 milliseconds to several seconds. You’ll need to adjust it based on your sample’s brightness, avoiding saturation while maintaining good signal-to-noise ratio.
In Summary
Phase contrast fluorescence photography doesn’t need to be intimidating. You’ll get stunning images by properly setting up your microscope, mastering focus techniques, finding the right exposure balance, implementing smart multi-channel strategies, and following proper post-processing guidelines. Remember, practice makes perfect—so don’t get discouraged by initial results. Keep experimenting with these five tips, and you’ll soon capture the microscopic world with impressive clarity and detail.


Leave a Reply