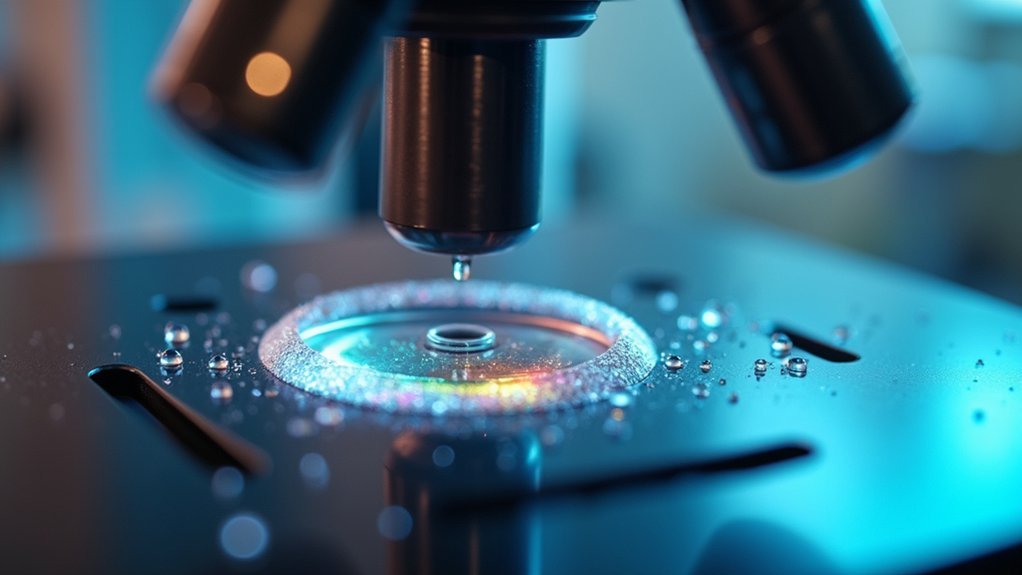
Cleaning objective lenses before each observation is essential for maintaining image quality and accuracy. Dust, oils, and fingerprints create artifacts, reduce contrast, and blur images—potentially leading to misinterpretation of specimens. Regular cleaning prevents abrasive damage to delicate optical coatings and makes certain you capture true structural details. Even minute contaminants can greatly undermine scientific analysis and compromise research credibility. The proper techniques and tools will protect your valuable equipment and assure reliable results.
Numeric List of Second-Level Headings
Several essential procedures must be followed when cleaning objective lenses.
To organize our discussion, here’s what we’ll cover:
- Image Quality Degradation – How dust and residue affect your observations
- Preventing Compound Contamination – Why oils attract more debris
- Timing Matters – The importance of immediate lens cleaning
- Cross-Contamination Prevention – Protecting sample integrity
- Long-Term Optical Performance – Extending microscope lifespan
Following these systematic cleaning protocols guarantees your microscope delivers ideal results every time.
When you neglect lens cleaning, you risk not only poor image quality but also permanent damage to expensive optical components.
Remember that even invisible contaminants can greatly impact your work, especially with high-magnification objectives where every imperfection is amplified.
The Critical Impact of Dust on Image Quality
Dust particles on your objective lenses scatter light in unwanted directions, creating distracting artifacts that obscure critical details in your specimens.
These contaminants greatly degrade resolution by disrupting the optical path, making it impossible to distinguish fine structures that would otherwise be clearly visible.
You’ll notice an immediate reduction in image contrast when dust accumulates, as the scattered light creates a hazy appearance that washes out the distinction between adjacent structures in your samples.
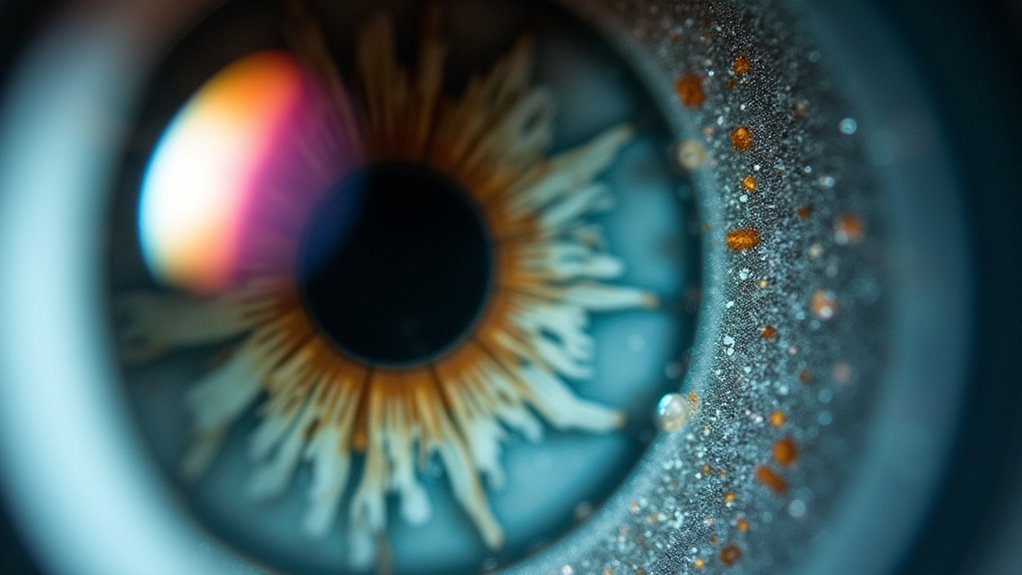
Light Scattering Effects
Microscopic particles create outsized problems when they accumulate on objective lenses. When light passes through a dusty objective, it doesn’t travel in the clean, orderly path your observations require. Instead, dust particles cause light scattering effects that greatly degrade image clarity.
You’ll notice this degradation as unwanted halos, shadows, and artifacts that obscure the fine details of your specimen. Even a thin contamination layer can dramatically alter light paths, compromising the numerical aperture and effectively reducing your microscope’s resolution capabilities.
These scattered light patterns don’t just make images look slightly worse—they can fundamentally undermine the accuracy of your scientific analysis.
Resolution Degradation Issues
Although invisible to the naked eye, minute contaminants on your objective lenses can devastate image resolution. When dust particles accumulate on optical surfaces, they directly interfere with light transmission, creating artifacts and compromising your specimen’s visual integrity.
- Even microscopic dust can reduce light transmission by over 30%, considerably diminishing image brightness and contrast.
- Regular cleaning maintains ideal resolution, particularly vital for high-magnification observations where every detail matters.
- Uncleaned lenses produce blurred images with reduced contrast, making fine structural elements nearly impossible to distinguish.
- Compromised optical performance directly affects research outcomes and diagnostic accuracy, as essential microscopic details become obscured.
You’ll find that consistent cleaning protocols aren’t just good practice—they’re indispensable for maintaining the precision and reliability your microscopic work demands.
Contrast Reduction Problems
While researchers often focus on magnification power, the contrast of your microscopic images can be severely compromised by seemingly invisible lens contaminants.
Even a thin layer of dust scatters light, washing out your images and obscuring critical specimen details that may go unnoticed until you view a properly clean comparison.
Smudges and dirt particles create optical aberrations that result in blurred images and ghosting effects, undermining the accuracy of your observations.
Regular cleaning of objective lenses isn’t just good practice—it’s essential for maintaining ideal numerical aperture performance and light transmission.
Research demonstrates that clean optics can improve contrast ratios by up to 50%.
This significant enhancement guarantees you’ll capture the precise cellular details and structures necessary for reliable scientific conclusions.
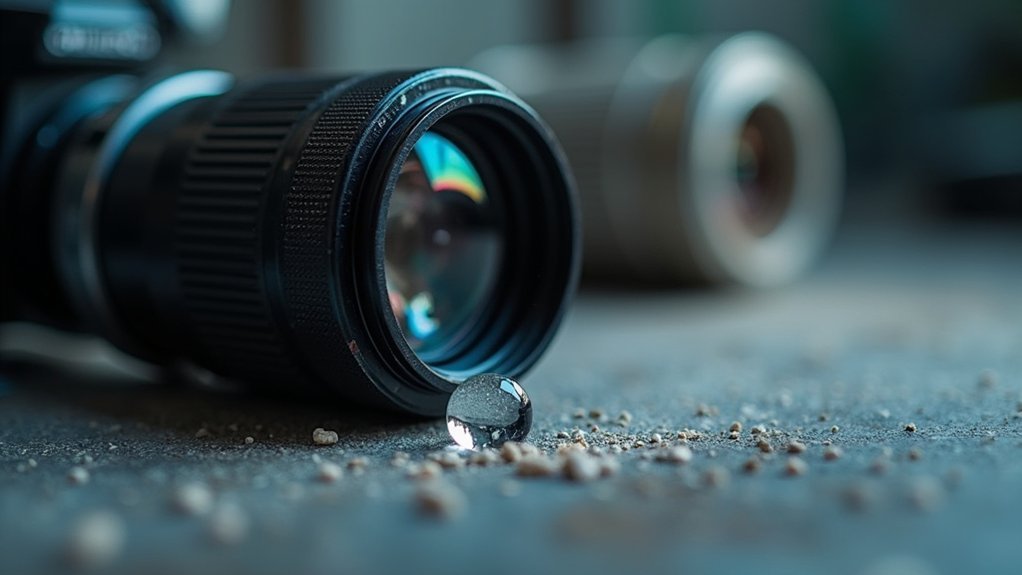
Understanding Contaminant Types: Oil, Fingerprints, and Particulates
Before you can effectively clean objective lenses, you’ll need to recognize the common contaminants that compromise optical performance.
Recognizing contamination sources is the essential first step toward preserving your objective lenses’ optical integrity.
When you handle lenses improperly, you’re introducing substances that can severely degrade image quality.
- Oil transfer occurs naturally from your skin and attracts additional dust, creating compounding contamination that worsens over time.
- Fingerprints contain moisture and oils that dry on the lens surface, potentially damaging protective coatings and becoming increasingly difficult to remove.
- Dust particles scatter light passing through the lens, resulting in reduced contrast and poor resolution.
- Lint and other particulates create artifacts in your images, distorting observations and compromising research integrity.
Regular inspection before each use helps you identify these contaminants early, preventing permanent damage and ensuring ideal viewing conditions.
Preventing Long-Term Damage to Optical Coatings
Since optical coatings represent one of the most vulnerable components of your objective lens, regular cleaning is essential to preserve their integrity.
These coatings are surprisingly soft and susceptible to abrasion, making them prime targets for damage when contaminants accumulate.
When you neglect cleaning, dried immersion oil and dust particles can trap additional dirt, creating abrasive compounds that scratch the optical coatings with each use.
These microscopic scratches compound over time, degrading image quality and requiring costly repairs or complete lens replacement.
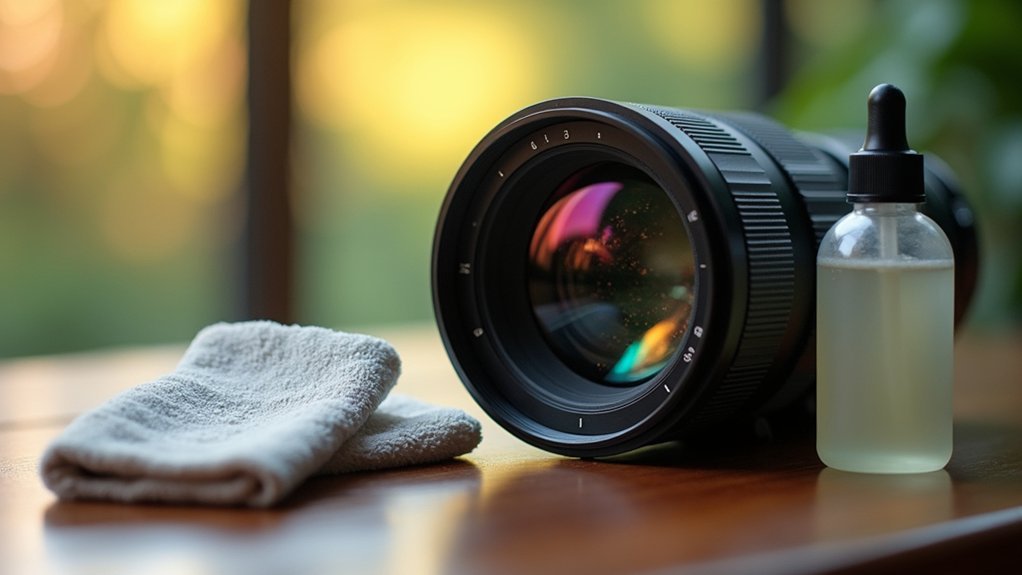
Essential Cleaning Tools for Microscope Objectives
Properly cleaning your objective lenses requires specialized tools designed specifically for delicate optical surfaces.
When working with immersion objectives or standard lenses, you’ll need the right equipment to avoid damaging these precision components.
- High-purity cotton swabs – Perfect for delicate cleaning of optical surfaces, especially around the edges of the lens
- Soft lens paper or microfiber cloth – Use these lint-free materials to clean the lens without scratching; fold properly or wrap around your finger for larger objectives
- Hurricane blower or clean squeeze bulb – Remove loose dust without direct contact with sensitive optical components
- Specialized solutions – Anhydrous alcohol or proprietary lens cleaning solutions help dissolve stubborn oil residues, particularly useful for immersion objectives
Step-by-Step Lens Cleaning Protocol
Having the right supplies on hand—including lens paper, blower, and appropriate solvent—ensures you’re prepared to clean objective lenses without causing damage.
You’ll need to master specific techniques like the spiral wiping motion from center to edge to effectively remove contaminants while preserving the delicate lens surface.
Following proper protocols helps prevent common damage such as scratches or residue buildup that can greatly impact your microscope’s performance and image quality.
Gather Proper Supplies
Before you begin cleaning your objective lenses, you’ll need to assemble the right materials for the job. Proper supplies guarantee you can effectively clean these delicate optical components without causing damage.
- High-purity cotton swabs or lens paper – These lint-free materials won’t scratch your lens surface when wiping.
- Gentle cleaning solution – Use anhydrous alcohol or a specialized optical cleaning solution designed for precision optics.
- Dust blower or squeeze bulb – Remove loose particles before applying any liquid to the lens.
- Clean, dry lens paper – For final polishing and removing any streaks.
Having these supplies ready prevents you from improvising with inappropriate materials that could permanently damage your objective lens.
Quality tools make the difference between crystal-clear observations and frustrating optical aberrations.
Master Cleaning Techniques
Approach lens cleaning with methodical precision to protect these valuable optical components.
Begin by using a blower to remove loose dust particles from the objective lens without making contact with the surface. This initial step prevents potential scratching during the wet cleaning phase.
Next, fold lens paper into a point or wrap it around your finger for larger objectives. Moisten the paper with anhydrous alcohol, then gently wipe the lens using a spiral motion from center to edge. This technique effectively lifts contaminants without spreading them across the surface.
After cleaning, inspect the objective lens carefully. If residue persists, repeat the process with fresh lens paper.
Never reuse cleaning materials, as they can harbor grit that might damage your optics during subsequent cleaning attempts.
Prevent Common Damage
While proper cleaning techniques protect your investment, following a consistent protocol prevents the most common forms of damage to objective lenses.
Regular cleaning eliminates immersion oil residue that can attract dust and contaminate samples, leading to blurred images and misleading results.
- Blow away loose particles with a blower before wiping to prevent microscopic scratches that permanently damage optical coatings.
- Clean immediately after use when contaminants are fresh, as dried immersion oil becomes stubborn and may require harsher chemicals.
- Use the spiral wiping technique (center-to-edge) to avoid redistributing contaminants across the clean lens surface.
- Inspect before and after cleaning under magnification to verify complete removal of all substances and guarantee no scratches were introduced.
Specialized Techniques for Immersion Objectives
Immersion objectives demand special attention when cleaning, as their front lens elements regularly come into contact with oils and other immersion media.
After each use, you’ll need to thoroughly clean these objectives to prevent residue buildup that causes optical errors and compromises image quality.
Begin by inspecting the lens under magnification to spot any abrasive particles that might scratch the surface during cleaning.
When wiping the immersion objective, use a gentle spiral motion working from center to rim to effectively remove contaminants without damaging delicate coatings.
Choose appropriate cleaning solutions specifically formulated for optical surfaces—diluted washing-up liquid or proprietary lens cleaners work well.
Don’t delay this cleaning process; immediate attention prevents oil from trapping particles against the lens and guarantees consistent clarity in your observations.
Proper Storage Practices Between Observations
Between laboratory sessions, proper storage of your microscope plays a critical role in maintaining optical clarity and extending instrument life. Following proper storage practices prevents dust accumulation that can compromise your observations.
- Always cover your microscope with a dust cover and store it in a clean environment to minimize exposure to airborne contaminants.
- Close binocular viewing tubes when not in use, creating a seal that prevents dust from entering the sensitive optical pathway.
- Insert dust stoppers immediately if you remove eyepieces, providing additional protection for internal components.
- Use dedicated cabinets for long-term storage rather than styrofoam boxes which attract dust, but utilize styrofoam or specialized cases when transporting your instrument to prevent damage.
Identifying Signs of Contaminated Lenses
You’ll notice diminished image quality with blurred details or dark specks when your objective lenses are contaminated.
Check for lens contamination by examining the image produced and inspecting the lens surface with a loupe or through the eyepiece.
Regular evaluation of image sharpness during observations helps you detect subtle signs of dirt or residue before they severely impact your viewing experience.
Visual Quality Indicators
Several telltale signs can alert you to contaminated objective lenses before they severely compromise your microscopy work.
When you’re examining your imaging results, pay close attention to visual quality changes that indicate it’s time to clean your lenses.
- Decreased sharpness and contrast – Even subtle reductions in image clarity suggest contaminants are interfering with light transmission.
- Dark specks or artifacts appearing consistently in the same position across different samples, indicating dirt on the camera sensor or filter.
- Blurred images despite proper focusing technique and equipment calibration.
- Uneven illumination or shading across the field of view, suggesting accumulated residue that’s creating optical errors.
Regular inspection under magnification helps identify dust and residue before they impact your research results.
Systematic Contamination Check
While visual quality changes in your images signal potential lens issues, implementing a proactive, systematic contamination check before each microscopy session can prevent poor results entirely.
Begin by rotating the lowest objective power into position and examine the lens surface with a loupe or through the eyepiece. Look specifically for dust and dirt particles that may appear as small specks or smudges.
When you notice blurred images, decreased contrast, or dark spots that move when you adjust focus, you’re likely dealing with contamination.
Don’t overlook subtle signs like reduced image resolution or optical artifacts such as fogging. Remember that even tiny fingerprint residues or oil traces invisible to the naked eye can greatly compromise your observations.
Regular inspection guarantees peak imaging performance for all your microscopy work.
The Connection Between Clean Optics and Accurate Research Results
Precision in scientific research hinges directly on the quality of your optical equipment. When you’re working with microscopy, clean optics aren’t just a preference—they’re a necessity for reliable results.
Even minor contamination can introduce significant optical errors that distort your observations and compromise your research integrity.
- Image clarity deteriorates exponentially with each layer of dust or oil, obscuring the fine details essential for accurate analysis.
- High magnification amplifies the impact of contaminants, making what seems like a small smudge into a major obstruction.
- Reproducibility depends on consistent optical quality across all observations in your research.
- Research credibility increases when your results aren’t compromised by preventable imaging artifacts from dirty lenses.
Environmental Factors Affecting Lens Cleanliness
Because your laboratory environment directly impacts your optical equipment, understanding the external factors that compromise lens cleanliness is essential.
Environmental contaminants like dust, pollen, and airborne particles readily settle on the outer surface of objective lenses, greatly reducing image clarity and observation accuracy.
The pervasive presence of environmental particles significantly compromises optical performance when they accumulate on precision lens surfaces.
Location matters considerably—proximity to chemical vapors (acidic or alkaline) accelerates lens degradation, while tropical settings combine high humidity and temperature to create ideal conditions for fungal growth that can permanently damage optics.
Even your handling techniques contribute to contamination, as skin oils leave residues that attract and trap dust particles.
In high-humidity environments, you’ll need more frequent cleaning routines to prevent fungal colonization of lenses, especially when storage conditions aren’t ideal for protecting sensitive optical equipment.
Digital Image Artifacts Caused by Dirty Objectives
When capturing microscopy images, you’ll quickly notice how dirty objective lenses directly compromise digital image quality. Contaminants on your lenses create numerous artifacts that can render your observations unusable or lead to misinterpretation of specimens.
- Blurred images with reduced sharpness make it impossible to discern fine structural details, even with high-resolution cameras.
- Dark specks and spots appearing consistently across different specimens indicate lens contamination rather than specimen features.
- Reduced contrast and ghosting effects distort true specimen appearance, leading to inaccurate analysis.
- Light scattering from dust and oil residues creates optical errors that digital processing can’t correct.
Regular cleaning of objective lenses before observations isn’t optional—it’s essential for maintaining image integrity and ensuring accurate scientific documentation of your specimens.
Frequently Asked Questions
Why Is It Important to Clean the Lens of a Microscope?
Cleaning your microscope’s lens is essential because it removes contaminants that blur images and compromise accuracy. You’ll get sharper visuals and protect the lens coatings from long-term damage, ensuring reliable observations every time.
Why Is It Important to Be Sure the Microscope Lenses Are Clean Before Viewing the Contents of a Slide?
You’ll want clean lenses to prevent dirt and oil from distorting your view. Contaminants create artifacts, blur images, and obscure specimen details, while clean lenses guarantee ideal light transmission for sharp, accurate observations.
Why Must You Always Clean the Microscope Lenses With Lens Tissue?
You must always clean microscope lenses with lens tissue because it’s soft, lint-free, and won’t scratch the delicate glass. It effectively removes oils and dust without leaving streaks that could distort your observations.
What Are the Consequences of Using Dirty or Scratched Objective Lenses in Microscopy?
Using dirty or scratched objective lenses will give you blurred images with poor contrast. You’ll see optical artifacts, uneven illumination, and scattered light. Fine details will be obscured, and diffraction will compromise your image’s resolution and clarity.
In Summary
You’ll achieve clearer, more accurate results when you clean your objective lenses before each observation. Not only will you eliminate image artifacts and distortions caused by dust, oil, and fingerprints, but you’ll also protect your valuable optics from long-term damage. Make lens cleaning a non-negotiable part of your workflow—your research integrity and equipment longevity depend on this simple but essential practice.


Leave a Reply