Mount your digital cameras at 8-10 feet high with a 30-45 degree downward angle for ideal coverage and security. You'll need basic tools like drills, levels, and proper mounting hardware. Plan your power supply carefully, using PoE or electrical outlets within range. Position cameras to eliminate blind spots, protect from weather, and maintain clear network connectivity. Keep cable runs under 100 meters and test thoroughly. These foundational tips will set you up for a professional-grade surveillance system.
Selecting the Right Mounting Location and Height
Where you mount your digital camera can make or break its effectiveness as a security tool. For ideal visibility, choose a mounting location that offers an unobstructed view of your target area.
You'll want to position your cameras between 8 to 10 feet high, allowing for clear facial recognition while keeping them safe from vandalism.
When planning your camera installation, avoid trees and poles that could create blind spots or leave your equipment vulnerable to tampering.
Instead, take advantage of your building's architectural features, such as eaves and overhangs, to protect your cameras from weather elements.
Consider implementing a back-to-back mounting pattern to achieve a 180-degree view, effectively eliminating blind spots and maximizing your security coverage.
Planning Your Camera Infrastructure
Map out your camera coverage zones by creating a detailed property diagram that identifies key areas requiring surveillance and potential blind spots.
You'll need to mark power outlets or source locations on your diagram to guarantee cameras can be properly powered without requiring extensive electrical modifications.
Consider strategic vantage points that maximize each camera's field of view while maintaining access to power distribution points for a reliable and efficient security system.
Strategic Camera Coverage Areas
Before installing your digital cameras, carefully plan their strategic placement by sketching your property's layout and identifying essential monitoring points. Your security camera systems should focus on entrances, driveways, and high-traffic areas where surveillance is most vital.
During the installation process, position cameras at least 10 feet high and make certain they've a clear line of sight, free from trees, walls, or other obstructions that create blind spots.
For a thorough security solution, implement overlapping camera angles using back-to-back or corner-to-corner placements. Don't forget to take into account weather protection for outdoor camera locations.
Remember to periodically review and adjust your camera positions as your property's security needs change. This ongoing assessment guarantees your surveillance system maintains ideal coverage and effectiveness over time.
Power Source Distribution Points
A well-planned power distribution system forms the backbone of your camera network. When you install the system, make certain your power source points are easily accessible for each security camera to reduce cable lengths and prevent power degradation.
You'll benefit from using Power over Ethernet (PoE) technology, which lets you run both power and data through a single cable to your IP cameras. Keep in mind that standard low-voltage cables shouldn't exceed 100 meters to maintain proper voltage levels.
If you're not using PoE, map out locations for electrical outlets that comply with local codes before you install your cameras.
For outdoor installations, protect your power distribution points from weather damage by using appropriate enclosures and cable management solutions to maintain a professional, weatherproof setup.
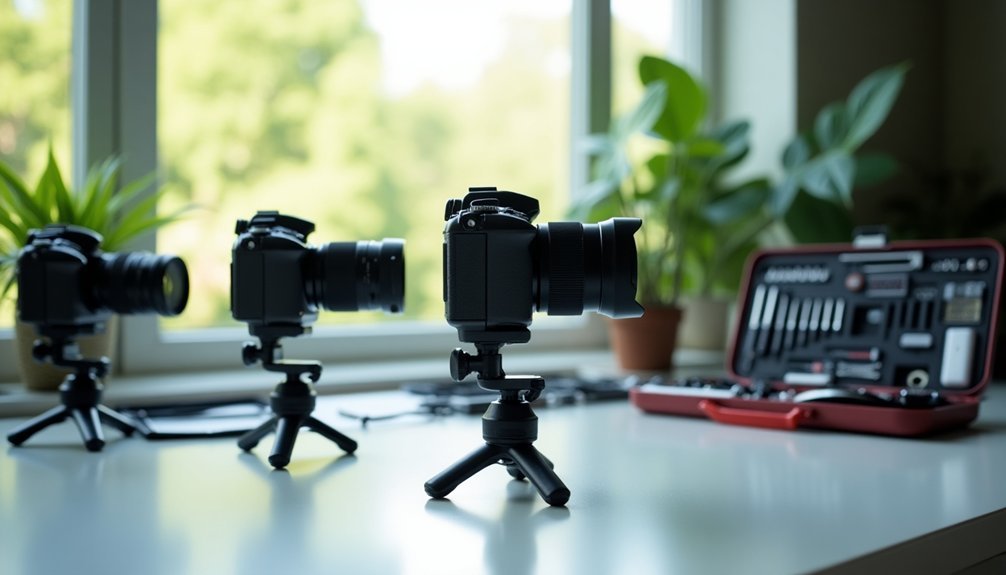
Equipment and Tool Requirements
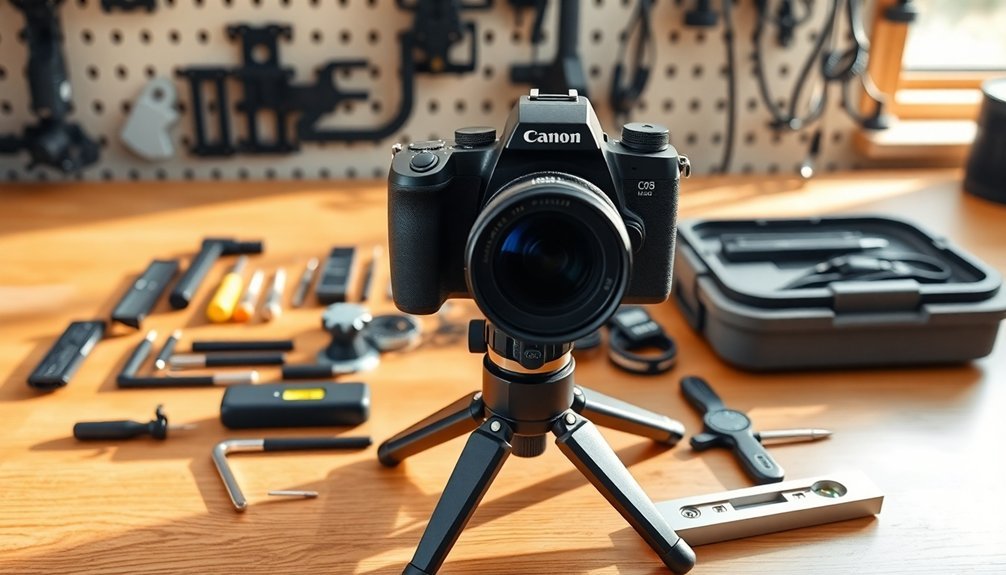
To successfully mount your digital camera, you'll need several essential tools and pieces of equipment at your disposal.
Start with basic installation tools like a drill, screwdriver, level, and measuring tape to guarantee precise camera placement. You'll also need mounting hardware, including appropriate screws, anchors, and camera mounts that match your specific model.
When you connect the camera, use high-quality cables that are compatible with your device's specifications. If you're installing a wireless camera, keep batteries or power adapters ready.
Don't forget to have your computer or mobile device available for the final setup phase, as you'll need to install software and configure your camera's settings.
Having all these tools and equipment organized before you begin will streamline your installation process and help avoid unnecessary delays.
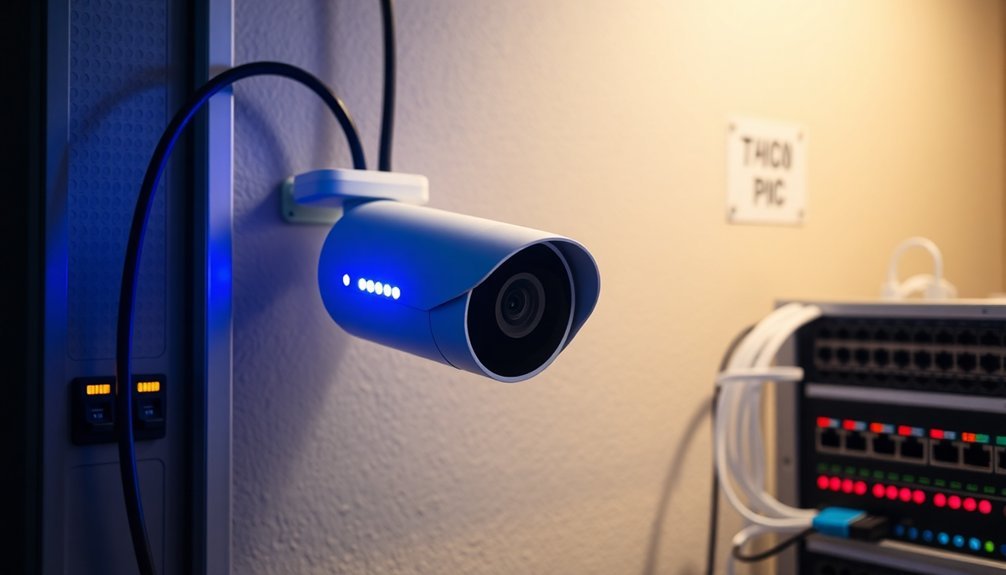
Proper Wiring and Cable Management
With your tools and equipment ready, proper wiring and cable management become the next logical step in your camera installation.
Proper wiring and cable management are crucial foundations for a successful security camera installation, setting the stage for reliable system performance.
When you install CCTV cameras, you'll need to secure all wiring using cable ties or clips to prevent tangling and potential damage. Use 18/2 gauge cables to maintain peak video quality and prevent signal degradation in your security camera setup.
For cable routing, drill holes using a spade bit that matches your cable diameter. If you're working outdoors, protect your wiring with conduit or protective tubing to guard against weather damage and tampering.
Don't forget to label both ends of your cables – this simple step will save you time during future maintenance or troubleshooting. Keep your cable management organized and professional to guarantee your system's longevity.
Camera Alignment and Angle Optimization
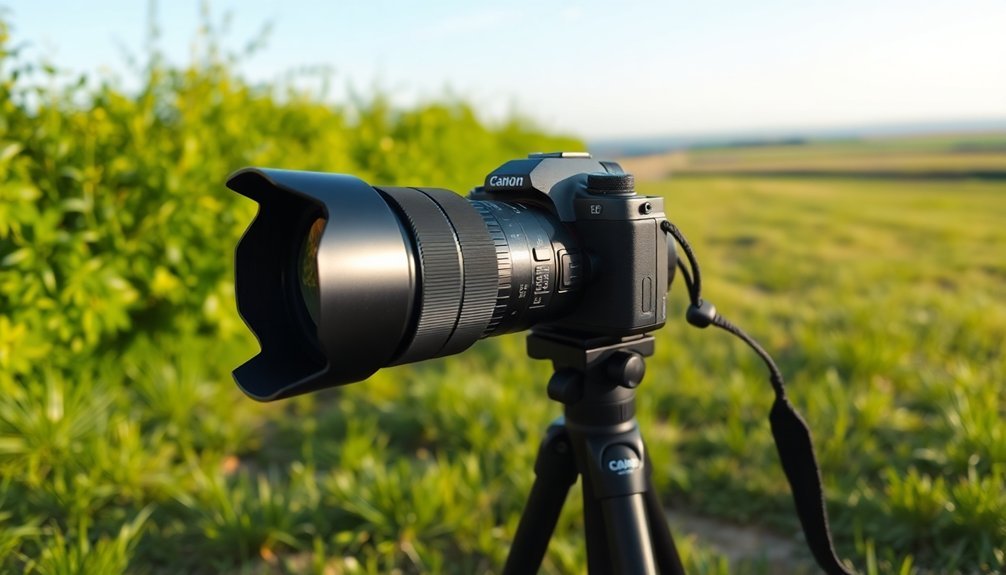
When mounting your digital cameras, start by establishing the ideal viewing height at 8-10 feet above the ground while angling the lens 30-45 degrees downward to capture essential facial details.
You'll need to adjust the wide-angle positioning to maximize coverage of entry points and high-traffic areas, using the Rule of Thirds to compose your frame effectively.
Test and fine-tune your tilt and pan settings to eliminate blind spots and guarantee smooth tracking across the monitored space, making periodic adjustments based on your footage review.
Optimal Viewing Height Setup
Setting up your digital camera at the right height and angle makes an essential difference in surveillance effectiveness. For best results, mount your security cameras between 8 to 10 feet high, which provides ideal viewing height while protecting against tampering.
Position your cameras at a downward angle of 30 to 45 degrees to maximize coverage and image clarity, especially in entryways and busy areas.
If you're using PTZ cameras, you'll want to mount them higher than fixed cameras to achieve better range and visibility. When using a 2.8mm lens for wide-angle views, make sure your installation height doesn't compromise image quality within 60 feet.
Remember that steep camera angles can limit facial recognition, so adjust the mounting position based on your specific needs and architectural layout to capture clear, identifiable footage of your target areas.
Wide-Angle Coverage Positioning
To achieve extensive surveillance coverage, proper wide-angle camera positioning plays an essential role in your security setup. When you install a security camera with a 2.8mm lens, you'll get ideal wide-angle coverage up to 60 feet. Mount cameras at 8-10 feet high for effective facial recognition while maintaining broad visibility.
| Position | Benefits |
|---|---|
| Corner Mount | Overlapping views, vandalism protection |
| Level Angle | Full-body capture, clear identification |
| High Mount | Extended perimeter visibility |
| PTZ Setup | Zoom capability, adjustable coverage |
Avoid steep downward angles that limit your view to just people's heads. Instead, position your cameras more horizontally for complete coverage. Using a corner-to-corner placement strategy guarantees you'll achieve 100% perimeter monitoring while creating overlapping zones that eliminate blind spots.
Tilt and Pan Settings
Proper camera alignment requires mastering two critical adjustments – tilt and pan settings.
You'll want to position your camera at a 15-30 degree downward tilt for ideal coverage while avoiding blind spots in your surveillance area. For pan settings, configure your camera to sweep across a 180-degree horizontal range, ensuring thorough monitoring of wide spaces.
Mount cameras at eye level to enhance facial recognition capabilities and capture clear identifying details. If you're monitoring high-traffic areas, take advantage of auto-tilt and pan features to track moving subjects effectively.
Don't set and forget – regularly check and adjust your camera's positioning to adapt to environmental changes or evolving security requirements. These simple adjustments will maximize your camera's effectiveness and maintain reliable surveillance coverage.
Network Configuration and Connectivity
When installing digital cameras in your network, reliable connectivity forms the foundation of a well-functioning surveillance system.
You'll need to verify your wired cameras connect securely to the correct ports on your network video recorder, while wireless cameras must remain within your router's range for peak performance.
To set up your wireless cameras, install the software provided by the manufacturer and record their IP addresses for remote access.
Your internet connection should have sufficient bandwidth to handle multiple camera feeds, especially if you're using high-resolution devices.
Don't forget to check for firmware updates regularly, as they'll help maintain smooth connectivity and prevent compatibility issues.
For wired setups, double-check all cable connections to avoid signal interruptions that could compromise your surveillance coverage.
Testing and Quality Assurance
Testing your digital cameras after mounting is essential for ensuring ideal performance and reliability. Begin with a thorough pre-installation check of all components and software updates.
Once you've mounted the camera, conduct a live test to verify clear footage capture and proper field of view coverage.
Monitor image quality by reviewing recorded footage regularly, checking for clarity, color accuracy, and exposure settings. Use the manufacturer's diagnostic tools to assess performance and network connectivity.
Establish a maintenance schedule that includes testing motion detection and remote access features. This systematic approach to quality assurance helps you identify and address potential issues before they impact your surveillance system's effectiveness.
Regular performance checks and maintenance will keep your digital cameras operating at peak efficiency.
Frequently Asked Questions
Where Not to Install Security Cameras?
Don't install your security cameras in areas with obstructions, direct sunlight, or low heights. Avoid private spaces, easily accessible spots near fences, and places where intruders can tamper with them.
What Is the Best Layout for Security Cameras?
You'll get the best security camera layout by using overlapping views, placing cameras back-to-back for 180-degree coverage, mounting them above 10 feet, and positioning them corner-to-corner to eliminate blind spots completely.
What Height Should Cameras Be Mounted to the Wall?
You'll want to mount standard cameras at 8-10 feet high for general surveillance, but lower them to 5-6 feet for facial recognition. For PTZ cameras, install them at 12-15 feet to maximize coverage.
What to Consider When Installing Cameras?
You'll need to take into account camera height, line of sight, lighting conditions, power source accessibility, weatherproofing needs, and coverage angles. Don't forget to check local regulations and plan for future maintenance access.
In Summary
Follow these mounting tips and you'll have a reliable digital camera system that provides ideal coverage and peace of mind. Double-check your connections, test all viewing angles, and verify your network settings are properly configured. If you're unsure about any step, don't hesitate to consult a professional. With proper installation, your cameras will deliver years of dependable security monitoring.


Leave a Reply