Truly accurate image scale calibration combines several critical elements: traceable reference standards, consistent pixel resolution, controlled environmental conditions, and regular validation. You’ll need to use certified calibration slides matching your magnification range, maintain stable lighting and temperature, and document all parameters meticulously. Proper calibration procedures eliminate optical distortions while advanced algorithms can correct residual errors. Beyond these fundamentals lie sophisticated techniques that can elevate your measurement precision to remarkable levels.
What Makes Image Scale Calibration Truly Accurate?
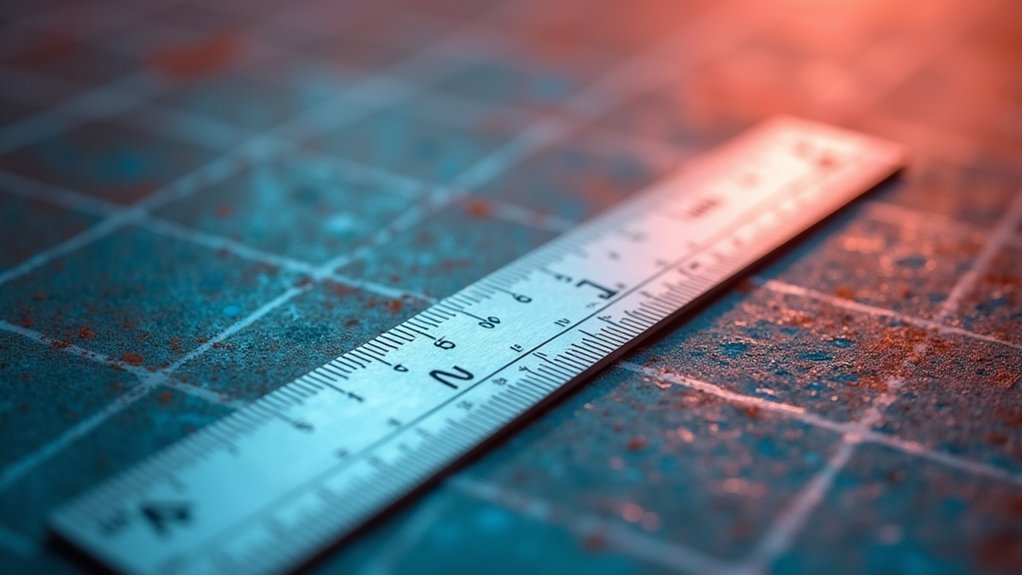
When analyzing microscopic images, the foundation of reliable measurements rests on proper scale calibration. You’ll achieve accurate calibration by using known distances from calibration targets like specialized slides, which establish a dependable scaling reference for each objective on your microscope.
Understanding pixel resolution is essential—expressed in micrometers per pixel (μm/pixel), it’s the key metric for setting your scale. You can often find this information in image file metadata, particularly in formats like CZI or LSM.
Pixel resolution, measured in μm/pixel, forms the critical foundation for accurate microscopy scaling and can be extracted directly from specialized image metadata.
For consistency, you should use identical scale values across similar imaging sessions. Leverage the “Set Scale” feature in software like FIJI/ImageJ to input your known distances and add precise scale bars.
Remember to recalibrate whenever equipment or imaging conditions change to maintain measurement accuracy.
Understanding the Fundamentals of Scale Calibration
Although microscopic images may appear detailed, they’re meaningless without proper scale calibration to translate pixels into real-world measurements.
To achieve accuracy, you’ll need to establish known distances using calibration slides or reference objects with defined sizes.
The critical parameter you must determine is pixel resolution (μm/pixel), often found in image file metadata from specific microscope models.
Using the “Set Scale” function in software like FIJI/ImageJ, you can input these known distances to adjust image properties accordingly.
Remember that each objective on your microscope requires separate calibration, as different magnifications yield varying pixel sizes. This affects your scale bar accuracy.
Whenever you change your imaging setup—replacing monitors or video cards—perform recalibration checks to maintain consistent scaling across all subsequent analyses.
Selecting Appropriate Calibration Standards and Reference Materials
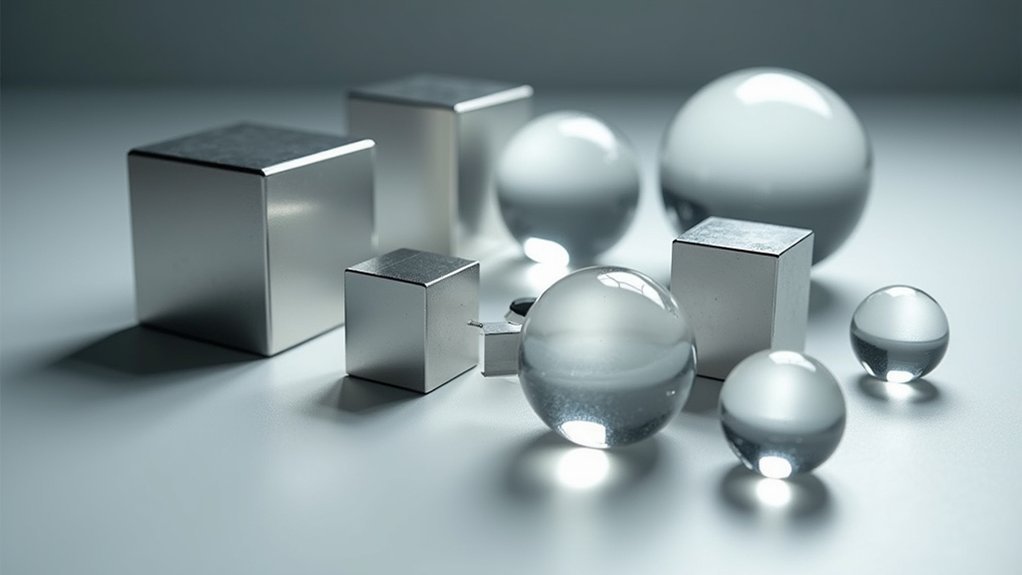
Choosing calibration standards traceable to National Metrology Institutes guarantees your measurements comply with international standards and exhibit reliability across different imaging sessions.
You’ll need to select appropriate calibration patterns, such as MetroChip or MAG*I*CAL, based on your specific imaging modality and required precision level.
Your calibration accuracy directly depends on reference materials that match your measurement range and provide sufficient resolution for your application’s needs.
Traceable Reference Standards
Because image measurement accuracy depends entirely on proper calibration, traceable reference standards (SRMs) serve as the foundation for reliable microscopy. These standards provide validated connections to national measurement authorities like NIST, ensuring your calibrations reflect true physical dimensions.
You’ll achieve the best results by selecting standards that match your sample’s scale and material properties. Standards like MetroChip or MAG*I*CAL offer known dimensions that enable precise calibration across various magnifications. This becomes especially critical when working at magnifications exceeding 100,000X, where higher resolution standards are necessary.
Don’t overlook the importance of regular verification against your traceable reference standards. Environmental changes and equipment drift can compromise measurement accuracy over time, making consistent verification essential to maintaining your system’s measurement integrity.
Calibration Pattern Selection
The right calibration pattern serves as the cornerstone of accurate image measurements, greatly impacting your calibration quality and subsequent analysis.
When making your calibration pattern selection, choose designs with asymmetric dimensions—an odd number of squares on one side and even on the other—to guarantee precise grid alignment.
Opt for high-feature-count patterns like chessboard or CharuCo boards that provide more reference points and enhance calibration accuracy. Your pattern should cover at least half of the camera’s field of view to maximize effectiveness.
Always use laser-printed targets with sufficient white borders to improve detection under varying lighting conditions.
For ultimate precision, incorporate Standard Reference Materials traceable to National Metrology Institutes, which provide independently verified measurements that validate your calibration’s accuracy against established standards.
The Role of Pixel Resolution in Measurement Accuracy
When calibrating image scales for accurate measurements, pixel resolution serves as the fundamental unit that determines your measurement precision. Expressed in micrometers per pixel (μm/pixel), this critical value directly impacts how accurately you can measure features within your images.
You’ll find pixel size information embedded in metadata from instruments like Zeiss microscopes. Preserving your images in their original format maintains this valuable data, which tools like FIJI/ImageJ can use to automatically set the correct scale. This automation enhances reliability across multiple images from the same acquisition session.
When using calibration slides, proper pixel resolution guarantees that known distances between reference points are correctly represented. Remember that finer resolutions allow for more precise measurements, making this parameter essential for trustworthy quantitative image analysis.
Controlling Environmental Factors During Calibration Procedures
Proper environmental control during image calibration greatly impacts your measurement accuracy and repeatability.
Environmental stability isn’t optional—it’s fundamental to achieving reliable, reproducible measurements in image calibration.
When you’re working to establish precise scale references, environmental stability must be prioritized to guarantee reliable results.
To optimize your calibration environment:
- Maintain consistent, diffuse lighting to minimize shadows and guarantee uniform illumination across your calibration pattern.
- Perform calibrations in vibration-free areas to prevent movement that could distort image capture.
- Keep your camera focused at the working distance you’ll use during actual measurements.
- Avoid strong point sources of light that create uneven illumination and compromise feature detection.
Remember to recalibrate whenever significant environmental changes occur, such as shifts in lighting conditions or equipment positioning.
These precautions create the stable foundation necessary for trustworthy image scale measurements.
Best Practices for Microscope Setup and Preparation
Beyond environmental controls, microscope setup forms the foundation of accurate image scale calibration. You’ll achieve the most precise measurements by confirming all monitors match in make and model, preventing pixel dimension discrepancies that skew calibration results.
| Setup Element | Calibration Requirement | When to Check | Why It Matters |
|---|---|---|---|
| Monitors | Same make/model | Initial setup | Prevents pixel disparities |
| Browser Zoom | Set to 100% | Before each session | Confirms true size display |
| Calibration Slides | Use with known distances | For each objective | Establishes accurate scale |
| Image Format | Maintain original | During capture | Preserves resolution metadata |
Remember to recalibrate your microscope after any changes to video cards or display resolution. By maintaining original image formats during capture, you’ll preserve essential pixel resolution metadata needed for software analysis in FIJI/ImageJ.
Statistical Methods for Validating Calibration Results
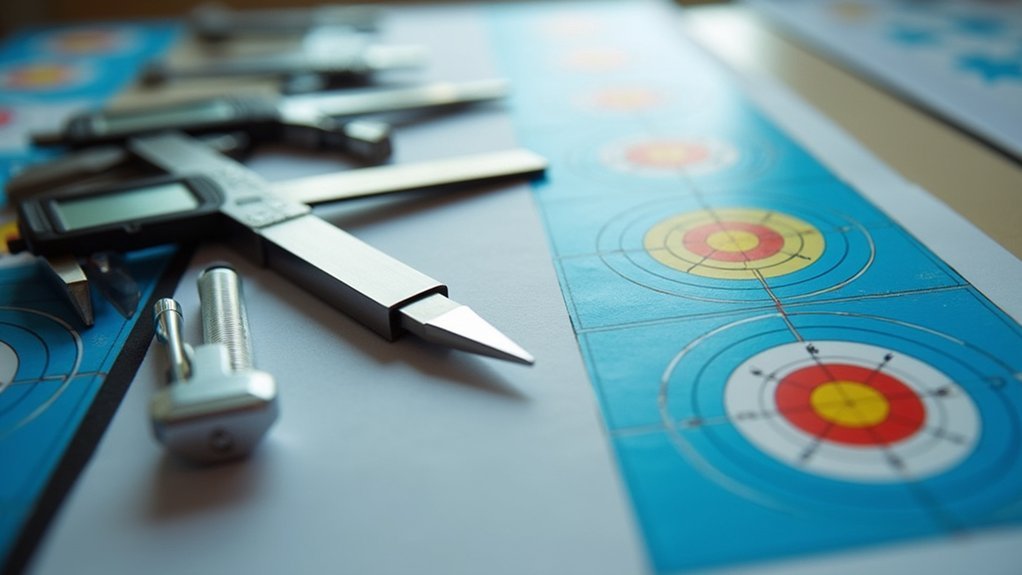
Accurate validation of your scale calibration demands robust statistical approaches to quantify precision and identify errors.
When evaluating calibration quality, you’ll need statistical methods that provide objective measures of performance rather than visual approximations.
To effectively validate your calibration results:
- Calculate RMSE to quantify accuracy – values under 1 pixel typically indicate successful calibration.
- Implement outlier detection using Z-scores or Tukey’s method to identify and exclude erroneous data points.
- Perform cross-validation by reserving a subset of your data for testing, ensuring your model generalizes well.
- Apply variance analysis to evaluate parameter precision and determine confidence levels for your calibration model.
These approaches allow you to statistically evaluate calibration quality through hypothesis testing, comparing your results against established standards to verify calibration effectiveness.
Common Sources of Error and How to Mitigate Them
You’ll encounter significant measurement errors when using imperfect calibration objects with scratches, irregular markings, or manufacturing defects.
Optical distortions, particularly barrel or pincushion effects at image edges, can further compromise your calibration accuracy if not properly corrected.
To mitigate these issues, you should use certified reference materials and implement appropriate distortion correction algorithms before attempting precise scale calibration.
Calibration Object Imperfections
Three critical factors can compromise your calibration objects and undermine measurement accuracy in image scale calibration.
Physical damage, environmental variables, and manufacturing defects all contribute to calibration object imperfections that can propagate through your measurements.
To minimize these issues:
- Regularly inspect your calibration slides or grids for scratches, dirt, and wear—clean them properly before each calibration session.
- Store calibration objects in controlled environments to prevent temperature and humidity-induced deformations.
- Validate measurements using multiple calibration standards of different sizes to identify systematic errors.
- Document the history and condition of each calibration object, replacing them when they show signs of degradation.
Remember that even minor imperfections can greatly impact results, especially in high-precision applications where sub-micron accuracy is required.
Distortion Correction Challenges
While achieving perfect image scale calibration remains the goal, optical distortions present considerable obstacles that can undermine your measurement accuracy. Barrel and pincushion distortions considerably alter image scale, requiring systematic correction approaches to guarantee reliable measurements.
To overcome these distortion correction challenges, select high-quality lenses with minimal inherent distortion. Implement calibration patterns with numerous features and well-defined edges, such as CharuCo boards, which enhance detection precision.
Employ sub-pixel accuracy techniques for finer distortion corrections that standard methods might miss. Don’t overlook the importance of regular validation against known standards. By periodically comparing your calibration results to benchmarks, you’ll identify subtle distortion errors before they compromise your measurements.
This consistent verification guarantees your image scaling remains accurate despite inevitable optical imperfections.
Advanced Techniques for Sub-Micron Measurement Precision
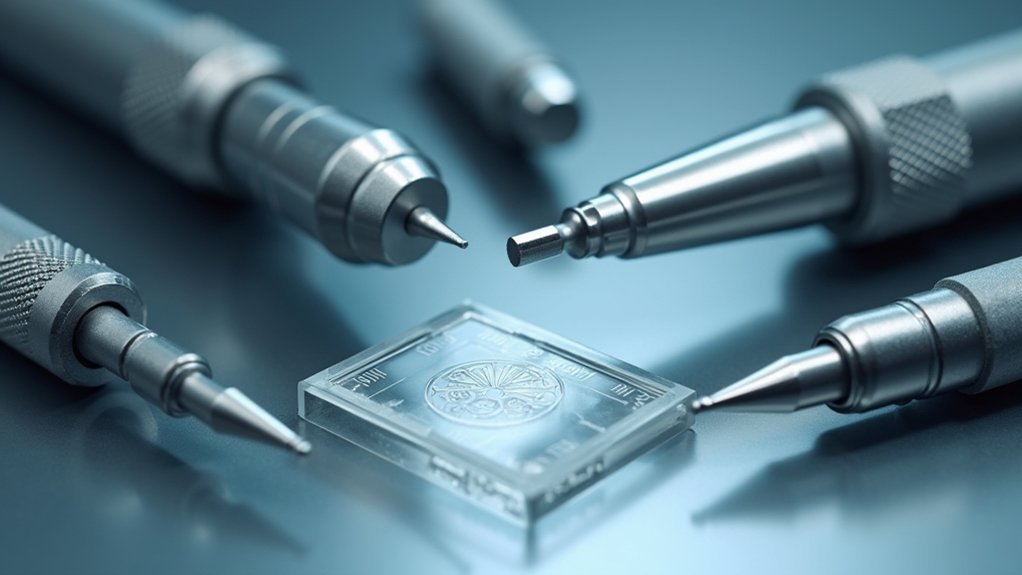
When pushing the boundaries of measurement accuracy to the sub-micron level, standard calibration methods simply won’t suffice.
You’ll need to incorporate sub-pixel accuracy techniques that enhance reliability while minimizing the number of image captures required.
To achieve sub-micron precision in your measurement system:
- Invest in high-quality, low-distortion lenses that minimize optical aberrations and markedly improve image clarity.
- Implement advanced calibration patterns like CharuCo boards for superior edge detection and localization.
- Regularly validate your calibration against traceable standards from National Metrology Institutes.
- Apply statistical methods to identify and remove outlier data points, improving overall measurement precision.
These approaches work together to overcome the fundamental limitations of pixel-based measurements, allowing you to confidently push your system’s capabilities beyond conventional boundaries.
Software Tools and Algorithms for Scale Verification
Modern AI-based calibration methods automatically identify reference markers and apply correction factors, saving you significant time compared to manual calibration.
Cross-validation algorithms enhance your measurement reliability by comparing results across multiple calibration standards and identifying systematic errors before they affect your data.
Error detection systems continuously monitor your calibration parameters, alerting you when drift occurs and preventing inaccurate measurements from contaminating large datasets.
AI-based Calibration Methods
As artificial intelligence transforms image analysis capabilities, AI-based calibration methods have emerged as powerful solutions for scale verification challenges. These approaches reduce human error while enhancing measurement precision through automated processes.
When implementing AI-based calibration methods, you’ll benefit from:
- Real-time analysis of pixel data using computer vision to establish precise scale values from reference points.
- Statistical models that maintain consistent measurements across different devices and image formats.
- Automatic detection and correction of scale discrepancies, achieving sub-pixel accuracy.
- Quality assessment algorithms that measure reprojection errors and guide you through calibration refinements.
Cross-validation Algorithms
Essential for ensuring measurement integrity across varying conditions, cross-validation algorithms provide the statistical backbone for robust scale verification in image analysis.
You’ll find these algorithms compare your measured distances against known reference values, delivering reliable statistical assessment of your calibration accuracy.
The K-fold validation technique divides your dataset into subsets, reducing overfitting risks while testing consistency across different images.
By leveraging multiple datasets, you’re able to verify scale consistency and identify discrepancies that might otherwise go unnoticed.
Tools like OpenCV and MATLAB streamline this process with built-in functions that automate verification.
Meanwhile, machine learning-based cross-validation algorithms adaptively improve calibration by analyzing pixel resolution patterns and image metadata, effectively learning ideal scaling parameters over time.
Error Detection Systems
Error detection systems represent the practical implementation of calibration theory, transforming abstract validation concepts into functional toolsets for everyday use. When you’re calibrating image scales, these systems work behind the scenes to guarantee your measurements remain reliable and accurate.
Modern error detection systems incorporate several sophisticated elements:
- Algorithm-based analysis comparing pixel dimensions against standard measurements to identify scale discrepancies.
- Statistical methods that quantify reprojection errors and validation precision.
- Machine learning techniques that recognize patterns and anomalies in your image data.
- Visual aids like overlays and scale bars for real-time accuracy assessment.
You’ll benefit from automatic outlier detection features that flag problematic measurements immediately, allowing for quick corrections.
These intelligent systems don’t just identify errors—they provide actionable insights that help you maintain calibration accuracy throughout your imaging workflow.
Documenting and Maintaining Calibration Records Over Time
Meticulous documentation forms the backbone of reliable image scale calibration systems.
You’ll need thorough calibration records that track each session’s history, including dates, equipment specifications, and personnel involved. Don’t overlook environmental conditions like lighting that can affect results—logging these details proves invaluable when troubleshooting discrepancies.
To maintain accuracy over time, update your records with periodic check results, document any outlier removals, and note parameter adjustments.
Consistent record updates—including periodic checks, outlier removals, and parameter adjustments—safeguard long-term calibration accuracy.
Specialized software tools can streamline this documentation process while making historical data readily accessible for reviews and audits.
Establish a regular validation routine for your calibration records to enhance accountability and promote compliance with industry standards.
This systematic approach to documentation greatly contributes to measurement reliability and long-term calibration integrity.
Cross-Validation Approaches for Enhanced Confidence
While maintaining thorough calibration records establishes accountability, cross-validation techniques take your calibration confidence to another level. By systematically testing your calibration model against different data subsets, you’ll uncover potential weaknesses and guarantee robustness across varying conditions.
Implement these cross-validation strategies to enhance your calibration reliability:
- Apply k-fold cross-validation to partition your dataset, guaranteeing your calibration works consistently across diverse image samples.
- Vary calibration targets, angles, and distances to identify outliers that might compromise accuracy.
- Compare multiple calibration methods simultaneously (traditional vs. optical flow approaches) to verify consistency of results.
- Validate against Standard Reference Materials (SRMs) and analyze reprojection errors across different views to quantify reliability.
These cross-validation approaches provide statistical confidence that your scale calibration remains accurate across different scenarios and applications.
Frequently Asked Questions
Why Does Calibration Improve Accuracy?
Calibration improves accuracy because it aligns your measurements with known reference values, eliminating systematic errors. You’re fundamentally creating a precise conversion scale that accounts for your specific imaging system’s unique characteristics and variations.
Do We Really Need an Accurate Calibration Pattern to Achieve a Reliable Camera Calibration?
Yes, you absolutely need an accurate calibration pattern. Without it, your camera calibration will have errors since precise feature detection depends on distinct, well-defined patterns with known dimensions and geometry.
What Is the Difference Between Accuracy and Precision Calibration?
Accuracy measures how close your calibration values are to the true standard, while precision refers to how consistently you can repeat these measurements. You’ll need both for reliable calibration—correct values that remain stable across multiple trials.
What Does Scale Calibration Mean?
Scale calibration is how you establish a relationship between image size and real-world measurements. You’re setting a reference scale so the software can accurately convert pixels to actual distance units like micrometers.
In Summary
You’ve seen that truly accurate image scale calibration isn’t achieved through any single technique. It requires your careful selection of reference standards, understanding of pixel resolution limitations, control of environmental variables, and implementation of cross-validation methods. By combining proper documentation with advanced algorithms and regular verification, you’ll maintain measurement integrity over time. Remember, it’s this systematic approach that transforms ordinary measurements into reliable, precise data.
Leave a Reply