
Strategic lighting direction dramatically improves crystal photography by revealing structural details invisible with standard illumination. Side lighting at 90-degrees enhances texture and depth, while oblique angles minimize glare and highlight surface features. Backlighting emphasizes transparency and internal colors, creating dramatic silhouettes. By varying your light positions, you’ll achieve the ideal 3:1 shadow-to-light ratio that showcases crystalline geometry. Discover how these techniques transform ordinary specimen documentation into data-rich scientific imagery.
Numeric List of Second-Level Headings
Four essential lighting directions should be considered when photographing lab specimens.
These directional techniques can transform your documentation from ordinary to exceptional:
- Front Lighting – Provides even illumination but can create low contrast images that lack texture details.
- Side Lighting – Illuminates from one side to enhance textures and surface details vital for analysis.
- Backlighting – Creates dramatic silhouettes that emphasize specimen structure and outline.
- Vertical Positioning – Adjusts light height to control shadows and depth perception.
When implementing these techniques, make sure to experiment with different angles and intensities.
The vertical position of your light source greatly impacts how textures appear in the final image.
The Science Behind Crystal Light Refraction
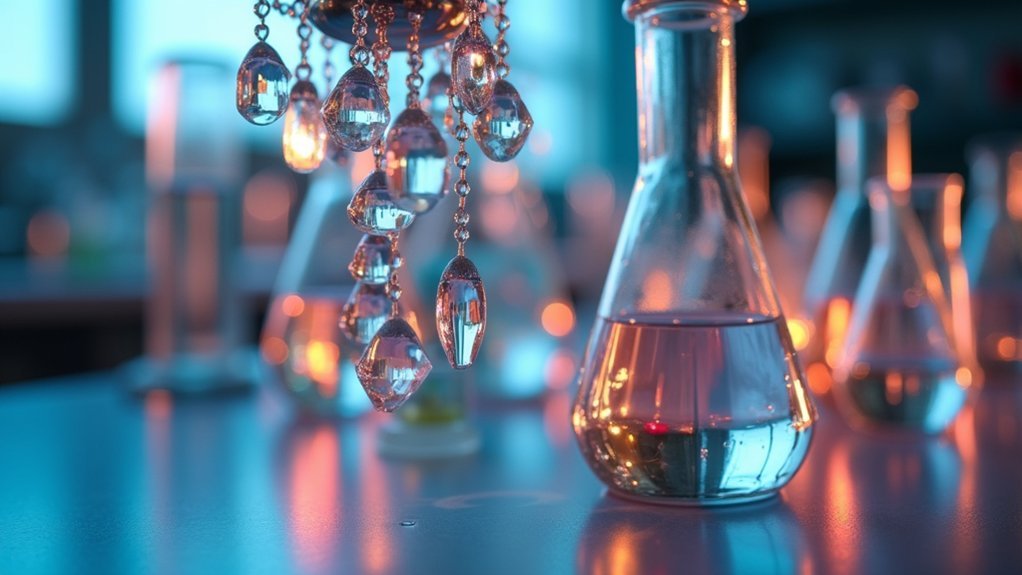
When light passes through crystalline materials in a laboratory setting, it undergoes a fascinating physical transformation known as refraction. This bending of light waves creates a spectrum of colors and dramatically enhances visual interest in your photos.
You’ll find that the angle of incidence—how light strikes the crystal surface—critically determines the refraction quality.
Different crystals offer varying possibilities; quartz and lead glass possess distinct refractive indices that affect light intensity and quality.
Side Illumination Techniques for Enhanced Crystal Structure

You’ll achieve remarkable angular shadow differentiation by positioning your light source at a 90-degree angle to your camera, creating stark contrasts that highlight crystal facets.
This side lighting technique reveals depth by casting defined shadows across crystalline surfaces, transforming flat-looking specimens into visually dynamic structures.
To enhance dimensional perception further, try varying the height of your illumination source, which changes shadow patterns and accentuates the crystal’s natural geometric complexity.
Angular Shadow Differentiation
Side illumination represents a critical technique in crystal photography that leverages the interplay between light and geometry.
By manipulating light at 90° angles to your camera, you’ll create distinctive shadow patterns that reveal structural details invisible with front lighting.
To maximize angular shadow differentiation:
- Position your light source at various side angles to highlight specific crystal facets and create controlled shadow edges.
- Adjust vertical light positioning to manipulate how shadows cascade across the crystal’s surface, enhancing depth perception.
- Increase contrast between illuminated and shadowed areas to emphasize textures and internal features.
- Experiment with multiple light angles to document different aspects of the crystal’s structure.
This strategic shadow play not only produces visually striking images but also provides valuable scientific data by clearly delineating the crystal’s unique architectural characteristics.
Depth Enhancement Methods
Building on angular shadow techniques, effective depth enhancement through side illumination transforms flat crystal images into three-dimensional representations that reveal their true structure.
Position your light source at a 90-degree angle to maximize contrast between crystal facets and background, immediately improving definition.
You’ll achieve ideal results by adjusting light intensity and distance to manipulate reflections within the crystal. This highlights unique characteristics that would otherwise remain invisible.
Try incorporating a diffuser or softbox to soften harsh shadows while maintaining essential depth details.
Don’t limit yourself to horizontal positioning—experiment with vertical light placement to further enhance three-dimensionality.
Oblique Lighting to Reveal Surface Textures
When capturing crystalline structures in lab settings, oblique lighting stands out as a powerful technique for revealing otherwise hidden surface details. By positioning your light source at an angle to your specimen, you’ll create shadows that highlight contours and textures that would disappear under direct lighting.
- You’ll achieve enhanced contrast between different materials, making subtle variations immediately apparent in your documentation.
- Glare on reflective crystal surfaces is minimized, allowing for more accurate color representation.
- You can strategically adjust the angle to emphasize specific features like edges and grooves.
- Experimenting with height and angle manipulations will dramatically alter the perceived depth in your images.
This targeted approach transforms ordinary lab photos into information-rich visual data, essential for thorough scientific analysis.
Backlighting Methods for Transparency Documentation
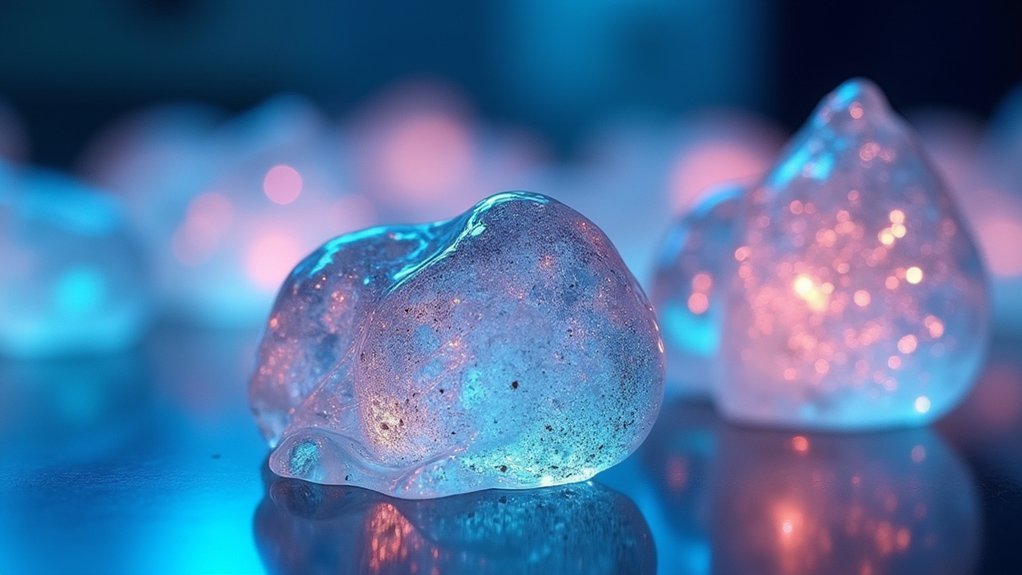
While oblique lighting excels at revealing surface textures, transparent crystal specimens demand an entirely different approach. Backlighting illuminates samples from behind, creating striking contrast that enhances visibility of internal details and textures.
Position your light source directly opposite the camera to achieve a silhouette effect that highlights your specimen’s outline and properties. You’ll find that adjusting light intensity dramatically affects image clarity—higher intensity enhances transparency while lower settings reveal finer details.
Position light opposite camera for silhouette effects that reveal crystal outlines, adjusting intensity to balance transparency with detail visibility.
For more balanced documentation, place a diffuser between your light source and sample to soften shadows and minimize glare.
Don’t hesitate to experiment with various angles and distances; this exploration will help you identify the ideal setup for showcasing your transparent material’s unique characteristics.
Strategic Shadow Placement for Dimensional Depth
When photographing crystals in lab settings, you’ll need to calculate ideal shadow-to-light ratios to create visual depth that reveals structural details.
Adjusting your key light 45 degrees off-axis while positioning a weaker fill light opposite can produce shadows that enhance the crystal’s three-dimensional qualities without obscuring critical features.
Your lighting setup should maintain approximately a 3:1 shadow-to-light ratio for most crystalline specimens, though transparent or highly reflective samples may require gentler 2:1 ratios to preserve detail in both highlights and shadows.
Shadow-to-Light Ratios
Because flat, dimensionless crystal photographs fail to showcase important structural details, mastering shadow-to-light ratios becomes essential for laboratory documentation.
Your crystal images need carefully balanced contrasts to reveal their true three-dimensional nature.
- Lower ratios (more light than shadow) produce flatter images that obscure critical details, while higher ratios (more shadow than light) dramatically enhance depth perception.
- Position your light source at an angle instead of directly facing the crystal to create more pronounced, depth-enhancing shadows.
- Utilize side lighting to emphasize textures and contours, resulting in more dynamic images that showcase the crystal’s dimensionality.
- Don’t settle for your first attempt—experiment with different light positions and intensities to manipulate shadows effectively and achieve your desired visual impact.
Three-Dimensional Crystal Imaging
Shadow-to-light ratios set the foundation, but strategic shadow placement takes your crystal photography to new heights. When you position your lighting with intention, you’ll reveal intricate facets and internal structures that flat lighting simply can’t capture.
| Lighting Technique | Effect on Crystal | Best Application |
|---|---|---|
| Off-camera flash | Enhances contours | Complex geometries |
| Angled lighting | Controls contrast | Highlighting features |
| Backlighting | Creates silhouettes | Transparent specimens |
| Vertical positioning | Alters height perception | Tall or elongated crystals |
Polarized Light Applications for Birefringent Crystals
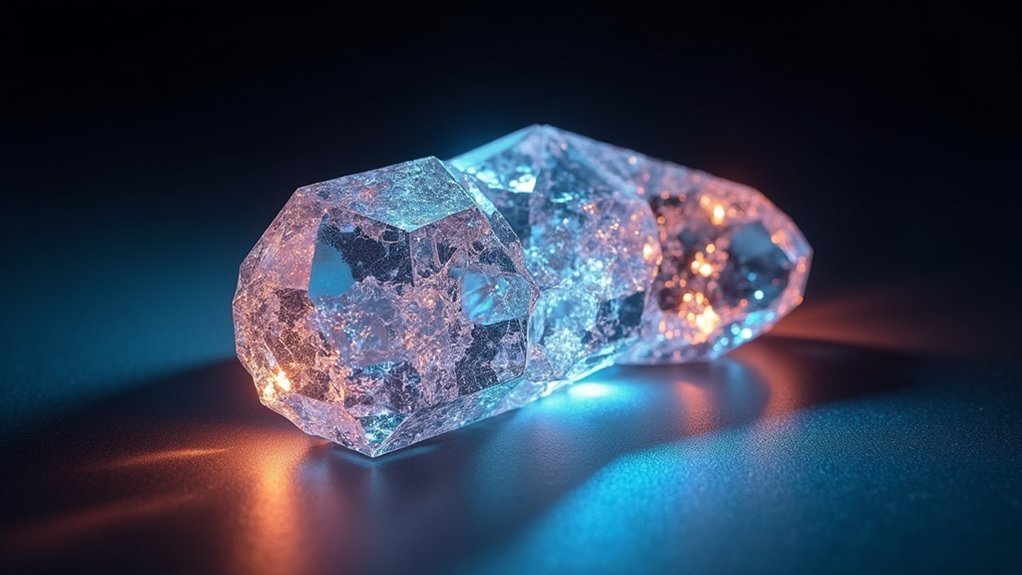
Through the remarkable properties of polarized light, you’ll discover an essential tool for capturing the full beauty and structural details of birefringent crystals.
When you use polarized light, these crystals reveal their hidden characteristics through distinctive color patterns and enhanced contrast.
The advantages of using polarized filters in your crystal photography include:
- Dramatic improvement in contrast, making crystal structures and defects more visible
- Observation of double refraction as light splits into two rays with different velocities
- Analysis of crystal orientation by rotating your polarizing filter to observe changes in brightness and color
- Identification of extinction positions and other optical phenomena that reveal crystallographic properties
You’ll find that proper polarization transforms ordinary crystal images into scientific data points while creating visually stunning laboratory photographs.
Contrast Manipulation Through Angle Variation
As you position your light source at different angles relative to your crystal specimen, you’ll discover that each adjustment creates dramatic shifts in contrast that reveal unique aspects of the crystal’s structure.
A 90-degree angle placement generates sharp highlights and deep shadows, emphasizing clarity and brilliance.
For maximum contrast, try backlighting your crystal. This technique produces striking silhouettes while simultaneously highlighting internal colors and inclusions.
Don’t overlook vertical positioning—placing lights above or below your specimen alters depth perception and dimensionality.
Remember that angle variation doesn’t just affect technical aspects of your image; it transforms the mood entirely.
Vertical Light Positions to Minimize Reflective Glare

Positioning your lights at high angles overhead creates dramatic shadows that emphasize texture while minimizing reflections on glossy lab surfaces.
You’ll find that tilting lights slightly away from directly above can prevent hotspots on glassware while maintaining clarity of crystalline structures.
For specimens with highly reflective properties, try implementing low light diffusion techniques by placing your light source at a lower position and filtering it through translucent material to soften potential glare.
High-Angle Overhead Techniques
When capturing crystal specimens in laboratory settings, overhead lighting techniques stand out as essential tools for reducing unwanted reflections.
You’ll find that positioning your light source at a high angle creates dramatic improvements in image quality and detail preservation.
To implement this approach effectively:
- Position your light source directly overhead to minimize reflective glare on glossy crystal surfaces.
- Experiment with a 45-degree angle to balance even illumination with glare control.
- Adjust vertical positioning to enhance depth and dimensional qualities without creating distracting highlights.
- Test different heights to find the best position where crystal details remain vibrant and clear.
This technique works particularly well with specimens containing glass or metallic elements, where traditional lighting often creates reflections that obscure critical scientific details.
Low Light Diffusion
While overhead techniques provide excellent glare control for many specimens, low light diffusion offers a complementary approach for particularly challenging crystal photography.
You’ll find that positioning your light sources at lower vertical heights dramatically reduces reflective glare from glass and crystal surfaces, revealing intricate details otherwise lost to shine.
By placing lights at lower positions and using diffusion materials, you’re creating softer illumination that wraps around your specimens rather than bouncing harshly off their surfaces.
Try experimenting with different vertical heights—low and medium positions often yield the best results for transparent objects.
The key advantage is control: you can precisely adjust light angle and height to highlight unique textures while minimizing unwanted reflections.
This technique is especially valuable when photographing crystals with complex internal structures or multiple reflective faces.
Multi-directional Lighting Setups for Complex Specimens
Complex specimens with irregular surfaces and intricate details demand more sophisticated illumination than simple single-source lighting can provide.
You’ll want to implement a strategic multi-directional approach to reveal your specimen’s full complexity.
- Position at least three light sources at different angles around your specimen to create balanced exposure, eliminating problematic shadows while preserving depth information.
- Add diffusers to each light to soften harsh reflections that might obscure important surface features or textures.
- Fine-tune the color temperature of each light source to guarantee accurate color reproduction for reliable scientific documentation.
- Experiment with adjusting individual light positions and intensities to highlight specific textures and structures, making certain features more visually prominent for detailed analysis.
Condenser Adjustments for Optimal Crystal Photography
Beyond multiple light sources, the microscope’s condenser serves as your precision tool for achieving extraordinary crystal photographs. When you adjust the aperture, you’ll control light throughput, dramatically enhancing detail clarity in your specimens.
Proper alignment with your light source eliminates glare and artifacts that might obscure delicate crystal structures. You’ll find that experimenting with height and angle creates shadows that accentuate three-dimensional features.
| Condenser Setting | Effect on Crystal Photography |
|---|---|
| Higher aperture | Increased contrast between facets |
| Lower aperture | Softer illumination for translucent specimens |
| Raised position | Enhanced shadows for texture definition |
| Angled alignment | Highlighted inclusions and internal structures |
Remember to fine-tune these settings based on your specific crystal’s characteristics—each specimen demands unique condenser adjustments to reveal its full visual potential.
Frequently Asked Questions
What Is the Best Way to Photograph Crystal?
Use backlighting to photograph crystal. Position your light source at a 45-degree angle, and consider using a softbox to reduce glare. You’ll capture stunning transparency, refractions, and intricate details through this technique.
Why Does Side Lighting Look Better?
Side lighting looks better because it reveals texture and depth by creating shadows that highlight contours. You’ll see enhanced dimensionality in your photos as the contrast between light and dark areas adds visual interest.
Why Is Light Direction Important in Photography?
Light direction shapes your photo’s mood, texture, and dimension. You’ll create dramatic shadows with side lighting, silhouettes with backlighting, or flatness with front lighting. It’s how you’ll control your visual story’s emotional impact.
How Do Light Quality and Direction Affect Photographic Compositions?
Light quality and direction shape your compositions by creating mood, depth, and texture. You’ll get flatter images with front lighting, while side lighting adds dimension. Soft light reduces harsh shadows; directional light emphasizes form and texture.
In Summary
You’ve now mastered the art of crystal photography through directional lighting techniques. By controlling light angles, you’ll reveal intricate structures, enhance transparency, and document surface details with striking clarity. Remember, your lighting position isn’t just technical—it’s artistic. Experiment with side, oblique, back, and multi-directional setups to transform ordinary crystal specimens into extraordinary scientific images worthy of publication and presentation.


Leave a Reply