For thin section illumination, position your light source at angles between 20-40° for balanced detail visibility. You’ll get the best results using Köhler illumination, which guarantees uniform light distribution across your specimen. When examining geological samples, try 30-45° off-axis with polarized light to minimize glare and enhance structural features. Combine transmitted and reflected light techniques for thorough viewing of both internal and surface details. These fundamental principles will transform how you interpret microscopic structures.
Numeric List of 9 Second-Level Headings

An organized approach to lighting thin sections requires understanding key principles that guide the process.
When planning your lighting setup, consider these essential headings:
- Selecting Ideal Beam Angles (10°-25°)
- Positioning Light Sources at 45-Degree Angles
- Implementing Loop Lighting Techniques
- Applying Rembrandt Lighting Patterns
- Adjusting for Material Reflectivity
- Creating Depth Through Strategic Shadows
- Maintaining Consistent Lighting Across Samples
- Reducing Glare on Reflective Surfaces
- Fine-Tuning Light Intensity for Detail Enhancement
Each of these approaches addresses specific challenges you’ll encounter when illuminating thin sections.
The right light pattern dramatically improves visibility of minute details, while consistent lighting guarantees your samples can be accurately compared.
Precise illumination reveals microscopic features that standardized lighting ensures remain comparable across all specimens.
Master these techniques to reveal textures and features that might otherwise remain invisible.
Understanding Beam Angles for Microscope Illumination
You’ll notice a dramatic difference in specimen visibility when switching between oblique and direct beams during thin section examinations.
Kohler illumination principles guide your selection of proper beam angles, typically recommending 20-40° for balanced light distribution while maintaining clarity.
Critical angle optimization requires careful adjustment based on section thickness, with narrower angles below 20° providing concentrated illumination for finer details at the cost of potential shadowing.
Oblique vs. Direct Beams
The angle of illumination serves as a critical factor in microscopy that can dramatically transform how thin sections appear under observation.
When examining specimens, you’ll need to choose between oblique beam angles (20°-40°) and direct beams (under 20°).
Oblique lighting enhances surface details by creating shadow effects that reveal structural differences and provide depth perception.
Direct beams, while offering uniform illumination, often produce glare that obscures delicate features.
- Oblique beam angles reveal fine topographical details through strategic shadowing
- Direct beams risk overexposure and loss of subtle structural features
- Adjusting your light source angle lets you manipulate shadows to differentiate between materials
For ideal visibility of thin sections, you’ll typically find oblique illumination more effective at highlighting textures and enhancing contrast without sacrificing important details.
Kohler Illumination Principles
When exploring the intricacies of microscopy, Kohler illumination stands as the gold standard for achieving ideal specimen visibility. This technique revolves around precise light source alignment to guarantee your thin sections receive uniform light distribution across their entire surface.
To implement Kohler illumination effectively, you’ll need to position your condenser lens at an ideal beam angle—typically between 30° and 60°. This alignment guarantees the lamp filament sits exactly at the condenser lens’s focal point, creating an evenly illuminated field.
Wider beam angles allow you to observe larger specimen areas without shadows or hotspots. By adjusting these angles correctly, you’re maximizing the condenser’s numerical aperture, which directly enhances resolution and contrast.
Your thin sections will reveal previously hidden details when you master these precise illumination principles.
Critical Angle Optimization
Despite their often-overlooked importance, beam angles represent one of the most critical factors in achieving exceptional thin section visibility. When working with microscopy specimens, you’ll find that angles between 20° and 40° typically offer the ideal balance of light concentration and diffusion for peak optical performance.
For superior results with your light sources, consider these angle principles:
- Use narrower angles (below 20°) when you need concentrated illumination to highlight specific structures.
- Maintain the 20-40° sweet spot for balanced illumination in routine examinations.
- Remember that light intensity diminishes as beam angles widen.
Proper positioning of your light source relative to the specimen is essential—get this right, and you’ll dramatically enhance contrast and detail visibility in your thin sections.
The Science of Light Transmission Through Thin Specimens
When you’re examining crystal structures under microscopy, you’ll notice that optimizing beam angles greatly enhances detail visibility and structural clarity.
You can achieve superior results by adjusting the incident light to match the specimen’s optical properties, allowing for maximum transmission while minimizing distortion.
The resulting diffraction patterns reveal essential information about molecular arrangement and composition, enabling you to identify subtle variations that would otherwise remain hidden.
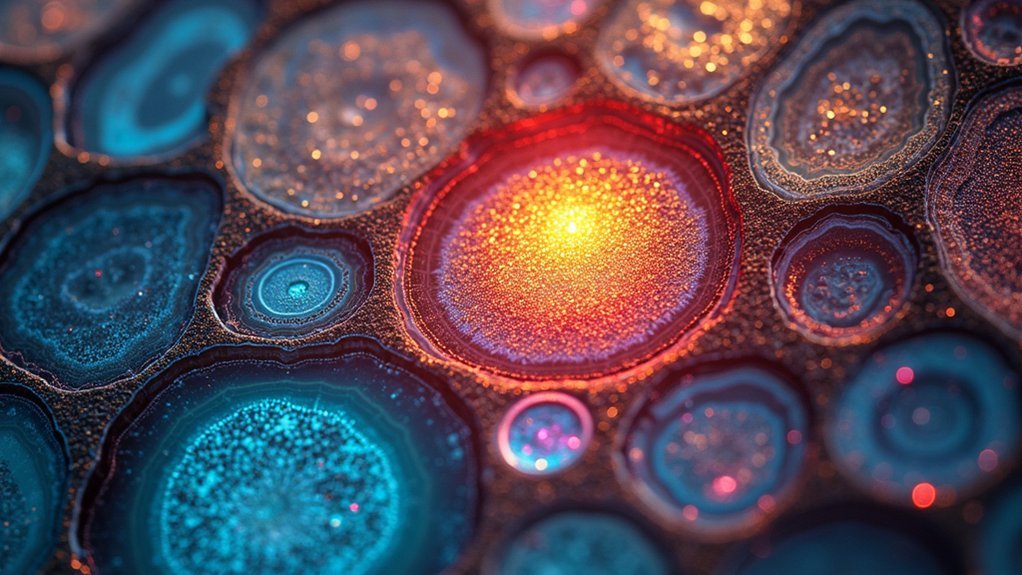
Crystal Structure Illumination
The fascinating world of crystal structures reveals itself through properly illuminated thin sections. When you direct light at ideal angles through crystalline specimens of approximately 30 micrometers thickness, you’ll observe birefringence and identify internal structures that might otherwise remain hidden.
Different lighting patterns dramatically affect your ability to analyze crystallography and optical properties.
Three essential aspects of crystal illumination:
- Angle of incidence – controls how light is directed through the specimen, enhancing visibility of defects
- Polarization techniques – reveal varying refractive indices and mineral phases
- Kohler illumination – guarantees even distribution of the amount of light across your sample
Beam Angle Optimization
Building on proper crystal illumination techniques, selecting the right beam angle becomes a fundamental element in studying thin specimens. When you’re examining delicate sections, beam angle optimization directly impacts how light transmits through your material, revealing essential details that might otherwise remain hidden.
For focused examination of specific features, utilize narrow beam angles under 20°. This approach enhances contrast and delivers superior detail resolution in microscopy applications.
Conversely, angles exceeding 40° provide more uniform illumination across larger areas, offering better overall structural visualization.
Consider your specimen’s thickness when selecting angles – thinner sections typically require narrower beams to prevent light dispersion. The right angle minimizes glare while maximizing light efficiency, ensuring illumination passes through rather than scatters.
This careful optimization transforms ordinary observation into precise scientific analysis.
Diffraction Pattern Analysis
Light waves interacting with thin specimens create distinctive diffraction patterns that serve as fingerprints of material structure. When you examine these patterns, you’re actually observing interference effects that reveal critical structural information about your sample.
The pattern’s characteristics directly correlate to the specimen’s thickness, shape, and refractive index.
To effectively analyze diffraction patterns from thin specimens:
- Measure both the angles and intensities of diffracted light
- Consider the wavelength’s influence (shorter wavelengths reveal finer details)
- Adjust your incident angle to optimize pattern clarity
You’ll find that quantitative analysis of these patterns provides precise dimensional measurements and material properties.
For more detailed crystallographic studies, you can employ advanced techniques like electron or X-ray diffraction, which extend this principle to atomic-scale investigation of thin materials.
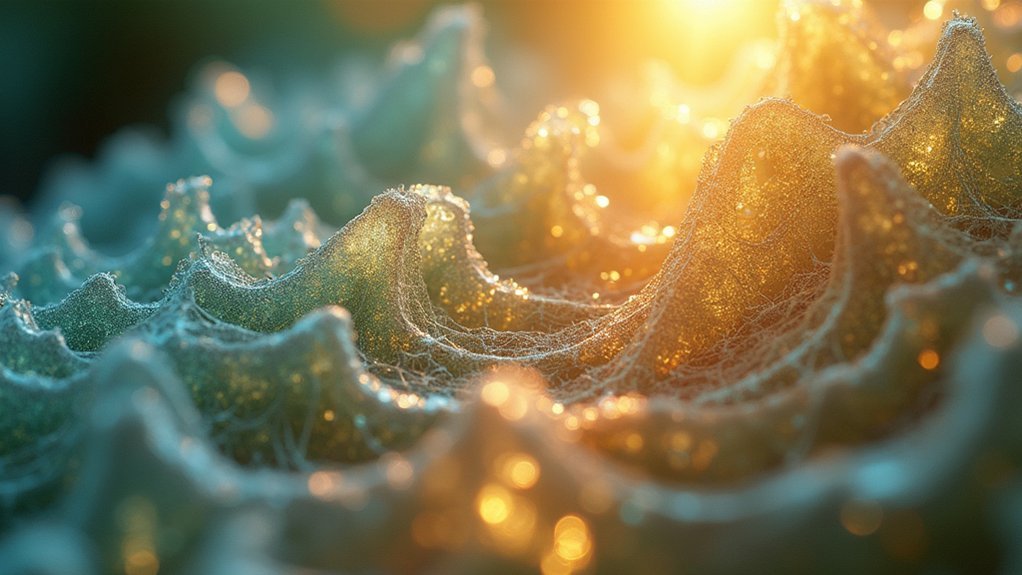
Optimal Lighting Techniques for Geological Thin Sections
Properly illuminating geological thin sections requires specialized techniques to reveal their intricate mineral structures and compositions. You’ll achieve the best results by positioning your polarized light source at an angle between 30° to 45° off-axis from your specimen. This angle minimizes glare while maximizing the contrast needed to observe detailed textures.
Implement a Köhler illumination setup to guarantee even light distribution across your entire sample. This uniformity is vital for accurate interpretation of mineral properties.
Try combining both transmitted and reflected light approaches—transmitted light will show internal features while reflected light highlights surface characteristics. Don’t hesitate to adjust your beam angle and focus; small changes can dramatically improve color perception and clarity.
Experiment with different positions until you find the ideal configuration for your specific thin section analysis.
Achieving Contrast: Köhler vs. Critical Illumination Methods
When examining thin sections under a microscope, your choice of illumination method can dramatically influence the clarity and accuracy of your observations.
Köhler illumination provides superior contrast for thin sections by evenly distributing light through a condenser lens, minimizing glare that might obscure critical details.
Unlike critical illumination, which directs light straight to the specimen and often creates problematic hot spots, Köhler allows you to fine-tune your viewing experience by adjusting:
- Light source position for ideal specimen coverage
- Aperture settings to enhance structural details
- Condenser focus to maximize contrast between features
You’ll find that mastering Köhler illumination techniques greatly improves your ability to identify fine structural elements in thin sections that might otherwise be lost in the shadows of critical illumination’s uneven lighting.
Polarized Light Patterns for Enhanced Structural Visibility
Polarized light transforms how you’ll perceive thin sections, going beyond the foundational benefits of proper illumination methods. By filtering light waves to vibrate in a single direction, you’ll reduce glare and reflections that often obscure critical structural details.
When you adjust the angle between polarizer and analyzer, you’ll immediately notice how different materials become distinguishable through their varying refractive indices. This technique reveals stress patterns and fractures that would otherwise remain invisible under conventional lighting.
For even more detailed analysis, try combining polarized light with differential interference contrast (DIC) techniques. You’ll uncover nuanced structural features as the polarized patterns highlight imperfections and boundaries between materials.
This approach is particularly valuable when you’re examining complex specimens requiring maximum visibility of internal architecture and compositional variations.
Mastering Oblique Illumination for Transparent Specimens

Oblique illumination provides a dramatic enhancement to transparent specimen visibility when you’re working with thin sections. By positioning your light source at 30-45 degrees to the specimen, you’ll create shadows and highlights that reveal surface textures invisible under direct lighting.
For ideal results with transparent specimens:
- Adjust your angle of illumination to manipulate how different layers appear, allowing clearer differentiation between components.
- Experiment with various angles to emphasize specific structural details while minimizing glare.
- Consider combining oblique illumination with polarizing filters when examining birefringent materials.
This technique excels particularly with thin microscopy sections where fine details matter.
You’ll find that subtle adjustments to the light angle can transform an ordinary transparent specimen into a detailed, contrast-rich subject for analysis.
Dark-Field Techniques to Reveal Fine Details in Thin Samples
Dark-field illumination brings out exceptional detail in thin sections that would otherwise remain invisible under conventional lighting. You’ll achieve this effect by directing bright light at steep angles—typically between 30° and 70°—preventing direct illumination from entering your objective lens.
When implementing dark-field techniques, position your light source to illuminate from the shadow side of your specimen. This creates a striking contrast where translucent or transparent samples appear brilliantly lit against a dark background. Fine structures and surface irregularities become immediately apparent as they scatter light toward your lens.
For ideal results with biological tissues or thinly sliced materials, carefully calibrate your setup to minimize background noise. This approach can reveal nanometer-scale features, making dark-field microscopy invaluable when you need to observe minute structural details that conventional methods simply can’t capture.
Phase Contrast Illumination for Unstained Biological Sections

When examining unstained biological sections, phase contrast illumination transforms invisible details into clearly visible structures by converting phase shifts in light into brightness variations.
You’ll observe cellular structures with remarkable clarity without altering their natural state through staining.
For ideal results with transparent specimens:
- Guarantee precise alignment of your condenser and objective lenses to accurately translate phase shifts into visible contrast.
- Use the appropriate phase plate designed specifically for your specimen thickness and transparency level.
- Adjust illumination intensity carefully to enhance fine details without creating artifacts.
This technique is invaluable for studying living cells and dynamic cellular processes.
You’ll see organelles, membranes, and nuclei with impressive definition, making phase contrast illumination essential for research in cell biology, microbiology, and histology.
Frequently Asked Questions
What Are the Best Lighting Angles?
You’ll get the best lighting angles at 45-degrees, which enhances depth without harsh shadows. Try butterfly lighting positioned above, loop lighting from the side, or Rembrandt lighting at 45-60 degrees for striking contrast.
What Is the Best Angle for Spot Lights?
For spotlights, you’ll get the best results positioning them at 30-45 degrees. This creates dramatic, focused lighting while minimizing harsh shadows. For accent lighting, try a narrower 15-30 degree beam angle instead.
What Is the Most Flattering Lighting Setup?
The most flattering lighting setup uses soft light positioned at a 45-degree angle above your eye level. You’ll look best with fill light to soften shadows and short lighting that creates dimension on your face.
What Is the Best Angle for Stage Lighting?
The best angle for stage lighting is 45 degrees from the front. You’ll want to combine this with side lighting at 30-60 degrees and backlighting at 180 degrees to create depth and dimension.
In Summary
You’ve now explored the critical aspects of thin section illumination from beam angles to specialized techniques. Remember, the lighting pattern you choose will dramatically impact what you’re able to see. Don’t hesitate to experiment with different approaches—whether polarized, oblique, dark-field, or phase contrast—to reveal your specimen’s finest details. Your mastery of these lighting principles will transform your microscopy results.


Leave a Reply