
You can control microscope light temperature by using daylight blue conversion filters, adjusting the rheostat, implementing white light reference standards, selecting appropriate bulbs (LED, xenon, tungsten), controlling ambient lighting conditions, calibrating field and aperture diaphragms, and applying digital color correction techniques. These methods help achieve accurate specimen colors and prevent eye strain. Mastering these approaches will transform your microscopic imaging from acceptable to exceptional.
Using Daylight Blue Conversion Filters
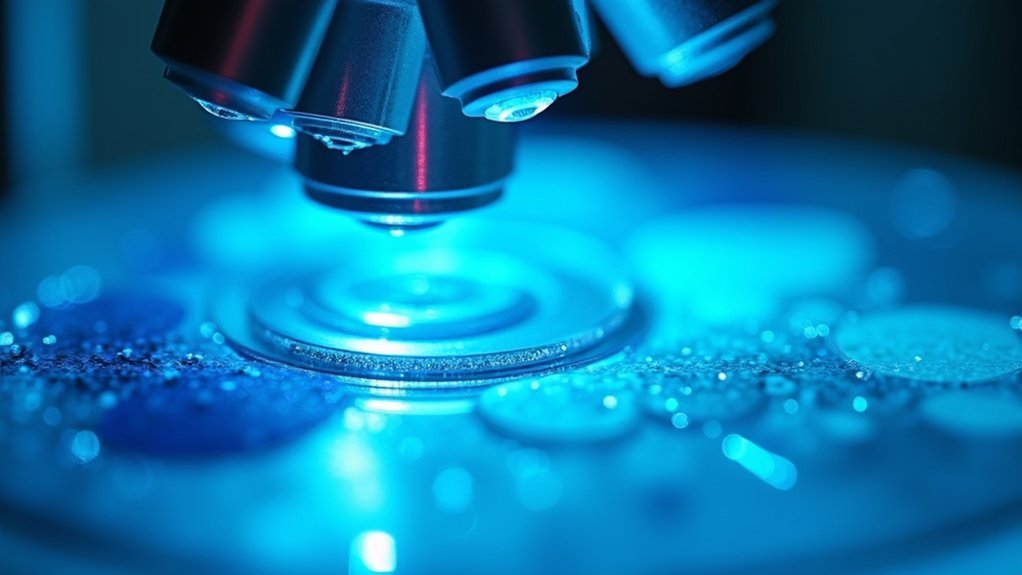
One of the most effective ways to control your microscope’s light temperature is by using daylight blue conversion filters.
These filters correct the color temperature of tungsten or halogen light sources (typically around 3200°K) to a more neutral white light of approximately 5000°K, which is ideal for microscopy applications.
The daylight blue filter works by absorbing yellow and red wavelengths, resulting in improved image quality and more accurate color representation in your specimens.
You’ll find several options available, including 80A, 80B, 80C, and 80D filters, each providing specific mired shifts for different lighting conditions.
You can place these filters either directly on top of your illuminator or in a dedicated filter holder, depending on your microscope’s design.
Note that if you’re using an LED microscope, you typically won’t need these filters.
Adjusting The Microscope Rheostat For Optimal Color Balance
While filters provide one solution for color temperature control, properly adjusting your microscope’s rheostat offers another powerful method for achieving perfect color balance.
Located on the side of your microscope body, the rheostat controls light intensity through a simple turning mechanism—clockwise to increase brightness and counter-clockwise to decrease it. This adjustment directly affects how your optical elements render colors in the final image.
When switching between objectives, you’ll need to recalibrate your illumination settings, as each magnification requires different light levels for peak visualization.
For consistent results, make rheostat adjustments deliberately, particularly when working with tungsten or halogen light sources that have specific color temperatures (typically 3200°K). Your careful control of the rheostat guarantees accurate color representation and prevents unwanted variations in image quality.
Implementing Proper White Light Reference Standards

Because microscope imaging depends on accurate color representation, establishing proper white light reference standards becomes crucial for consistent results.
You’ll want to standardize your microscope illumination at 5000°K (D50) for brightfield applications, as this serves as the ideal white light reference for maximum accuracy.
Remember that “white” varies in microscopy due to wavelength differences, which is why you need true white light with equal intensity across the spectrum.
When working with tungsten or halogen light sources that produce yellower light, apply daylight blue conversion filters to correct the color temperature.
Set your white reference at multiple points in your light microscopy system to prevent color distortions.
This calibration guarantees your images maintain consistent color fidelity regardless of viewing method or output medium.
Selecting Appropriate Bulbs Based On Color Temperature
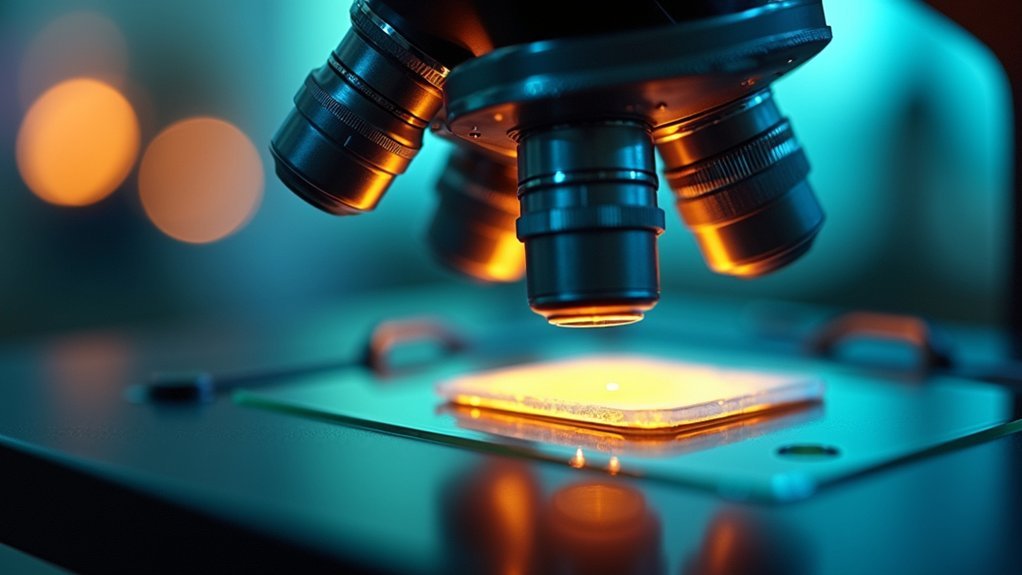
Choosing the right illumination source for your microscope directly impacts image quality and color accuracy. Tungsten-halogen bulbs, operating at around 3200 Kelvin, provide suitable general illumination but often require daylight blue conversion filters to achieve a more neutral white lighting effect.
Your microscope’s image quality depends on proper illumination—tungsten-halogen bulbs need blue filters to achieve neutral white light for accurate specimen observation.
For brightfield imaging requiring precise color representation, aim for light sources that deliver a color temperature of 5000 Kelvin (D50), the standard for photographic white lighting.
If you’re seeking illumination closer to natural daylight, consider xenon lamps which enhance both brightness and color fidelity.
LED illumination systems have become the preferred choice for modern microscopy applications due to their higher color temperature and consistent performance.
Unlike traditional bulbs, they typically don’t require additional filters to produce the clean, white light essential for accurate specimen observation.
Controlling Ambient Lighting To Minimize Color Distortion
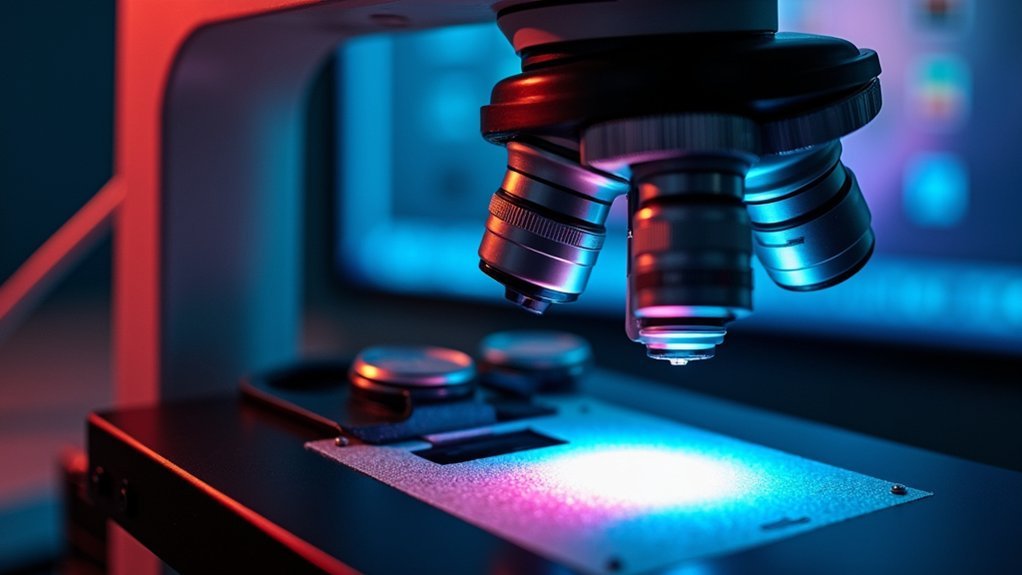
Beyond selecting the proper microscope bulb, the surrounding room environment plays a significant role in how accurately you’ll perceive colors under the microscope.
Ambient lighting can create significant color distortion in your microscopy images, affecting both perception and documentation.
To maintain consistent lighting conditions:
- Install 5000°K fluorescent bulbs in your laboratory to standardize the ambient light source and reduce color variations.
- Close curtains or blinds to minimize natural light interference that can change throughout the day.
- Use controlled illumination sources rather than relying on variable ceiling lights.
- Maintain the same ambient lighting setup for all imaging sessions to guarantee reproducible results.
These practices help overcome psychological and biochemical factors in your visual system that can alter color perception during microscopy work.
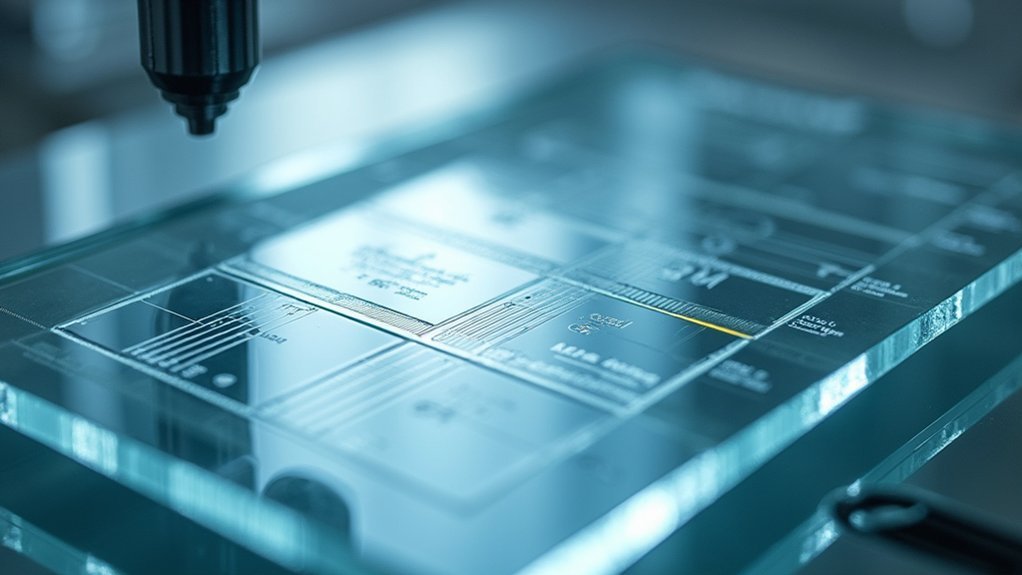
Calibrating Field And Aperture Diaphragms For Color Accuracy
While microscope bulb selection establishes baseline illumination, proper diaphragm calibration greatly impacts color accuracy and overall image quality. You’ll need to adjust both field and aperture diaphragms when switching objectives to maintain consistent light path integrity.
Begin by calibrating your field diaphragm with a 10X objective—close it until visible, then center using condenser screws. Next, adjust the aperture diaphragm to slightly below your objective’s numerical aperture for ideal contrast without sacrificing resolution.
| Diaphragm Type | When Misaligned | When Properly Calibrated | Effect on Color |
|---|---|---|---|
| Field Diaphragm | Uneven illumination | Uniform light distribution | True sample coloration |
| Aperture Diaphragm | Washed out details | Enhanced contrast | Accurate color temperature |
These calibrations aren’t merely technical adjustments—they’re essential for capturing quality images with precise color representation that reflects your sample’s true characteristics.
Applying Digital Color Correction Techniques Post-Capture
Even when you’ve meticulously calibrated your microscope’s illumination system, post-capture digital color correction offers powerful tools to enhance image accuracy and quality.
While hardware calibration is essential, digital color correction remains your microscope’s unsung hero for achieving truly faithful specimen representation.
You can greatly improve the visual information in your microscopy images using software-based approaches.
- Analyze and adjust color temperature to match standardized values (5000°K is ideal), ensuring accurate color representation across all samples.
- Apply histogram adjustments to identify and eliminate color casts resulting from imperfect illumination conditions.
- Fine-tune hue and saturation levels to enhance visibility of specific biological features that might otherwise remain obscured.
- Utilize advanced color correction algorithms that compensate for lighting inconsistencies, dramatically improving the fidelity of your microscopic observations.
These digital techniques serve as a second line of defense, complementing your physical calibration efforts and ensuring your images faithfully represent your specimens.
Frequently Asked Questions
What Are the 2 Ways to Adjust the Brightness of Light on a Microscope?
You can adjust your microscope’s light brightness by turning the rheostat knob clockwise or counter-clockwise and by opening or closing the aperture diaphragm beneath the stage to control light flow.
How Do You Control Light on a Microscope?
You control microscope light by adjusting the rheostat (turn clockwise to increase, counterclockwise to decrease brightness) and using the aperture diaphragm beneath the stage to optimize the light cone for your objective lens.
What Are Two Ways to Adjust the Light Intensity of a Compound Microscope?
You can adjust your compound microscope’s light intensity by turning the rheostat knob (clockwise to increase, counterclockwise to decrease) and by adjusting the aperture diaphragm beneath the stage in the condenser.
What Are the Multiple Ways to Adjust the Intensity of Light on the Microscope?
You can adjust microscope light intensity by using the rheostat knob (turning clockwise to increase brightness), adjusting the aperture diaphragm, using daylight balancing filters, or manipulating the field diaphragm for Köhler illumination.
In Summary
You’ve seen how proper light temperature management is essential for microscopy. By applying these seven techniques, you’ll achieve more accurate specimen colors and improve the quality of your visual data. Whether you’re adjusting the rheostat, using filters, or implementing digital corrections, controlling light temperature isn’t just about clarity—it’s about scientific accuracy. Take control of your microscope’s light temperature to guarantee your observations are truly representative.

Leave a Reply