
Keep your microscope illumination pristine by cleaning components with lint-free cloths, adjusting brightness settings for different magnifications, using appropriate filters to enhance contrast, positioning your microscope away from direct light sources, and replacing bulbs according to manufacturer guidelines. Never touch bulbs with bare hands, as skin oils can cause premature failure. These simple practices will transform your imaging quality and extend your instrument’s lifespan.
Essential Cleaning Techniques for Light Source Components

A properly maintained light source is the cornerstone of effective microscopy. To guarantee ideal illumination, regularly clean your microscope’s light components with a soft, lint-free cloth to remove dust that obstructs light transmission.
Always power off your microscope and allow the light source to cool completely before cleaning to prevent burns. When handling bulbs, avoid touching them with bare hands—oils from your skin can create hot spots and shorten bulb life. Instead, use gloves or a cloth.
For optical surfaces, apply a specialized cleaning solution that won’t damage components, guaranteeing no residue remains.
Don’t forget your light filters—wipe them with a microfiber cloth to eliminate fingerprints and contaminants that can distort both color and intensity of illumination.
Optimal Brightness Settings for Different Specimen Types
Selecting the right brightness settings dramatically impacts your ability to observe specimens clearly under the microscope. For ideal viewing, adjust your aperture diaphragm based on your objective lens magnification—keep it nearly closed (1/8 open) with 4x objectives, between 1/8 and 1/4 open for 10x, 1/4 to 1/2 open for 40x, and 1/2 to 3/4 open when using 100x objectives.
Remember that the numerical aperture (NA) increases with higher magnification objectives, requiring more light for proper illumination.
As magnification power increases, so does numerical aperture—meaning higher objectives need more light to reveal specimen details effectively.
Simultaneously, you’ll need to manage light intensity with the rheostat, typically reducing brightness as you increase magnification to prevent washing out details.
These adjustments maintain the perfect balance between contrast and resolution, ensuring your specimens appear crisp and detailed at any magnification.
Strategic Filter Selection to Enhance Image Quality
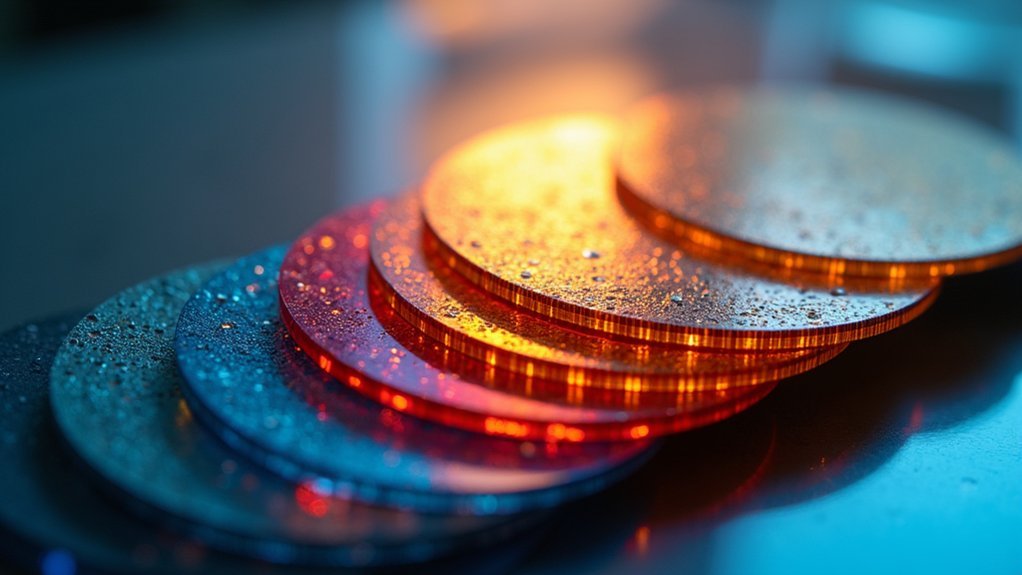
While proper brightness adjustments form the foundation of microscopy, strategic filter selection can transform an ordinary image into an exceptional one.
For tungsten or halogen illumination, you’ll need a daylight balancing filter to correct the yellowish tint to white, greatly improving image quality. LED microscopes, however, already emit ideal color temperature light, eliminating the need for correction.
Place a blue filter in your filter holder to enhance visibility of certain stains and reduce chromatic aberration for sharper images.
Filters also improve contrast by selectively absorbing specific wavelengths, helping you better differentiate subtle sample features.
Don’t hesitate to experiment with different filters for your specific specimens. The right filter can reveal details you’d otherwise miss, making this simple adjustment essential for professional-quality microscopy results.
Proper Positioning and Environmental Considerations
Beyond filter selection, your microscope’s physical environment profoundly impacts image quality.
Position your instrument away from direct sunlight and harsh artificial lighting to prevent glare and reflections that compromise illumination clarity.
Maintain a clean workspace around your microscope to minimize dust and debris that can interfere with light paths.
Temperature stability is vital—avoid placing your microscope near heating vents or cold windows, as thermal fluctuations affect optical components and light source performance.
Use anti-static materials in your workspace to reduce static electricity that attracts microscopic particles.
Finally, make certain your microscope sits on a level surface; even slight tilting can create uneven illumination and distort images.
These proper positioning and environmental considerations will greatly enhance your viewing experience and extend your equipment’s life.
Bulb Maintenance and Replacement Best Practices
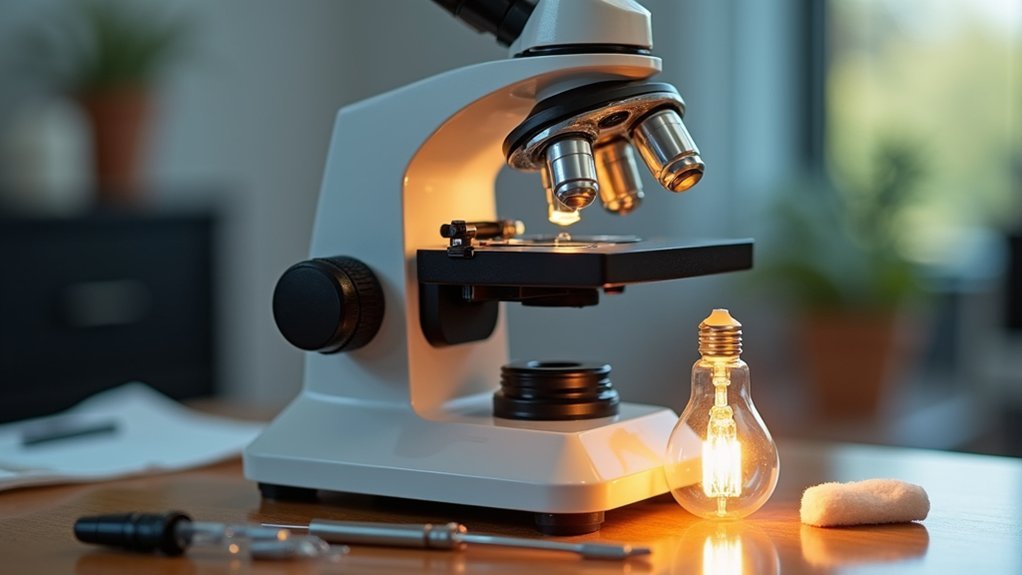
Because microscope illumination directly impacts your imaging quality, proper bulb maintenance becomes crucial for consistent results.
Monitor your bulb’s brightness and color temperature regularly—diminished output or color shifts can compromise your observations. You’ll need to replace bulbs according to manufacturer guidelines, typically after 1,000 hours of use, whether they’re halogen or tungsten varieties.
For peak bulb maintenance:
- Always allow bulbs to cool completely before handling and use gloves to prevent oil transfer
- Install only the specific bulb type recommended for your microscope model
- Maintain a replacement log to track usage hours and plan proactive replacements
Following these practices guarantees consistent illumination quality and extends the lifespan of your microscope components, ultimately saving you time and expense in the long run.
Frequently Asked Questions
How to Illuminate a Microscope?
Turn on your microscope, adjust light intensity clockwise, set aperture diaphragm based on your objective’s NA, and use the field diaphragm for better contrast. Readjust these settings when changing objectives.
How to Make a Microscope Brighter?
To make your microscope brighter, turn the rheostat clockwise, add a daylight filter, widen the aperture diaphragm to match your objective’s NA, and properly adjust the field diaphragm for ideal Koehler illumination.
What Is Used to Adjust the Illumination Level on the Light Microscope?
You can adjust the microscope’s illumination level using the rheostat knob (turn clockwise to increase, counter-clockwise to decrease), aperture diaphragm, field diaphragm, and by adding light filters when needed.
What Adjustments Should You Make to Achieve Optimal Lighting Conditions When Using the Microscope?
To achieve ideal lighting conditions, you’ll need to adjust the rheostat for brightness, set the aperture diaphragm according to your objective’s NA, and utilize the field diaphragm if you have Köehler illumination.
In Summary
By maintaining your microscope’s illumination system, you’ll guarantee crystal-clear imaging for years to come. Don’t neglect regular cleaning, appropriate brightness adjustments, and strategic filter use. Remember to position your microscope away from direct sunlight and replace bulbs before they fail completely. These simple practices aren’t just good habits—they’re essential investments in your microscope’s performance and longevity.


Leave a Reply