For lab photography, use LEDs with 5,000-6,500K color temperature and CRI above 90 for accurate color reproduction. Position lights at 45-degree angles and incorporate diffusers to minimize harsh shadows and glare. Increase LED intensity by 10-20% when doubling magnification. Control brightness with dimmable fixtures and verify flash sync speeds don’t exceed camera limitations. Experiment with different positions and diffusion techniques for your specific specimens. The right lighting setup will transform your scientific documentation quality.
Essential LED Lighting Techniques for Lab Photography
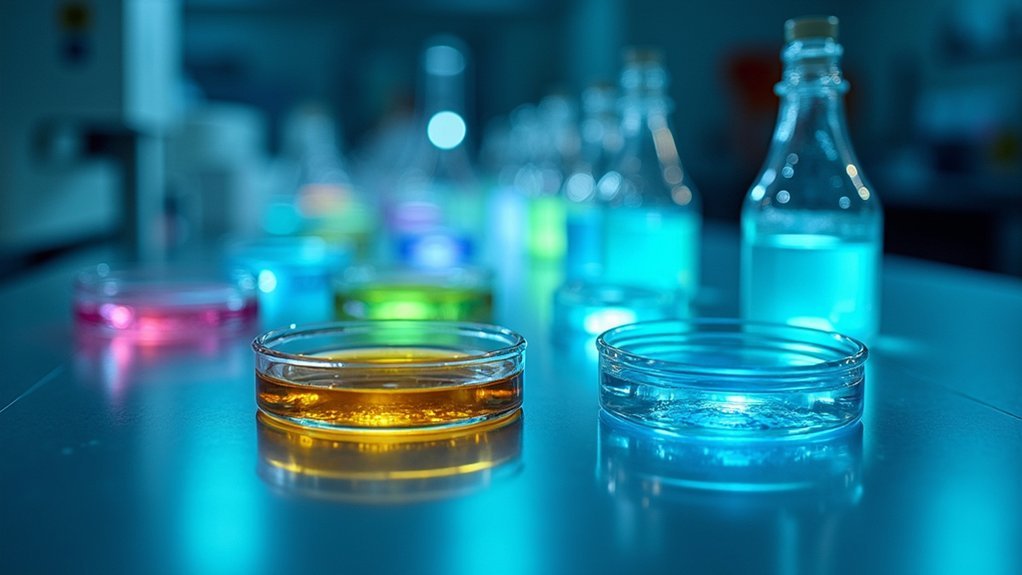
While traditional photography lighting setups often generate excessive heat and consume substantial power, LED lighting has emerged as the superior choice for laboratory photography. Its energy efficiency and minimal heat production create consistent illumination conditions critical for reproducible lab images.
When setting up your lab photography station, prioritize LED lighting with high IES TM30 metrics to guarantee accurate color rendering of specimens and equipment. Proper setup involves positioning lights to enhance visibility without creating glare and shadows on reflective surfaces.
Implement task-ambient design principles to optimize illumination levels on your subjects. To minimize hotspots and unwanted reflections, strategically place your LED lights at angles that complement rather than compete with each other.
Consider partnering with lighting professionals to maintain color consistency across different photography environments.
Choosing the Right LED Color Temperature for Scientific Accuracy
When selecting LED lighting for lab photography, you’ll need to understand that the Kelvin scale ranges from warm (1,000-3,500K) to cool (5,500K+), with each temperature affecting how colors appear in your images.
For fluorescent specimen imaging, higher color temperatures above 5,000K often reveal more detail by creating stronger contrast with the specimen’s natural emission.
Your choice of color temperature should align with your scientific objectives—warmer LEDs enhance reds and oranges while cooler temperatures provide the neutral to bluish appearance often required for technical accuracy.
Understanding Kelvin Scale
Because accurate color representation forms the foundation of reliable scientific photography, mastering the Kelvin scale is essential for laboratory professionals.
The Kelvin scale measures color temperature, with lower readings (1,000-3,500K) producing warm, yellowish light, while higher values (above 5,500K) create cool, bluish illumination. For scientific accuracy, aim for 5,000-6,500K, which closely mimics natural daylight and guarantees true-to-life colors in your images.
When selecting LED lighting for your lab, prioritize fixtures with high Color Rendering Index (CRI) values—90 or above—to achieve vibrant, accurate colors under artificial lighting.
Pay attention to the spectral power distribution of your lighting sources to confirm they cover the necessary color spectrum.
Fluorescent Specimen Imaging
Fluorescent specimen imaging presents unique challenges that build upon our understanding of the Kelvin scale. When selecting LED lights for your lab photography, opt for a color temperature around 5,500K to guarantee accurate color representation of fluorescent specimens.
The Color Rendering Index (CRI) is equally important—choose LEDs with values above 90 for true scientific accuracy.
For best results with fluorescent dyes:
- Match your LED’s spectral power distribution to the specific excitation and emission wavelengths of your dyes
- Use laboratory-designed LEDs to minimize heat generation that could damage sensitive specimens
- Select fixtures compliant with IES standards like LM80 for reliable lighting consistency over time
These considerations will help you capture detailed, reproducible images while preserving specimen integrity—vital for credible scientific documentation and analysis.
Optimizing Light Placement for Microscope Photography
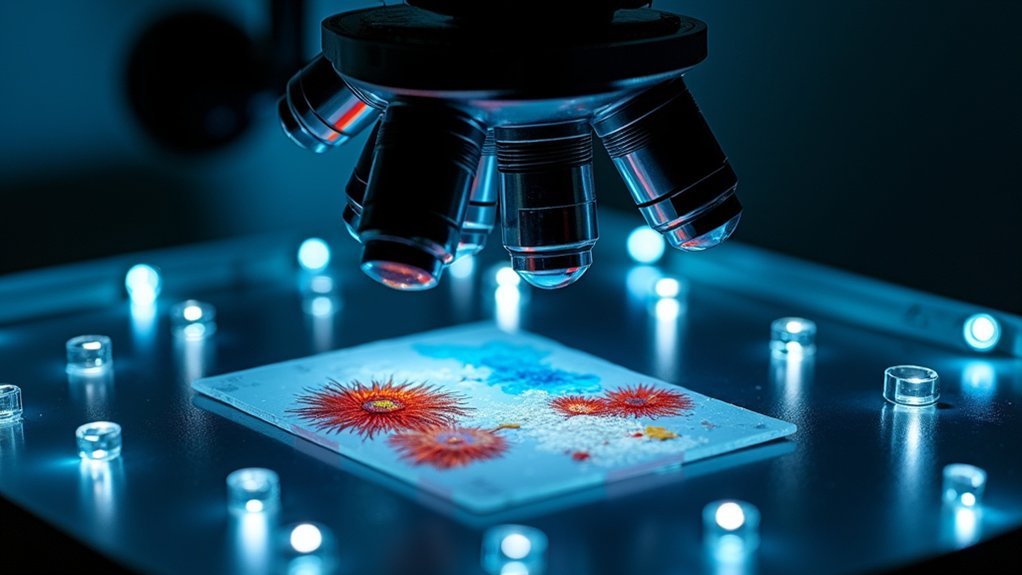
Although seemingly technical, proper light placement serves as the foundation for exceptional microscope photography. When positioning your LED lights, aim for a 45-degree angle to create revealing shadows that highlight texture and depth in three-dimensional specimens. This strategic light placement greatly enhances fine details while minimizing distracting glare.
You’ll want to incorporate diffuse light by using diffusers with your LED lights, which softens harsh illumination and reduces reflections on glass slides. Adjust the distance of your light sources carefully—closer placement increases brightness but risks hotspots, while greater distance provides more even illumination across your field of view.
For flat or reflective samples, consider mounting ring lights around your microscope’s objective lens. These specialized light sources deliver consistent, shadow-free illumination that’s essential for capturing the clearest possible images.
Reducing Glare and Reflections on Lab Specimens
When photographing reflective lab specimens, you’ll need appropriate diffusion methods to transform harsh light into soft, even illumination that reveals important details.
You can achieve this by placing diffusers or softboxes between your LED lights and specimens, which scatter the light particles and minimize problematic hotspots.
Position your light sources at strategic angles—typically 45 degrees from the specimen—to direct unwanted reflections away from your camera lens while maintaining ideal illumination of your subject.
Diffusion Methods Matter
Despite their precision and controllability, LED lights can create problematic glare and unwanted reflections on lab specimens, particularly those with glossy or reflective surfaces.
Employing effective diffusion methods transforms harsh, direct light into soft, evenly distributed illumination that reveals critical details.
- Position your LED lights at a 45-degree angle to minimize direct reflections while enhancing the specimen’s three-dimensional qualities.
- Use various diffusers like softboxes, sheer curtains, or specialized lighting gels to scatter light evenly across your specimen’s surface, eliminating harsh shadows.
- Incorporate white or silver reflectors to redirect diffused light toward specific areas, balancing illumination and further reducing glare.
Don’t hesitate to experiment with combinations of diffusion techniques—finding the perfect balance between hard and soft light sources will dramatically improve your lab photography results.
Angle Positioning Strategies
Precise light positioning makes the difference between mediocre and exceptional lab photography. When working with reflective specimens, place your LED lights at a 45-degree angle to dramatically reduce glare while maintaining detail visibility. This strategic angle positioning lets you capture clear images without distracting reflections.
Experiment with your adjustable lighting at varying heights and distances to find the best setup for each specimen’s unique surface properties. Incorporate softboxes or diffusers to evenly scatter light across your subject, eliminating harsh shadows that might obscure important features.
For particularly challenging reflective specimens, combine proper light sources placement with polarizing filters on your camera lens. This powerful combination will further reduce glare while enhancing the clarity of images, revealing fine details that might otherwise be lost.
Single-Point vs. Multi-Point LED Configurations
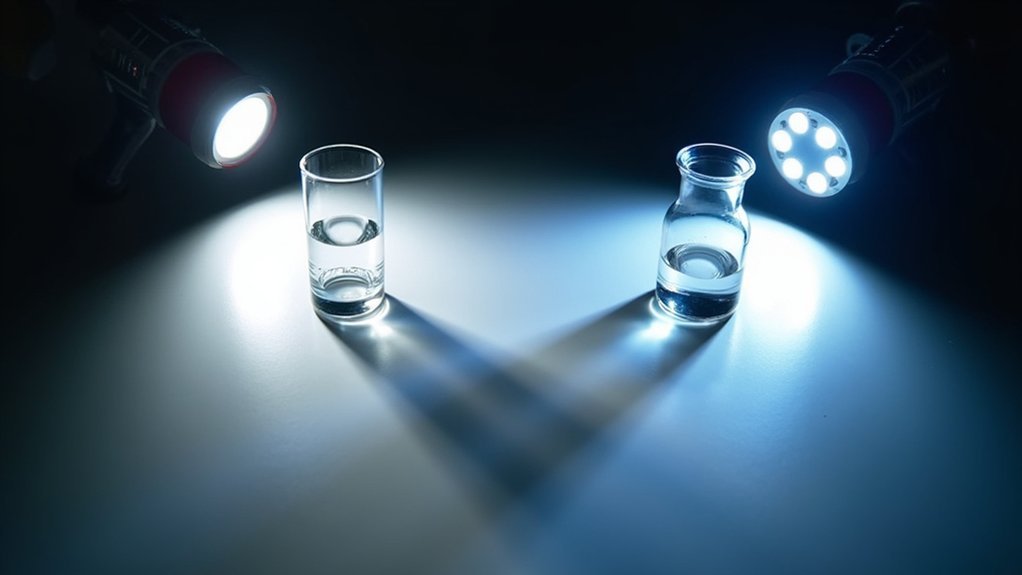
Although both configurations have their merits, single-point and multi-point LED lighting setups offer dramatically different results in laboratory photography. When using a single-point LED, you’ll create dramatic shadows that emphasize texture but must position carefully to avoid uneven illumination.
Multi-point configurations provide greater flexibility and professional results through:
- Strategic placement of multiple light sources for balanced, even coverage
- Implementation of key, fill, and backlights to add depth and dimension
- Ability to independently adjust intensity and direction at each point
Remember to maintain consistent color temperature across all LED sources in multi-point setups. Mismatched temperatures create undesirable color casts that compromise scientific accuracy.
Your choice between single or multi-point lighting should ultimately depend on your subject’s specific requirements and the details you need to highlight.
Adjusting LED Intensity for Different Magnification Levels
When working with microscopy, you’ll need to increase LED intensity proportionally with magnification to maintain properly exposed images.
Your adjustable brightness controls should allow for fine-tuning at each magnification step, typically doubling light output when moving from 10x to 40x objectives.
Implementing LED diffusion methods, such as placing translucent material between your light source and specimen, will help distribute illumination evenly across your sample and prevent harsh shadows that become more pronounced at higher magnifications.
Intensity-Magnification Relationship
The relationship between LED intensity and magnification represents one of the most critical factors in successful lab photography. As you increase magnification, you’ll need to adjust your LED lighting accordingly—typically increasing intensity by 10-20% each time you double your magnification level.
This precise control of illumination helps maintain image clarity and reduces diffraction effects, especially at magnifications above 40x.
- Use dimmable LEDs to prevent overexposure when shifting between different magnification levels
- Maintain a neutral temperature (5000K-6500K) to guarantee accurate color representation across all magnification settings
- Remember that higher magnifications naturally reduce light transmission, requiring compensatory increases in LED intensity
With careful attention to this intensity-magnification relationship, you’ll capture consistently well-illuminated images regardless of your chosen magnification level.
Adjustable Brightness Controls
Building on our understanding of intensity-magnification relationships, modern LED systems feature sophisticated brightness controls that put exact illumination management at your fingertips.
These adjustable brightness controls allow you to make precise adjustments to light intensity as you switch between magnification levels, guaranteeing ideal visibility of specimen details.
When working with microscopic subjects, you’ll find that manipulating LED lighting reduces glare and enhances contrast, dramatically improving fine detail capture.
Proper light management also guarantees accurate color rendition while simplifying exposure settings across different magnifications.
You’ll not only enhance image quality with these dimming capabilities but also extend equipment lifespan.
LED Diffusion Methods
As magnification levels increase, properly diffused LED lighting becomes essential for revealing microscopic specimen details that would otherwise be lost to harsh shadows or bright reflections.
By implementing effective LED diffusion methods, you’ll soften harsh light and control light distribution across your specimens.
- Use diffusion panels or softboxes to minimize glare while maintaining consistent illumination across various magnification levels.
- Position reflectors to bounce light into shadowed areas, effectively filling in shadows that can obscure critical details.
- Adjust your LED’s color temperature and intensity based on specimen type to guarantee accurate color representation, especially with color-sensitive materials.
When working at higher magnifications, remember to fine-tune the distance between your diffused light source and the subject—this simple adjustment often makes the difference between mediocre and exceptional specimen imagery.
Creating Contrast With Directional Lighting Techniques
While flat lighting serves some documentation purposes, directional lighting dramatically transforms lab photography by creating depth and dimension.
You’ll achieve the most impact by positioning your key light at a 45-degree angle, casting shadows that define your subject’s texture and shape. This intentional contrast between highlights and shadows reveals intricate details that might otherwise appear flat.
Try backlighting to create striking silhouettes that separate your subject from the background.
When shadows become too intense, strategically place reflectors to bounce light back onto your subject, preserving detail without sacrificing dimension.
You can control the mood by adjusting light intensity—soft light produces subtle gradations for delicate specimens, while harsh light creates bold contrasts for dramatic effect.
Experiment with these directional lighting techniques to elevate your lab photography beyond mere documentation.
Power Requirements and Battery Solutions for Portable Setups
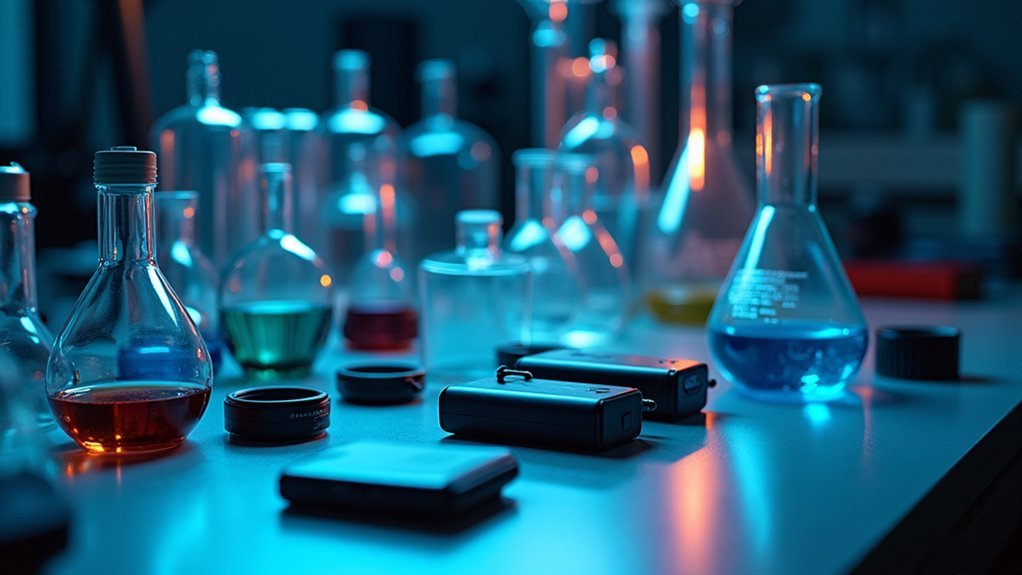
When taking your lab photography setup into the field, you’ll need to evaluate power requirements carefully. Most portable LED lighting systems require a minimum of 12V for adequate brightness. Opt for fixtures with low power consumption (20-50 watts) to maximize battery life during extended sessions.
For battery solutions that provide flexibility and reliability, consider:
- Lithium-ion batteries that offer up to 12 hours of continuous use depending on your LED wattage
- LED lights with built-in rechargeable batteries for improved mobility without external power sources
- External battery packs with USB outputs to extend operation time for smaller lighting units
These portable LED lighting options guarantee you maintain consistent illumination for your specimen photography regardless of your location, balancing power needs with runtime efficiency.
Managing Heat Output for Sensitive Biological Samples
LED lighting stands out as the premier choice for photographing heat-sensitive biological samples due to its remarkably low thermal output.
When working with delicate specimens, you’ll need to maintain consistent ambient temperature to preserve sample integrity.
Always operate your LED fixtures within manufacturers’ specified temperature ranges and select models with effective heat sinks to guarantee stable light output while minimizing heat transfer.
Operating LEDs within specified temperature ranges and using models with quality heat sinks ensures optimal illumination with minimal thermal interference.
Regularly monitor the environment’s temperature where you store and photograph your biological samples to prevent thermal stress from compromising results.
For additional control, implement dimmers to adjust intensity or timers to limit exposure duration.
These simple modifications allow you to manage heat output effectively while maintaining ideal lighting conditions.
Diffusion Methods for Even Specimen Illumination
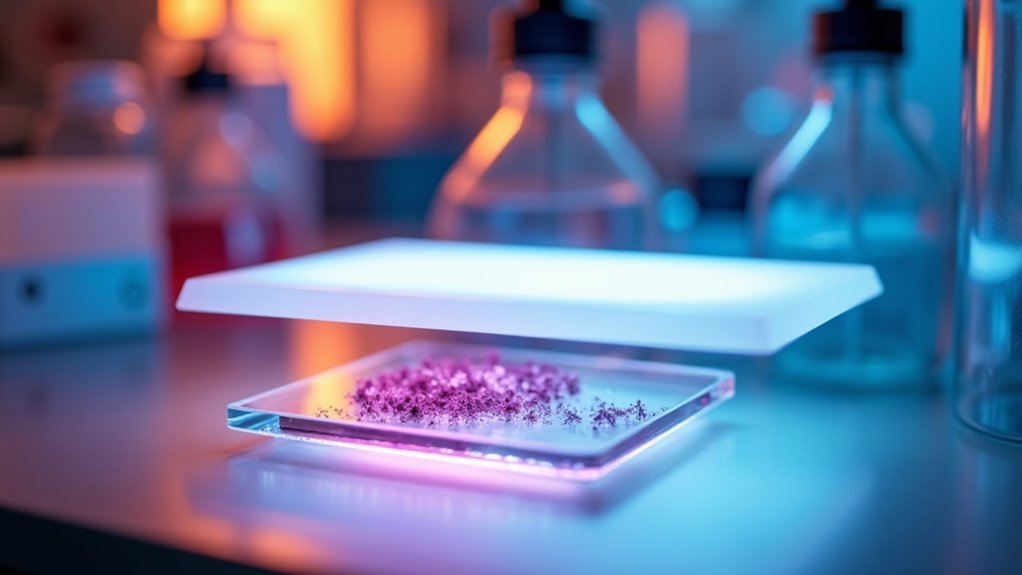
Four essential diffusion techniques can transform harsh LED lighting into the soft, even illumination that laboratory specimens require for accurate photographic documentation.
You’ll achieve balanced exposure by placing translucent panels or diffusion materials between your LED source and specimen, creating even lighting that reveals critical details.
- Position reflectors to soften shadows by bouncing light onto specimens from multiple angles, enhancing three-dimensional features without creating distracting contrasts.
- Control your light output by adjusting the distance between LEDs and diffusion materials—closer placement creates softer illumination while maintaining necessary brightness.
- Maintain consistent color temperature by selecting diffusion gels specifically designed for LED lighting, ensuring color accuracy across all your specimen photographs.
These techniques will greatly improve your lab photography by eliminating harsh shadows and glare that might otherwise obscure important specimen details.
Synchronizing LED Flashes With Camera Shutter Speed
Proper synchronization between LED flashes and camera shutter speeds forms the foundation of successful laboratory specimen photography.
You’ll need to guarantee flash duration remains shorter than your shutter speed to prevent incomplete exposure of your specimens.
Most cameras have maximum sync speeds of 1/200 to 1/250 seconds; exceeding these limits often results in banding or partially exposed images.
Camera sync speed limitations (1/200-1/250s) must not be exceeded to avoid image banding and incomplete specimen capture.
For faster photography, utilize high-speed sync (HSS) features available on compatible LED flash systems, which enable shutter speeds beyond normal sync limitations without compromising image quality.
Adjust your flash’s power output to match camera settings—lower power settings help prevent overexposure with faster shutter speeds.
For best synchronization, experiment with your specific equipment under various lighting conditions, as each lab environment presents unique challenges that require customized approaches.
Color Rendering Considerations for Tissue and Culture Documentation
When documenting biological specimens, accurate color reproduction becomes critical, as even slight color distortions can lead to misinterpretation of tissue samples or cell cultures.
High-quality LED lighting with proper color rendering capabilities guarantees your tissue analysis maintains scientific integrity.
For ideal photography lighting in lab settings:
- Choose LEDs with high color fidelity (Rf) and color gamut (Rg) values according to the IES TM30 standard to capture subtle tissue variations
- Maintain consistent color temperature between 5000K-6500K across all documentation sessions for comparable results
- Verify the spectral power distribution of your LED lighting system, as variations can mask important diagnostic color differences
Always request detailed color metrics from manufacturers to guarantee precise color rendering that meets your laboratory’s documentation standards.
Polarization Techniques for Enhanced Structural Visibility
Revealing the intricate details of laboratory specimens often requires more than standard lighting approaches. By incorporating polarized light into your lighting techniques, you’ll greatly reduce glare and enhance the visibility of surface structures that might otherwise remain hidden.
When you position polarizing filters at the ideal angle relative to your light source, you’ll effectively filter out unwanted reflections from non-metallic surfaces, considerably improving contrast and clarity in your images. This approach proves especially valuable when documenting samples with varying refractive indices, as it highlights differences in texture and material properties.
You’ll notice enhanced color saturation as well, since polarization minimizes scattered light—crucial for accurately representing your specimens’ true colors.
For best results, adjust your filter angle to match your light source’s orientation.
Frequently Asked Questions
How Long Is the Typical Lifespan of Lab-Grade LED Lighting Systems?
Lab-grade LED lighting systems typically last 50,000-100,000 hours. You’ll get about 5-10 years of continuous use, though you’ll notice the brightness gradually decreases over time, even with proper maintenance and care.
Can Smartphone Cameras Work Effectively With Specialized Lab LED Setups?
Yes, your smartphone camera can work effectively with lab LED setups. You’ll need to adjust exposure settings and possibly use apps with manual controls to balance the specialized lighting conditions properly.
Are Waterproof LED Lighting Options Available for Aquatic Specimen Photography?
Yes, you’ll find numerous waterproof LED options specifically designed for aquatic specimen photography. They’re available as submersible light panels, strip lights, and sealed spotlights that provide excellent illumination while maintaining complete water safety.
How Does LED Flickering Affect High-Speed Photography in Laboratories?
LED flickering can produce banding in high-speed photos because your camera captures images at different points in the LED’s pulse cycle. You’ll need flicker-free LEDs or higher frequency drivers for clean results.
What Safety Certifications Should Lab Photography LED Systems Have?
You’ll need lab photography LED systems certified with UL/ETL for electrical safety, CE for European compliance, IP ratings for dust/moisture protection, and RoHS for hazardous substance compliance. Don’t overlook flicker-free certification for high-speed applications.
In Summary
You’ll find that mastering LED lighting transforms your lab photography results. Whether you’re adjusting color temperature for accuracy, positioning lights to eliminate shadows, or using polarization techniques for better structural detail, these essential techniques aren’t just technical skills—they’re your pathway to capturing precise, publication-worthy scientific images. With practice, you’ll develop your own lighting workflow that consistently delivers exceptional documentation of your specimens.


Leave a Reply