Match intervals to subject speed—1 second for rapid cells, 90+ seconds for slower processes. Calculate frame rates based on desired video length (300 frames = 10 seconds at 30fps). Set exposure time to 60-80% of your interval to prevent dropped frames. Balance storage needs with project duration by adjusting resolution and interval timing. Prevent photobleaching by selecting intervals 3-5 times longer than exposure time, allowing specimens to recover. These fundamentals will transform your microscopic storytelling.
Matching Intervals to Cell Movement Speed
When setting up time-lapse imaging for cell movement, you’ll need to carefully match your interval timing to the speed of cellular activity.
Just as with other subjects, the pace of your cells’ movement determines your ideal interval settings.
The timing secret to your time-lapse depends entirely on how quickly your subjects move through the frame.
For rapidly migrating cells, use a 1-second interval similar to shooting time-lapse of traffic.
Cells with moderate motility respond well to 2-second intervals, capturing sufficient detail without overwhelming your storage.
Slower cellular processes, like division or differentiation, benefit from longer intervals of 90-120 seconds.
Calculating Frame Rates for Microscopic Processes
Because microscopic processes occur at varying speeds, you’ll need to carefully calculate frame rates to create meaningful time-lapse videos.
When determining the ideal interval, consider how many frames per second you want in your final video and how long the process takes to unfold.
For rapidly moving objects, use shorter intervals (1 second or less) to capture smooth motion and avoid missing critical moments.
Remember these key considerations:
- A 10-second video at 30 fps requires 300 frames – plan your shooting duration accordingly
- Set exposure time between 60-80% of your interval to prevent dropped frames
- Manual exposure settings prevent unwanted flicker in your final video
For example, capturing a 30-minute process at 1-second intervals yields 1,800 frames—creating a detailed 1-minute video at 30 fps.
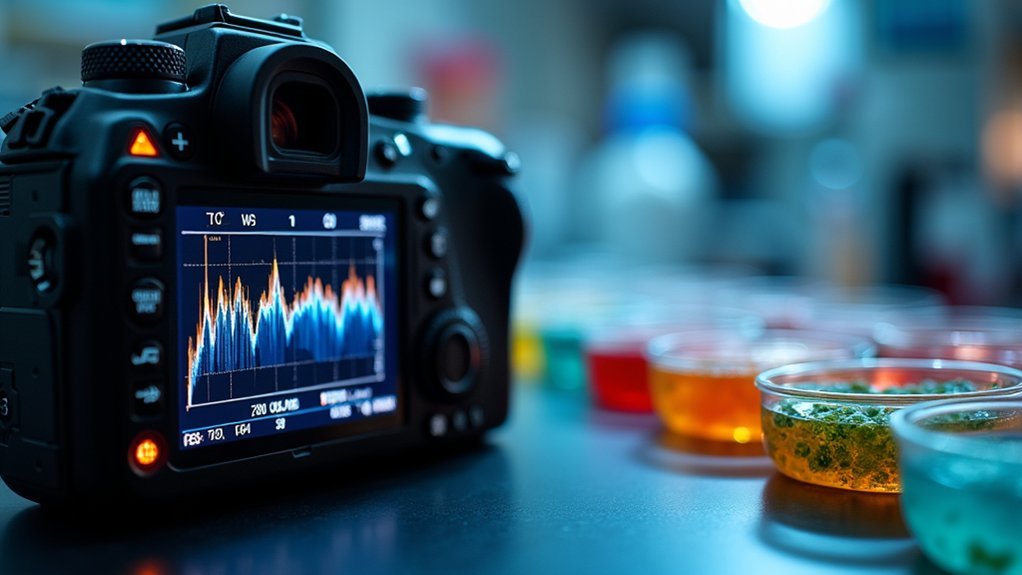
Optimizing Exposure Time for Specimen Clarity
Properly calibrating your frame rate calculations leads directly to the next challenge: optimizing exposure time for specimen clarity. Set your exposure time to 60-80% of your interval to prevent dropped frames that could compromise your final video quality.
For fast-moving specimens, use shorter exposure times (1/60 to 1/125 seconds) to minimize motion blur while preserving essential details. Conversely, slower-moving subjects benefit from longer exposures (2-5 seconds) which enhance image quality while maintaining smooth time-lapse effects.
Always use manual settings instead of automatic modes to guarantee consistent exposure throughout your sequence, preventing unwanted flicker in your final video.
Manual exposure settings maintain consistency across the entire sequence, eliminating distracting flicker that can ruin scientific time-lapse documentation.
During shooting, regularly check your camera’s read/write indicator to confirm that exposure time doesn’t exceed the interval, assuring uninterrupted specimen documentation with maximum clarity.
Balancing Storage Space With Time-Lapse Duration
Finding the right balance between time-lapse duration and storage capacity represents a critical challenge for successful imaging projects.
When planning your time lapse, calculate how many frames you’ll need based on your desired video length—remember that a 10-second video at 30 fps requires 360 frames, while a 3-minute video needs 5,400.
Consider these storage management strategies:
- Adjust your capture interval thoughtfully—a 60-day project can use 16-minute intervals to produce a 3-minute video with approximately 1,440 frames.
- Higher resolution images consume more storage space, so match your image quality to available storage.
- Create a backup plan for longer projects, as even modest time-lapse videos can quickly fill your storage devices.
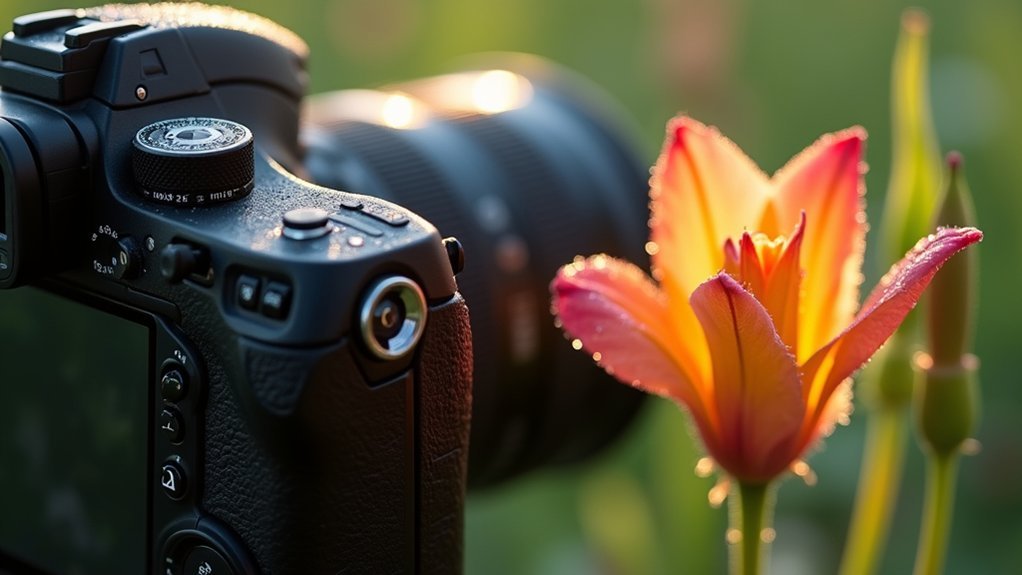
Preventing Photobleaching With Strategic Interval Selection
When capturing time-lapse sequences of living subjects, photobleaching presents a significant challenge that requires careful interval planning. To protect your subjects, select intervals that allow sufficient recovery time—generally 3-5 times longer than your exposure time.
For sensitive specimens like plants and flowers, extend your intervals to give them more time to recuperate between exposures. If you’re shooting fast-moving scenes, you’ll need shorter intervals, but be cautious not to exceed the subject’s natural recovery capacity.
Always adapt to your lighting conditions; bright sunlight increases photobleaching risk, necessitating longer intervals between shots. Use your camera’s histogram and exposure tools to monitor your subject’s response to light, then adjust your intervals dynamically to minimize damage while maintaining the visual narrative of your time-lapse.
Frequently Asked Questions
What Is the Best Interval Setting for Time-Lapse?
The best interval for your time-lapse depends on your subject: use 1 second for fast scenes, 1-3 seconds for moderate movement, and 90-120 seconds for extremely slow changes like construction or growth.
How to Calculate Timelapse Interval?
To calculate timelapse interval, divide your desired shooting duration by the number of frames needed. For example, if you want 300 frames over 5 hours, you’d set an interval of 1 minute.
How Many Photos for a 10 Second Timelapse?
You’ll need 300 photos for a 10-second timelapse when shooting at 30 fps. That’s calculated by multiplying your desired video length (10 seconds) by the standard frame rate (30 frames/second).
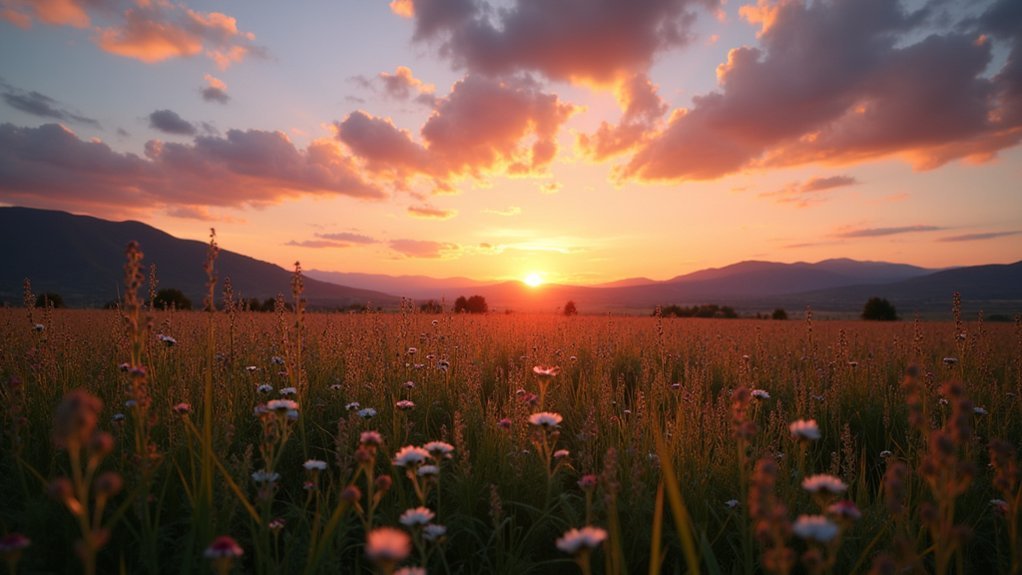
What Interval Should I Shoot Sunset Timelapse?
For a sunset timelapse, you’ll want to use a 1-3 second interval during the main color changes, then switch to about 30 seconds as darkness falls. This captures the dramatic light shifts without flicker.
In Summary
You’ll capture the perfect cellular story by tailoring your time-lapse intervals to movement speed, calculating ideal frame rates, and optimizing exposure times. Don’t forget to balance your storage needs with experiment duration. Remember that strategic interval selection isn’t just about data quality—it’s also your best defense against photobleaching. Master these five tips and you’ll transform fleeting biological moments into compelling visual narratives.


Leave a Reply