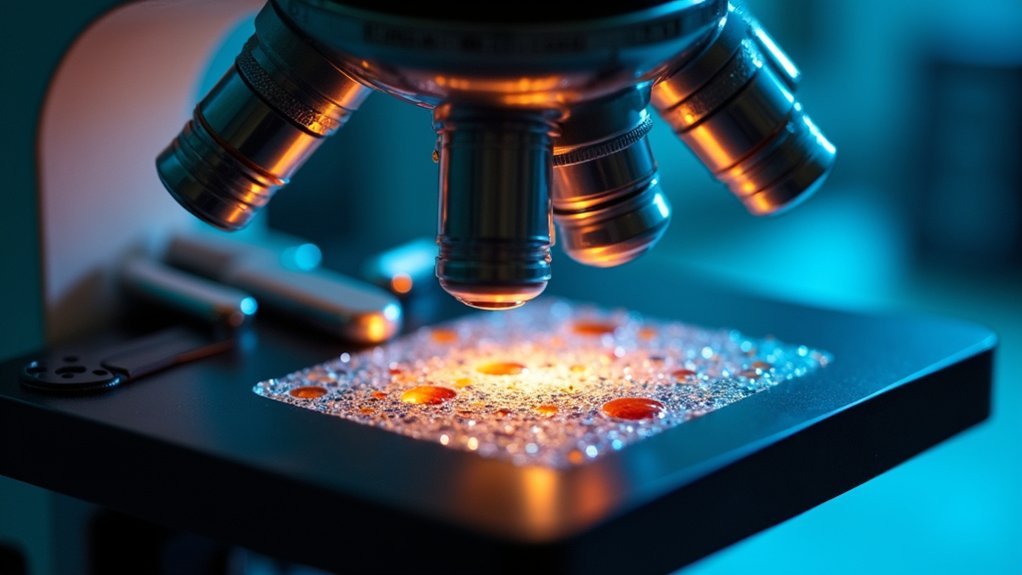
To fix microscope overexposure, you’ll need to reduce your light source intensity using the dimmer or neutral density filters. Adjust your condenser settings for proper light alignment and experiment with the diaphragm aperture to limit brightness. Fine-tune your camera’s exposure parameters by lowering ISO sensitivity and adjusting aperture settings. Apply post-processing techniques to recover lost details in already overexposed images. Regular calibration of your optical system guarantees consistent exposure control in all your microscopy work.
Understanding the Causes of Microscope Image Overexposure

When your microscope images appear washed out with lost details in bright areas, you’re dealing with overexposure. This common problem typically stems from excessive illumination levels or incorrectly configured film sensitivity settings.
Long exposure times can trigger reciprocity failure, which affects color shifts and reduces image quality. You might also be underestimating your specimen’s average brightness relative to the entire field, leading to improper exposure settings.
To address these issues, you’ll need to properly modulate light using neutral density filters, especially during shorter exposures.
Don’t overlook regular calibration of your microscope’s optical pathway—misalignments frequently contribute to exposure problems.
Understanding these fundamental causes helps you systematically troubleshoot overexposure issues, ensuring your microscope captures the detailed images you need for accurate analysis.
Optimizing Light Source Intensity and Condenser Settings
Three primary adjustments can dramatically reduce microscope overexposure: light intensity, condenser alignment, and aperture control.
First, adjust your light source using a dimmer or neutral density filter to prevent excessive brightness that causes overexposure in your images.
Next, fine-tune your condenser settings to guarantee proper light alignment on your specimen. Regular calibration maintains ideal light distribution and prevents hotspots in photomicrographs. For precise adjustments, use a spot meter to measure light intensity directly on the specimen.
Finally, experiment with the diaphragm aperture of your condenser. By limiting the amount of light reaching the specimen, you’ll effectively manage overexposure while simultaneously enhancing contrast.
These adjustments work together to transform washed-out, overexposed images into crisp, detailed observations.
Adjusting Camera Exposure Parameters for Balanced Microscopy

Properly calibrating your camera’s exposure settings serves as the foundation for eliminating microscope overexposure. Start by adjusting the aperture to reduce light intensity reaching the sensor. For specimens requiring longer exposure times, incorporate a neutral density filter to maintain color balance while controlling brightness. Lower your ISO settings to decrease light sensitivity, particularly when working with brightly illuminated samples.
- Monitor your histogram carefully—avoid right-side clipping that indicates overexposure.
- Use spot metering on your specimen to accurately gauge the ideal exposure parameters.
- Combine aperture adjustments with neutral density filters for the most balanced exposure in challenging specimens.
Remember that balanced exposure isn’t just about seeing your specimen—it’s about capturing accurate details and colors that represent the true microscopic structure you’re studying.
Post-Processing Techniques to Recover Overexposed Microscope Images
Even after careful microscope setup, you’ll occasionally capture overexposed images that seem beyond salvage. Don’t worry—you can recover these using strategic post-processing techniques.
Create an exposure adjustment layer and reduce brightness to around 45 for overexposed areas. Apply a gradient mask to this layer for smooth shifts between corrected and properly exposed regions.
For deeper contrast enhancement, add a levels adjustment layer and drag the black slider to the histogram’s edge, stretching image data to recover lost details.
Use the Polygonal Lasso Tool to mask unwanted elements like air bubbles or hairs for a cleaner image. Regularly toggle layer visibility to compare your adjustments against the original, ensuring you maintain scientific accuracy while fixing exposure settings.
These techniques will help you achieve a balanced image that preserves the integrity of your microscopy work.
Equipment Calibration Methods for Consistent Exposure Control

Regular calibration of your microscope’s optical system forms the foundation of consistent exposure control. Maintaining proper alignment of lenses and filters guarantees your exposure settings remain consistent across all photomicrography sessions.
Optical calibration isn’t optional—it’s the bedrock of reliable exposure control in microscopy work.
You’ll achieve better color balance by evaluating illumination balance and applying color compensating filters to correct temperature discrepancies that cause exposure issues.
- Use neutral density filters to modulate exposure levels, especially for short exposure times that risk overexposure.
- Document ISO values and film emulsion characteristics to account for color response variations.
- Implement preventive measures by storing film in controlled environments to preserve its integrity.
These calibration techniques help you maintain proper exposure throughout your microscopy work.
Remember that consistent results come from systematic equipment maintenance—a well-calibrated microscope eliminates many exposure problems before they occur.
Frequently Asked Questions
What Are 3 Ways to Keep the Microscope From Getting Damaged?
You should store your microscope in a cool, dry place, use a cover when not in use, and clean lenses with appropriate solutions. Always handle it gently and follow manufacturer’s guidelines.
How Do You Adjust a Microscope if the Image Is Blurry?
To fix a blurry microscope image, you’ll need to adjust the fine focus knob, clean the lenses and slide, optimize the condenser settings, guarantee proper specimen thickness, and consider using higher NA objectives.
Why Is My Microscope so Bright?
Your microscope’s brightness is likely due to high lamp intensity settings, improper diaphragm adjustment, or missing filters. You’ll need to reduce the light source power or add neutral density filters to correct it.
How Can I Make My Microscope Clearer?
To make your microscope clearer, adjust the light intensity using neutral density filters, clean all lenses properly, calibrate the optical pathway, guarantee proper focus, and use color compensating filters to correct any illumination imbalances.
In Summary
You’ve now mastered five effective strategies to combat microscope overexposure. By understanding the root causes, properly adjusting your light source and condenser, fine-tuning camera settings, applying post-processing techniques, and regularly calibrating your equipment, you’ll consistently produce clear, well-balanced images. Don’t let overexposure ruin your observations—implement these fixes and you’ll elevate the quality of your microscopy work immediately.


Leave a Reply