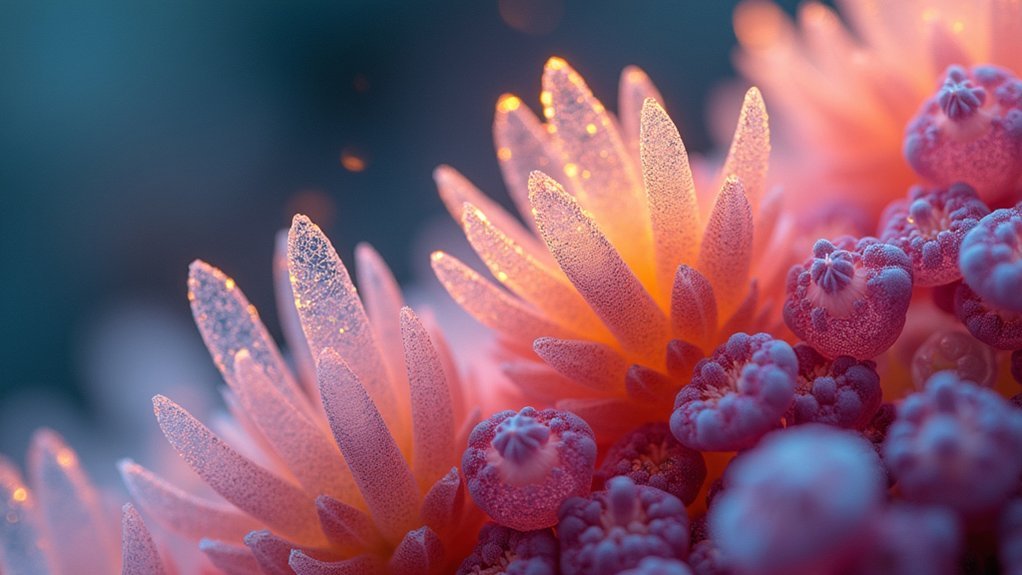
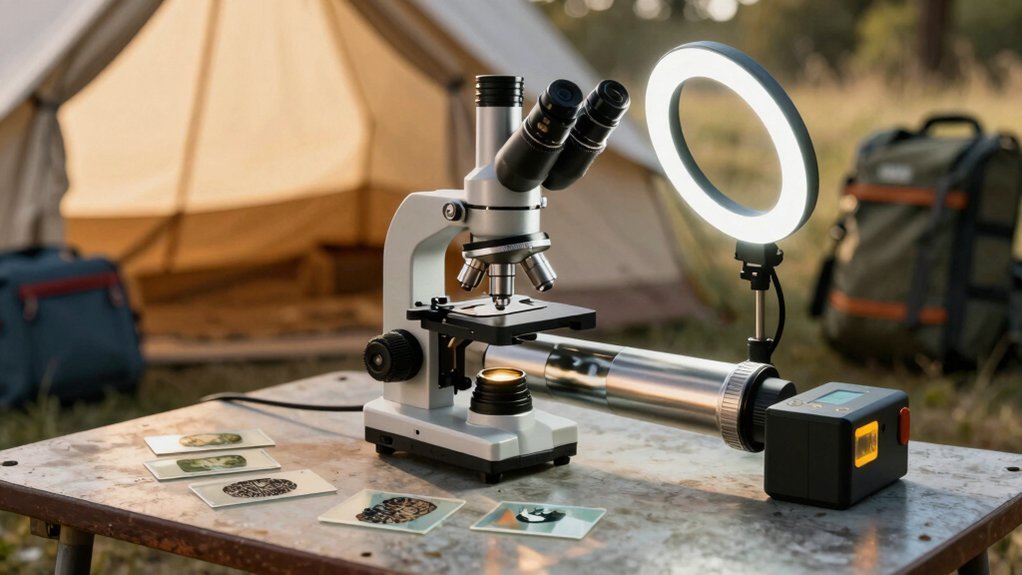
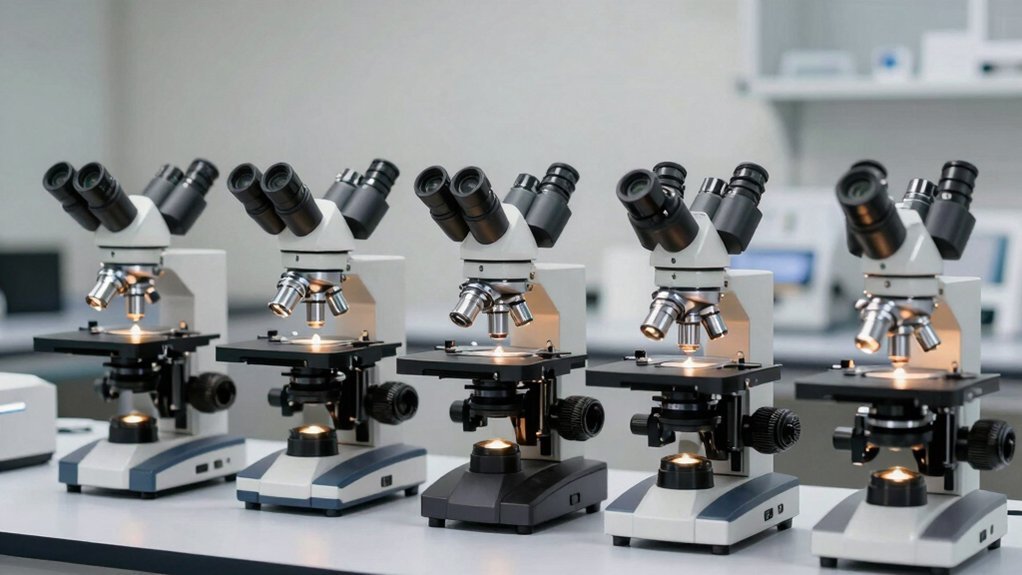
Image stacking dramatically enhances photo clarity through five key techniques: Brightfield Stacking combines multiple focal planes for greater depth of field; Phase Contrast Multi-Layer Acquisition reveals transparent specimens with precision; DIC Stacking follows a four-step workflow for best results; Extended Depth of Field overcomes limitations in fluorescence microscopy; and Z-Axis Alignment guarantees maximum sharpness across varying depths. Master these methods and you’ll transform ordinary images into extraordinarily detailed visual data with professional-quality results.
Brightfield Stacking for Enhanced Microscopic Detail

When peering into the microscopic world, conventional photography often falls short of capturing the complete picture. That’s where brightfield stacking shines—this powerful technique transforms your microscopy by combining multiple images taken at different focal planes to achieve a greater depth of field.
As a macro photographer exploring biological specimens, you’ll need to maintain consistent lighting while capturing 10-30 shots using focus bracketing.
The magic happens when post-processing software like Helicon Focus takes your series of partially-focused images and transforms them into one crystal-clear composite.
Transforming partial clarity into microscopic revelation—software weaves your bracketed images into a seamless tapestry of detail.
Your aligned and blended images will reveal intricate details in cells and tissues that would otherwise remain hidden in a single exposure.
This stacking technique has become invaluable in histology and microbiology, where visualizing fine structures can make all the difference in research and diagnostics.
Phase Contrast Multi-Layer Image Acquisition
While standard brightfield techniques serve many photography needs, phase contrast multi-layer acquisition takes microscopic imaging to remarkable new heights.
You’ll capture transparent or semi-transparent specimens with unprecedented clarity by stacking images taken at different focal planes.
In macro photography, this technique preserves intricate details throughout the subject that would otherwise be impossible to capture in a single shot. The process involves capturing multiple images at varying focal depths, then using photo editing software like Adobe Photoshop to stack the images into one sharp, composite image.
Scientists particularly value phase contrast when documenting small-scale structures where every detail matters. By aligning and blending these multiple layers through focus stacking, you’ll achieve crystal-clear results that reveal complex structures with precision, transforming ordinary images into extensive visual data.
DIC (Differential Interference Contrast) Stacking Workflow

Four key steps define the DIC stacking workflow that transforms ordinary transparent specimens into stunning 3D visualizations. You’ll need to capture multiple images across different focal planes using polarized light to enhance contrast and resolution. Proper adjustment of your DIC microscope’s Nomarski optics is crucial for highlighting specimen morphology with that characteristic relief-like appearance.
| Stage | Action | Outcome |
|---|---|---|
| Setup | Calibrate compensator & polarizer | Ideal image quality |
| Capture | Acquire images at multiple focal planes | Complete specimen coverage |
| Processing | Import into ImageJ or Adobe Photoshop | Digital workstation prepared |
| Alignment | Stack images with precise registration | Enhanced detail visibility |
| Blending | Merge focal planes seamlessly | Final 3D representation |
The workflow guarantees even the finest details of transparent structures become visible, providing unprecedented clarity for biological analysis.
Extended Depth of Field in Fluorescence Microscopy
Fluorescence microscopy often suffers from limited depth of field, preventing researchers from viewing entire specimens in focus simultaneously. You can overcome this limitation through image stacking techniques, where multiple images are captured at different focal planes. This approach is particularly valuable when examining complex 3D structures in biological samples.
By employing focus stacking, you’ll minimize optical aberrations while enhancing clarity and detail throughout the specimen. Much like photographers use macro lenses for extreme close-ups, microscopists capture a series of images at incremental focus points.
Specialized software algorithms then create aligned and blended images, producing a final image with extended depth of field. This technique proves essential when studying intricate samples like tissues or cell cultures, where maintaining sharp focus across varying depths guarantees accurate analysis and thorough visualization of fluorescently labeled structures.
Z-Axis Alignment Methods for Complete Specimen Clarity

Since depth perception remains critical in specimen photography, mastering Z-axis alignment techniques guarantees your stacked images achieve maximum clarity.
When capturing specimens with limited depth of field, particularly in macro photography, proper Z-axis alignment confirms every detail appears sharp in your final focus stacking result.
Use a tripod to maintain stability throughout the process, as even slight camera movement can ruin your stacked image. A focus rail allows for precise adjustments to your focusing distance, creating consistent increments between shots.
For best results, capture multiple images with small manual focus adjustments along the Z-axis, confirming you’ve photographed every layer of your specimen.
Remember that shallow depth of field in macro work makes proper Z-axis alignment essential—even minor misalignments will compromise clarity in your composite image.
Frequently Asked Questions
What Are the Different Types of Image Stacking?
You can use different image stacking techniques: focus stacking for overall sharpness, exposure stacking for balanced lighting, noise reduction stacking for cleaner images, time-lapse stacking for motion effects, and HDR stacking for wider luminosity.
What Is Stacking Technique in Photography?
Stacking technique in photography is where you combine multiple shots of the same subject at different focus points to create one final image with enhanced sharpness and depth of field throughout.
What Is the Difference Between Focus Stacking and Bracketing?
Focus stacking varies focus points to increase depth of field, while bracketing alters exposure levels for better dynamic range. You’ll use stacking for sharp details throughout your image and bracketing to balance highlights and shadows.
What Is the Ideal Image Stack?
The ideal image stack captures several photos at different focus points to guarantee everything’s sharp. You’ll want 2-20+ images with apertures around f/5.6-f/8, consistent exposure settings, and a stable tripod for perfect alignment.
In Summary
You’ve now mastered five powerful image stacking techniques that’ll transform your microscopy photography. By implementing brightfield, phase contrast, DIC, fluorescence, and Z-axis alignment methods, you’ll capture crystal-clear images with exceptional detail and depth. Don’t hesitate to experiment with these approaches on different specimens—each technique offers unique advantages. With practice, you’ll consistently produce professional-quality microscopic photographs that reveal intricate structures previously hidden from view.


Leave a Reply